In order to get started with the Airtable Template, you will need a Personal Access Token. Additionally, you'll need the names/IDs of the Base, Table, and View you would like to access.
Generating an Airtable Personal Access Token
Follow these steps to create a personal access token for Airtable, which you will need for various integrations, such as connecting Airtable to Workflows.
Step 1: Log in to Airtable
Start by logging into your Airtable account. You can do so by visiting the Airtable login page.
Step 2: Access the Developer Hub
Once logged in, navigate to the Developer Hub. This is where you can manage your API tokens.
Step 3: Personal Access Token Section
Ensure you are in the Personal Access Token section of the Developer Hub. This is crucial as tokens generated here are specific to your personal account and provide access to your bases.

Step 4: Create a New Token
Click on Create Token to start the process of generating a new access token.
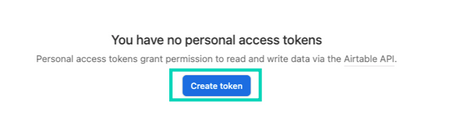
Note: If you already have tokens created "Create a New Token can be found on the top right.
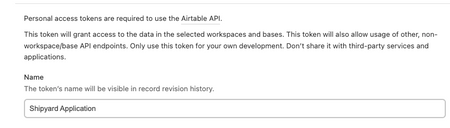
Step 5: Name Your Token
Give your token a descriptive name that helps you identify its use case. For instance you might name it "Workflows Integration".
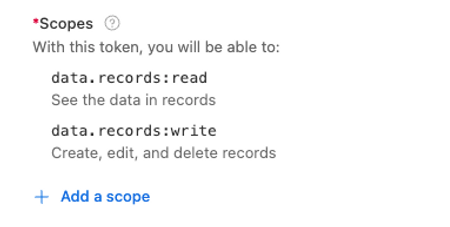
Step 6: Set Permissions
Assign the necessary permissions to your token. At a minimum, you will need:
-
data.records:read- This allows the token to read your Airtable records. -
data.records:write- This allows the token to modify your Airtable records.
Note: The
data.records:writepermission is only necessary if you intend to use functionalities that modify your data, such as the "Airtable - Upload File from Workflows to Airtable" blueprint.
Step 7: Specify Accessible Bases
Under the Access section, specify which base(s) you want the token to access. This ensures that your token is only used for its intended purpose and bases.
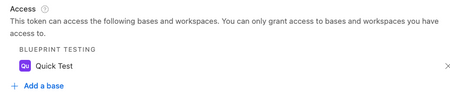
Note: It's best to add only the specific base(s) that the application will use, rather than allowing access to all future bases. This minimizes security risks and ensures tighter control over your data. You can always add more bases to the token's permissions later without needing to regenerate the token.
Step 8: Secure Your Token
Important: Your token will be displayed only once upon creation. Make sure to copy it immediately and store it in a secure location. Treat your token like a password, as it provides direct access to your Airtable data.
Getting Base, Table, and View IDs
Navigate to the Base/Table you would like to access with Workflows. Once there, extract the IDs directly from the URL. Airtable builds all of it's URLs as https://airtable.com/{base_id}/{table_id}/{view_id}
For example, in the following URL https://airtable.com/apprAb54fnzSbGPqV/tbltgrZ2A5vbSOuDs/viwaqiREptRiFI5un
Base ID: apprAb54fnzSbGPqV Table ID: tbltgrZ2A5vbSOuDs View ID: viwaqiREptRiFI5un
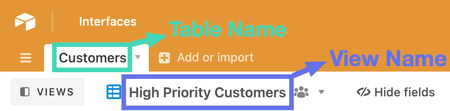
Alternatively, you can use the Table Name and the View Name found in the UI, although it is less recommended since the name can change without warning.