
Overview
In this tutorial, you'll learn how to upload a file from your computer to Workflows that can be used in a Workflow. This can be helpful to upload static credential or reference files, such as RSA keys.
By the end of the tutorial, you'll be able to:
-
Upload a script to Workflows.
-
Check Logs to verify that your local file was uploaded.
We do not recommend using this process to upload dynamic data files. We recommend that you download data files using our Library Templates.
Setup
First, download this zip file, named upload_rsa.zip to your computer without making any changes.
Feel free to peruse this zip file beforehand so you understand the contents and purpose. The zip file contains two files:
-
upload_rsa.sh- A bash script that prints a success message and returns a 0 exit code. -
id_rsa- The RSA key file to be uploaded into Workflows.
Steps
Using the sidebar, click + New Workflow. You'll now be on the Workflow builder canvas. Next we'll walk through the process of building the required Task to upload the file to Workflows
Step 1 - Create a Code Task
-
Click Bash under the Code Tasks dropdown.
-
Under Task Name, enter
Upload RSA File. -
Under the Code dropdown in the File to Run input, type
upload_rsa.sh. -
Click the Upload toggle option.
-
Click the Upload File button and select the
upload_rsa.zipdownloaded in the Setup section above.
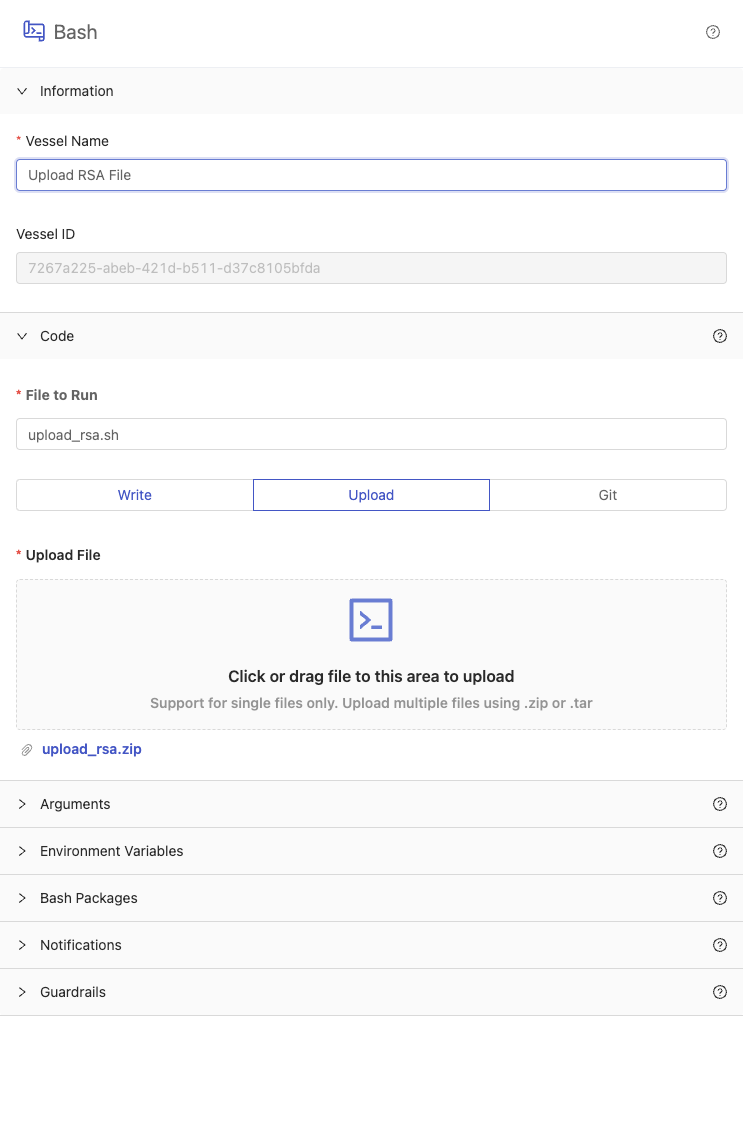
When you upload files to Workflows using this method, they will be automatically unzipped. Only a single specified file (in this tutorial, upload_rsa.sh) can ever be run per Task. Future downstream Tasks can run and access the files in the zipped file.
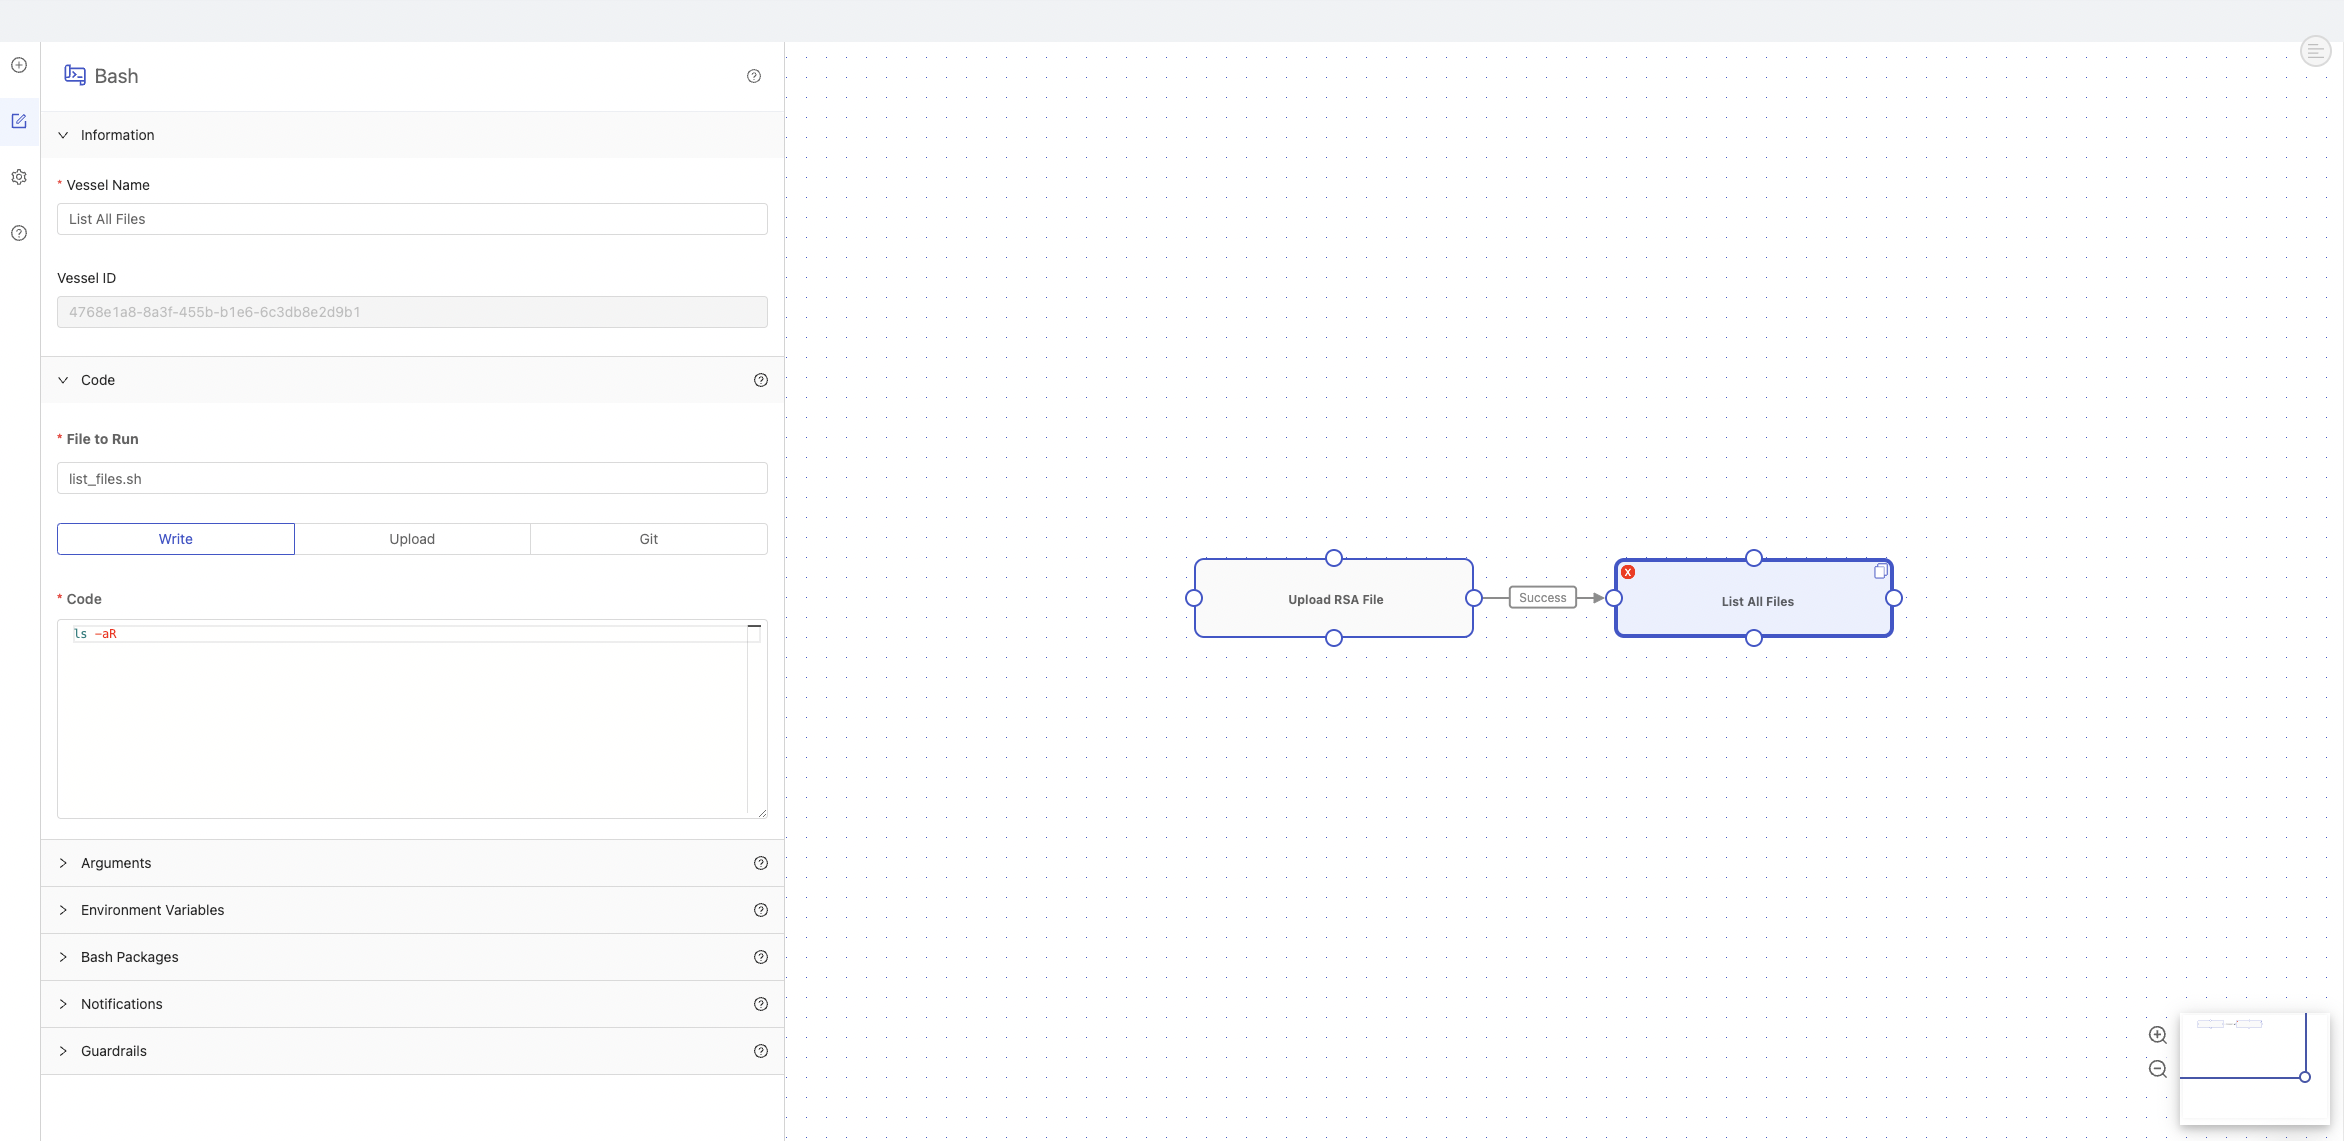
Step 2 - Create a Task to Check Workflows File System
-
Click the Add Task button to add a second Task.
-
Click Bash to add a Bash code Task.
-
Under Task Name, enter
List All Files. -
Under File to Run, enter
list_files.sh. -
Under Code, enter
ls -laR. -
Connect the Upload RSA File and List All Files Tasks.
Step 3 - Name your Workflow
-
Click the cog for Workflow Settings on the left side of the Workflow Builder.
-
Under Workflow Name, enter
Upload RSA File to Workflows.
-
Click Save & Finish on the bottom right corner of your screen. This will redirect you to a page that lets you know that your Workflow has been created successfully.
-
Click Run Your Workflow. This will redirect you to the Workflow Log page.
Step 4 - Check for your File
-
Wait for your Workflow to complete running with a status of Success.
-
Click the green rectangle for the List All Files Task.
-
This takes you to the Task Log.
-
You are able to see the
id_rsafile that we wanted to upload from our computer in the Workflows file system.
You have successfully created a Workflow with a Task that can upload a file to use in Workflows from your local file system.
Use this process in any of your own Workflows by connecting the "Upload Local File Task" before another Task.