
Tutorial: Creating Your First Workflow
Overview
In this tutorial, you’ll walk through the steps required to set up a very simple workflow that contains two tasks.
A Task, built with a Template, that downloads a CSV file from a website
A Task, built with a Template, that emails the contents of the CSV file.
By the end of the tutorial, you will know how to:
Set up a Task with a Template
Connect Tasks together as part of a Workflow
Use a Task to access files created upstream (earlier in the workflow)
Steps
Step 1 - Accessing the Workflow Builder
Using the sidebar, select
Workflowsfound beneathActions, and click on New Workflow to begin building your new Workflow.
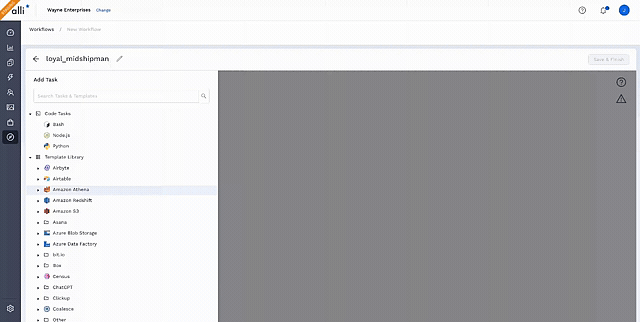
Step 2 - Select Your First Task & Rename It
Navigate down to the HTTP dropdown and click it. It will expand the Templates that are available to use for HTTP.
Click the Template named Download File from URL. This creates a new Task and immediately opens the edit pane for that Task on the left side of the screen.
Next to the HTTP icon, click the pencil icon and remove the automatically generated name and type Download Slinky Dog Dash Ride Data.

Step 3 - Fill Out Task Details
In the File URL field type https://cdn.touringplans.com/datasets/slinky_dog.csv
In the File Name field type slinky_dog_dash.csv
In the Folder Name field type disney_world_wait_times
Step 4 - Select & Update Your Second Task
.gif?inst-v=48b6a4b1-b2cf-478e-8bd0-7aafcc16b953)
Go to the canvas by clicking “off” of (to the right of) the edit pane.
+ Add Task to add another Task to the Workflow.
Search for email using the search bar at the top. Click on Send Message with File
Next to the Email icon, click the pencil icon and remove the automatically generated name and type Send Slinky Dog Dash Data via Email.
Fill out fields with the following values:
Name | Value |
Send Method | TLS |
SMTP Host | |
SMTP Port | 587 |
Username | Leave blank and use the default |
Password | Leave blank and use the default |
Sender Address | Leave blank and use the default |
Sender Name | |
TO | YOUR EMAIL HERE |
CC | |
BCC | |
Subject | Slinky Dog Dash Wait Times |
Message | Here’s the most recent wait times for Slinky Dog Dash! |
File Name Match Type | Exact |
File Name | slinky_dog_dash.csv |
Folder Name | disney_world_wait_times |
Include Shipyard Footer? | ✅ |
Step 5 - Connect Your Tasks Into a Workflow
Click and drag from a circle on the Download Slinky Dog Dash Ride Data Task towards a circle on the Send Slinky Dog Dash Data via Email Task.
This will connect the two Tasks, allowing one to be triggered by the other. Additionally, this allows files created upstream (Download Slinky Dog Dash Ride Data) to be accessed by the Task that lives downstream (Send Slinky Dog Dash Data via Email).
It is possible that the Tasks are stacked on top of each other or placed in a spot that is not visually pleasing. You can always drag Tasks by holding your left mouse click button on the Task and moving it wherever you would like.
Step 3 - Update Workflow Name
Click on the pencil icon in the header and rename your Workflow to Download File from Webpage and Email to User.
Notice that the “Default” project is pre-selected.
Click the Save & Finish button at the bottom. You should now see the following screen:
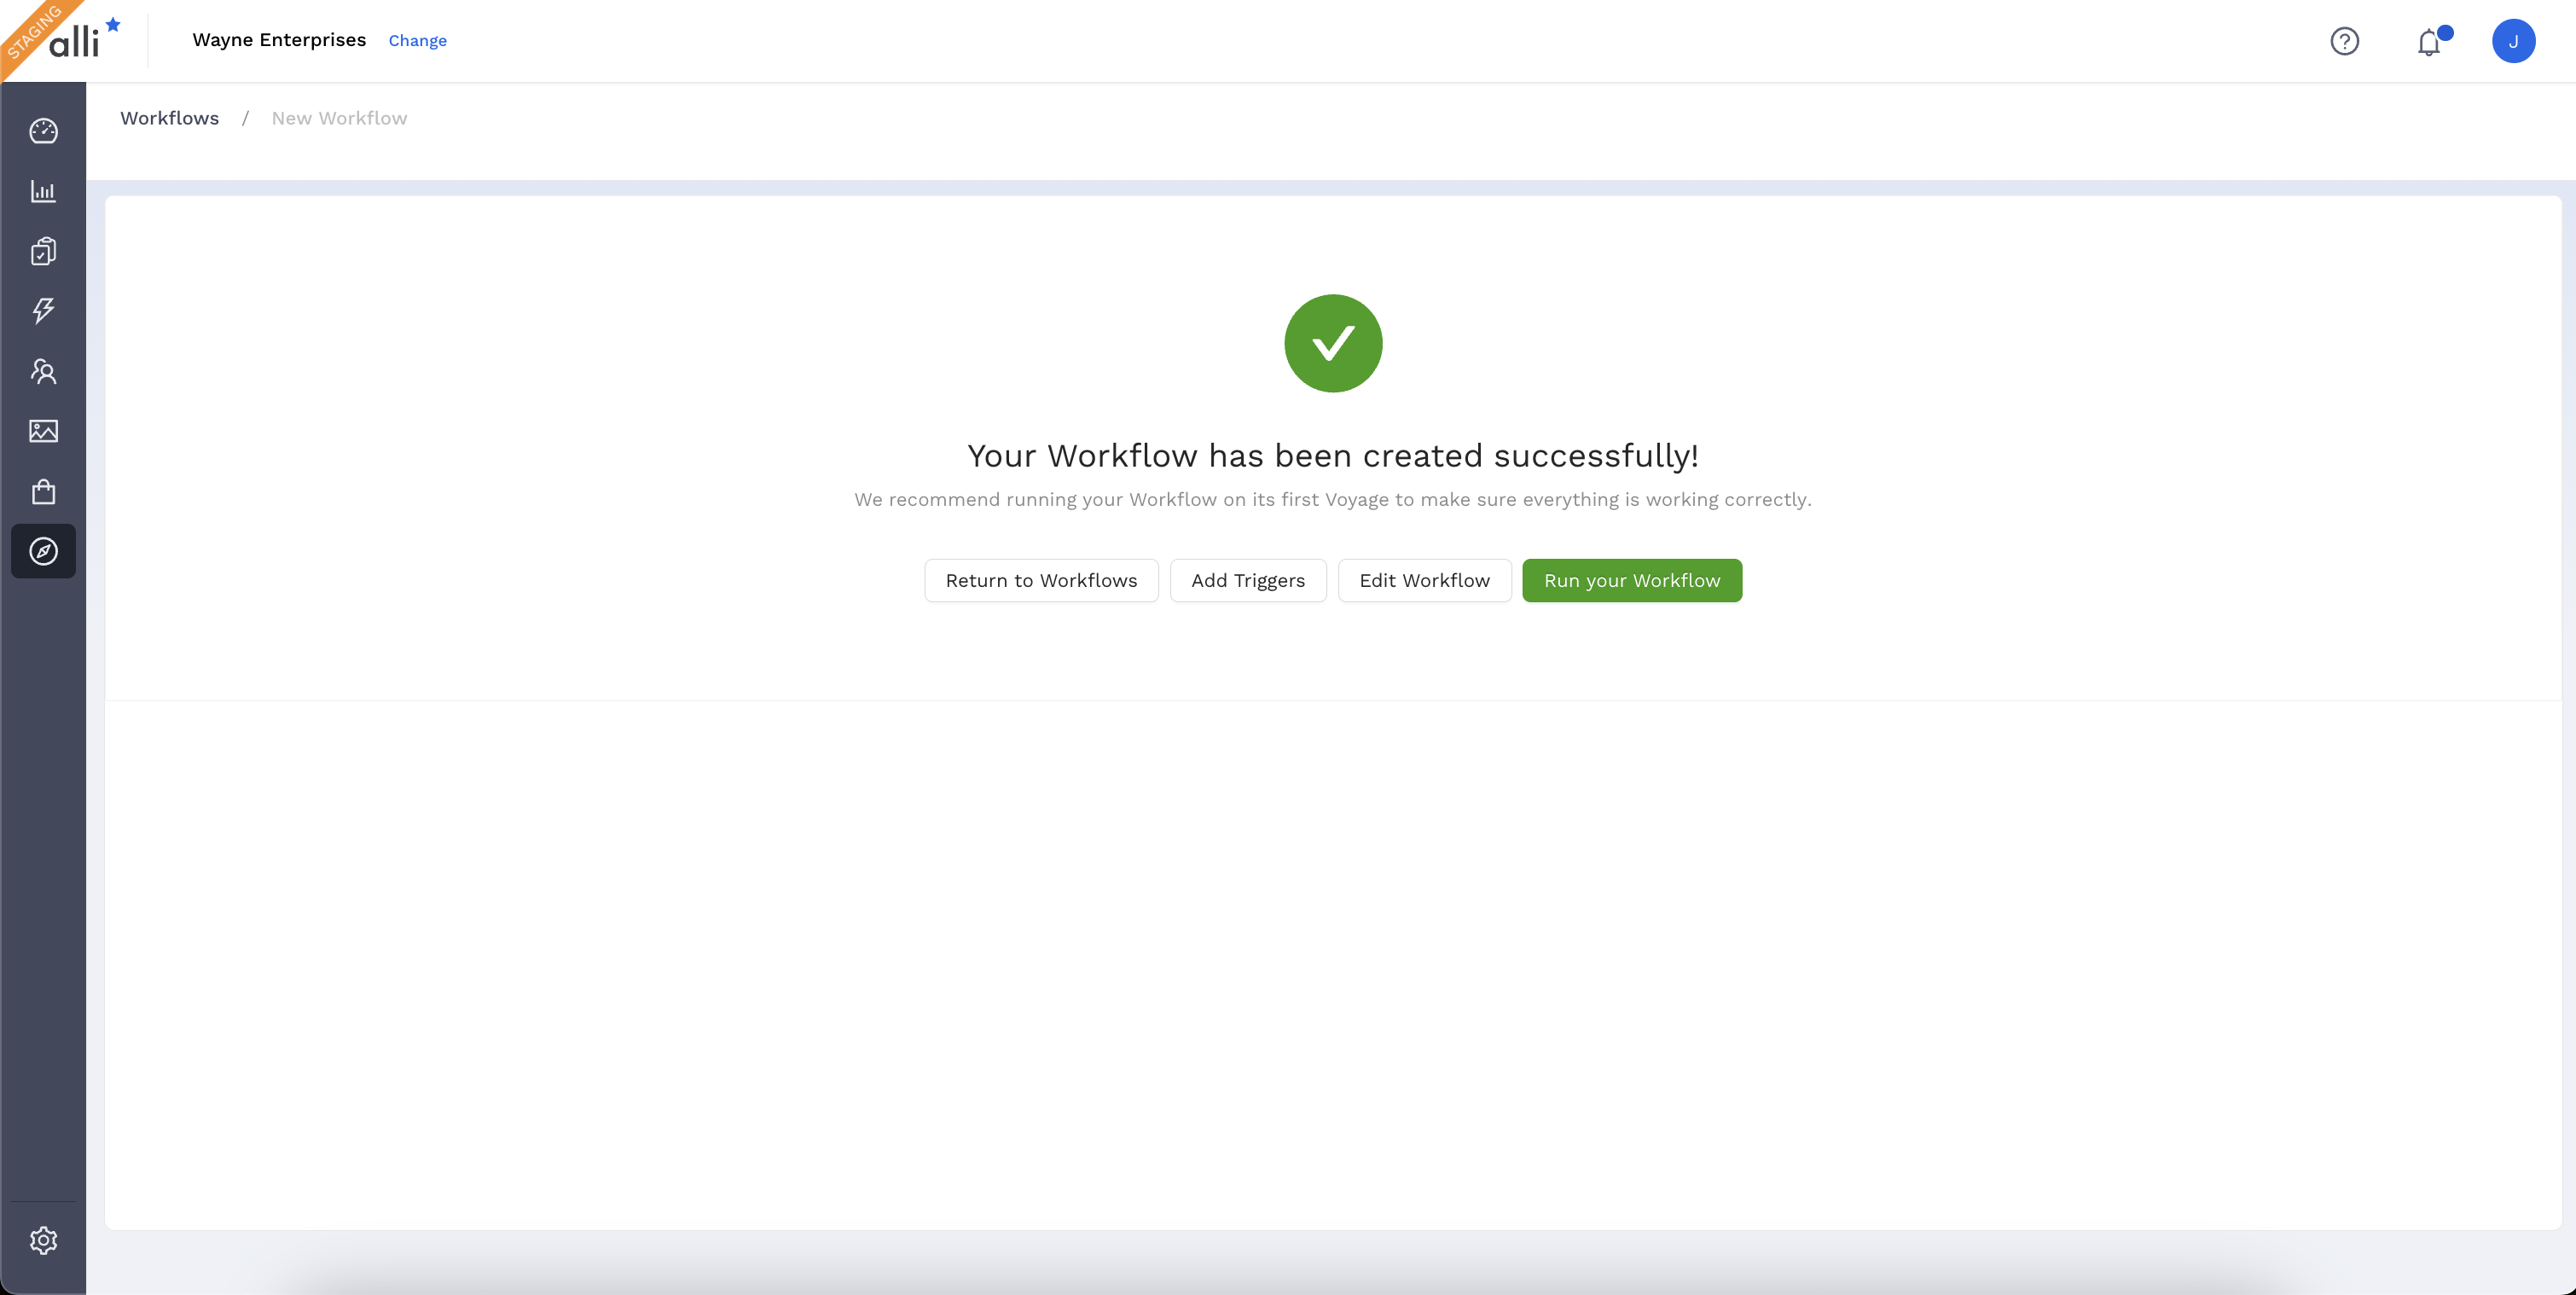
Workflow Creation Success Screen
By default, every Workflow and every Task you create will send error notifications to your email. You can always update this as needed.
Step 4 - Running the Workflow On Demand & QA the Execution
On the success page, click the Run your Workflow button.
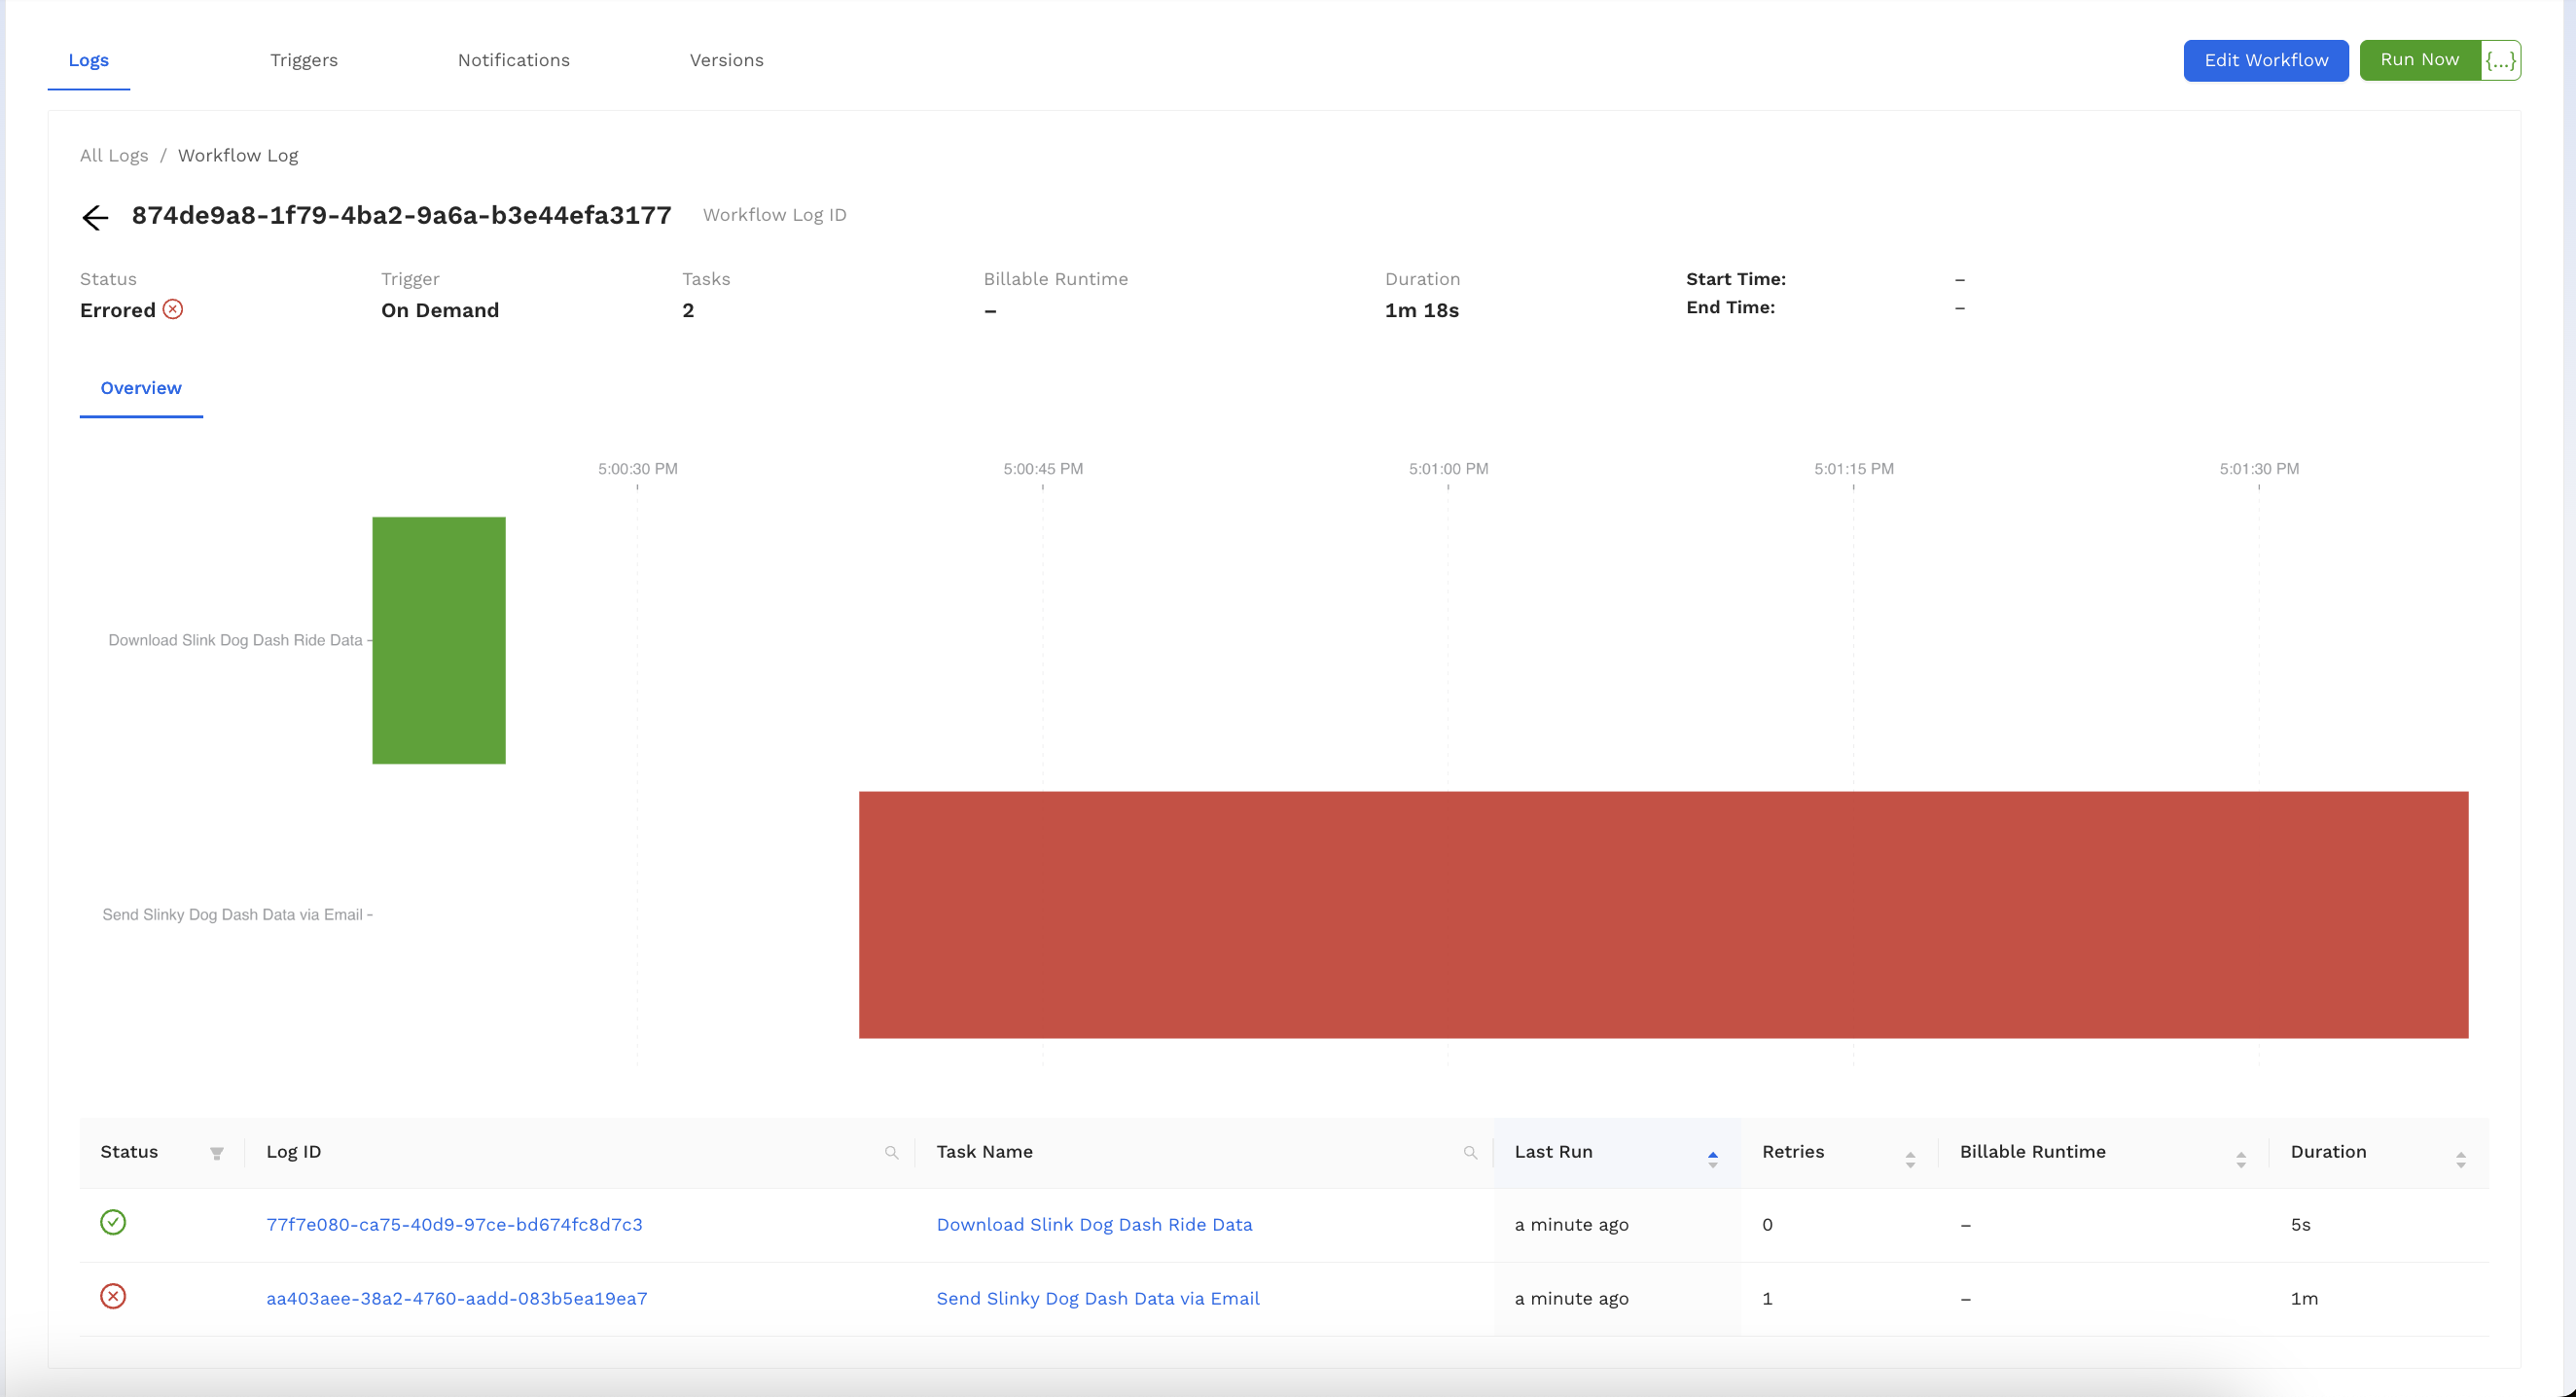
You’ll be redirected to a Workflow Log page as your Workflow runs. This page will refresh automatically as the Workflow runs. Wait until you see both Tasks as green bars, indicating that they completed successfully.
Click on the Log ID or the bar graph for the Download Slinky Dog Dash Ride Data Task. Your Log ID will be different than the one shown below.
Click on a Log
In the output, you should be able to see that the file was successfully downloaded and the size of the downloaded file.
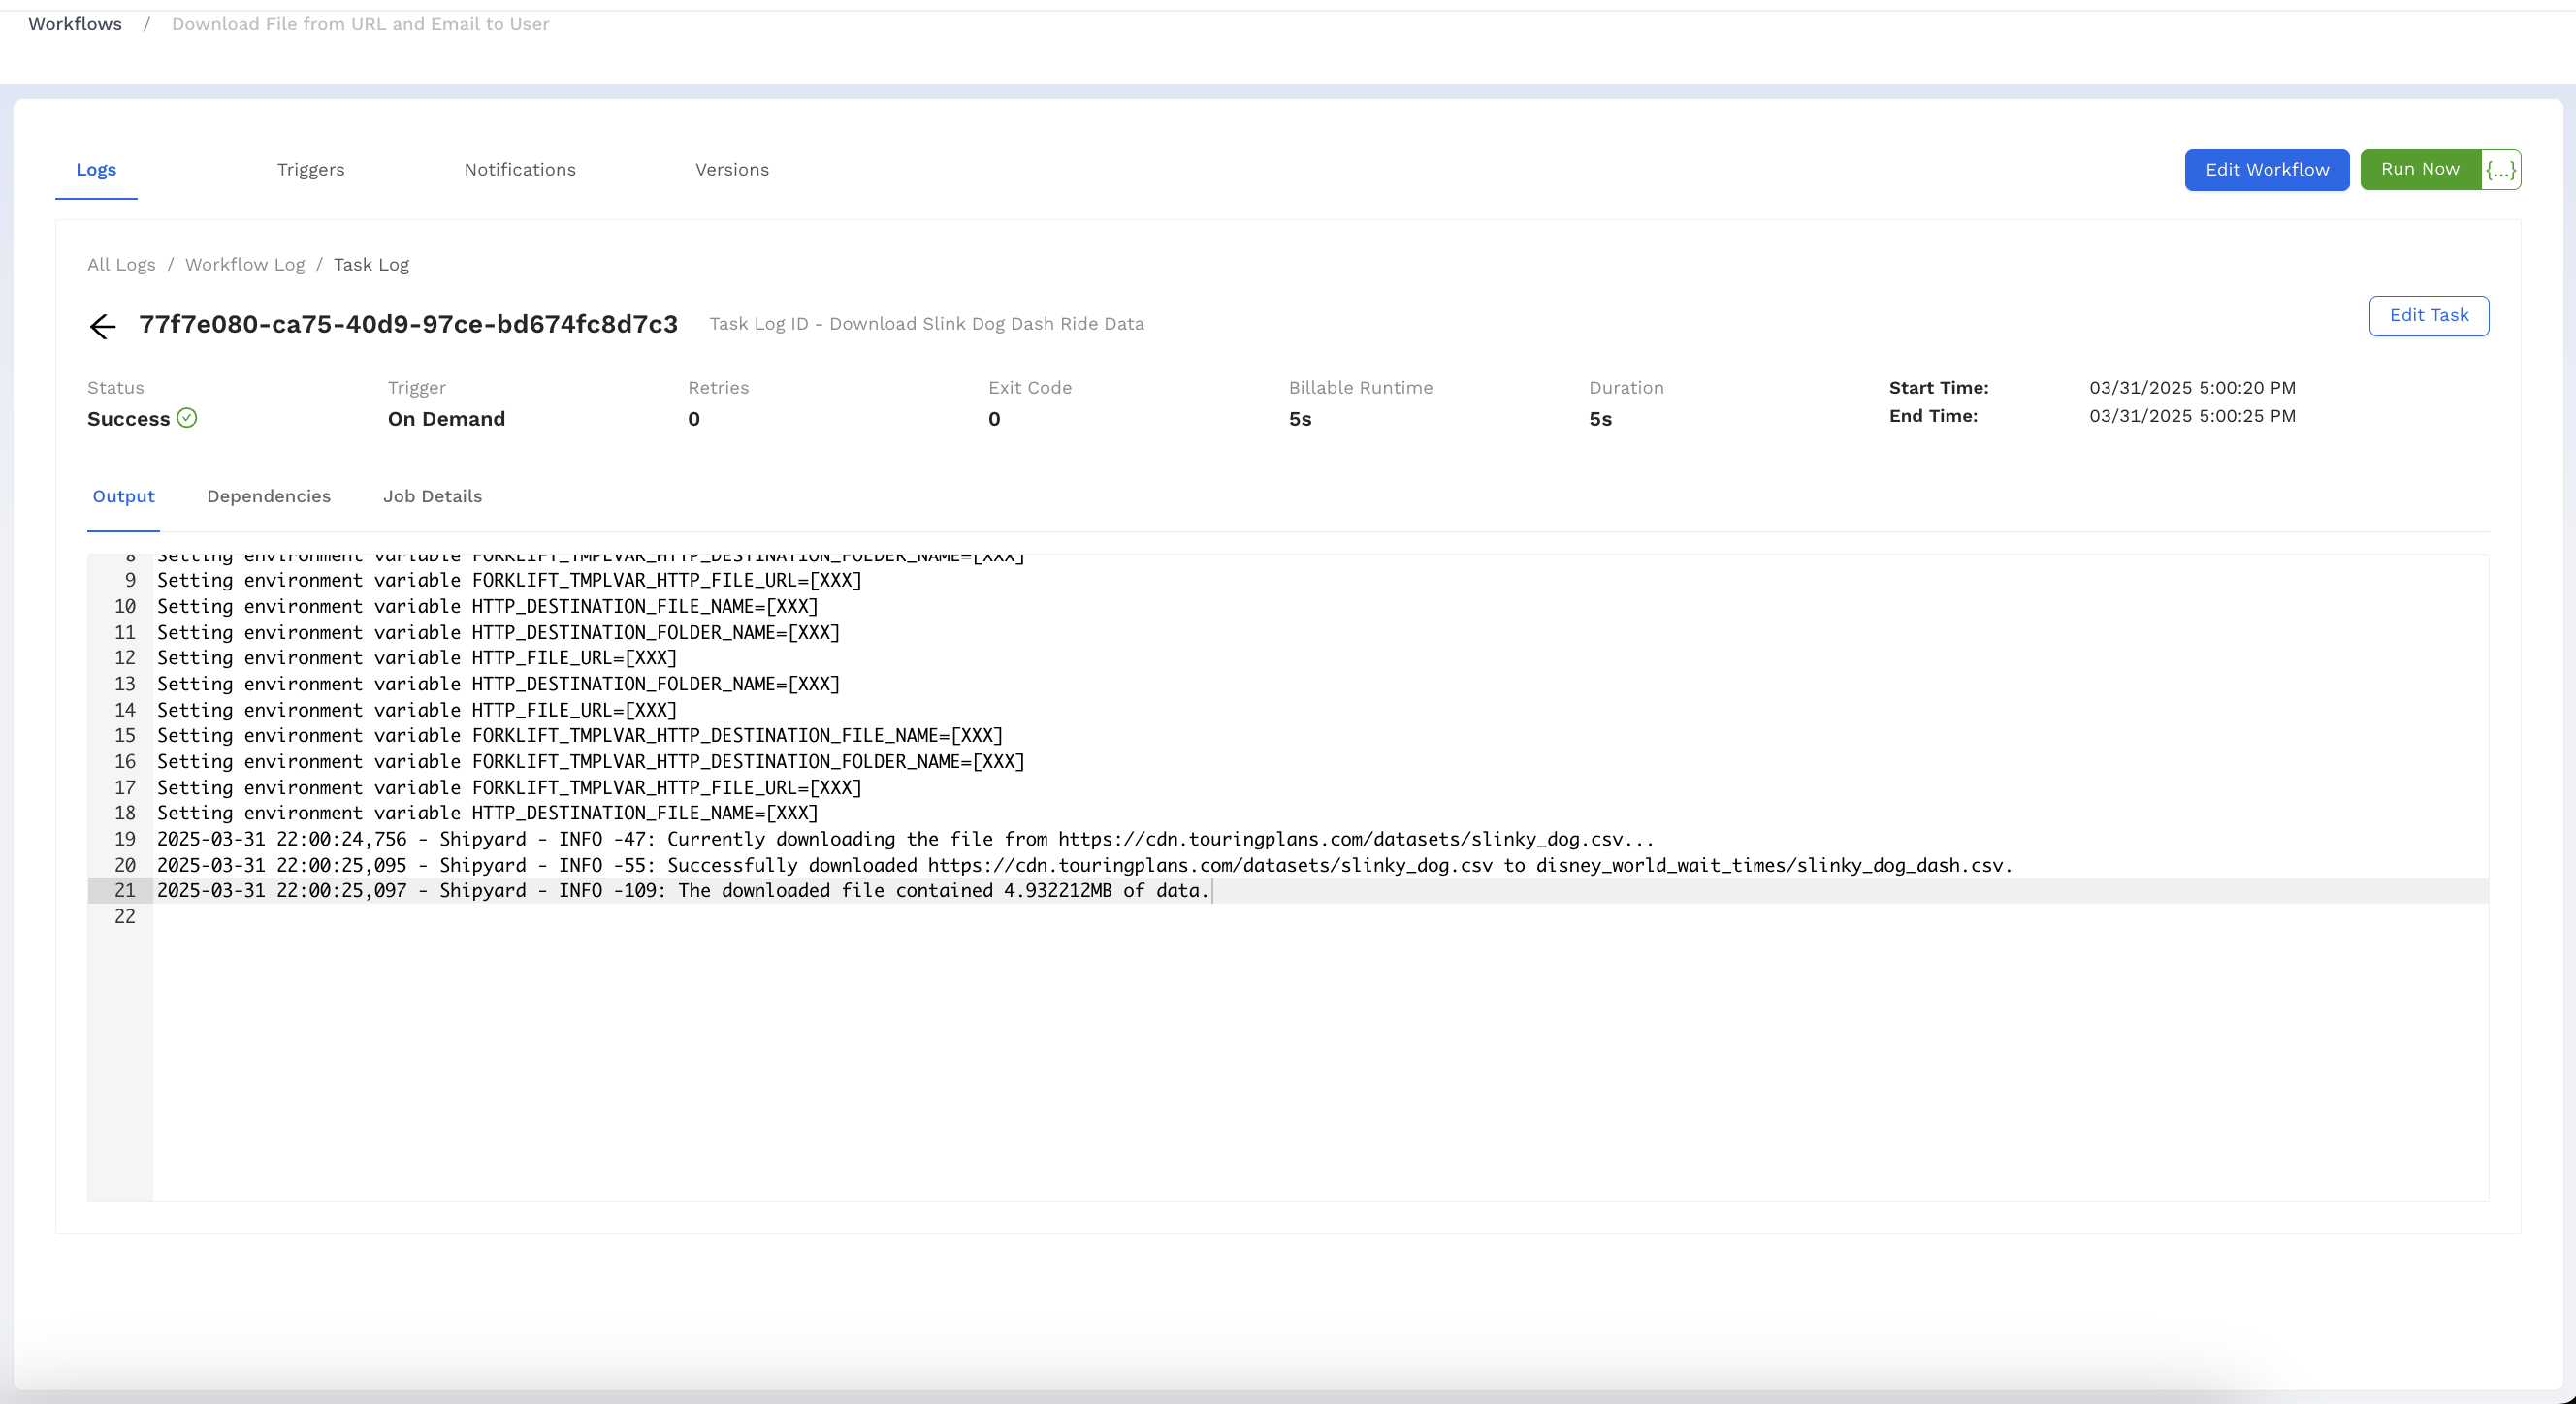
Successful Log Output
Go check your email. You should also see a message that contains the ride data.
Successful Email
:::tip success You’ve successfully created and verified a Workflow that shares files between two Tasks built with a Template! :::
A Workflow can always be run by clicking the Run Now button on the top right corner of the Workflow builder.