
Overview
This how-to articles covers how to create a new power audience in Alli Audiences.
Check if you have the ability to create power audiences here!
Instructions
The only difference between creating a Power Audience and creating a CRM List is that you write the SQL query yourself. If you are familiar with creating CRM Lists, this will be a breeze.
Before getting started, ensure that you know the attributes/columns and the types of columns that you want the power audience to have.
-
Navigate to Power Audiences.
-
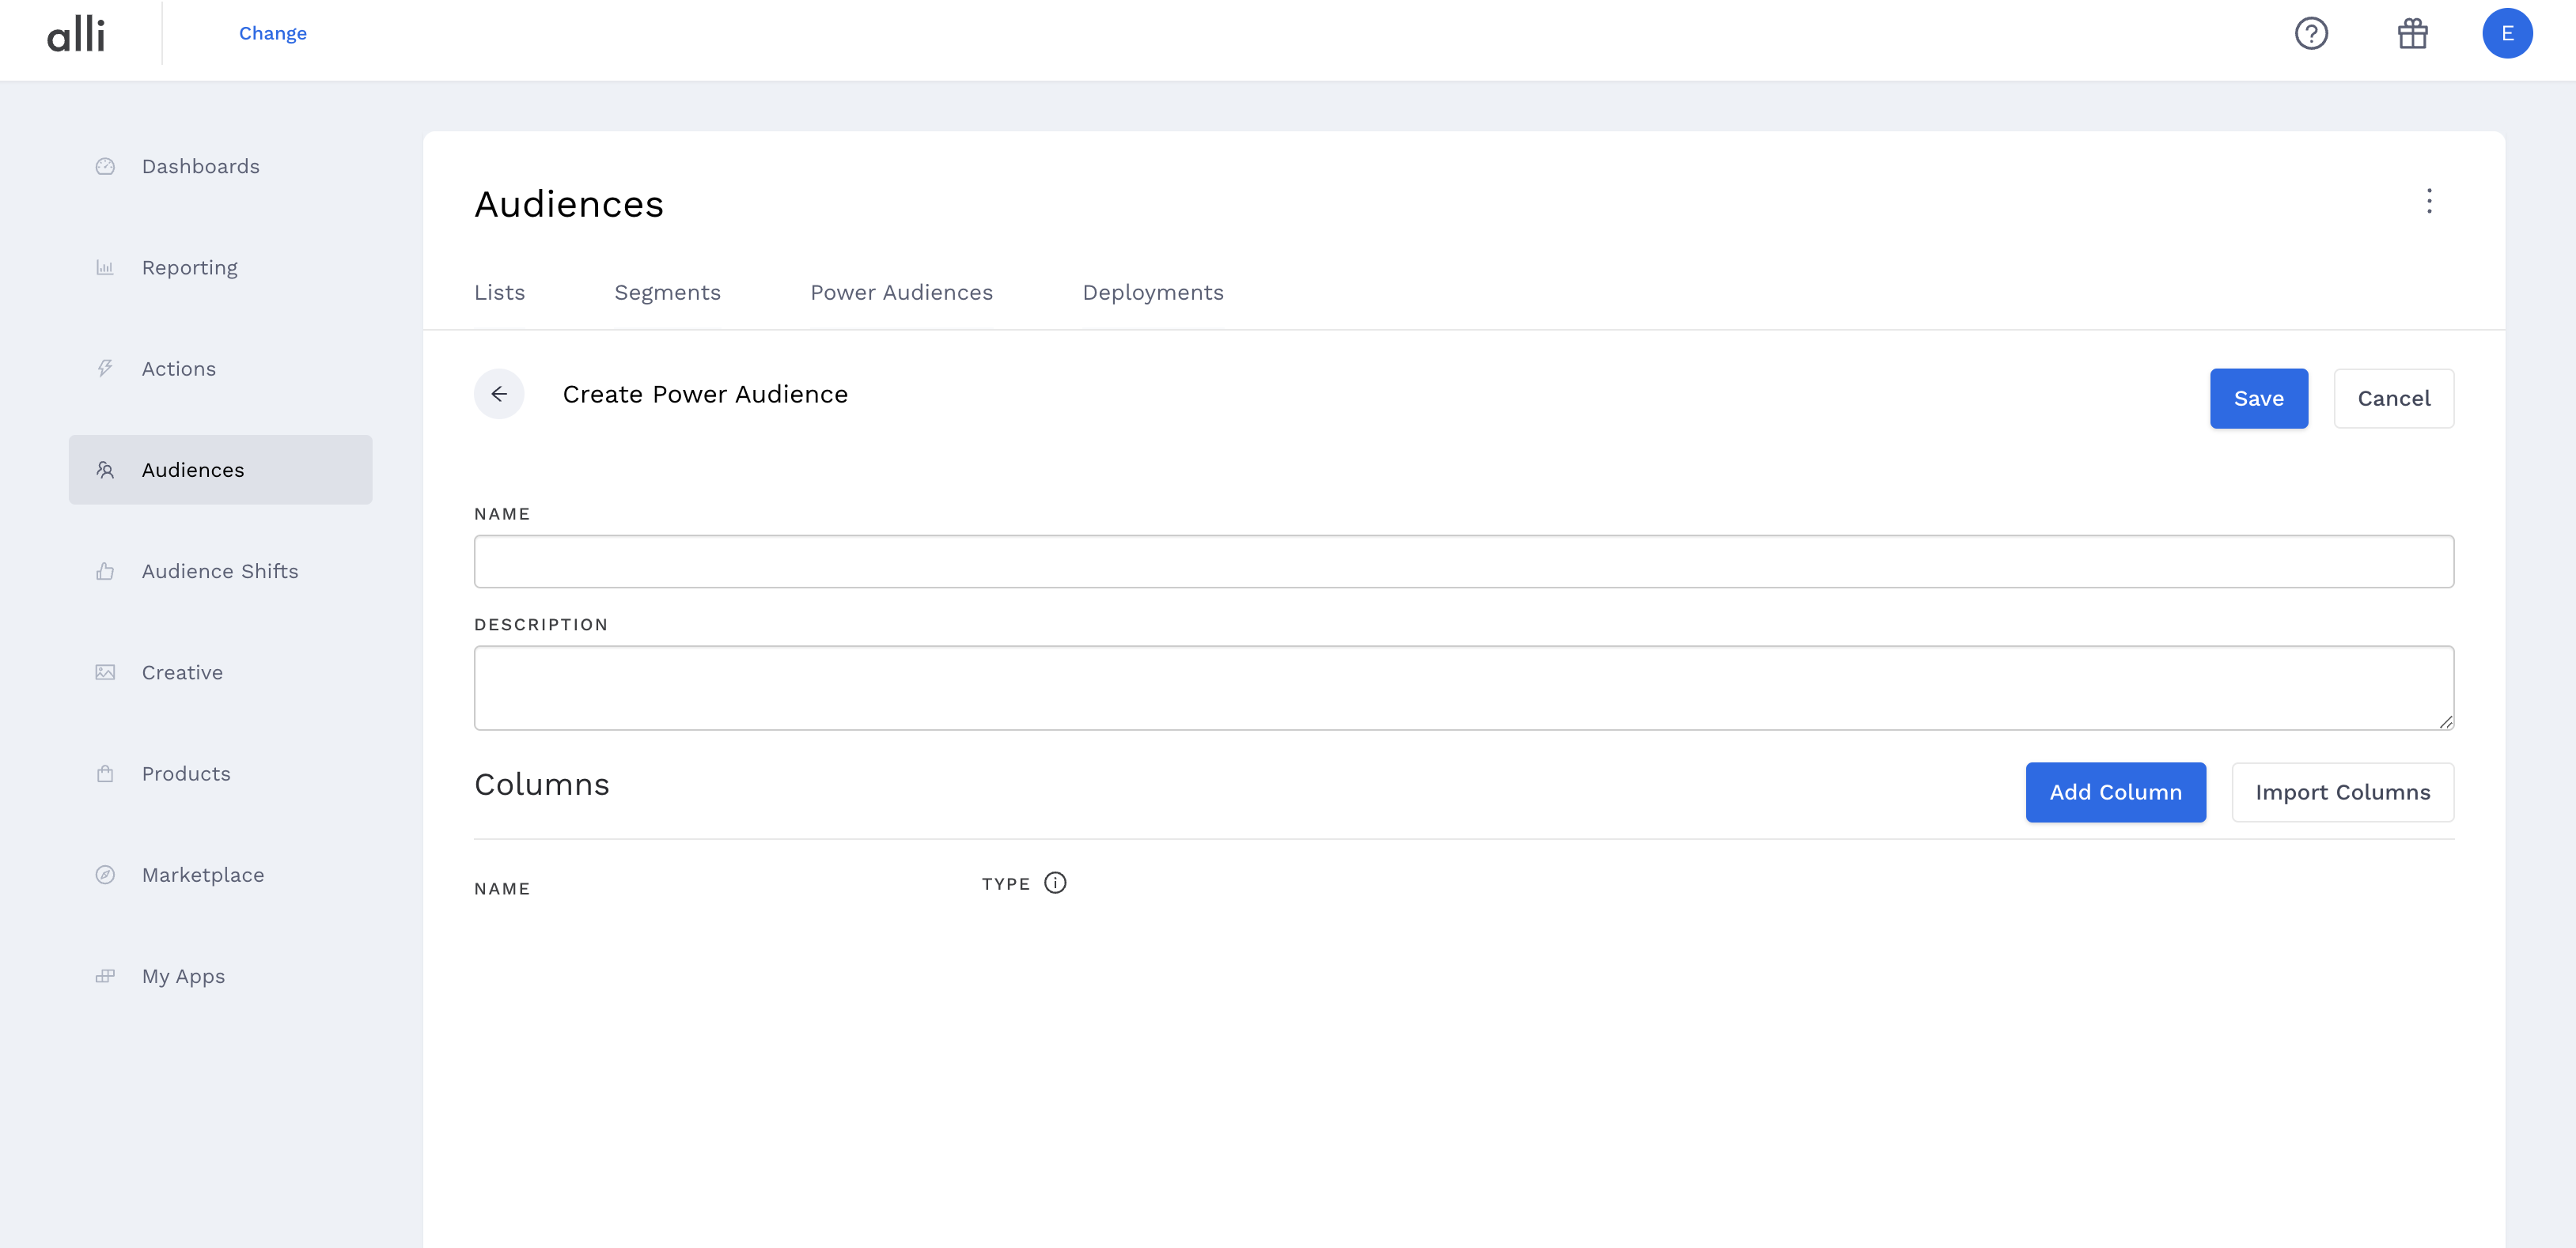
Click the Create New Power Audience button. Once you've done that, you should see a screen that looks similar to this:
-
Give your Power Audience a detailed name and description so that you and others can find it easily in the future and know what it does. The attributes are the columns you want your Power Audience to have.
-
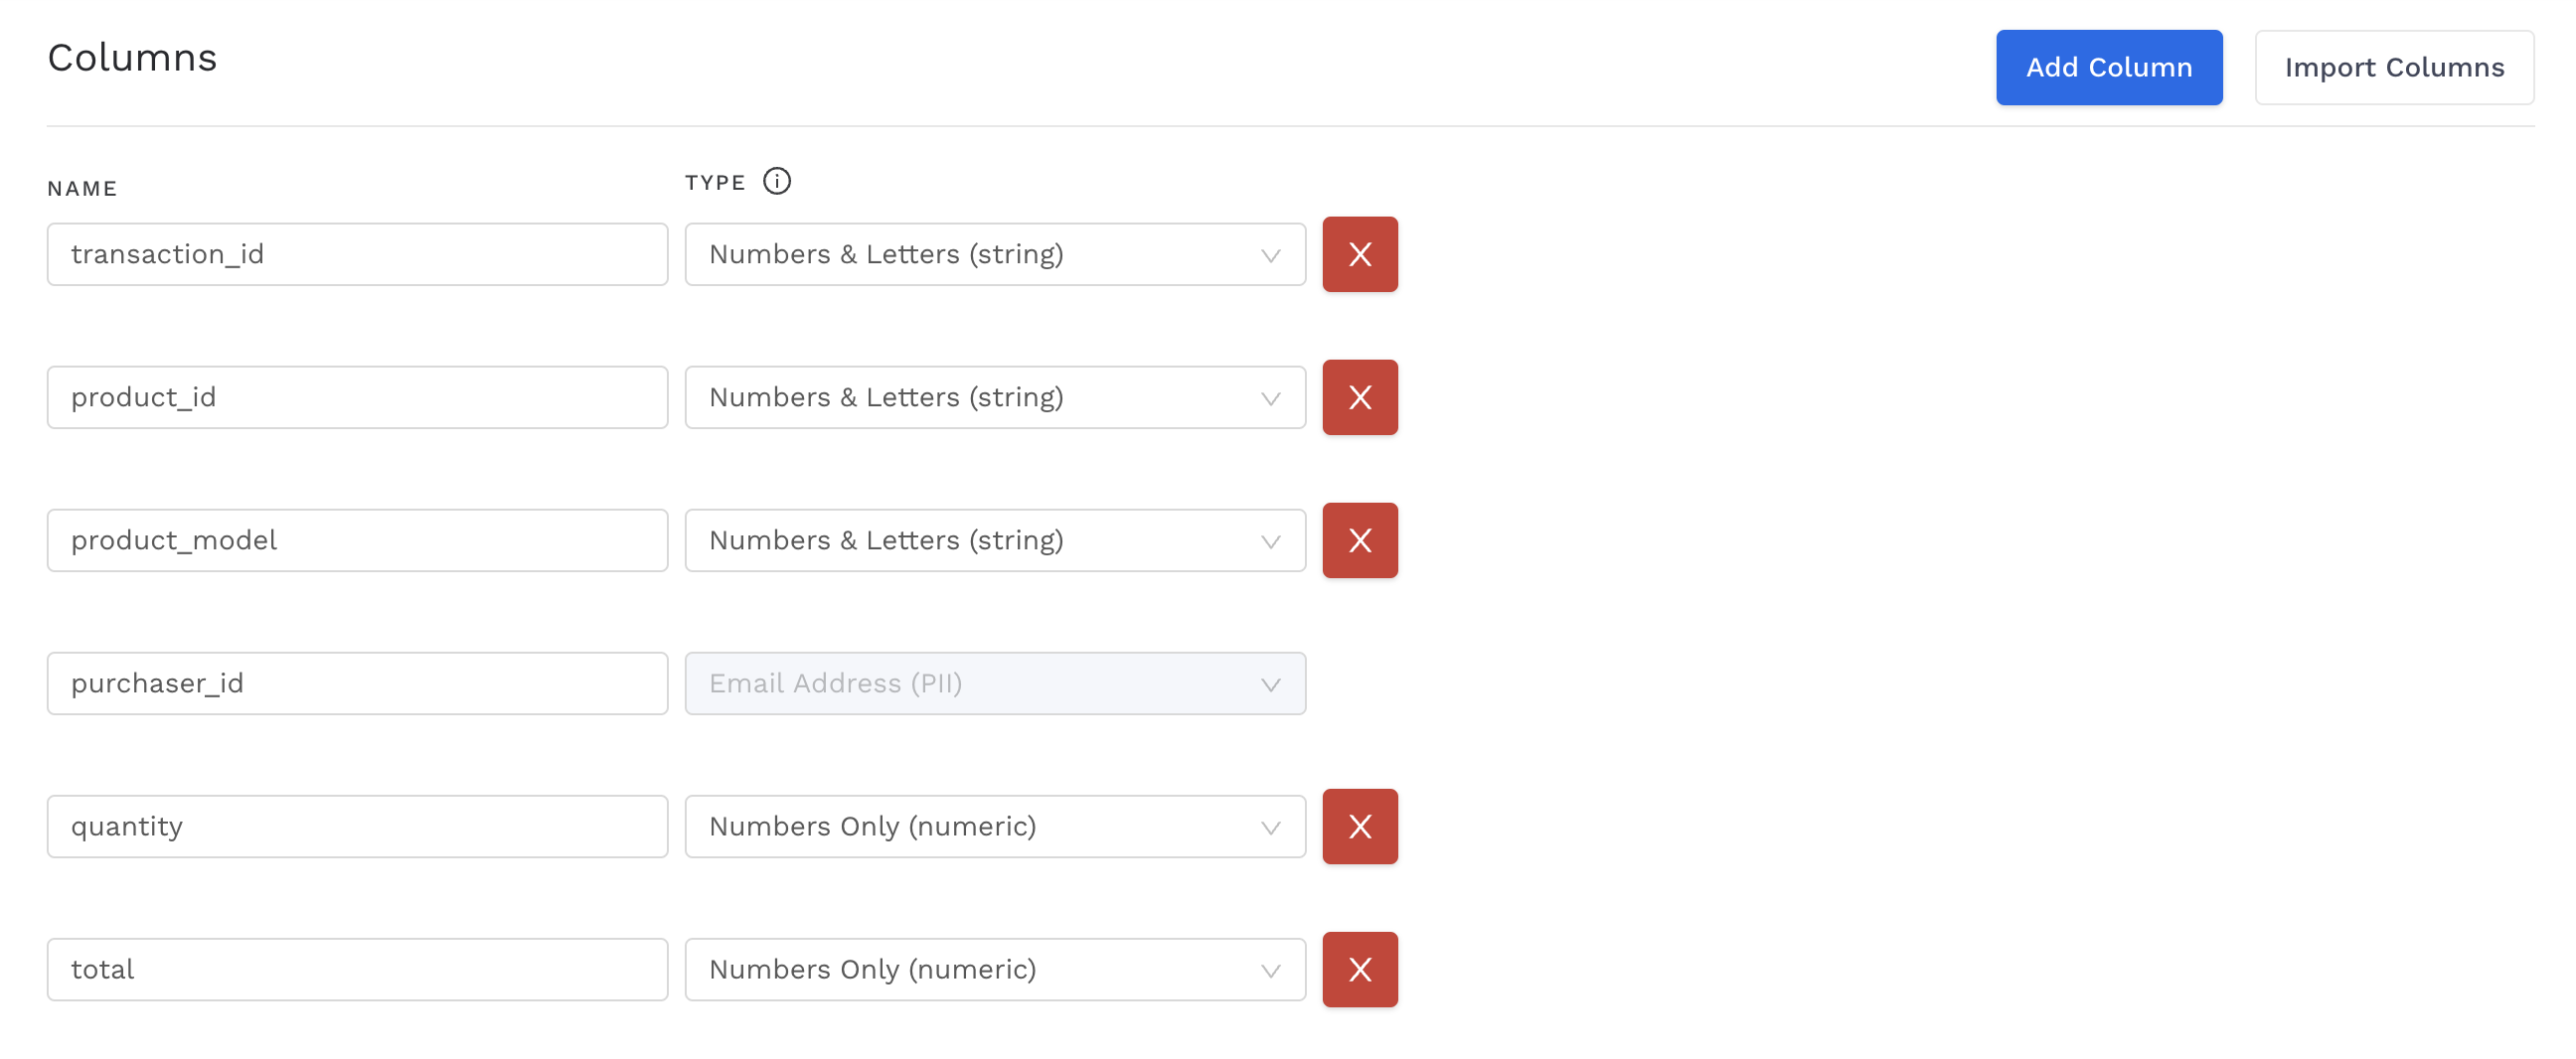
You can name your attributes whatever you want, but it's recommended that you leave the names the same as they appear in the CRM list you'll be creating this Power Audience from.
-
Attribute names cannot contain spaces.
-
Assign the Attributes appropriate types.
-
Most are pretty straightforward - is this field a date, number, or Numbers & Letters (string)?
-
For PII fields (email address, name, city, state, etc.), make sure you assign them the correct PII type.
-
-
When deploying this Power Audience, AMP will tell the destination platform that the Attribute of type "phone" is a phone number (for example) for matching purposes.
-
If no PII Attribute Types are specified or if they are specified incorrectly, the deployment will fail.
-
-
Click Save in the top right corner and you'll advance to the following page:
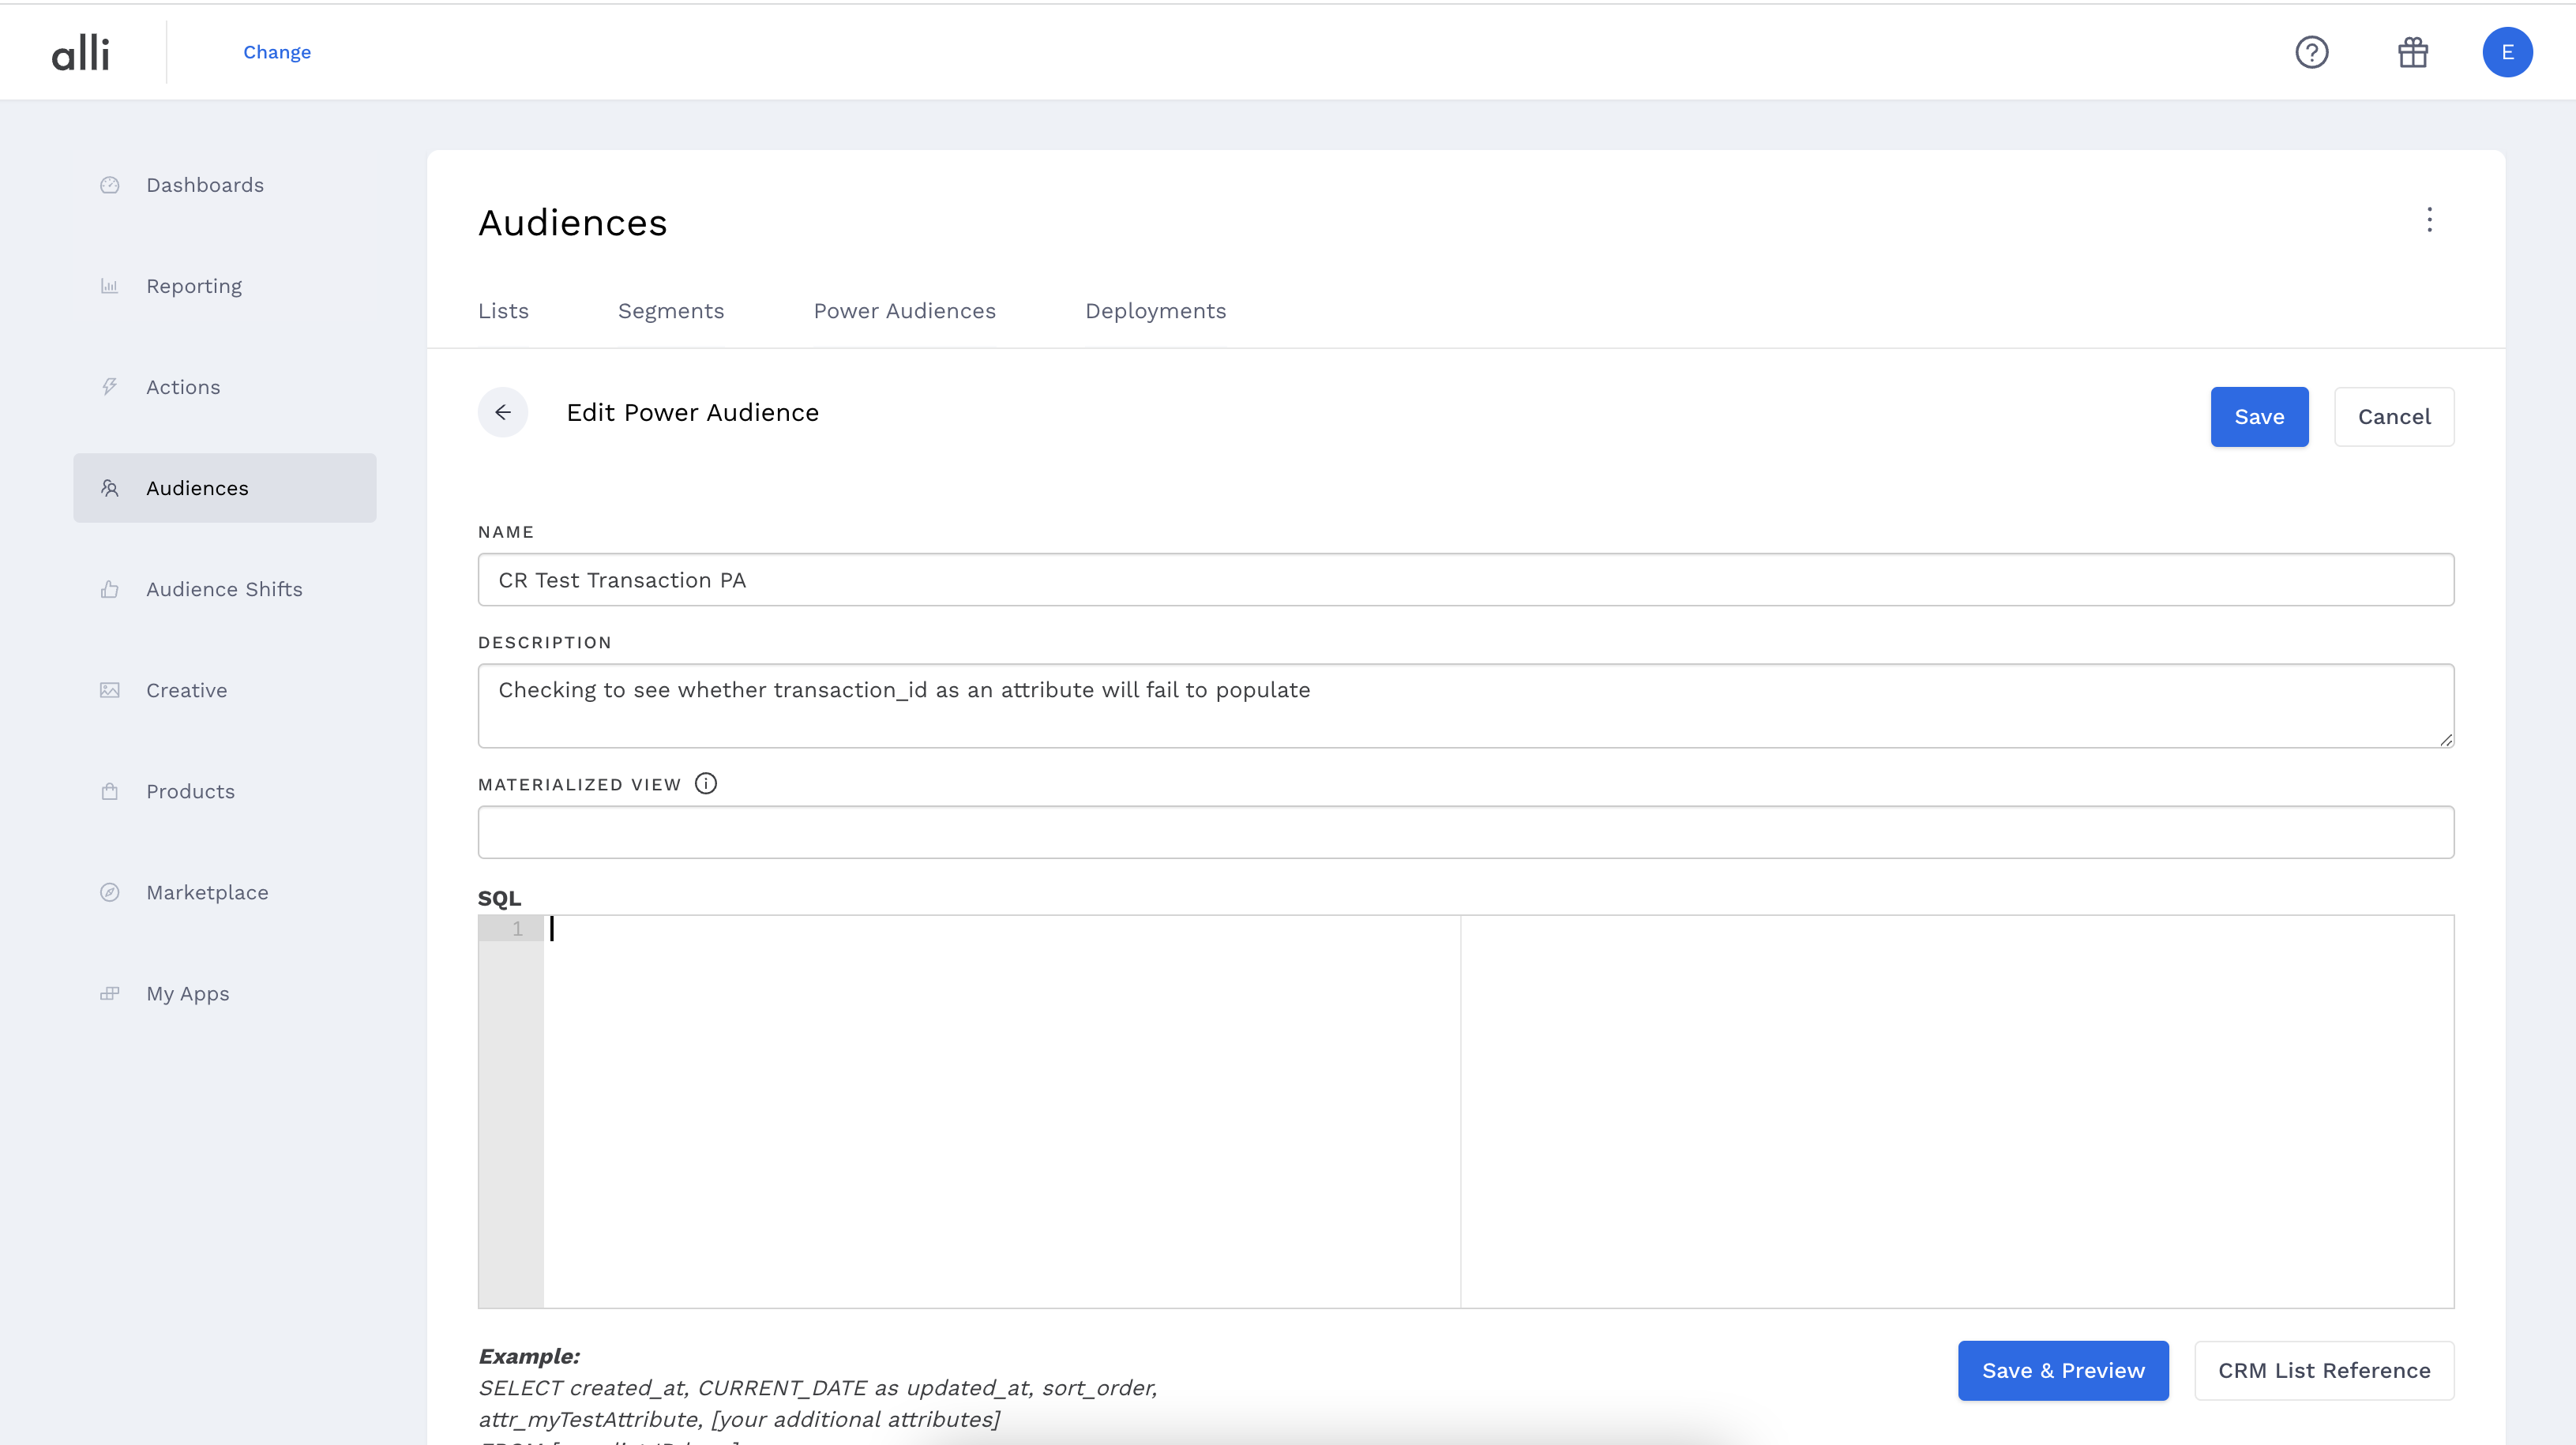
The first thing you will notice is that there is an enormous text box in the middle of your screen.
You can also edit your Power Audience name, description, and attributes. If you look closely, you will also notice the CRM List Reference button to the right underneath the SQL text box. Here is where you will write your custom SQL.
Next - learn how to write SQL for your power audience.