
Power Audiences Explainer
Custom SQL queries are used within Power Audiences, and there is no limitation to the amount of complexity that you can achieve. Because of this complexity, we have limited the ability to create and manipulate Power Audiences to specific people. If you do not have access to them, but wish to gain access, please reach out to an administrator.
Do I have access to create Power Audiences?
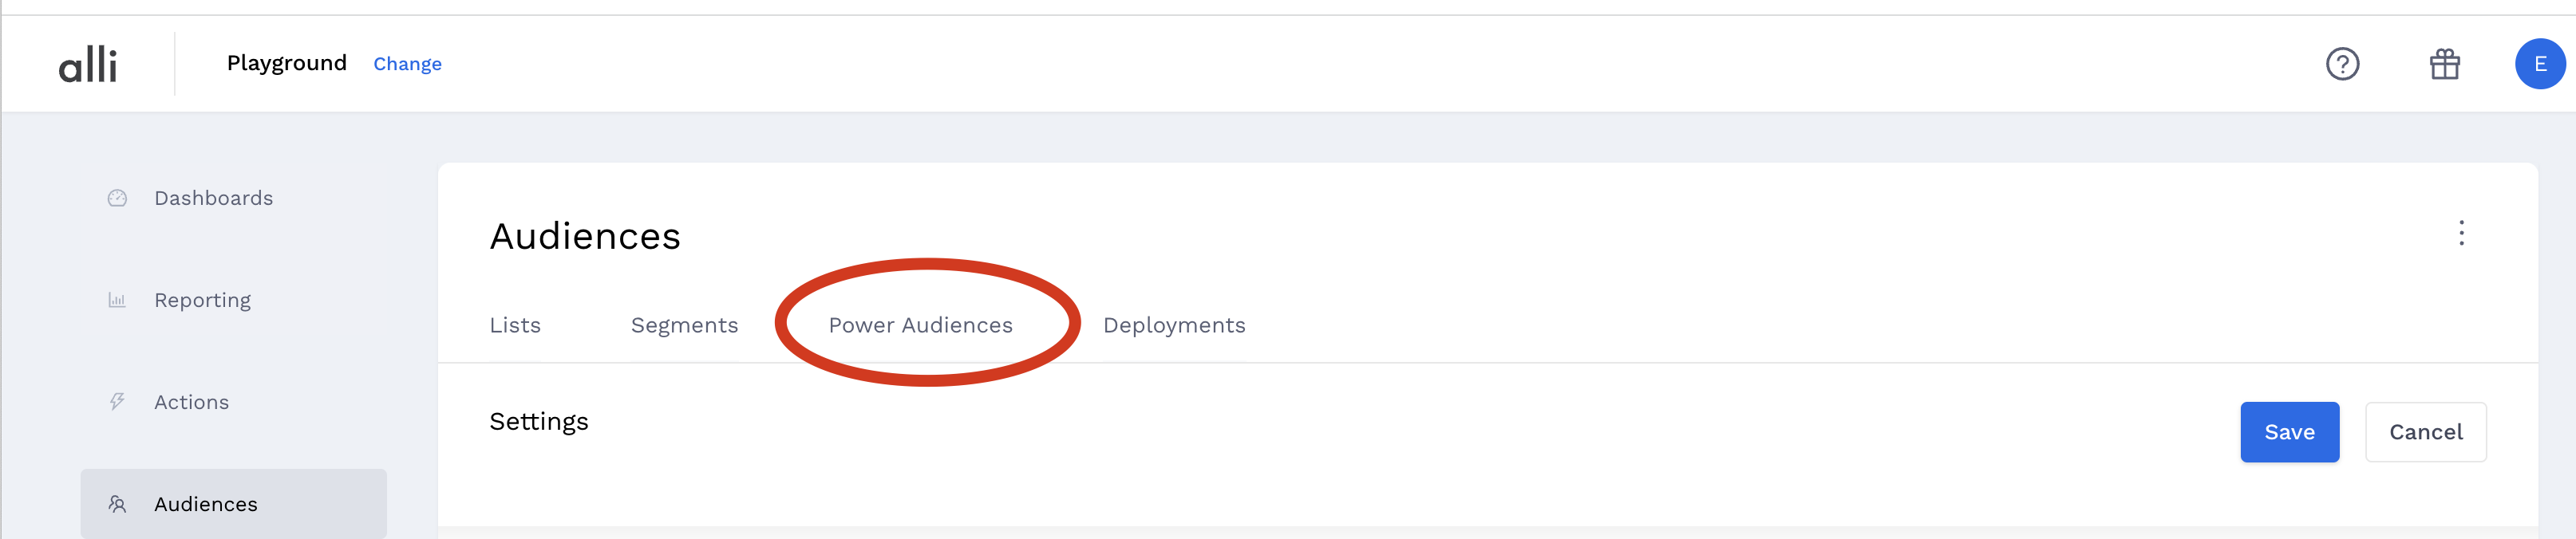
To determine whether or not you have access to create Power Audiences, click the Power Audiences left navigation menu option:
Now that you're in Power Audiences, look to the top right of your screen. You should see something similar to this:
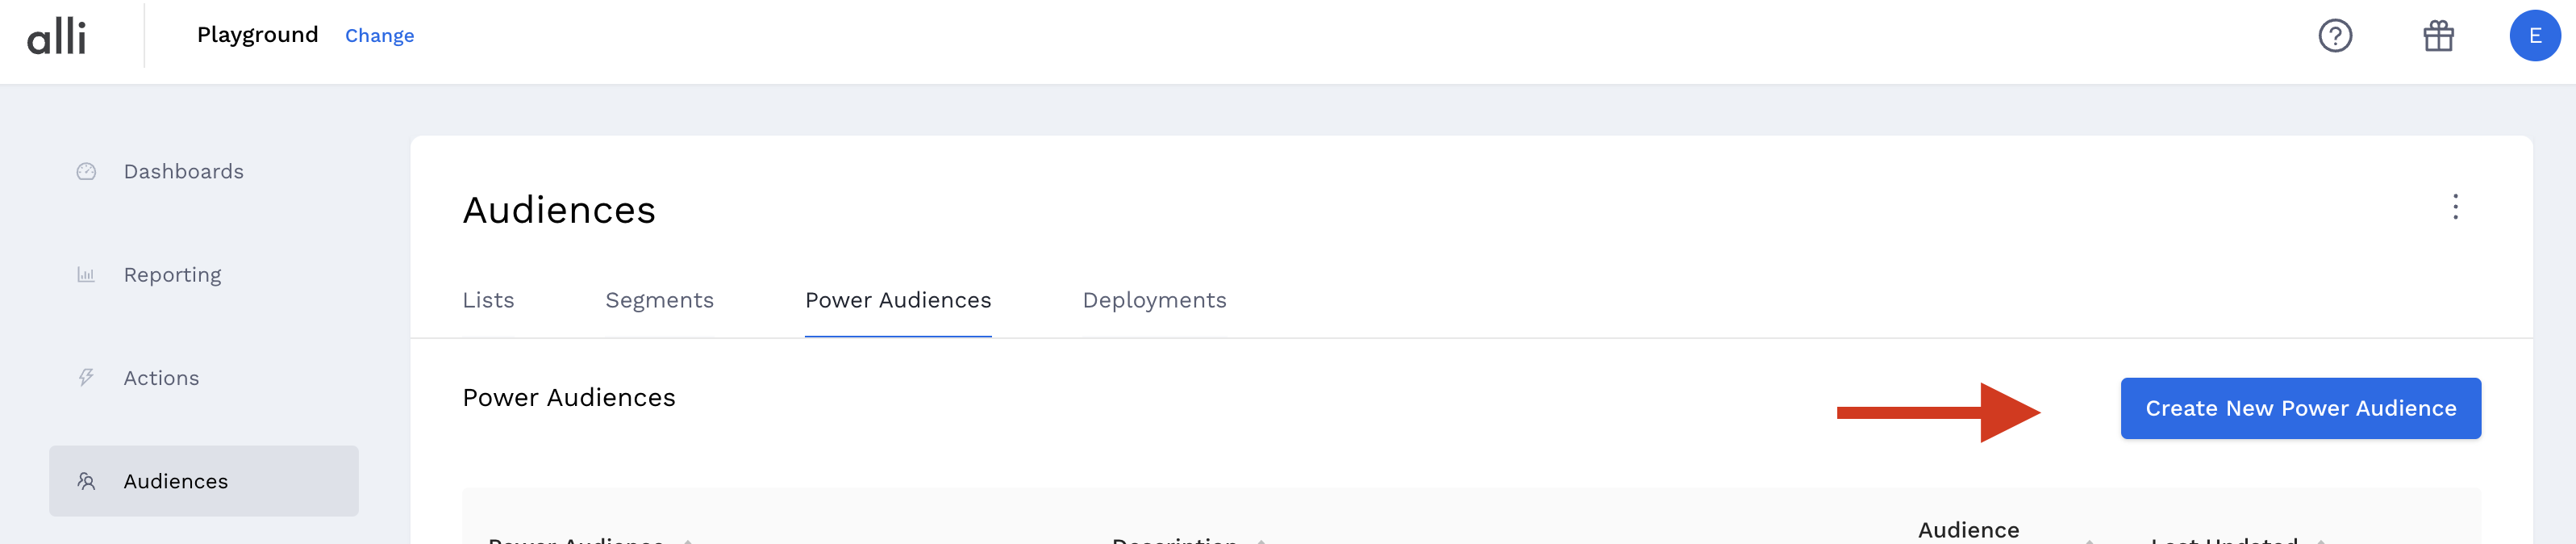
If you have a CREATE NEW POWER AUDIENCE button, then you have been granted access to create Power Audiences. If you don't see this button, the only access you have is to create a Segment based on a Power Audience.
Creating My First Power Audience
Let's step through the process of creating our first Power Audience. But first, let's make note that the only difference between creating a Power Audience and creating a CRM List is that you write the SQL query yourself.
If you are familiar with creating CRM Lists, this will be a breeze.
Similar to CRM Lists, Power Audiences are stored and accessed on a client level.
So the first thing you must do is select the client for which you would like to create the Power Audience. Once you have done that, the following steps apply.
For these examples, I have chosen the Cole Haan client.
Click the CREATE NEW POWER AUDIENCE button. Once you've done that, you should see a screen that looks similar to this:
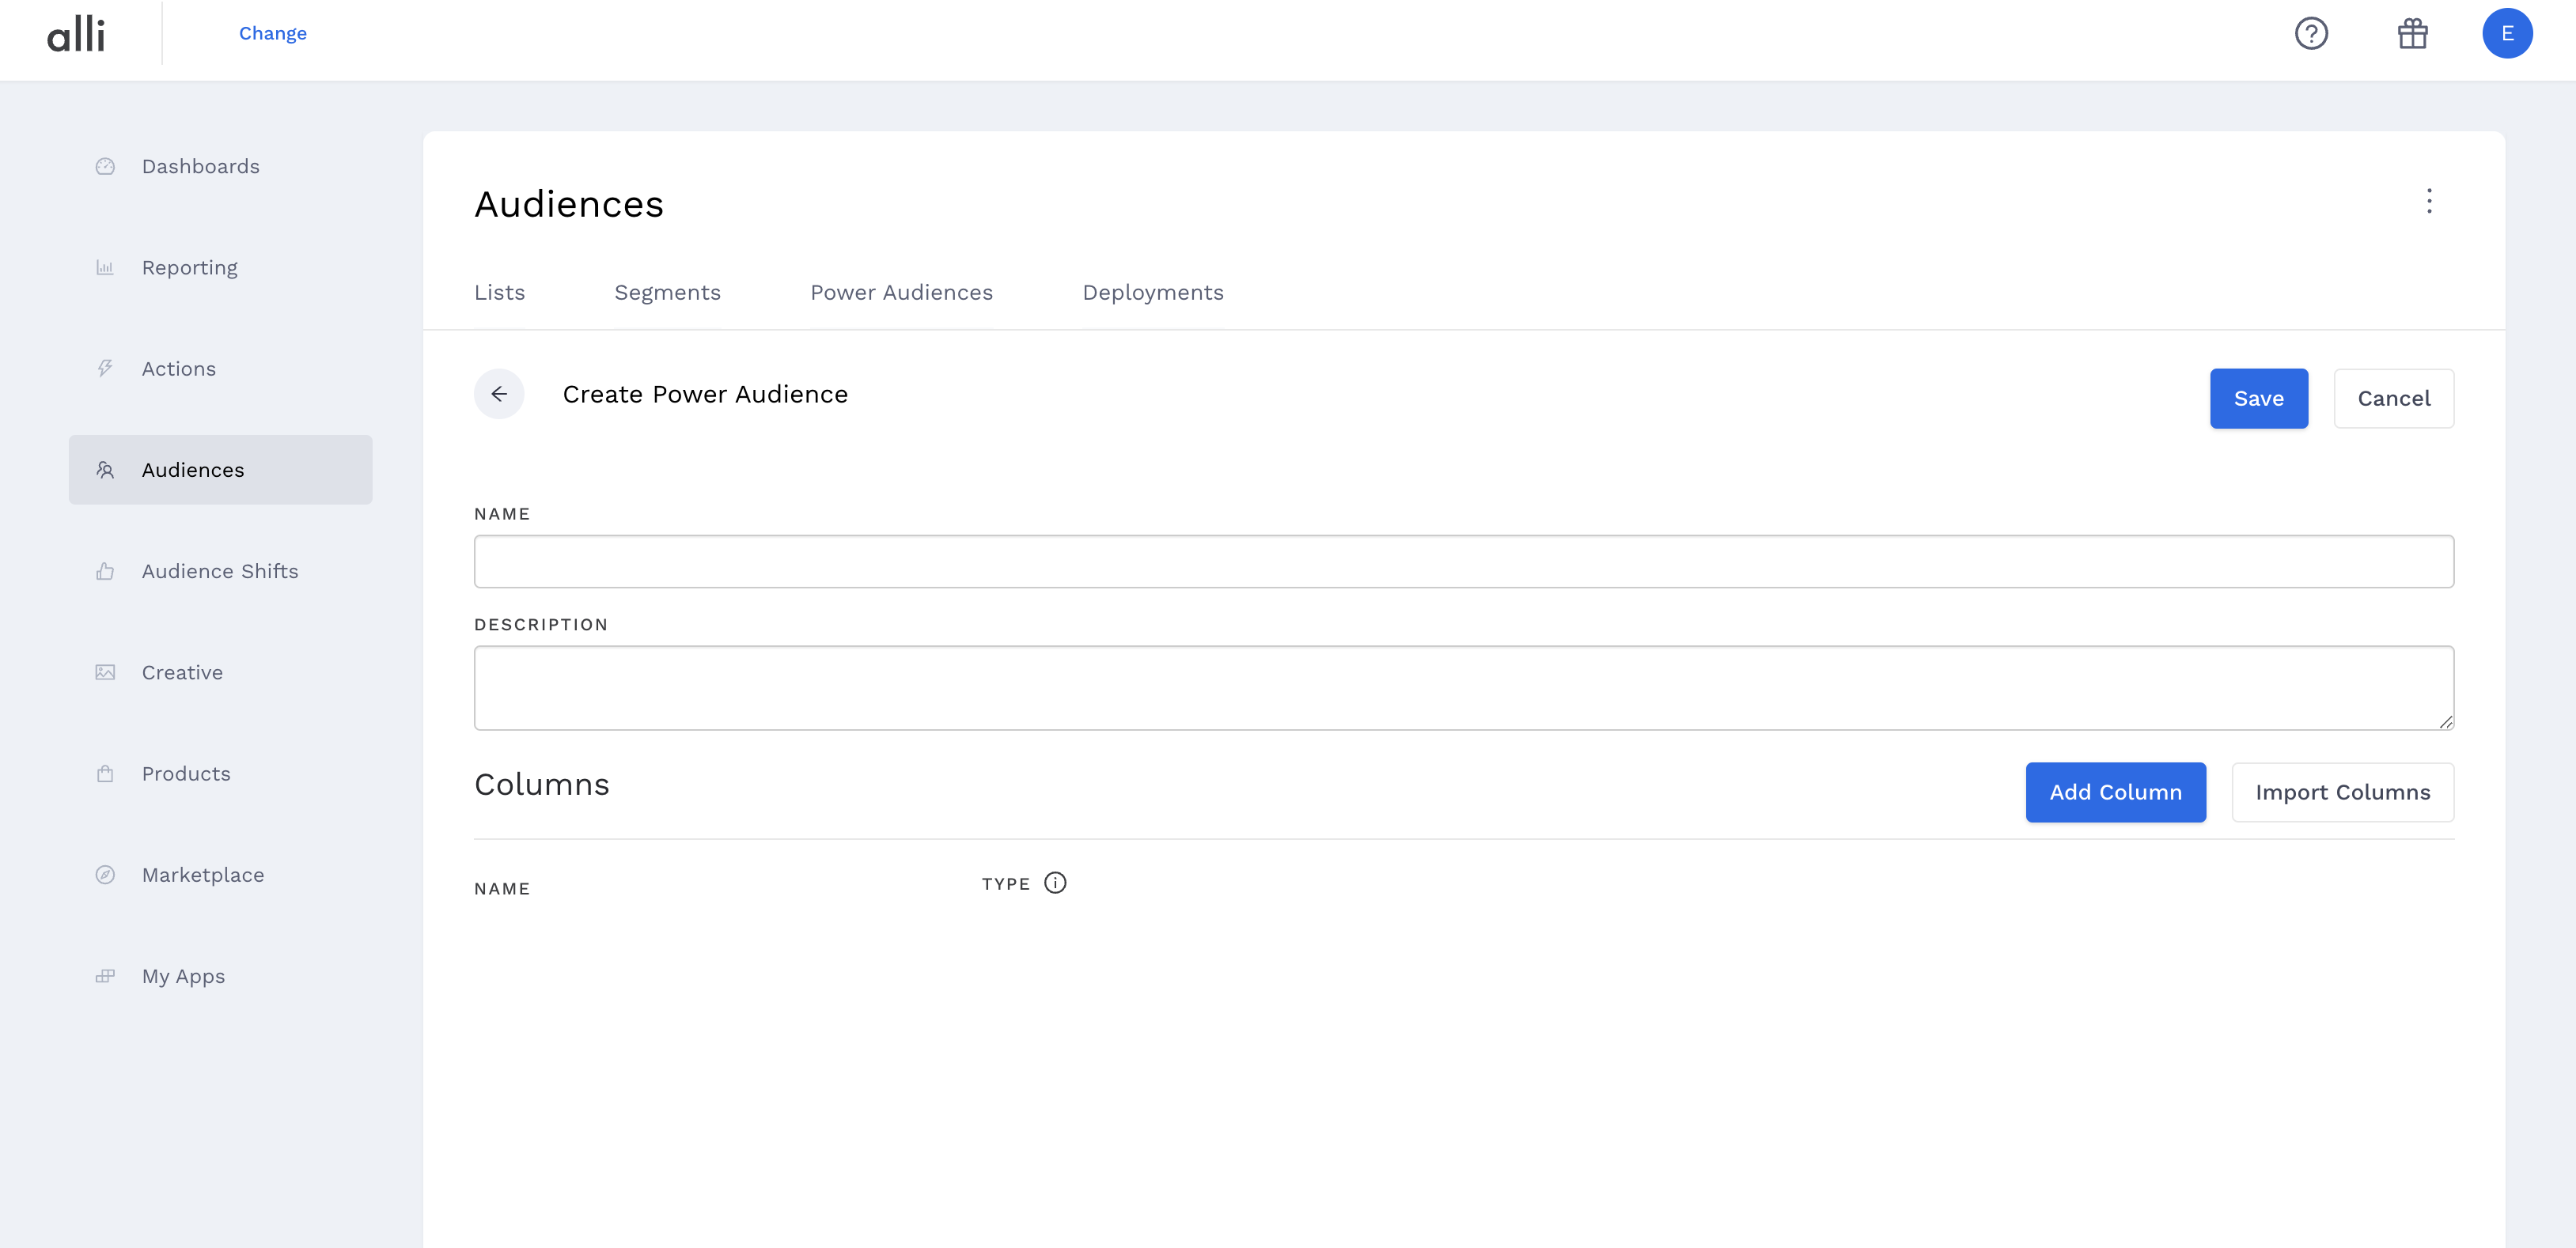
Give your Power Audience a detailed name and description so that you and others can find it easily in the future and know what it does. The Attributes are the columns you want your Power Audience to have.
You can name your Attributes whatever you want, but it's recommended that you leave the names the same as they appear in the CRM list you'll be creating this Power Audience from.Attribute names cannot contain spaces.
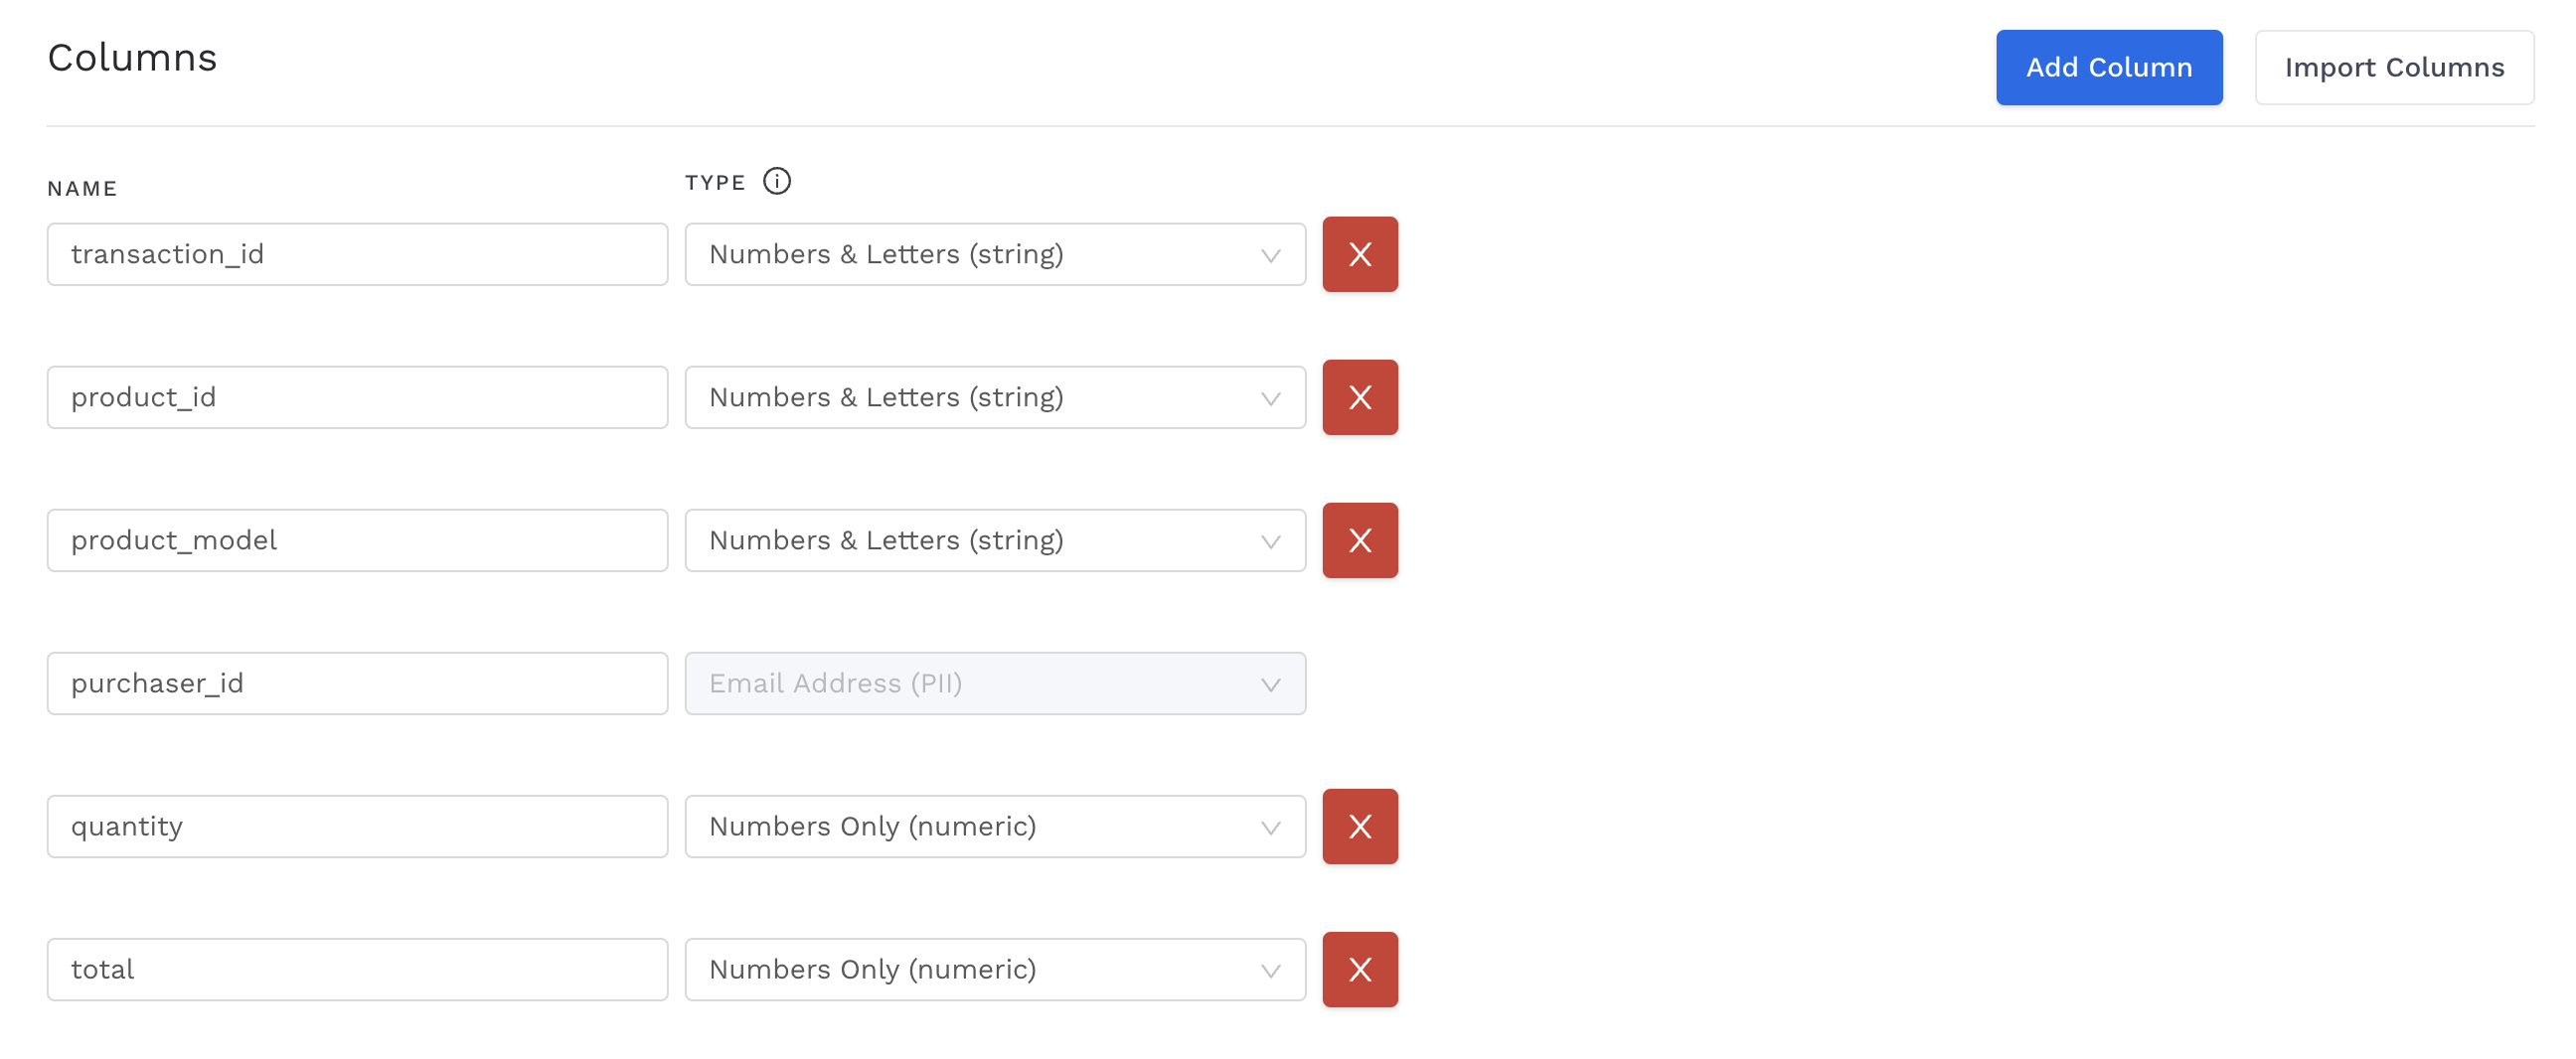
Assign the Attributes appropriate types. Most are pretty straightforward - is this field a date, number, or Numbers & Letters (string)? For PII fields (email address, name, city, state, etc.), make sure you assign them the correct PII type. When deploying this Power Audience, AMP will tell the destination platform that the Attribute of type "phone" is a phone number (for example) for matching purposes. If no PII Attribute Types are specified or if they are specified incorrectly, the deployment will fail.
Click Save in the top right corner and you'll advance to the following page:
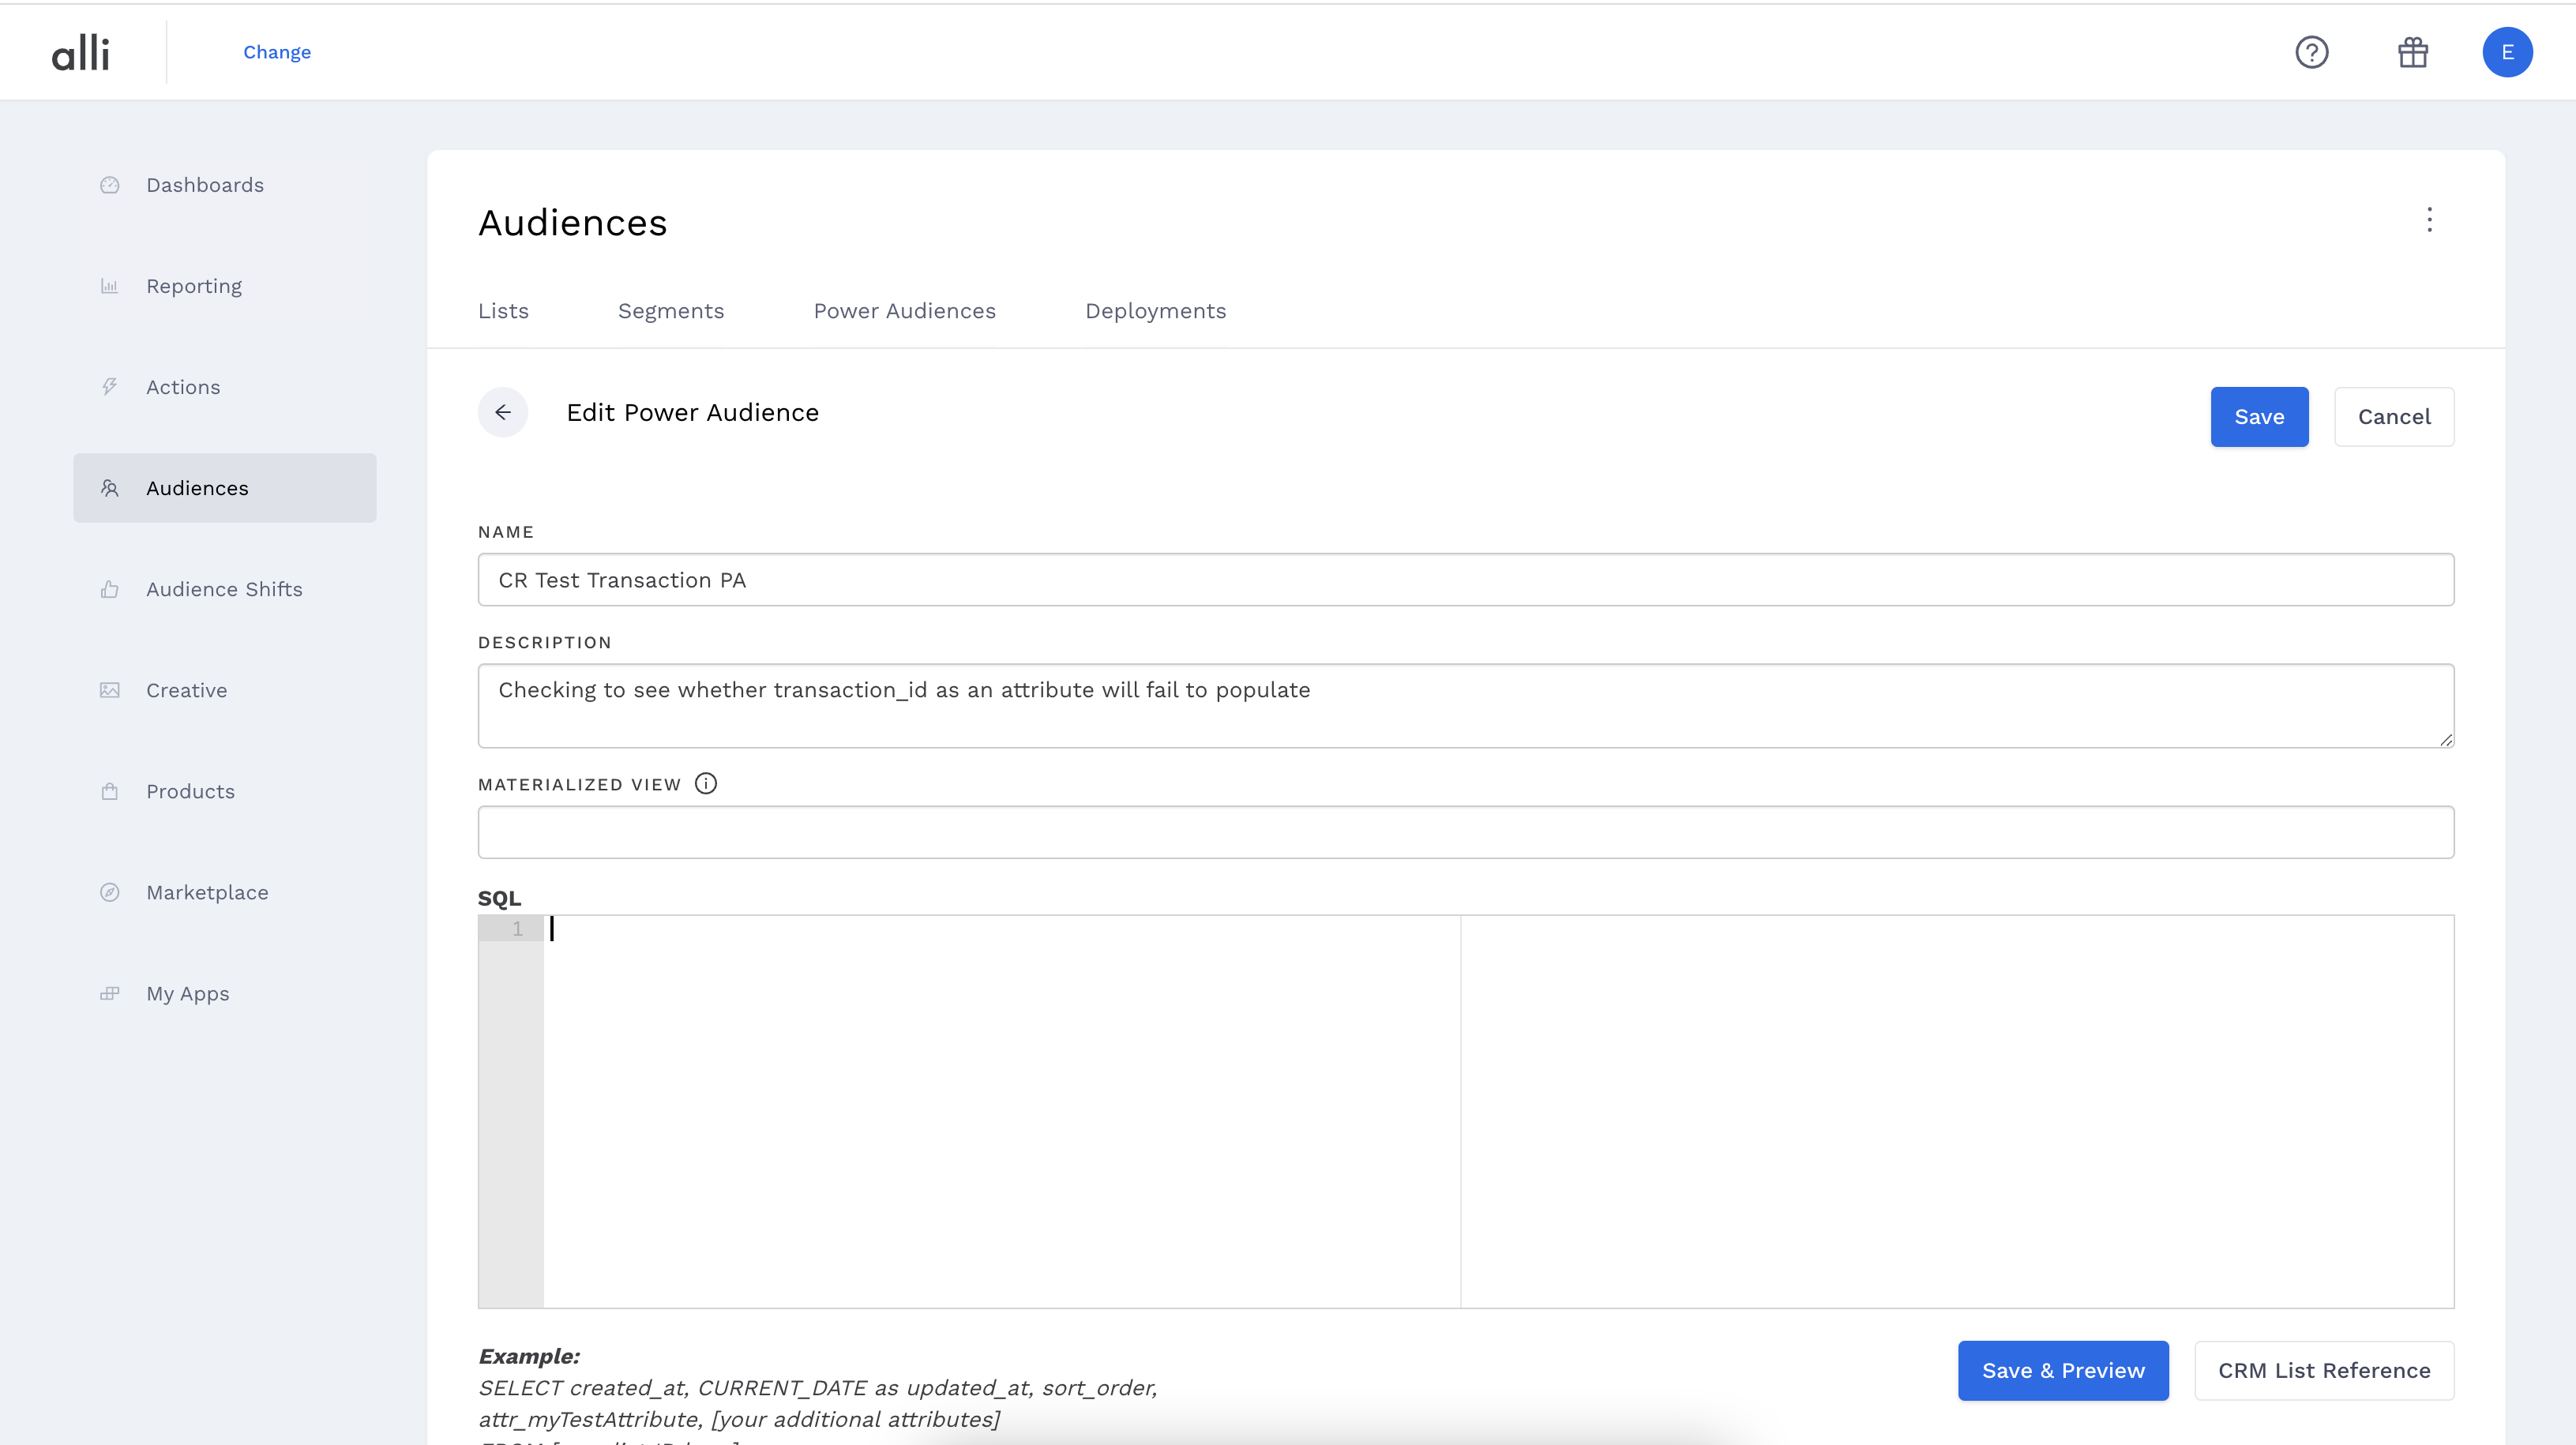
The first thing you will notice is that there is an enormous text box in the middle of your screen.
You can also edit your Power Audience name, description, and attributes. If you look closely, you will also notice the CRM LIST REFERENCE button underneath the SQL text box.
CRM List Reference Button
You probably have a couple initial questions running through your head right now, such as: Where is the audience data stored? Or, how do I know which table stores which audience data? Enter stage left, the CRM LIST REFERENCE button that we notice in the above screenshot. When clicked, this button will pop up a window that displays your client's CRM Lists, and the tables in which their respective data is stored. Go ahead and click the button. You should see something similar to this:
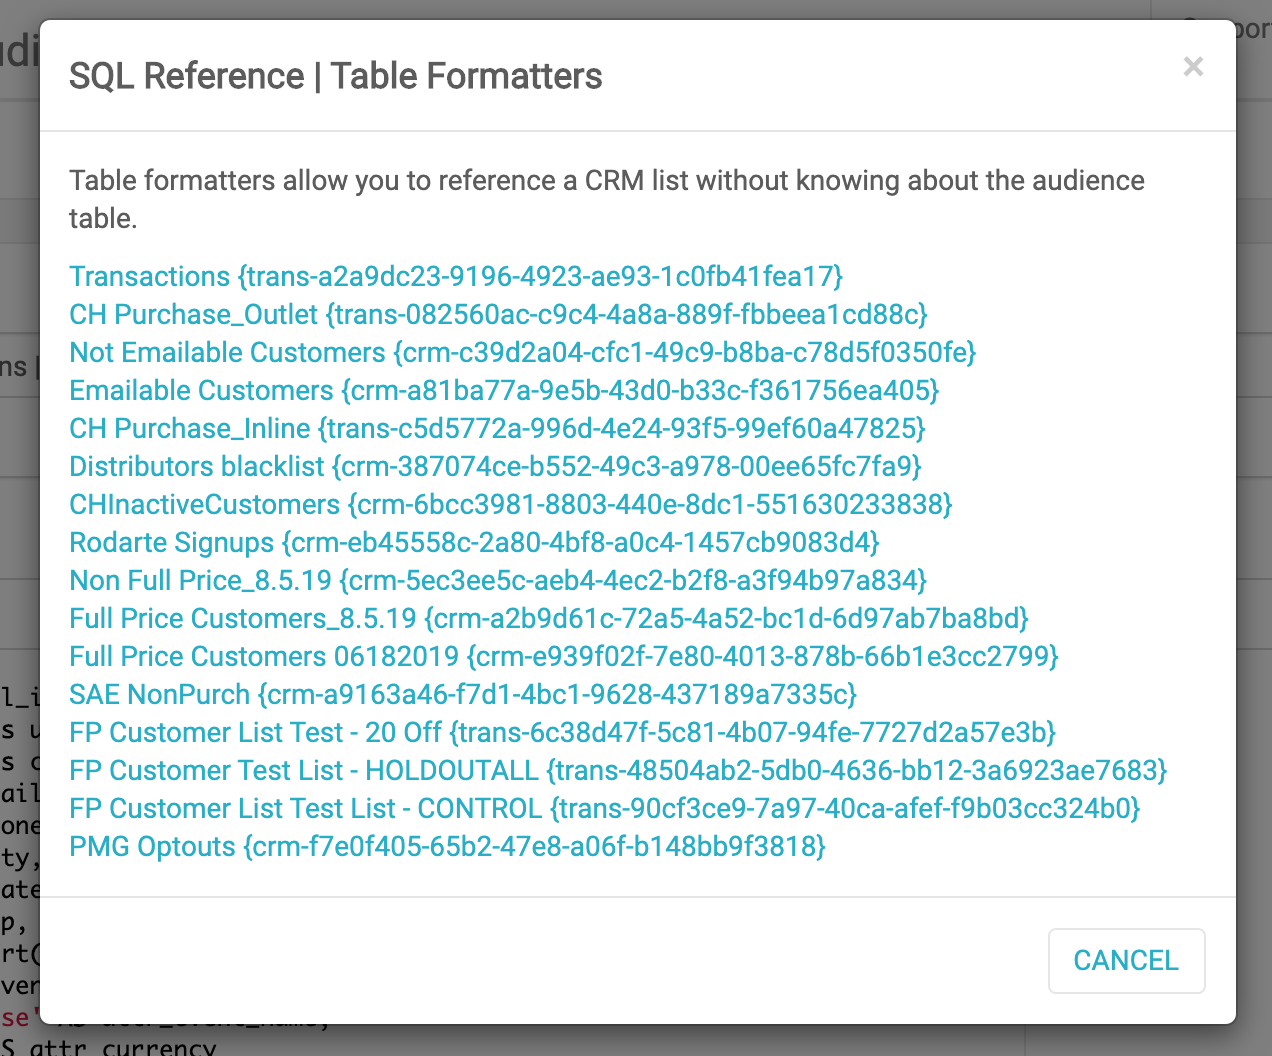 |
What we see in this menu is actually two parts. The first part is the CRM List name, denoted by all information prior to each left brace.
In the above screenshot, we see the following CRM Lists:
Transactions
CH Purchase Outlet
Not Emailable Customers
...
The second part of each CRM List is the ID of the database table in which the respective data is stored. The table ID starts at the left brace and ends with the right brace.
In the above screenshot, we see the following database tables:
{trans-a2a9dc23-9196-4923-ae93-1c0fb41fea17}
{trans-082560ac-c9c4-4a8a-889f-fbbeea1cd88c}
{crm-c39d2a04-cfc1-49c9-b8ba-c78d5f0350fe}
...
If we wish to query the Transactions List, we would use the following table: {trans-a2a9dc23-9196-4923-ae93-1c0fb41fea17}. Copy/Paste that ID into the SQL text box.
Writing the SQL Query
Let's use the Transactions List database table from above. The simplest SQL query we could write is one that selects all columns from a single table.
Here is what ours will look like:
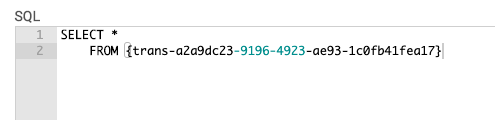
In this query, you will notice that we place the entire CRM List Reference database table directly into the query. We will use this style of table formatting for all Power Audience queries. Go ahead and write your query similar to the above query, with the only change being that you might be querying a different CRM List table.
Power Audience SQL Best Practices
Power Audience SQL differs from the SQL you're used to writing in the Data Warehouse or BigQuery. Here are some things to be aware of:
Do not end your query with a semi-colon.
When you select columns, you must pre-pend attr_ to it. For example, if the column you want to select is called dept_description, you must select it in the SQL as attr_dept_description.
In addition to the Attributes you chose for your Power Audience, you must select the columns internal_id, created_at, and NOW() AS updated_at. The backend database expects these columns to exist, so they have to be there.
Column names are case sensitive. Additionally, If the column you want to select has any capital letters, you must put it in double quotes. For example, if the column name you want to select is named EMAIL_ADDRESS, you must enter it in the SQL as "attr_EMAIL_ADDRESS", including the quotes.
Here is an example of a properly formatted Power Audience query:
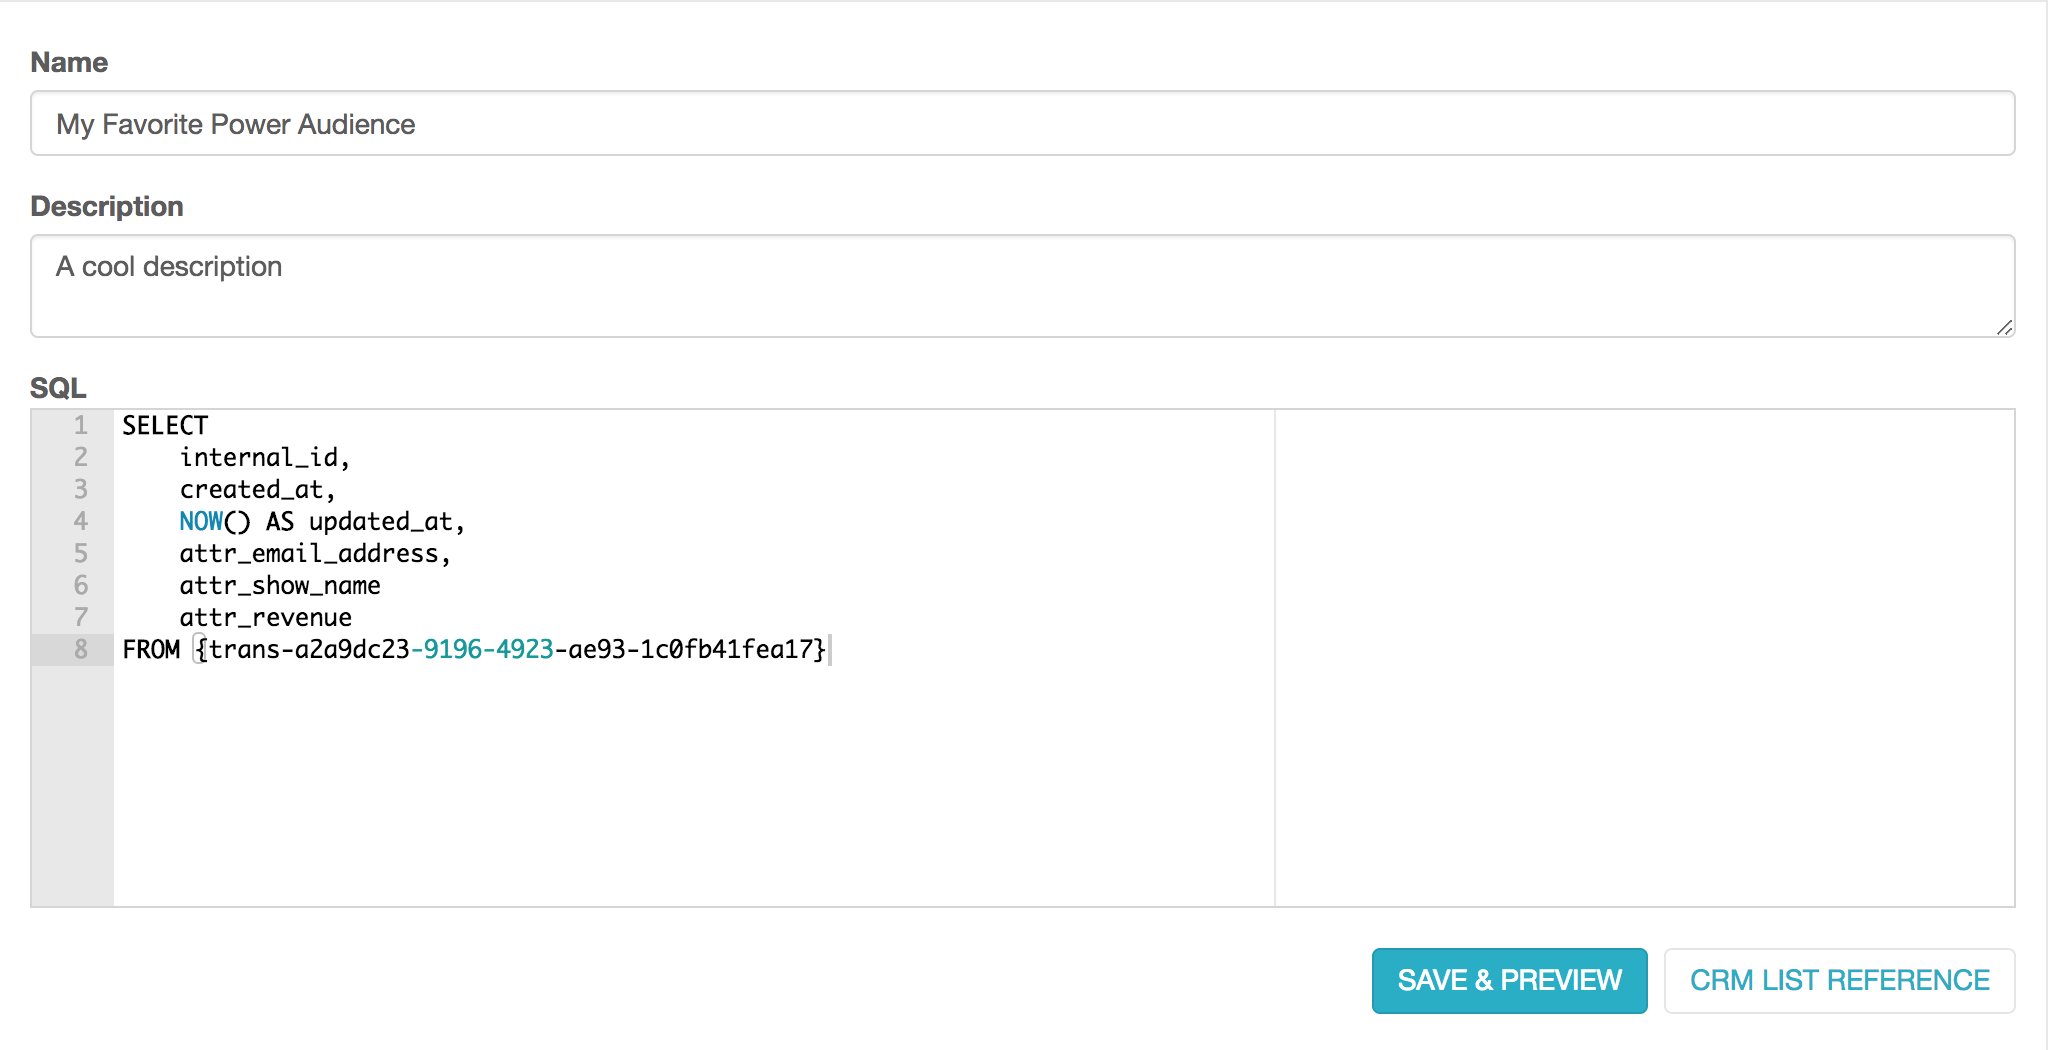
Save your Power Audience, and it's ready to be used. That's all there is to it. You can deploy it and also create segment filters off of a Power Audience like any normal CRM list.
This too easy? Let's step into the world of advanced Power Audiences and start tackling more advanced queries.
First Advanced Query
We'll switch over to the Cirque du Soleil client for this, we'll be selecting from multiple tables and joining the data so it is accessible as a single audience. The Power Audience we created has three attributes: email_address, gender, and location. Our criteria are that we only want to select past buyers from the Toronto market, but we also need their gender which doesn't exist within the same table. Thus, we join the two tables on email_address and select the required columns. Here's what that query might look like:
SELECT past_buyers.internal_id,
       past_buyers.created_at,
       past_buyers.updated_at,
       past_buyers.email_address,
       past_buyers.attr_market AS attr_location,
       customer_gender.attr_genderfrom
       (
              select      *
              from   { crm-f548532e-fb95-4312-a6d1-1b1a164d1603 }
              WHERE  attr_market ilike '%toronto%') AS past_buyersleft
JOIN
       (
              SELECT      *
              FROM   { crm-4575c5a6-173b-45db-84a1-85cf6c2f37e0 }
              WHERE  attr_gender = 'male' ) AS customer_gender
ON     customer_gender.attr_email_address = past_buyers.attr_email_address )
As you can see from the above query, we have fulfilled all our requirements. We supply the 3 necessary base columns: internal_id, created_at, and updated_at. We also return the Power Audience attribute columns: attr_email_address, attr_gender, and attr_location.