
Prerequisites
-
User creds with access to client InnovidXP account with reporting and export access
-
Follow steps here to create Alli SFTP user for client
-
Ensure the SFTP credentials and path created are set up as the Remote SFTP location in InnovidXP UI
A shared [client]_reporting@pmg.com account is preferred over a personal account
Example SFTP credentials:
-
Server:
sftp.alliplatform.com -
Port:
22 -
Path:
/writeable/ -
User Name:
{client}.innovidxp -
Password: Save in 1Pass
Creating the InnovidXP Reports
InnovidXP DMA Delivery Report
-
Reach out to your respective InnovidXP reporting team representatives to set up a base delivery report from the Studio analytics with the following details:
-
File Name Convention:
{Client}_DMA_Reporting_YYYYMMDD(whereYYYYMMDDis the last data date in the file) -
SFTP creds: Provide the SFTP credentials (share password via 1Pass or another password manager) created in Prerequisites section
-
Delivery Cadence: 7 day rolling look-back window delivered daily
-
List of Columns to be included (and column order: all dimensions then metrics):
-
|
Dimensions/Attributes |
Metrics |
|---|---|
|
Date |
Total Spend |
|
Client ID |
Impressions |
|
Client Name |
Click-throughs |
|
Campaign Name |
Click-through Rate |
|
Campaign ID |
25% video completions |
|
Format |
50% video completions |
|
Publisher |
75% video completions |
|
Placement Name |
100% video completions |
|
Placements Group ID |
Video Completion Rate |
|
DCM Placement ID |
|
|
Creative Name |
|
|
Creative ID |
|
|
DMA ID |
|
|
DMA Name |
|
|
Cost Rate |
|
|
Cost Type |
|
InnovidXP Outcomes Report
-
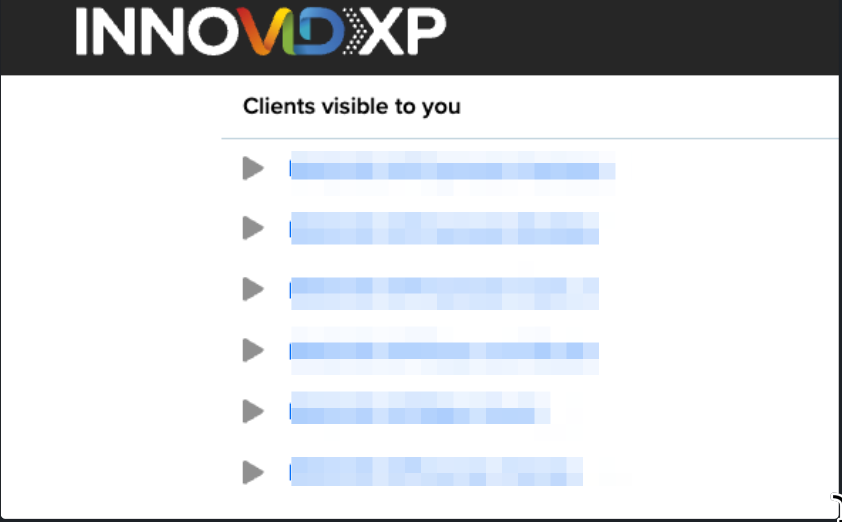
Log into the InnovidXP UI using the user creds that has access to the client’s InnovidXP portal
-
If it is a shared multi-account login, select the appropriate portal:
-
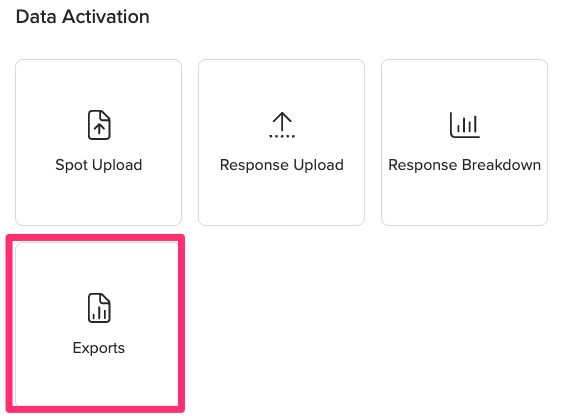
After successful login to the expected client portal, navigate to the Exports section:
-
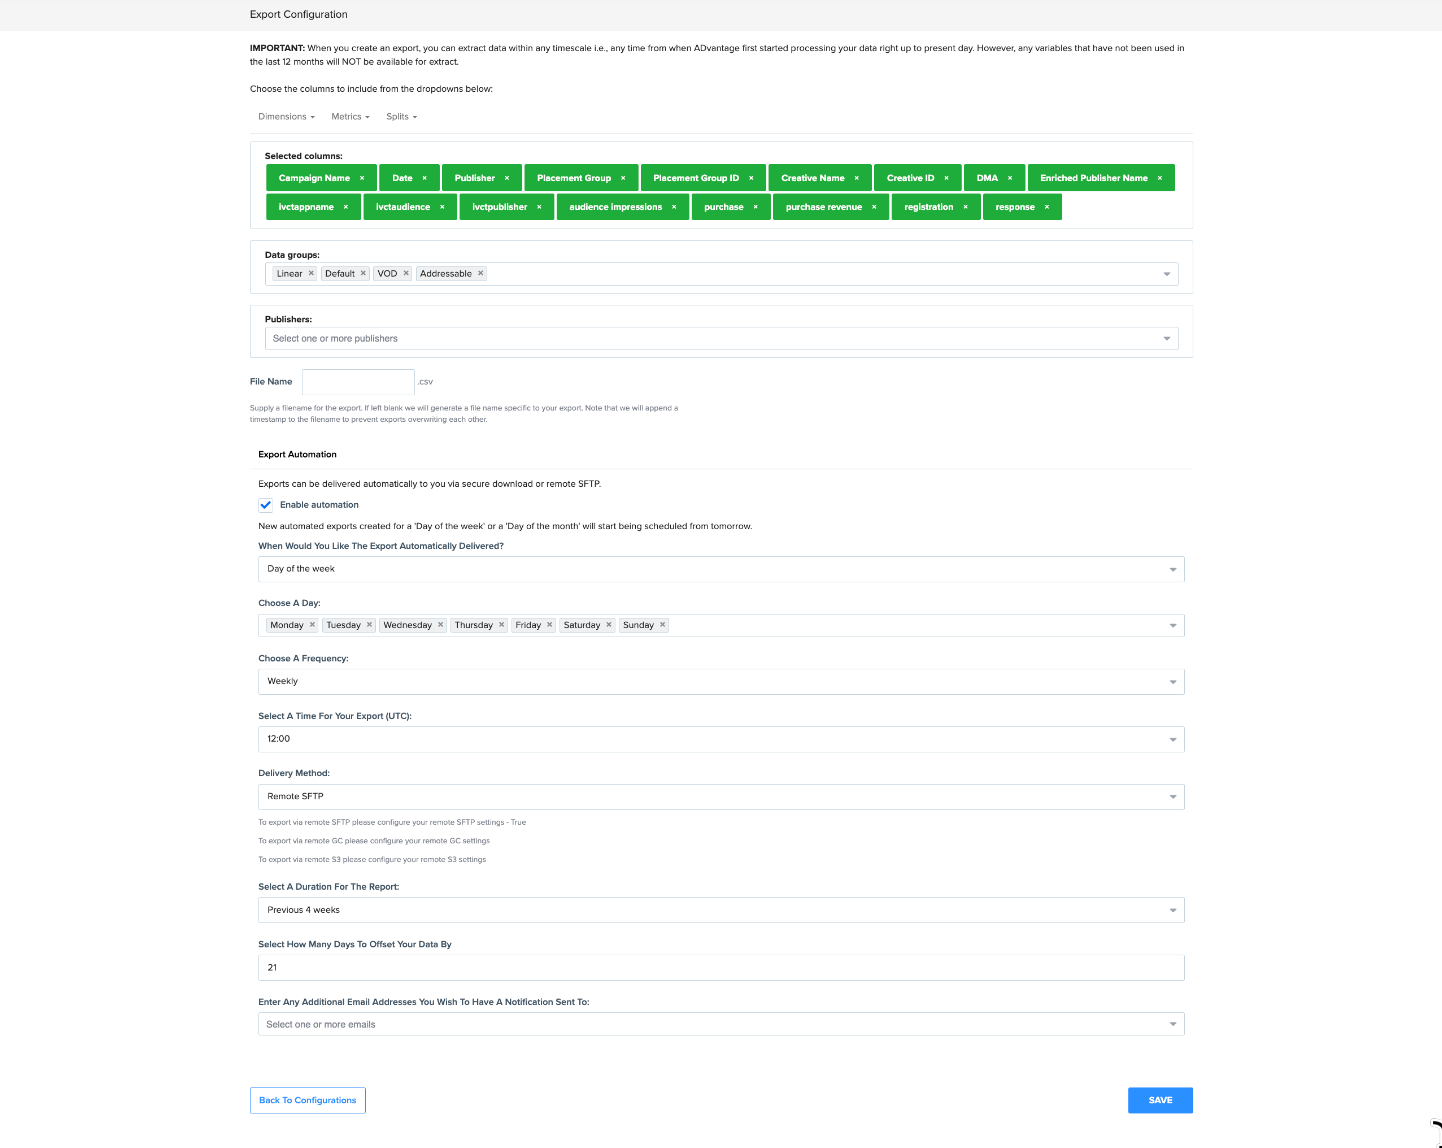
Click on
CONFIGURE EXPORTS>CREATE NEW CONFIGURATIONto create a new outcome export:

-
Build out the report export with the following criteria:
-
Dimensions -
Date, Innovid Client ID, Camapign Name, Creative ID, Creative Name, DMA, Placement Group ID, Placement Group, Enriched Publisher Name, Publisher, ivctappname, ivctaudience, ivctpublisher -
Metrics -
Response+ any of the desired custom conversion events (i.e. registration, purchase, purchase revenue, etc -
Data Groups -
Leave Default -
Publishers:
Leave blank to pull all publishers OR Specify publisher(s) -
File Name:
{Client}_XP_Outcomes_YYYY-MM-DD(whereYYYY-MM-DDis the last data date in the file) -
Enabled Automation:
Checked -
When Would Like The Export Automatically Delivered:
Day of the week -
Choose a Day:
Select every day -
Choose a Frequency:
Weekly -
Select a Time for your export (UTC):
12:00(7AM CST; can change to your preference) -
Delivery Method:
Remote SFTP -
Select A Duration For The Report:
Previous 2 weeks -
Select How Many Days To Offset Your Data By:
0
-
-
Click
Save
Creating and Backfilling the datasource
-
Open the
Alli Data Library 2.0 - Onboard Platformapp in Alli UI or install it if it is not already available for your client in Alli Data (follow this section Onboarding a platform to Data Library | Creating your datasources using Alli Marketplace for detailed instructions) -
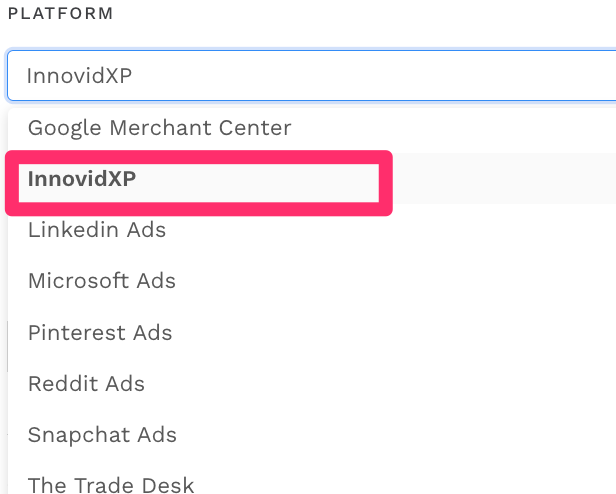
Create the InnovidXP datasources by selecting the
Innovidoption under platform dropdown and execute theAlli Data Library 2.0 - Onboard Platformapp.
-
Locate the datasources (
innovid_insights_dma&innovid_insights_outcomes_conversion)that were created on theData > Sourcespage -
Configure the datasources:
-
Additional Configuration Needed:
-
CLIENT FILE LOCATION:
Custom -
FILE NAME: the file name that comes through in the SFTP - Example:
{Client}_XP_Outcomes_YYYY-MM-DDfor the specific file. If you want to dynamically load the latest file each time, try:{Client}_XP_Outcomes_[^.]+.csv -
DIRECTORY:
source=sftp/sftp={sftp_username}/
-
-
Click Next
-
Define your data:
-
innovid_insights_dma- The data should already be defined for you with a set schema with appropriate columns and metrics defined. Your file from Innovid team should match this order. If not, they will need to recreate it using the specified column order -
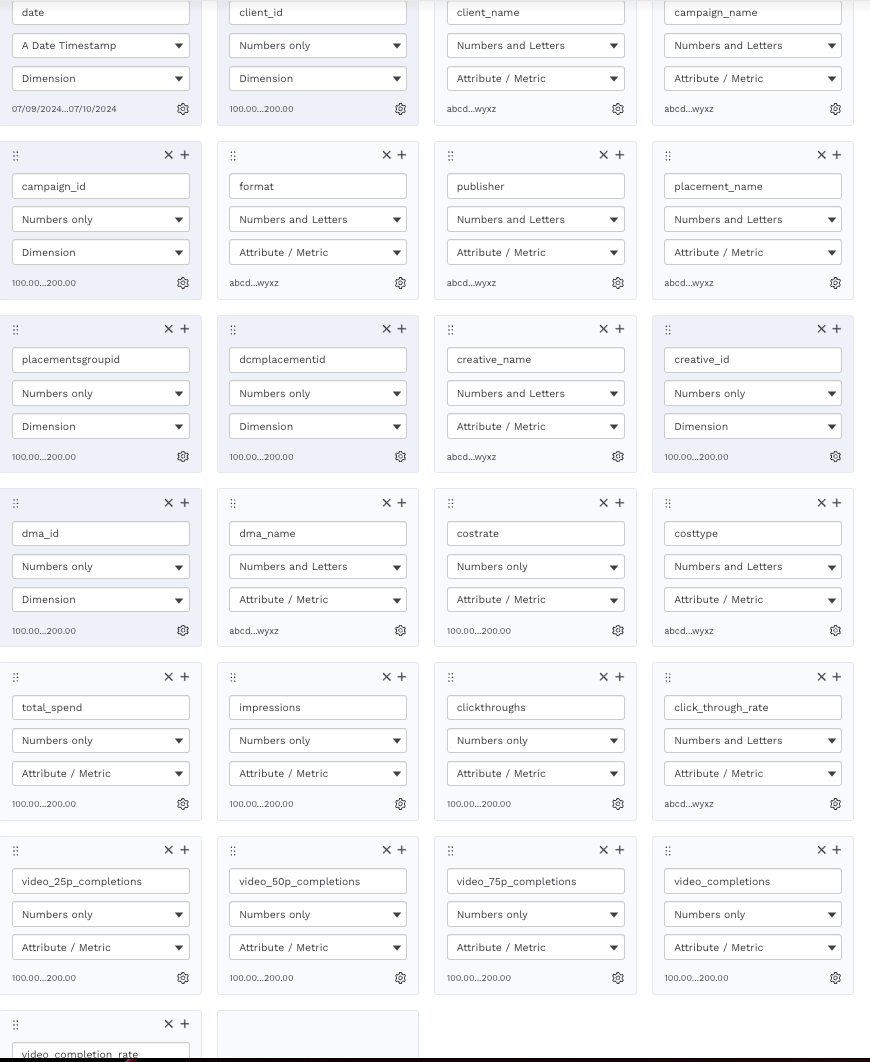
Screenshot of Define Your Data section of the innovid_insights_dmadatasource -
innovid_insights_outcomes_conversion:-
Define your schema based on the file that came through the SFTP
-
This can be done by dragging a copy of the csv file into the window for which Alli will generate the schema for you OR manually adding each column in order shown in csv file if Alli cannot parse the csv.
-
Ensure the right data types are defined for each column
-
Define your PRIMARY KEY used to update and load the datasource correctly by defining the key fields as
Dimensions. Non-key dimensions and metrics should be defined asAttribute/Metric -
Click Next/Save
-
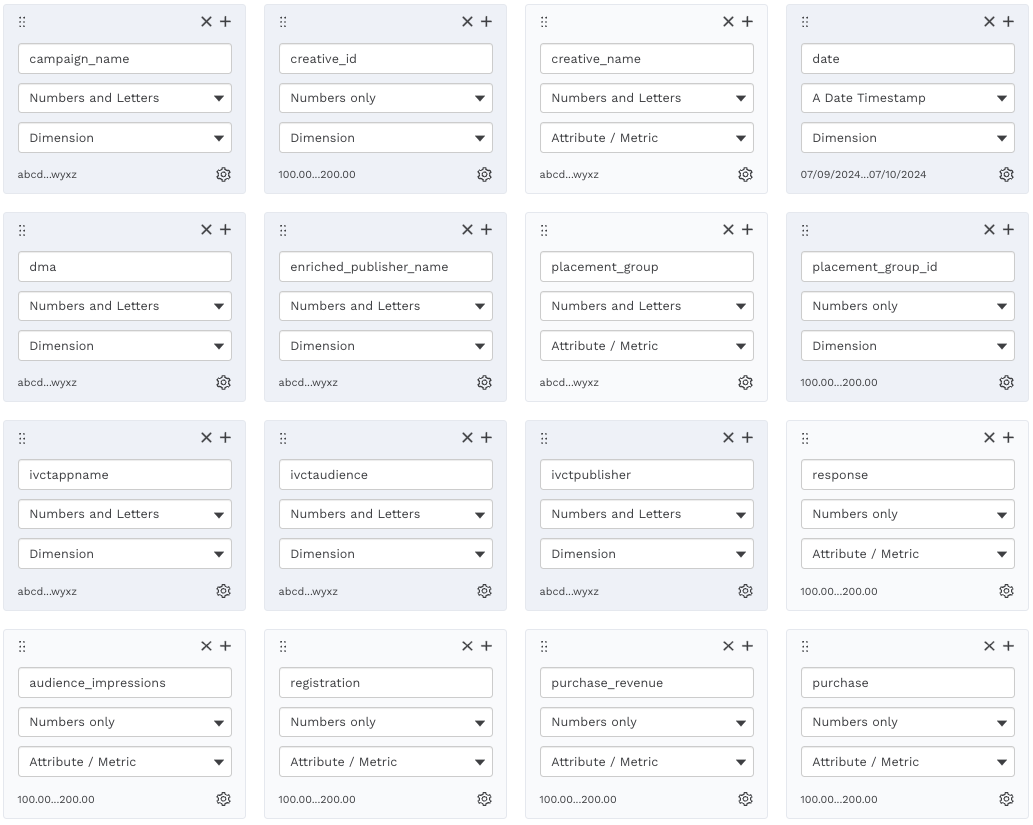
Example screenshot of Define Your Data section for a innovid_insights_outcomes_conversiondatasource with a primary key defined (darker colored cells)
-
-
-
-
-
To backfill, you can use the Load Data by clicking
Load Databutton to auto-load a file from the SFTP folder OR you can manually upload a file by selectingChoose FilethenUpload File: