
Overview
This how-to articles covers how to create a new list in Alli Audiences.
Instructions
Before getting started
-
Ensure that you have the attributes/columns and the types of columns for the data you will be importing.
-
Know what kind of list you are creating so you can select appropriate unique IDs, column types and aggregations
-
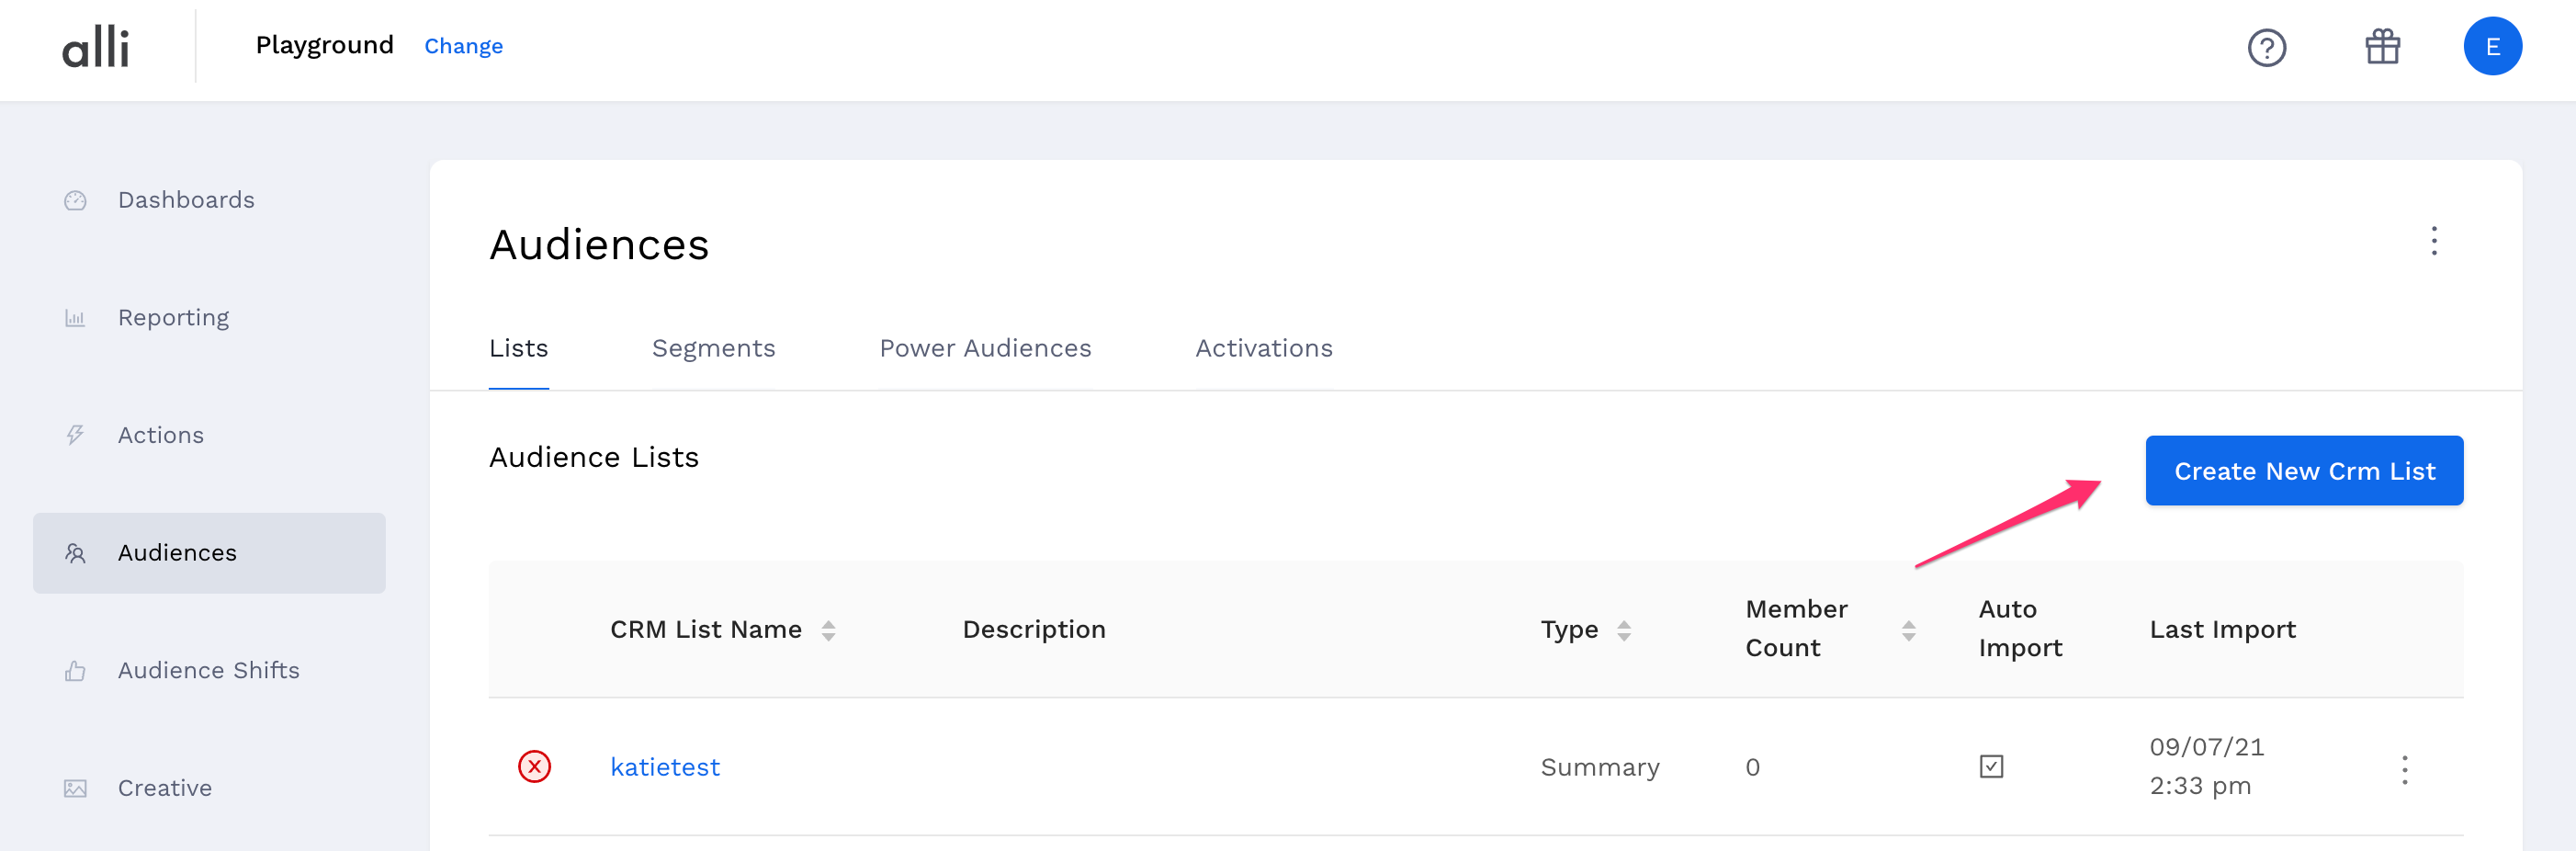
Navigate to Audiences.
-
Click ‘Create New Audience List’.
-
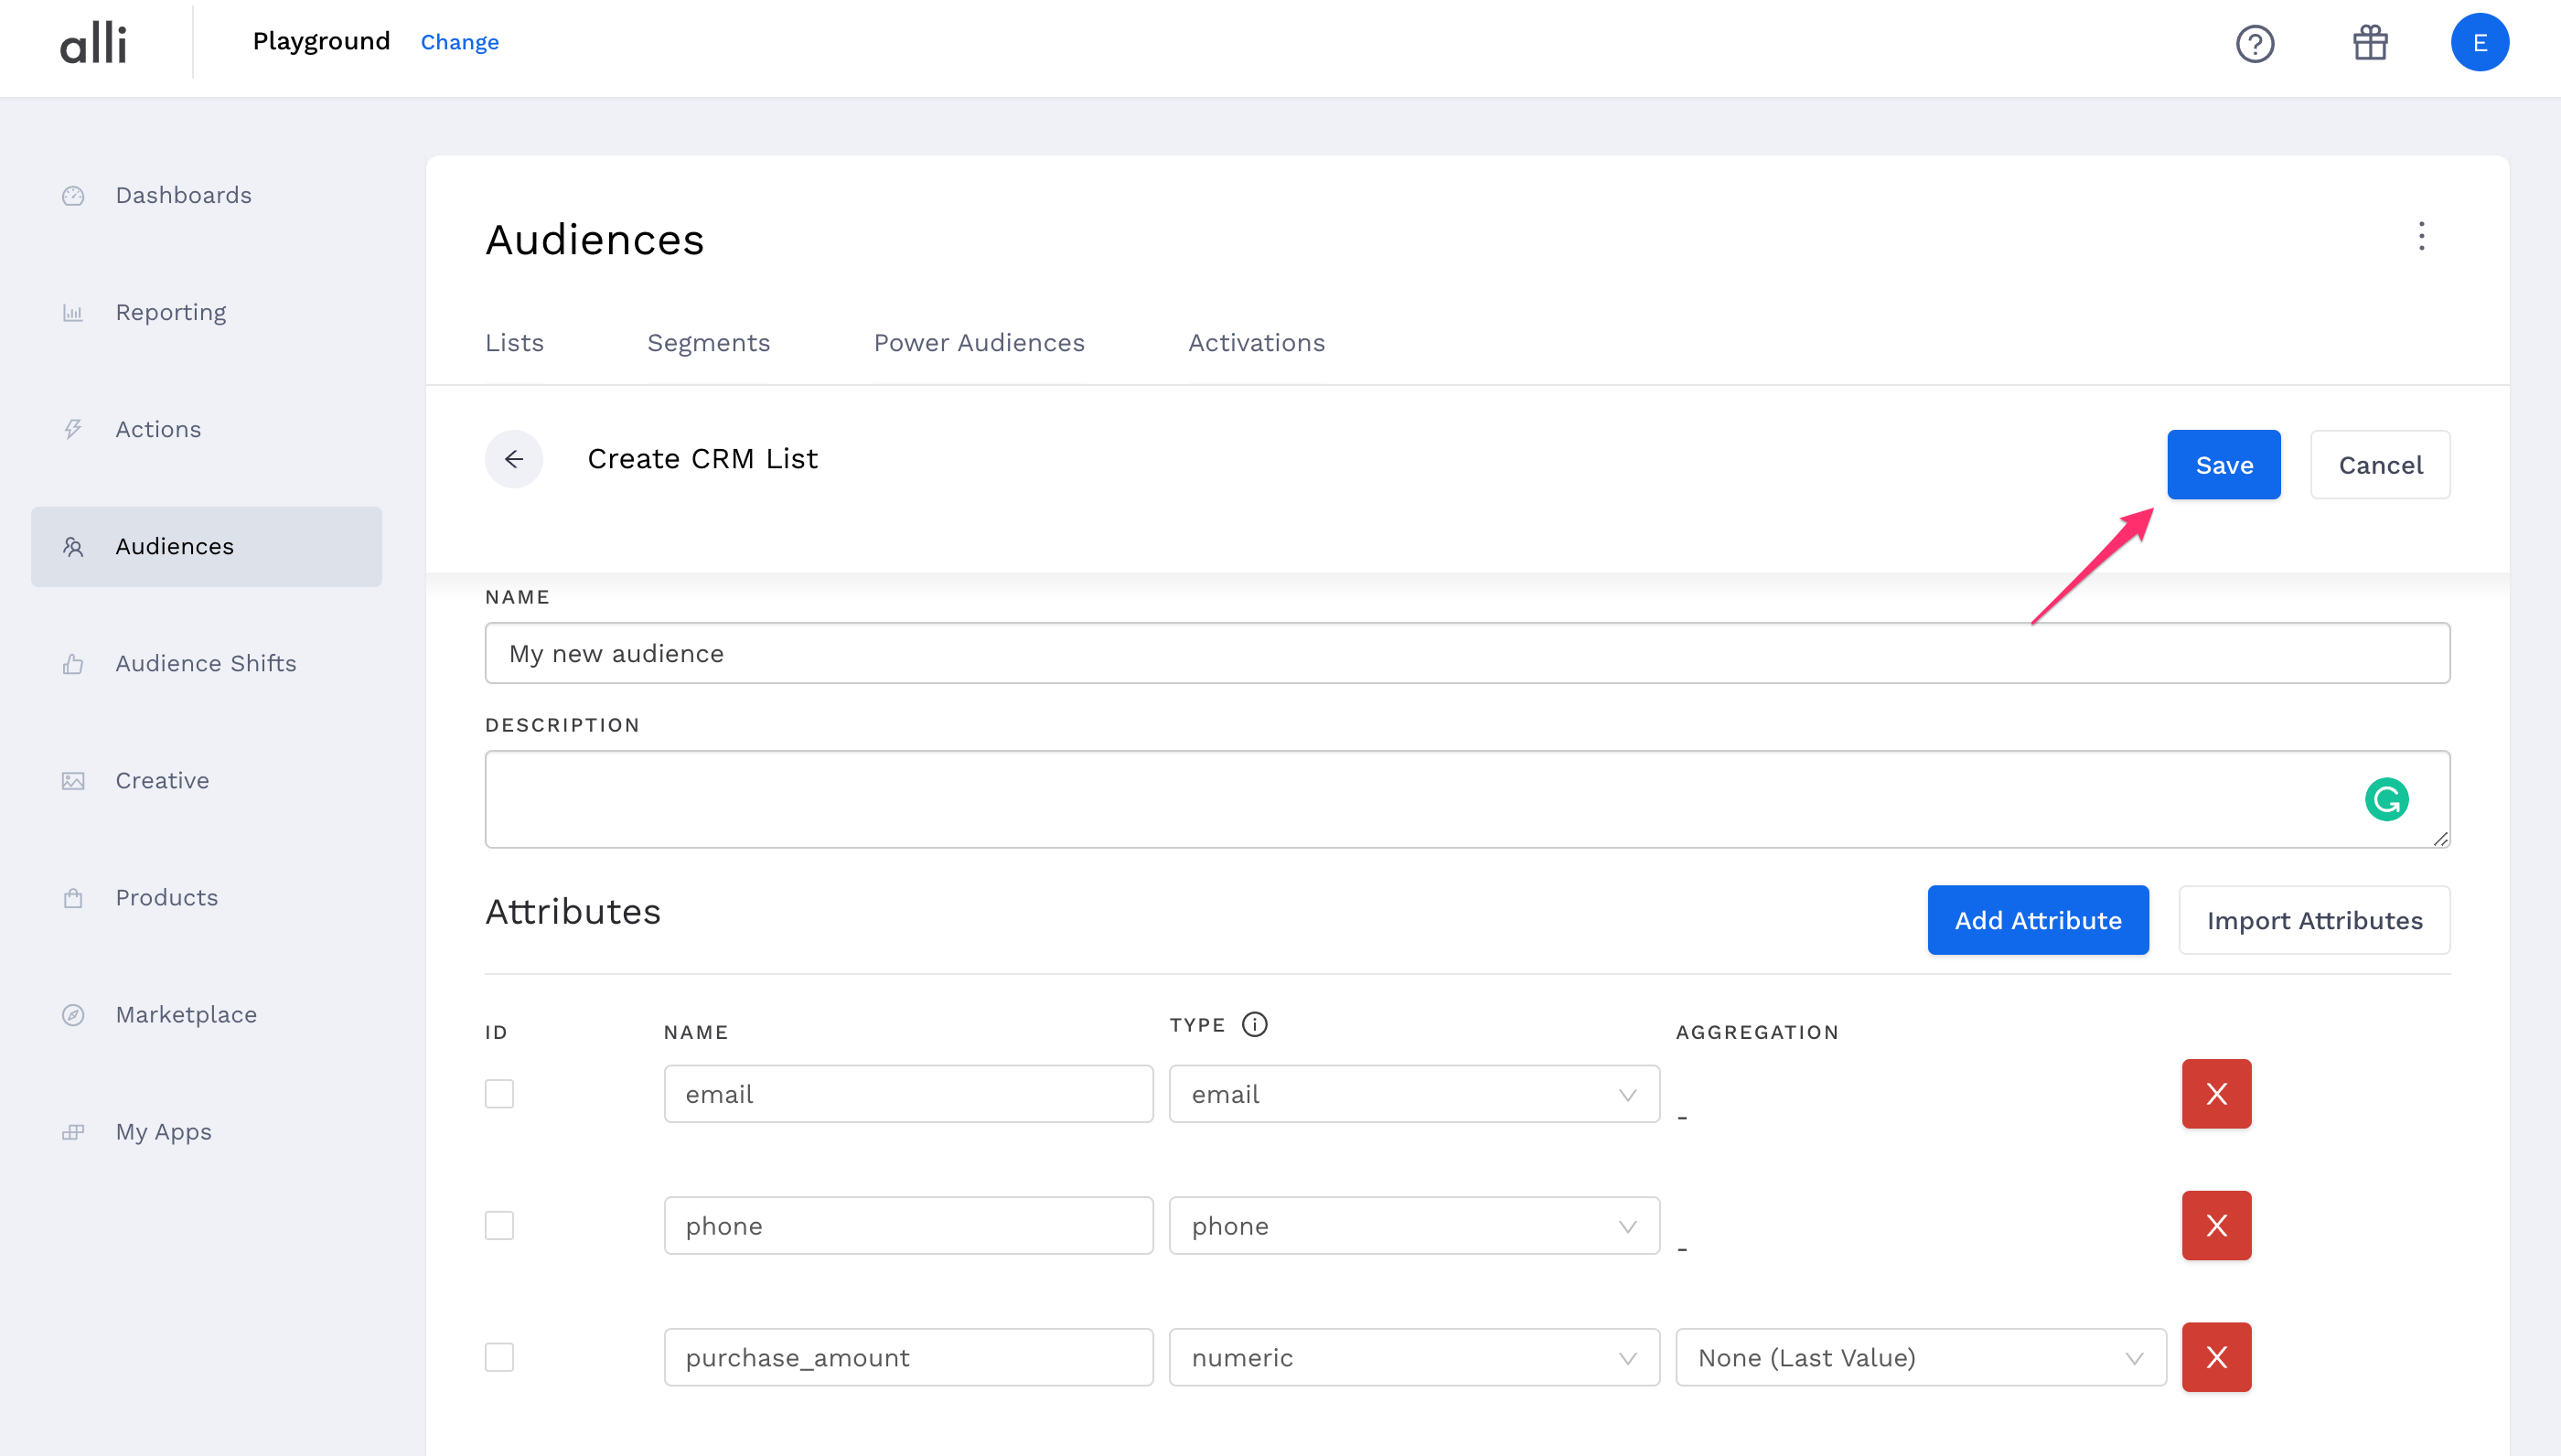
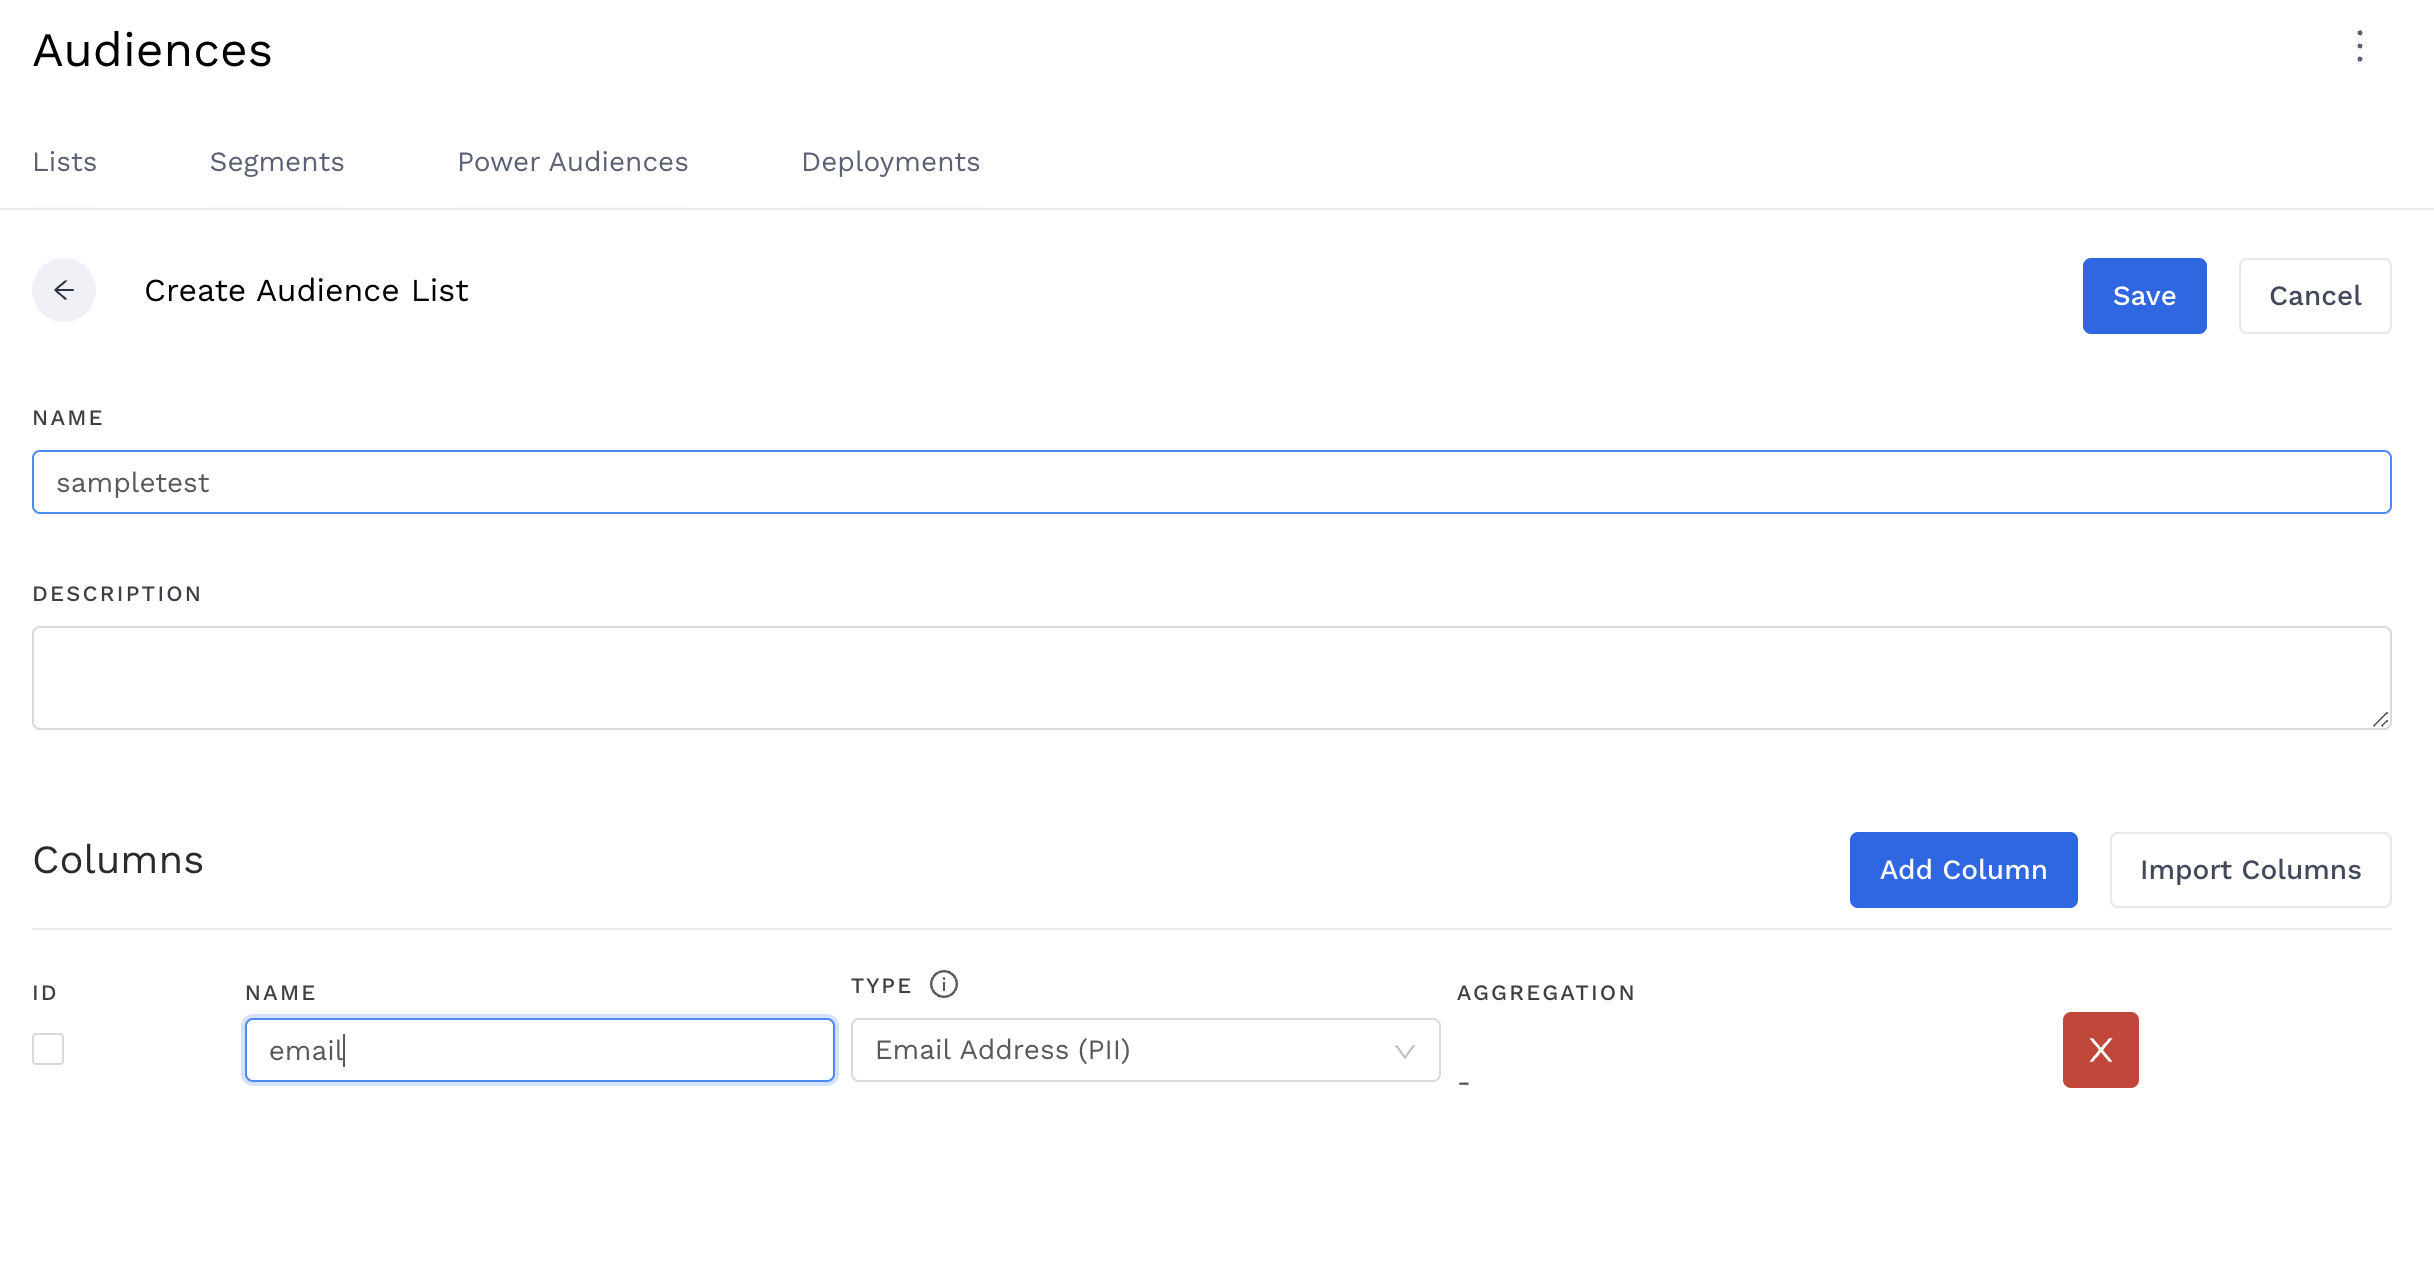
Name your list and add a description.
-
Import columns from your header file, or create them manually.
-
To create them manually click the add column button and enter your column name
-
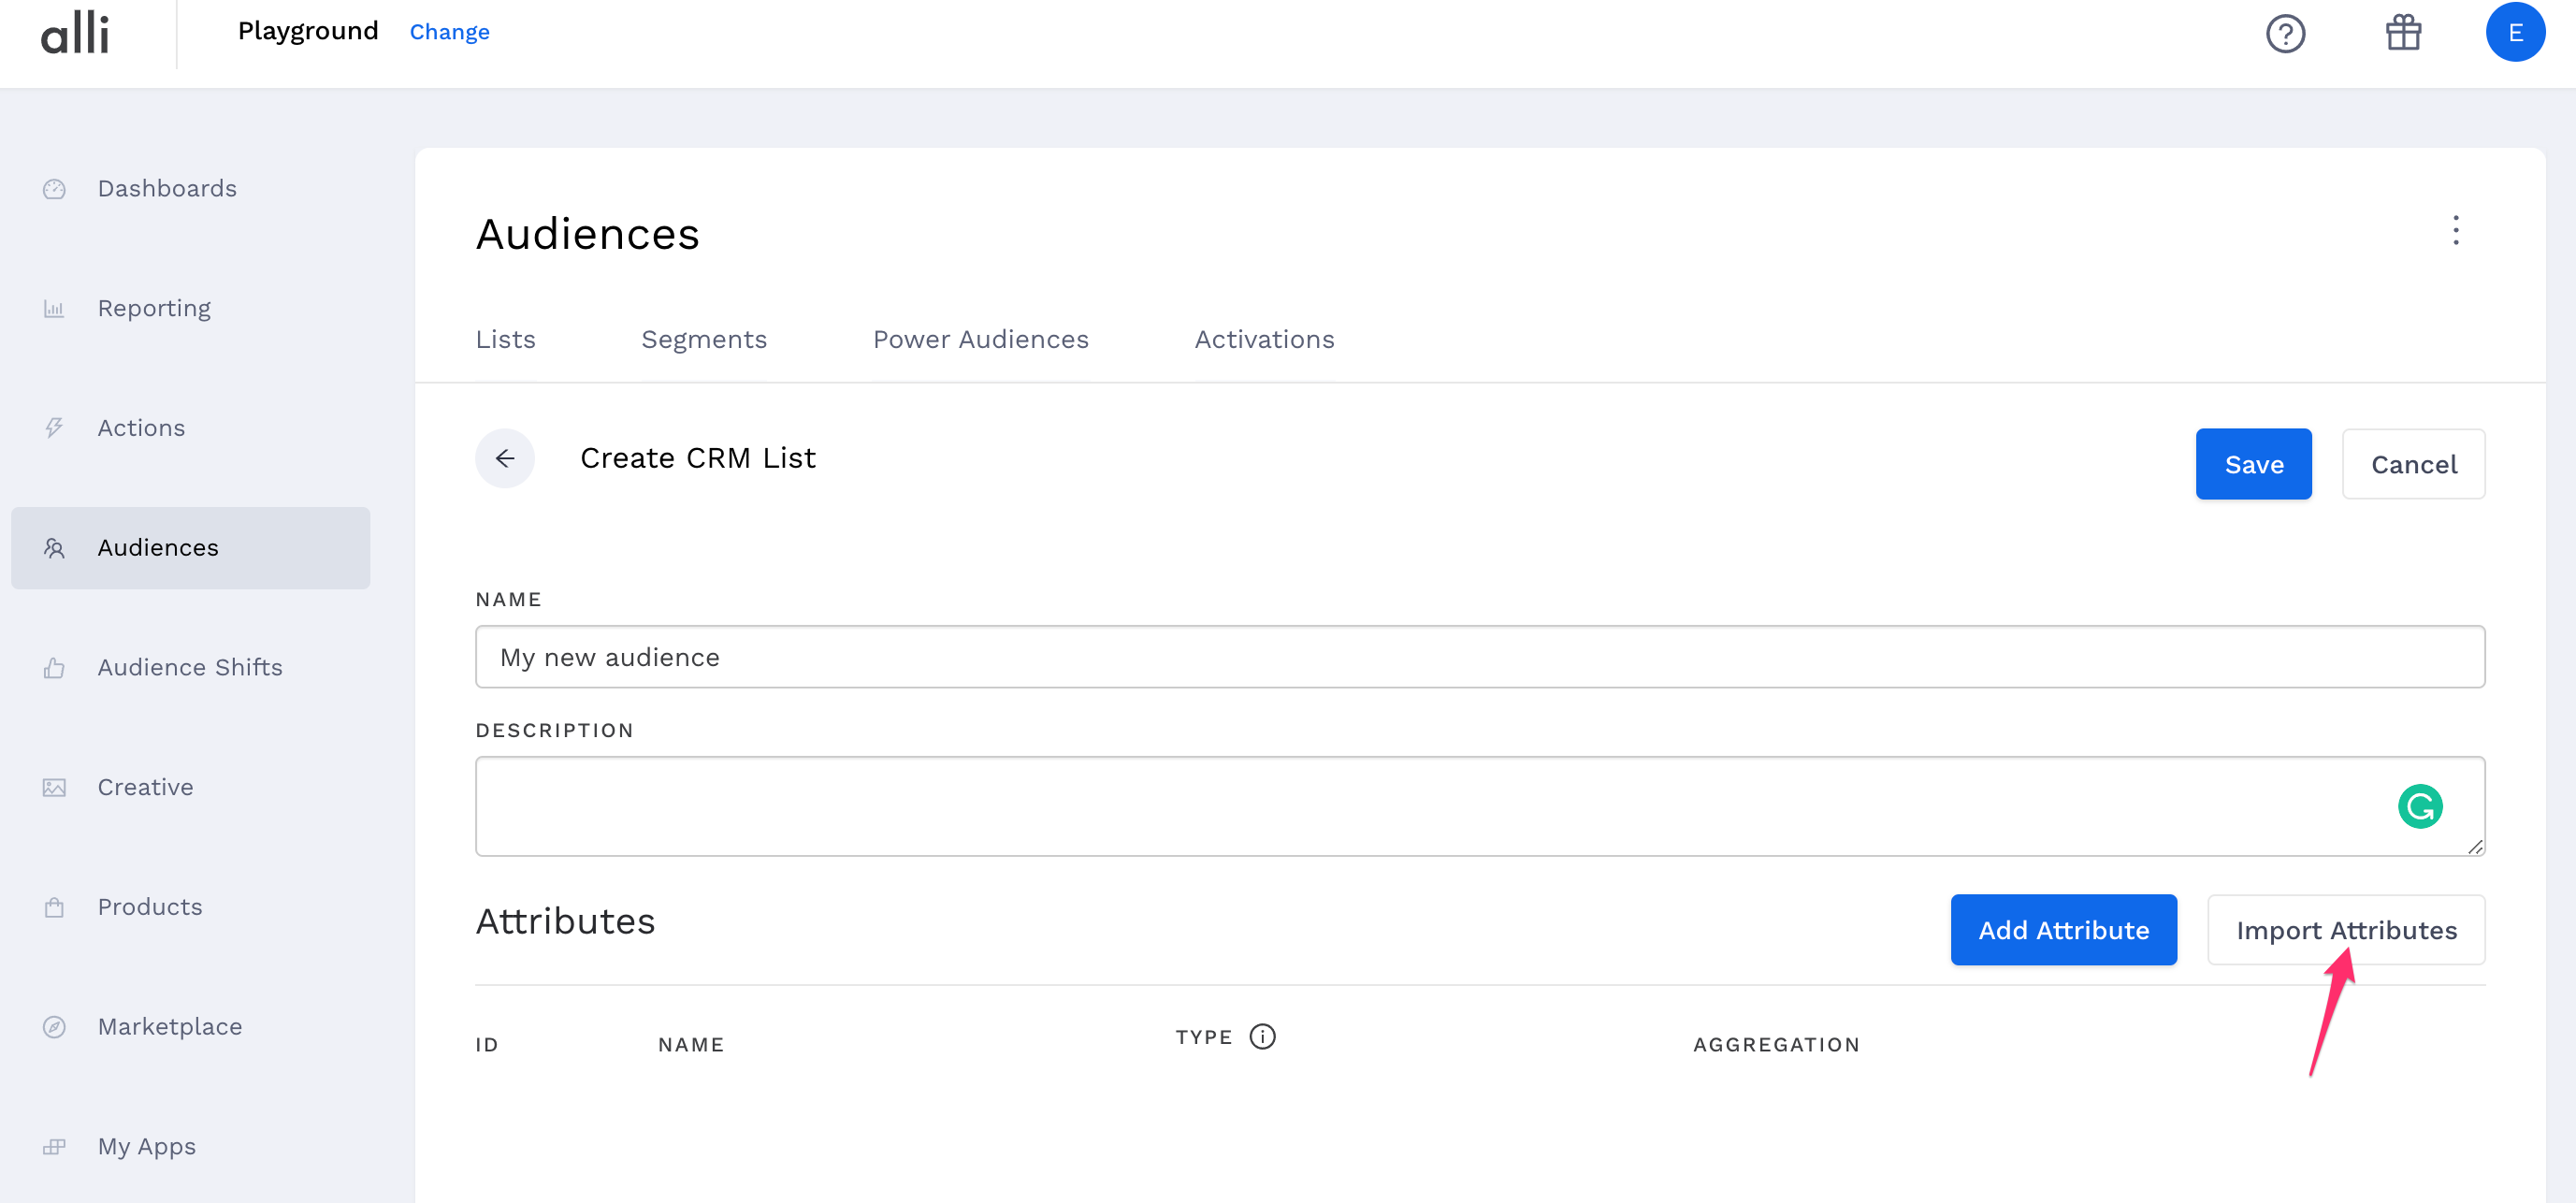
To add columns from a CSV with your audience file schema, click the Import Columns button and browse to your CSV file
-
Make sure your column names match the headers on your file
-
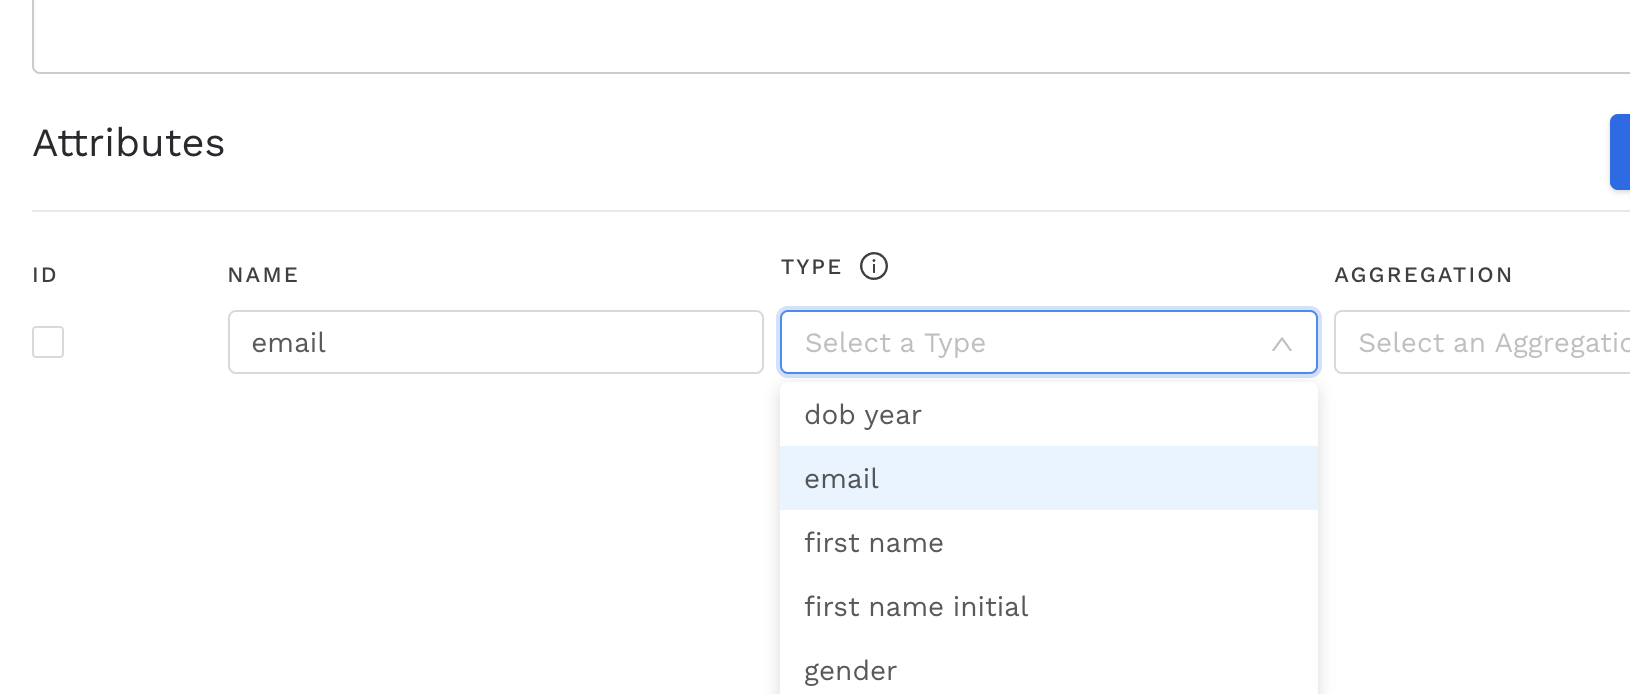
Specify the attribute type for each of your columns.
-
For fields that contain PII data (personally identifiable information), you will want to select the appropriate type that matches the field, i.e. “email”, “first name”, “gender”, etc. If no type matches, select “Other PII (plain hash)” as your attribute type to encrypt the PII data.
-
If you want to create a transaction list - one of the columns will have to be aggregated. Keep in mind only number columns can be aggregated.
-
There are 2 types of aggregation to choose from - sum and average.
-
-
If you do not have any deployable PII information (email, phone number or mobile id) and are creating a data list - you will have to select a unique ID by clicking on the checkbox beside your unique column
-
-
Once you’ve added all your attributes in your CRM file and their type, hit save
-
Once you save, you can select where you’re importing your audience file from. Learn how to import data to an audience list here.