
Tutorial: Importing, Segmenting, and Activating an Audience
Alli Audiences was created to help securely import CRM lists through an SFTP, without team members ever seeing any PII (Personal Identification Information). The imported CRM lists can then be filtered, segmented and activated out onto a partner network automatically for use in in-market campaigns.
Alli Audiences allows PMG teams to analyze CRM lists and understand the sizes of different audiences and segments in the platform. Alli can also import transaction lists or SKU codes to join with Audience Lists, or product feeds to segment on purchase history or product information. All of this can be automated on a recurring basis depending on customer needs.
Getting Started
By the end of this tutorial you will be able to:
Import data into Alli through an SFTP or manual upload
Segment data into smaller and more refined audiences
Activate data to partner platforms for usage in campaigns (note: matching on partner platforms can take 24-48 hours)
This tutorial assumes an import SFTP has already been configured for the client. For instructions on how to do this, see How-To: Authenticate a SFTP for Import or Activation
Getting Your Audience Data Into Alli
> From the left-hand navigation under Data, navigate to Audiences.
> Click on the blue Create New CRM List button.

> Give your audience a Name and Description.
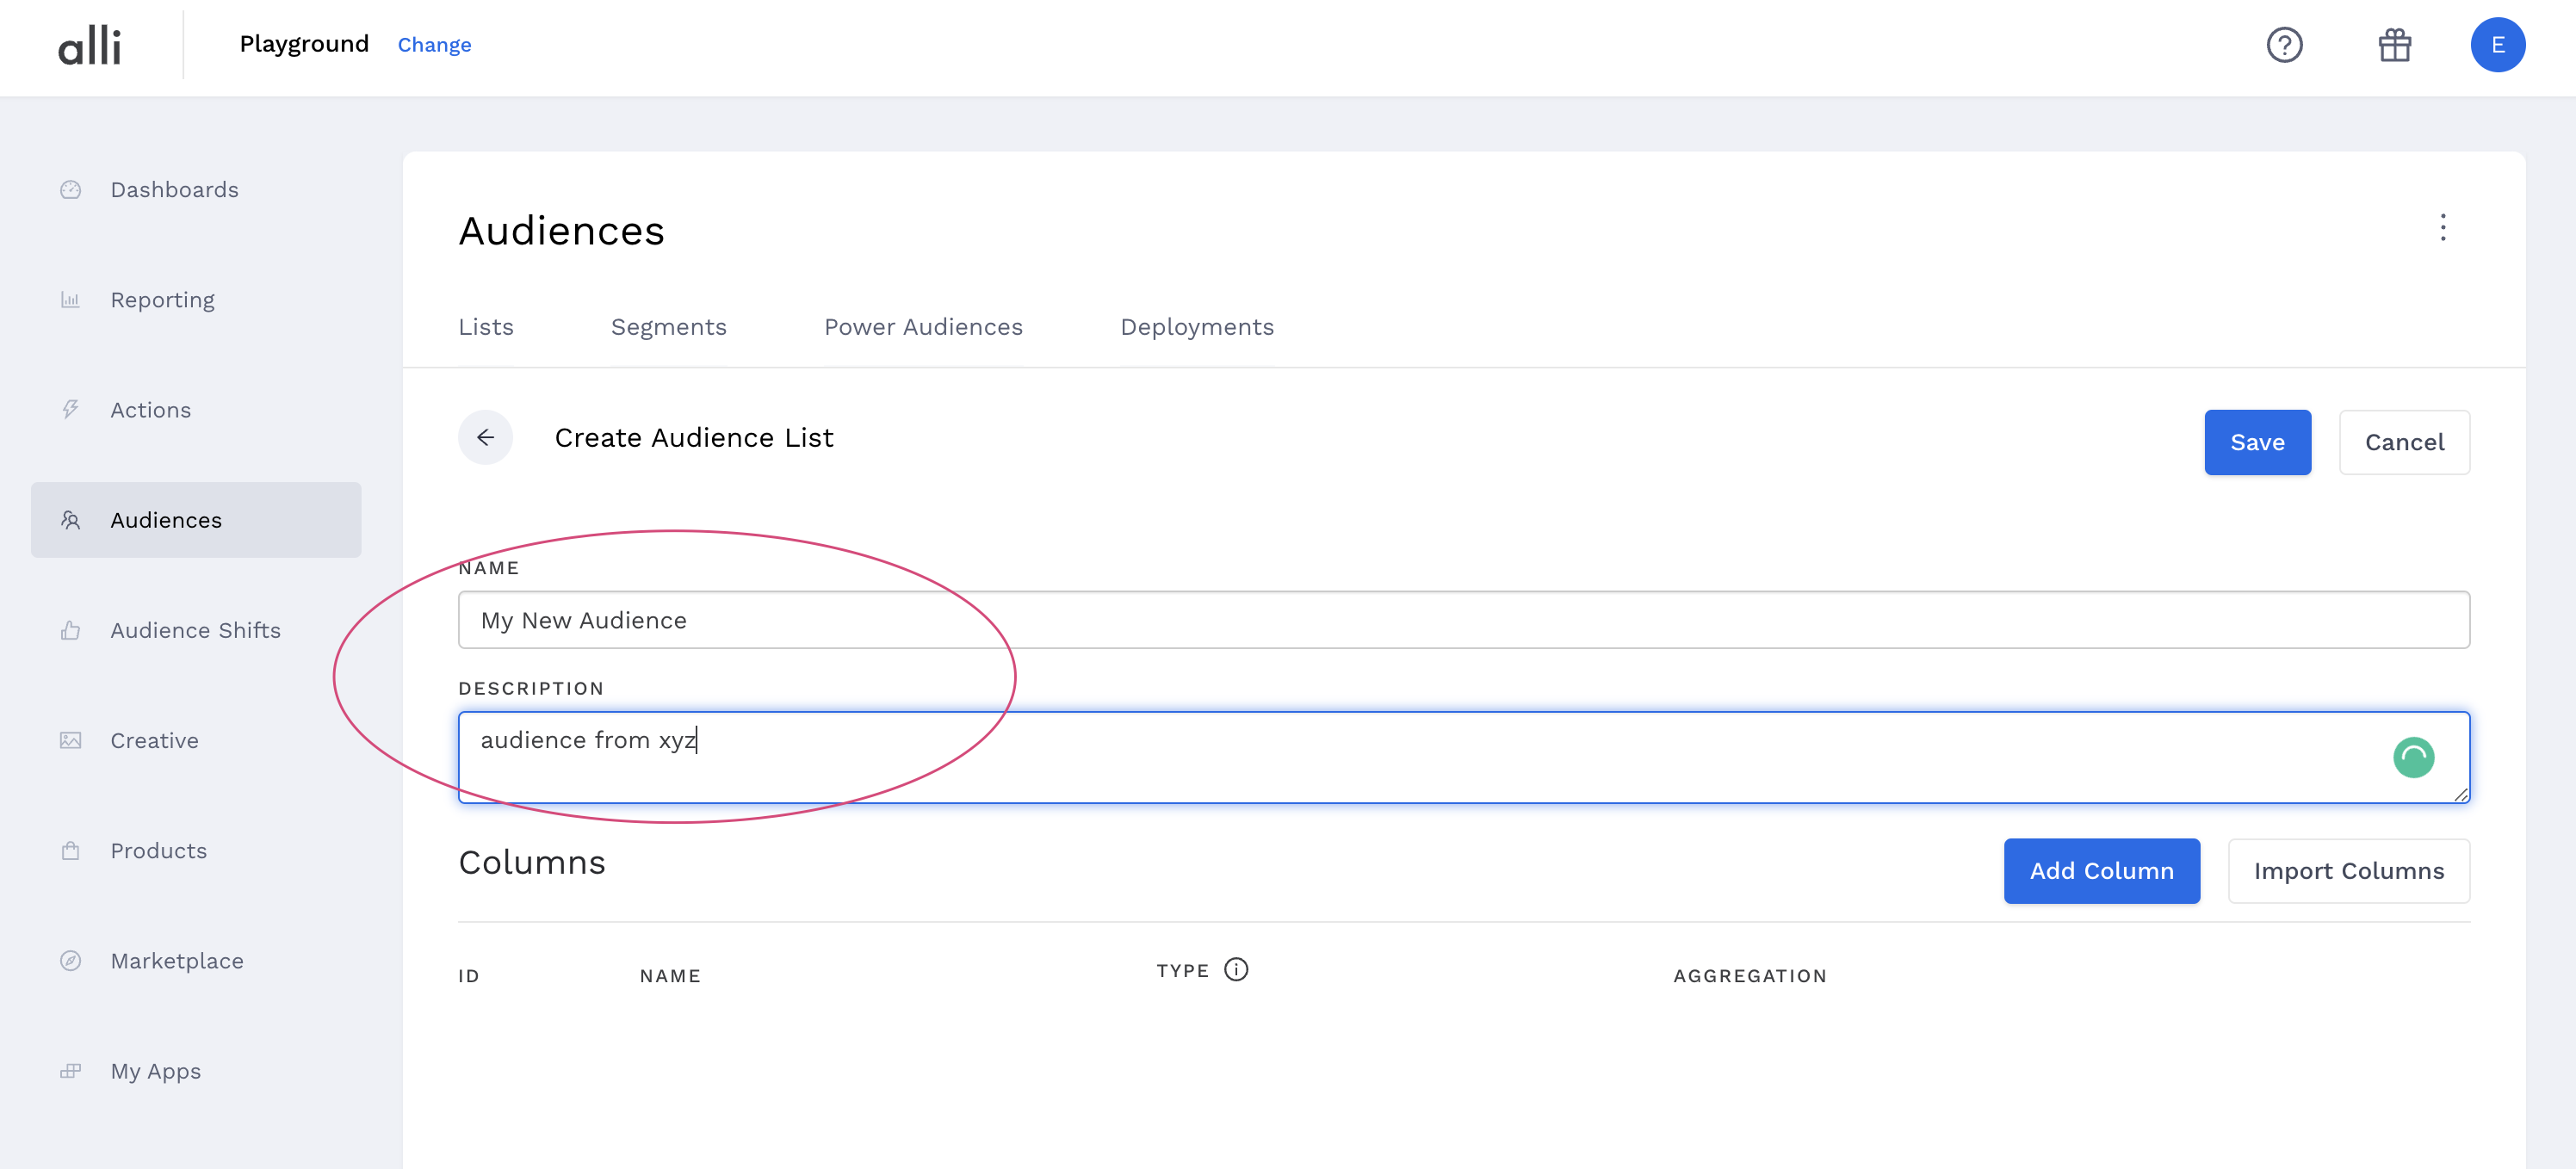
> You will now need to Add Column that will be imported from the audience list. This can be done manually or automatically through the Import Columns button (using a .csv list with headers only).
Columns are audience attributes, such as Name, Email, or any other information being set through for the audience list.
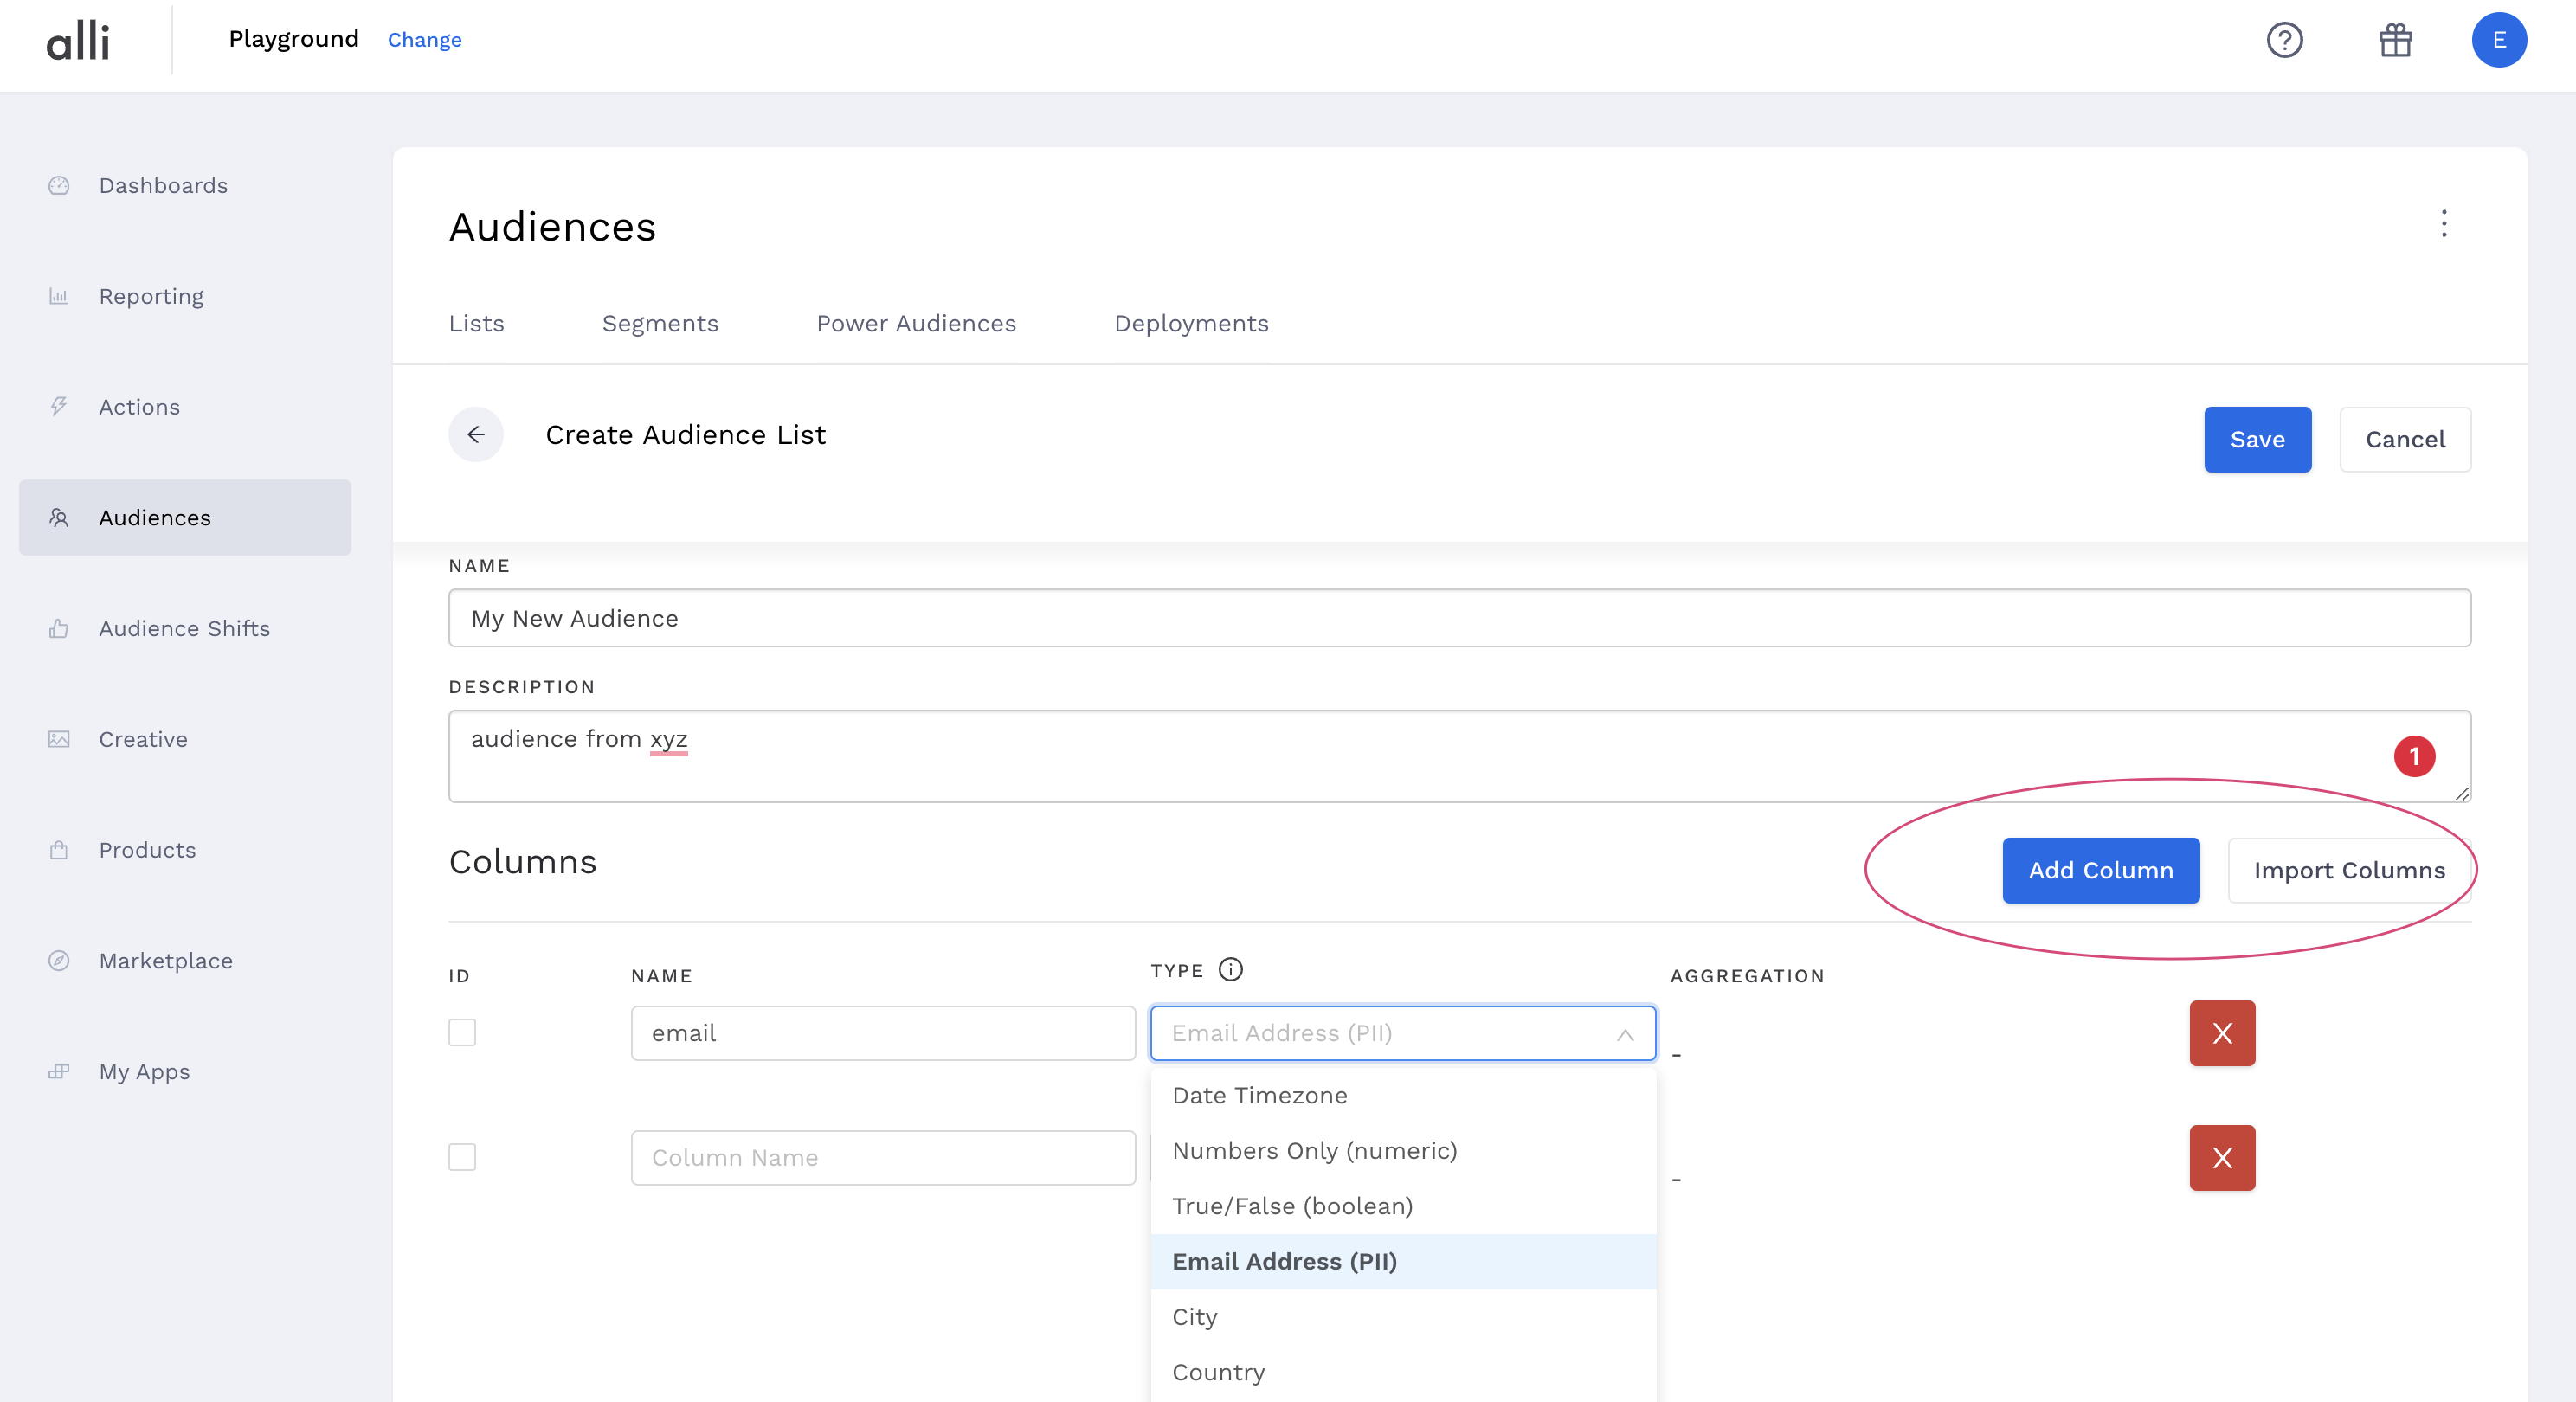
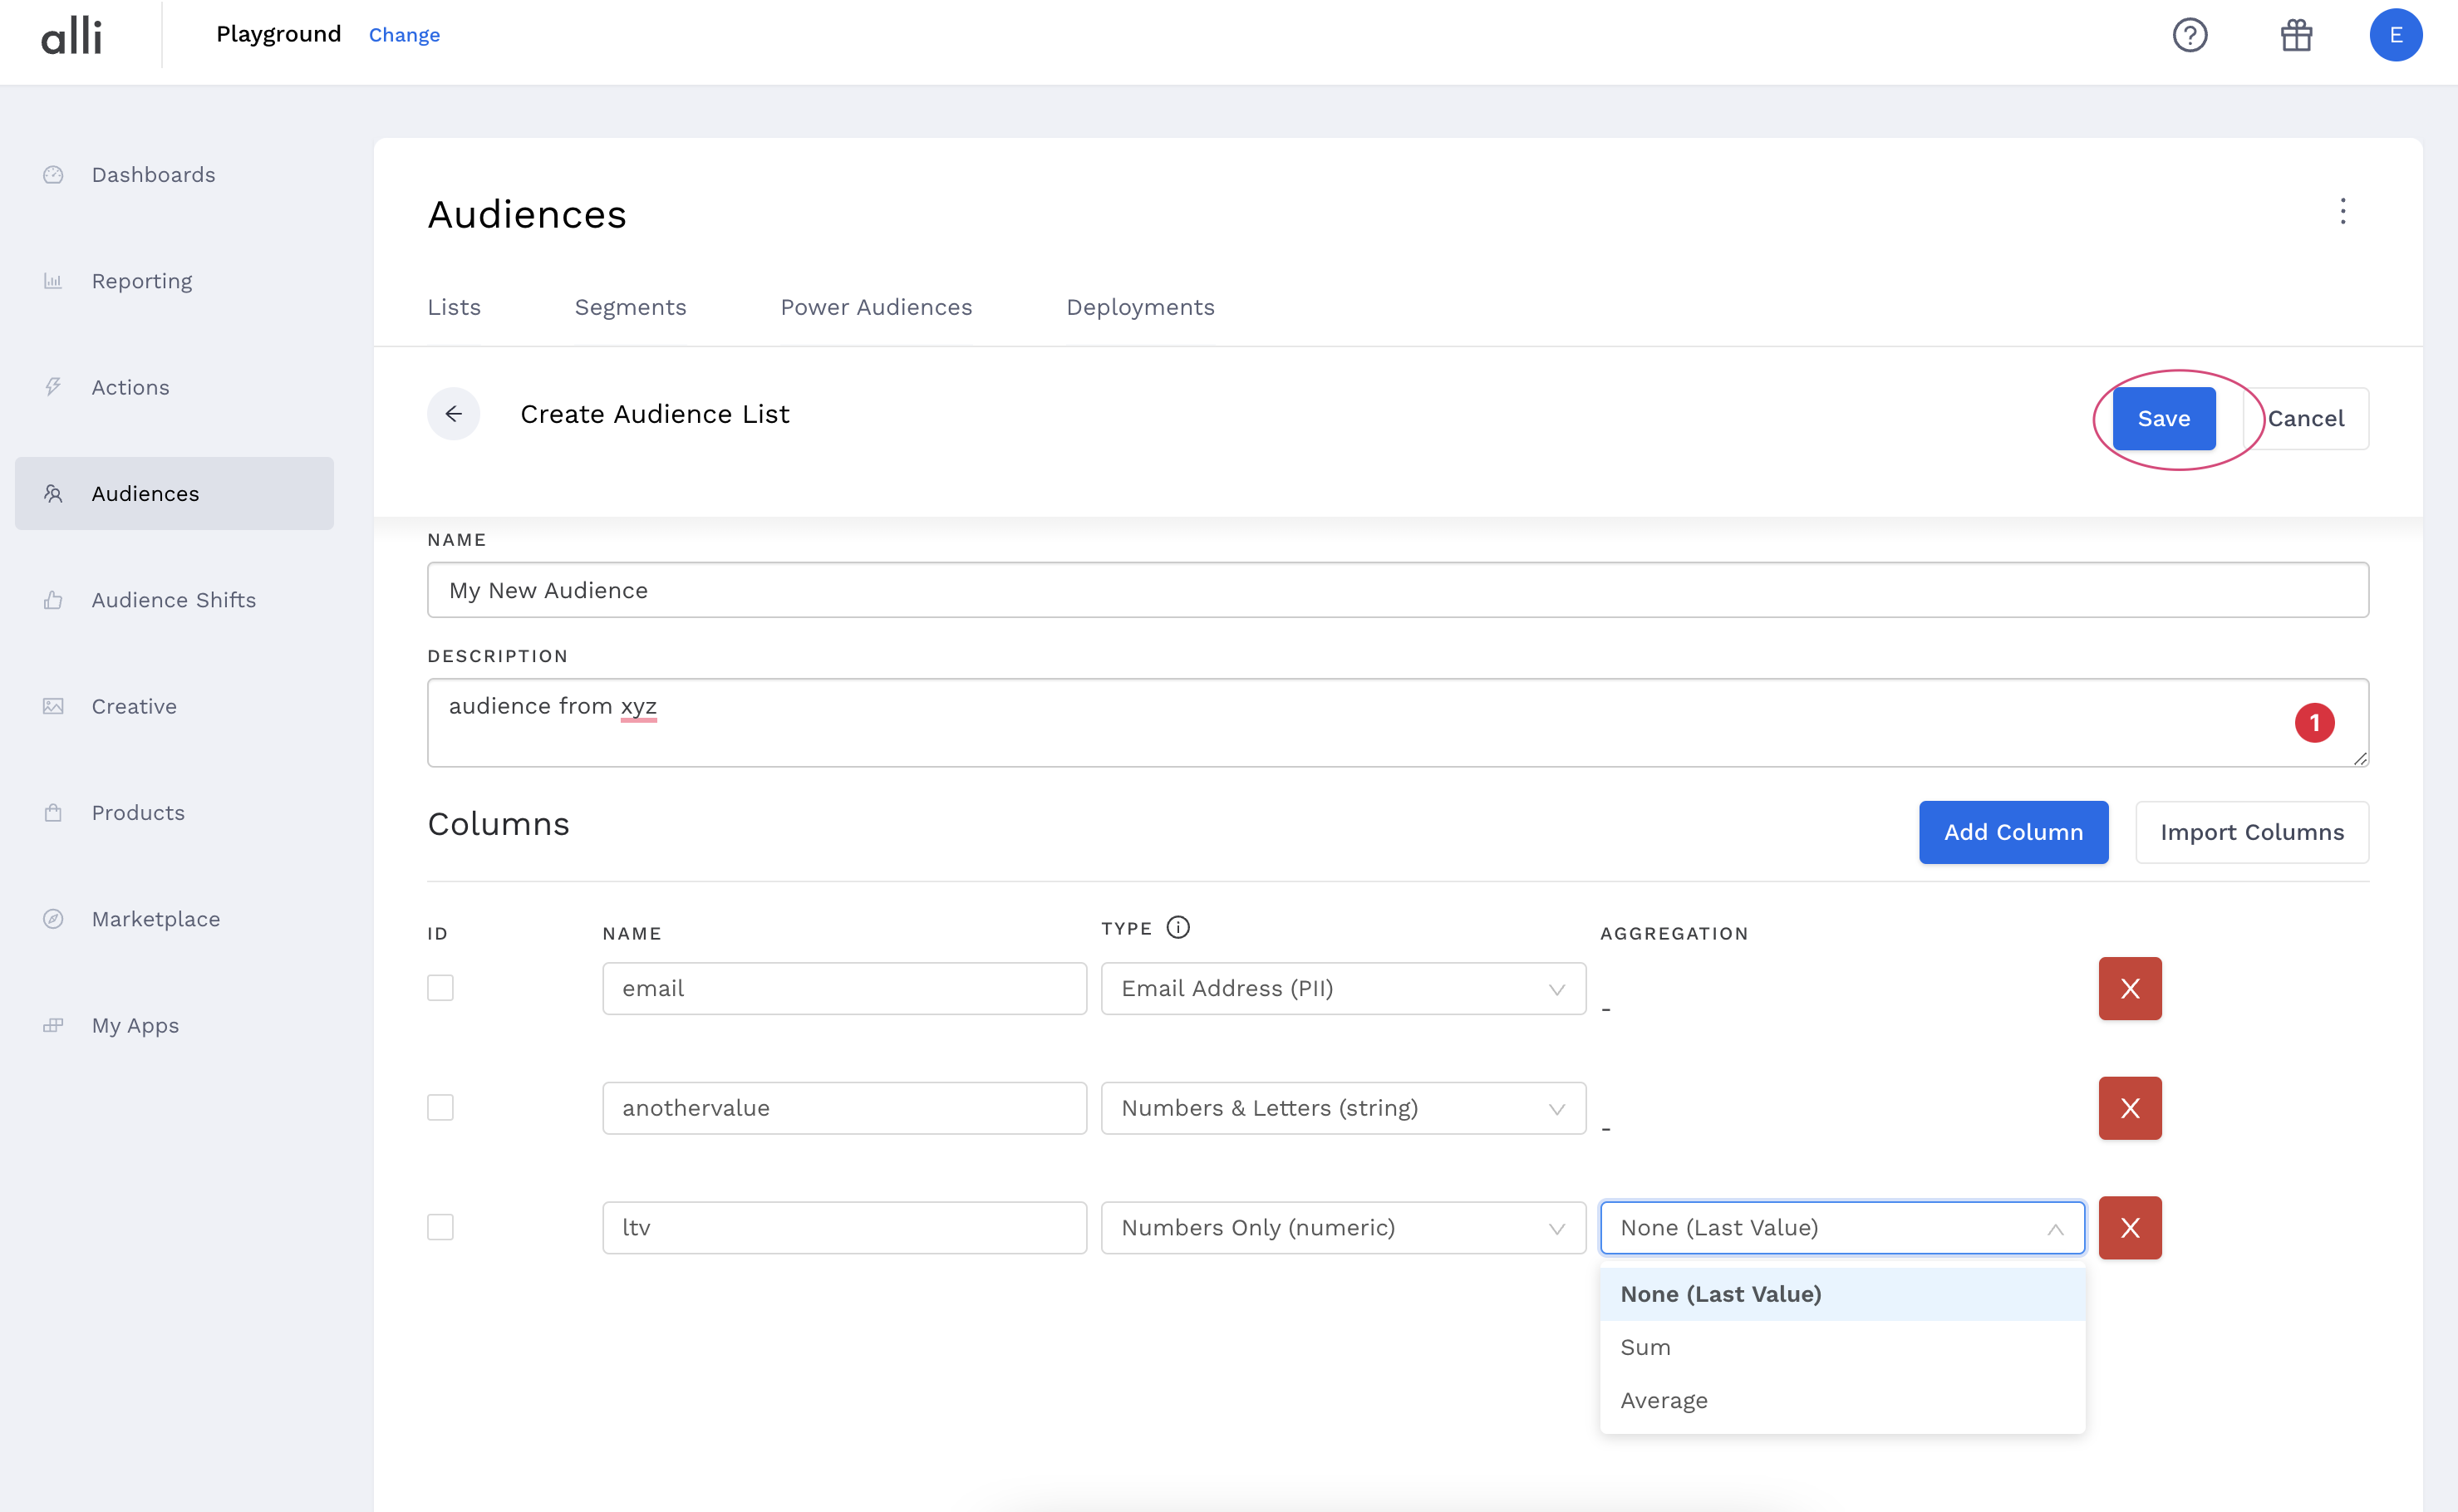
> Once attributes are added, you will need to name them and decide the Type. For any numeric type (numbers only), you will also need to select the Aggregation for each Column. Note: Email is a primary identifier and will always be hashed within the Alli platform.
> The aggregation can be rolled up into sums or totals depending on the attribute chosen. Once attributes have been named and identified, click Save.
> You can now select where you’re importing the CRM/Audience file from. Note: this will typically be SFTP using an SFTP that PMG has provided
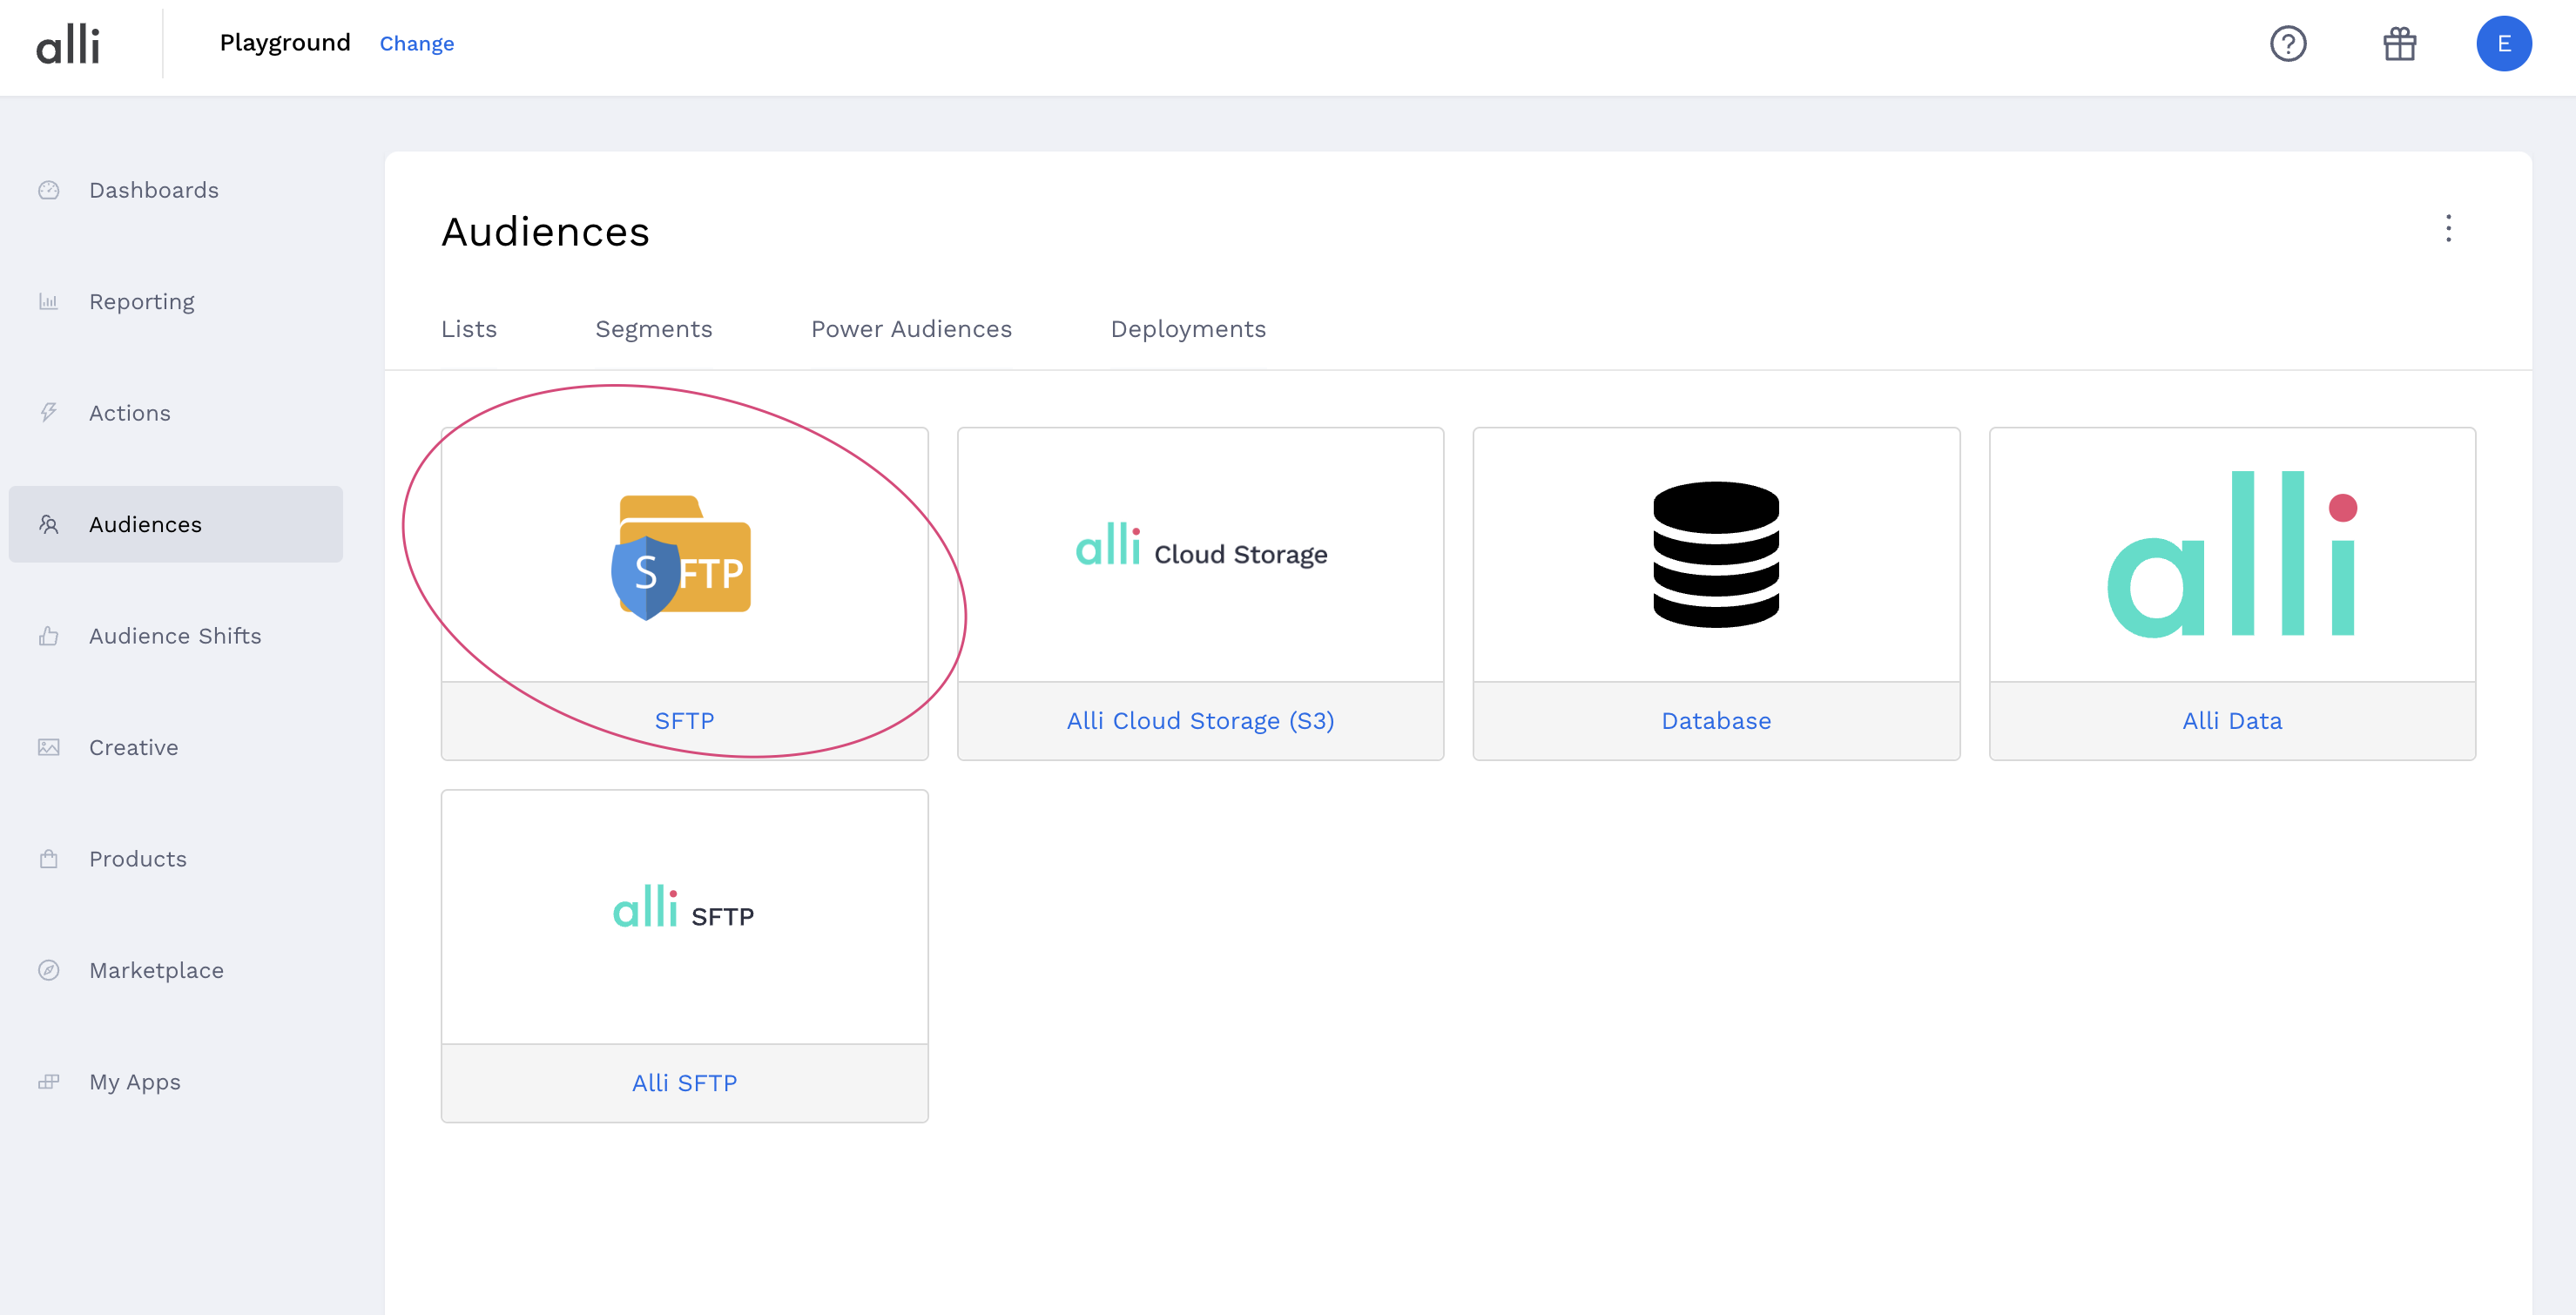
> This will prompt you to create a data import through one of the connected partners. You will be able to choose an existing customer SFTP if one is available.
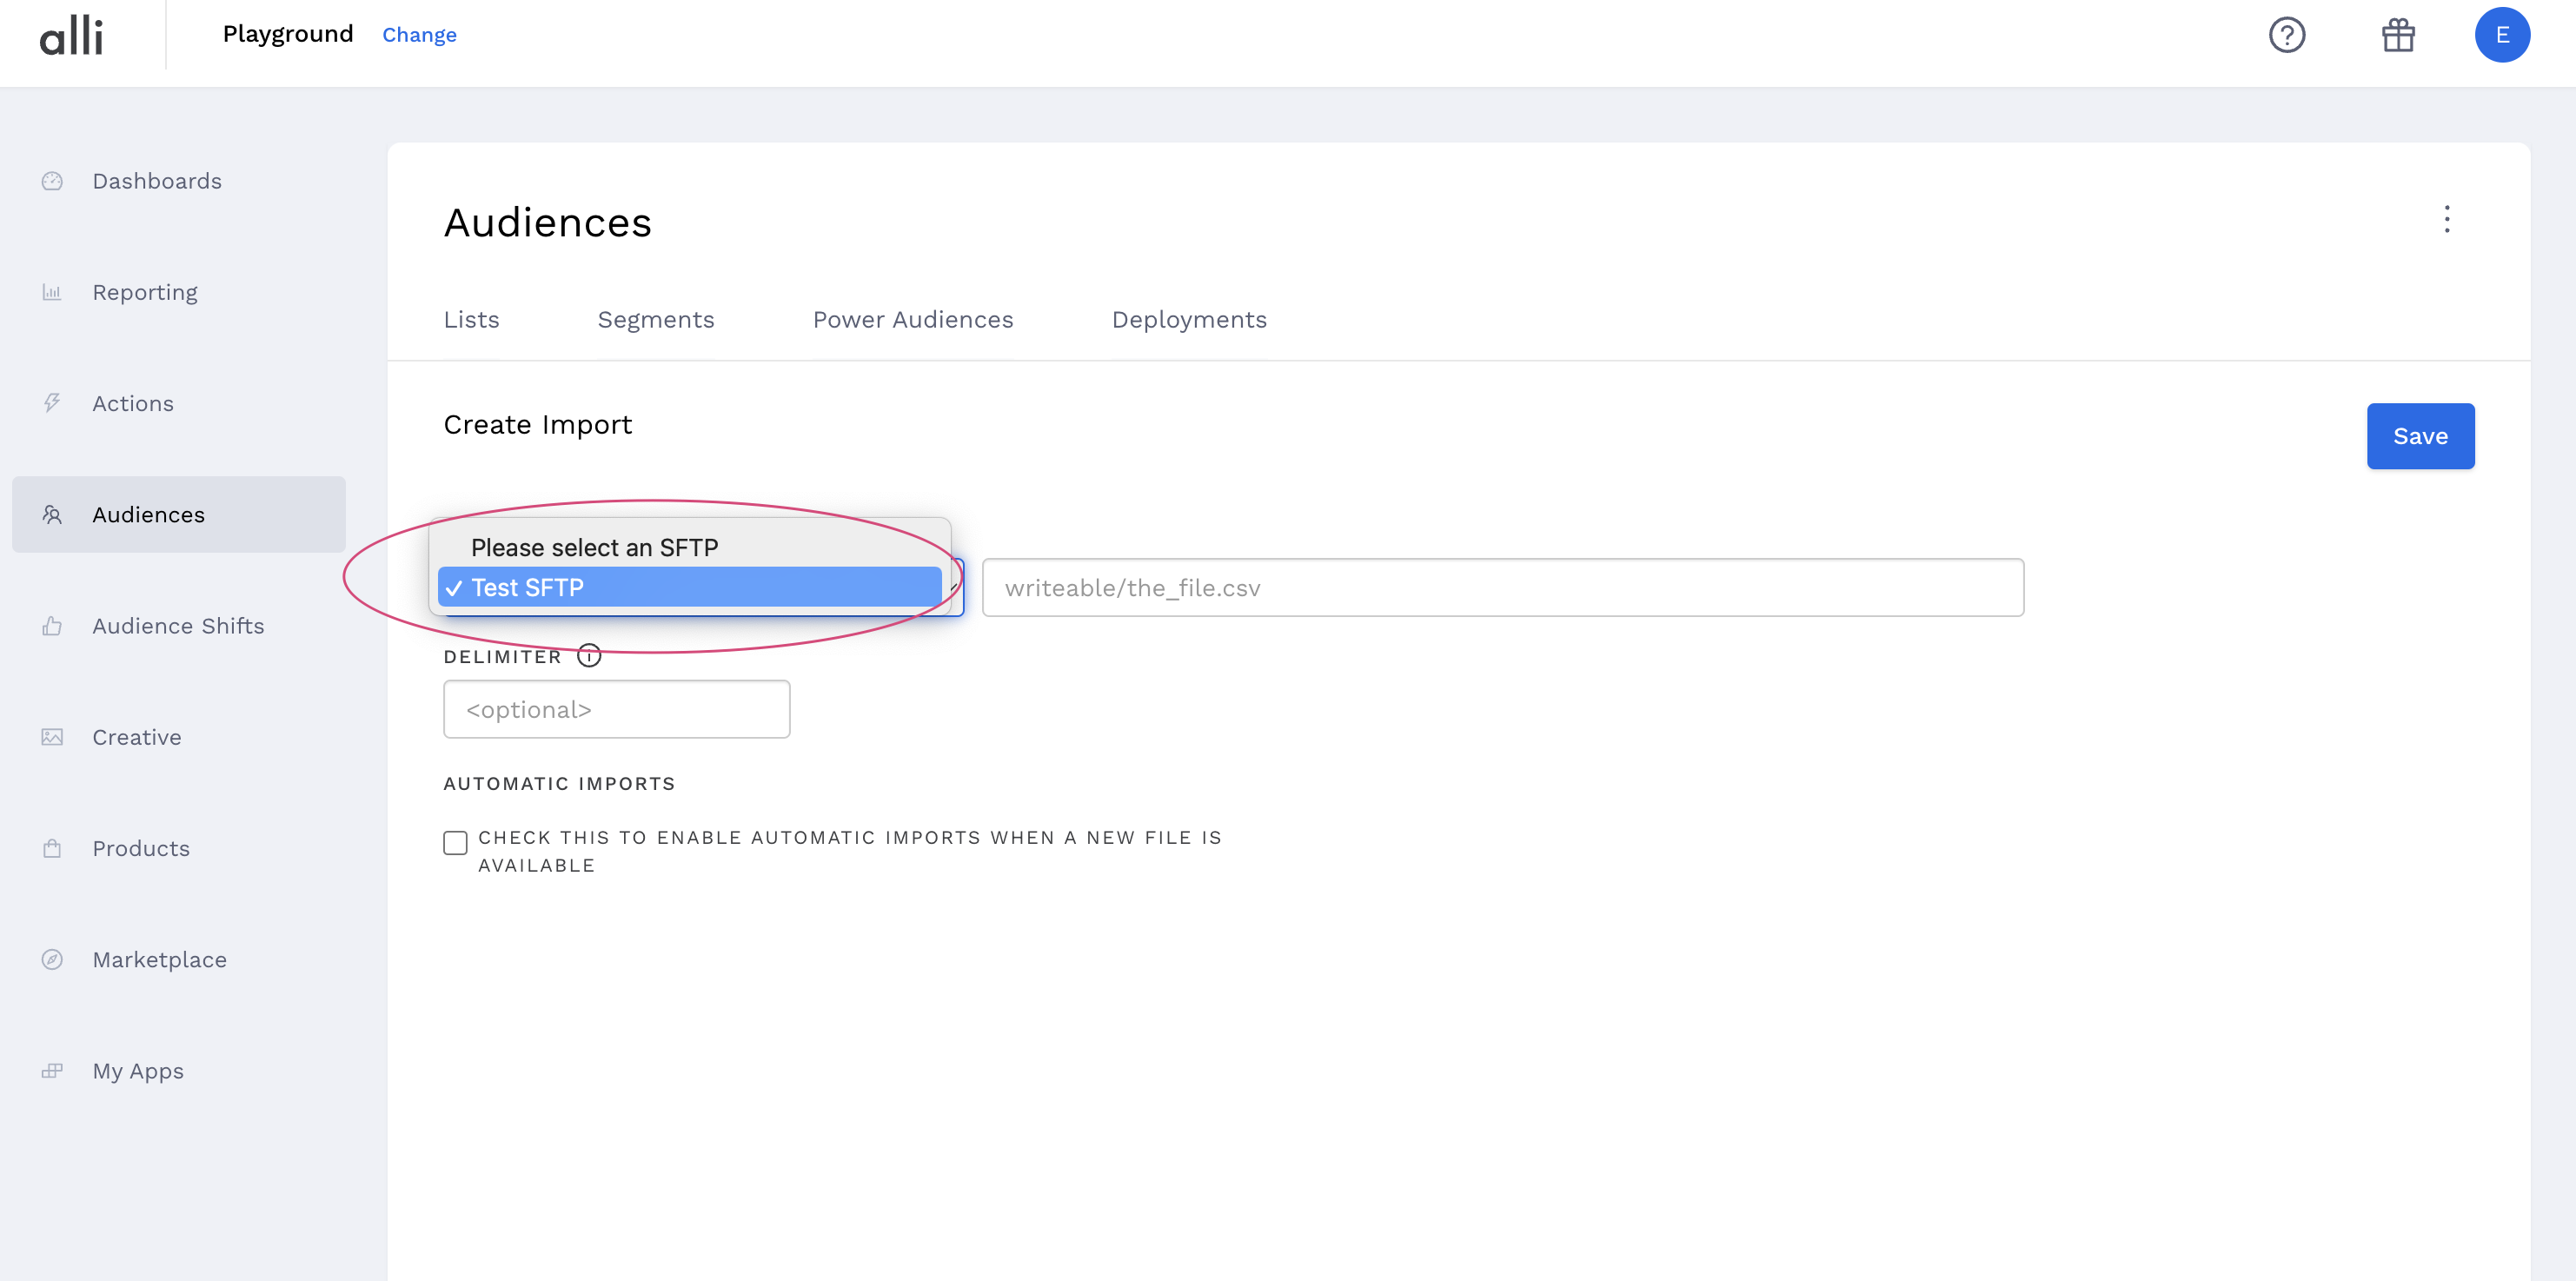
Note: Naming the file should follow this logic [/thefilename*] The file name must stay consistent for every upload. The asterisk denotes a wildcard where the date can be appended.
> Check the box for Automatic Imports if this list will be refreshed on a determined schedule. If this is just a one-off upload, you do not need to check this box.
Filtering and Segmenting Audiences to Send to Partners
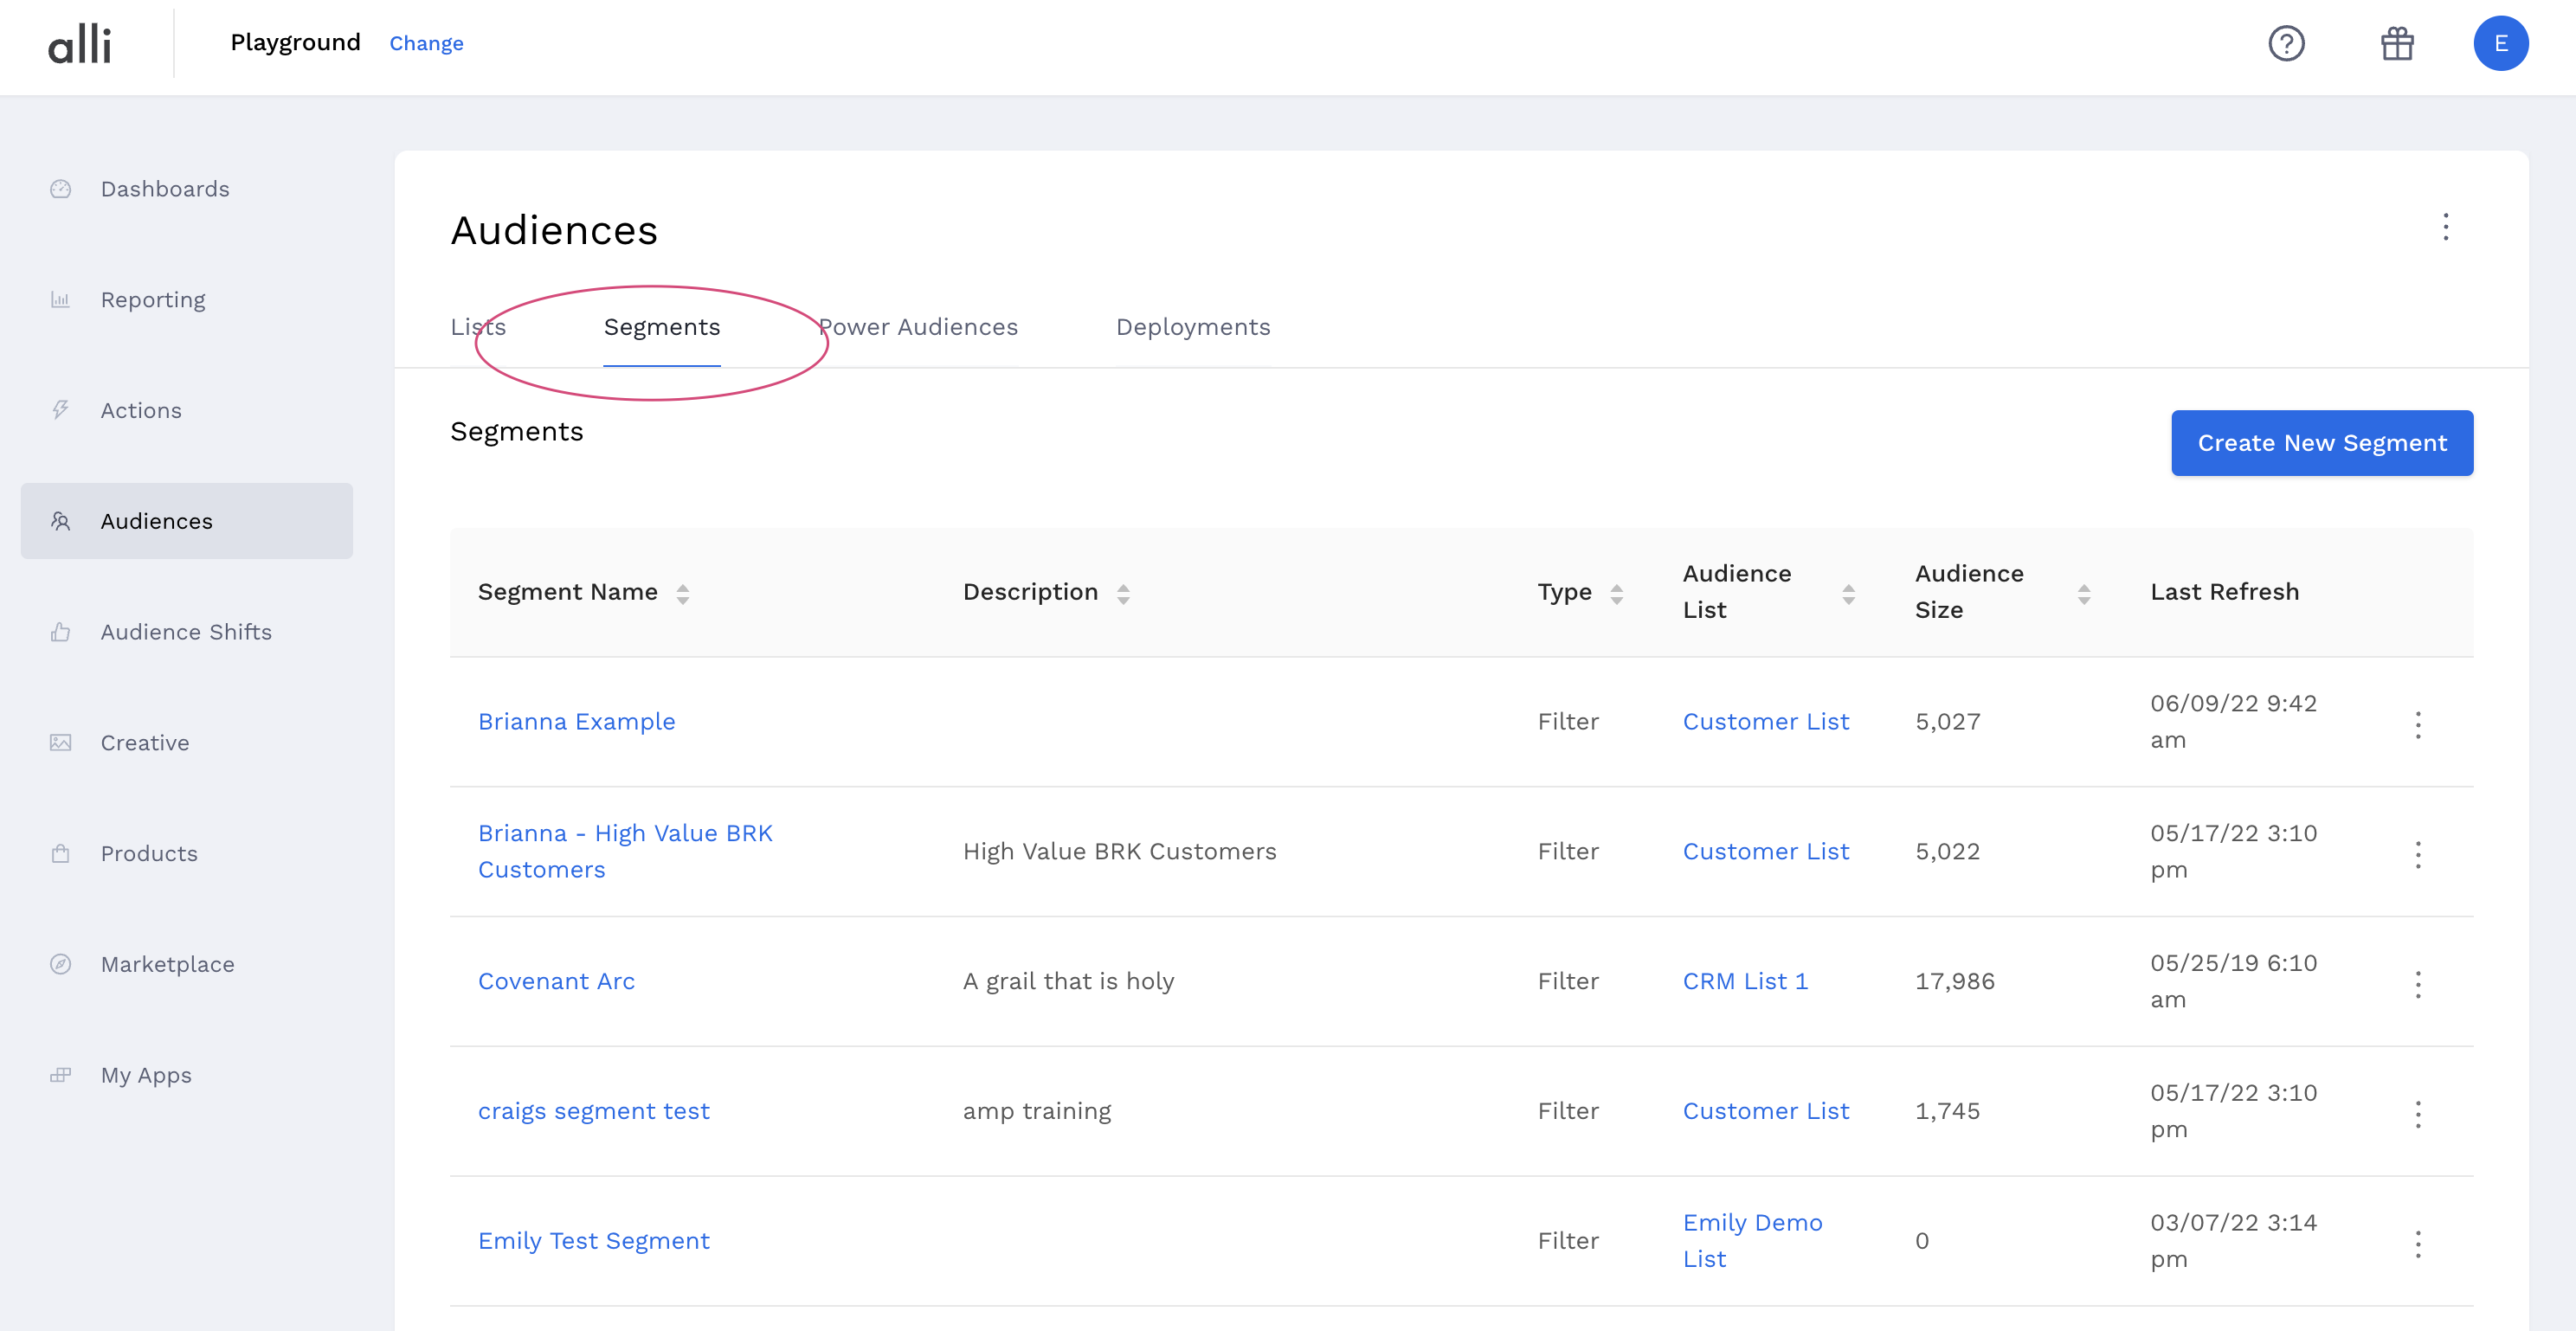
You can now see your imported Lists from the top-hand navigation in the Audiences tab. From here, you can create different segments based on any of your active Audience Lists. A segment is a smaller and more refined audience based on defined filters that can be automatically refreshed when your audience list is updated. If you choose to activate these segments through any partner platforms, they will be automatically refreshed there as well.
> Click on the list name to create a segment.
> Once you have clicked on an Audience List, you will see the Customer List l Create Segment page.
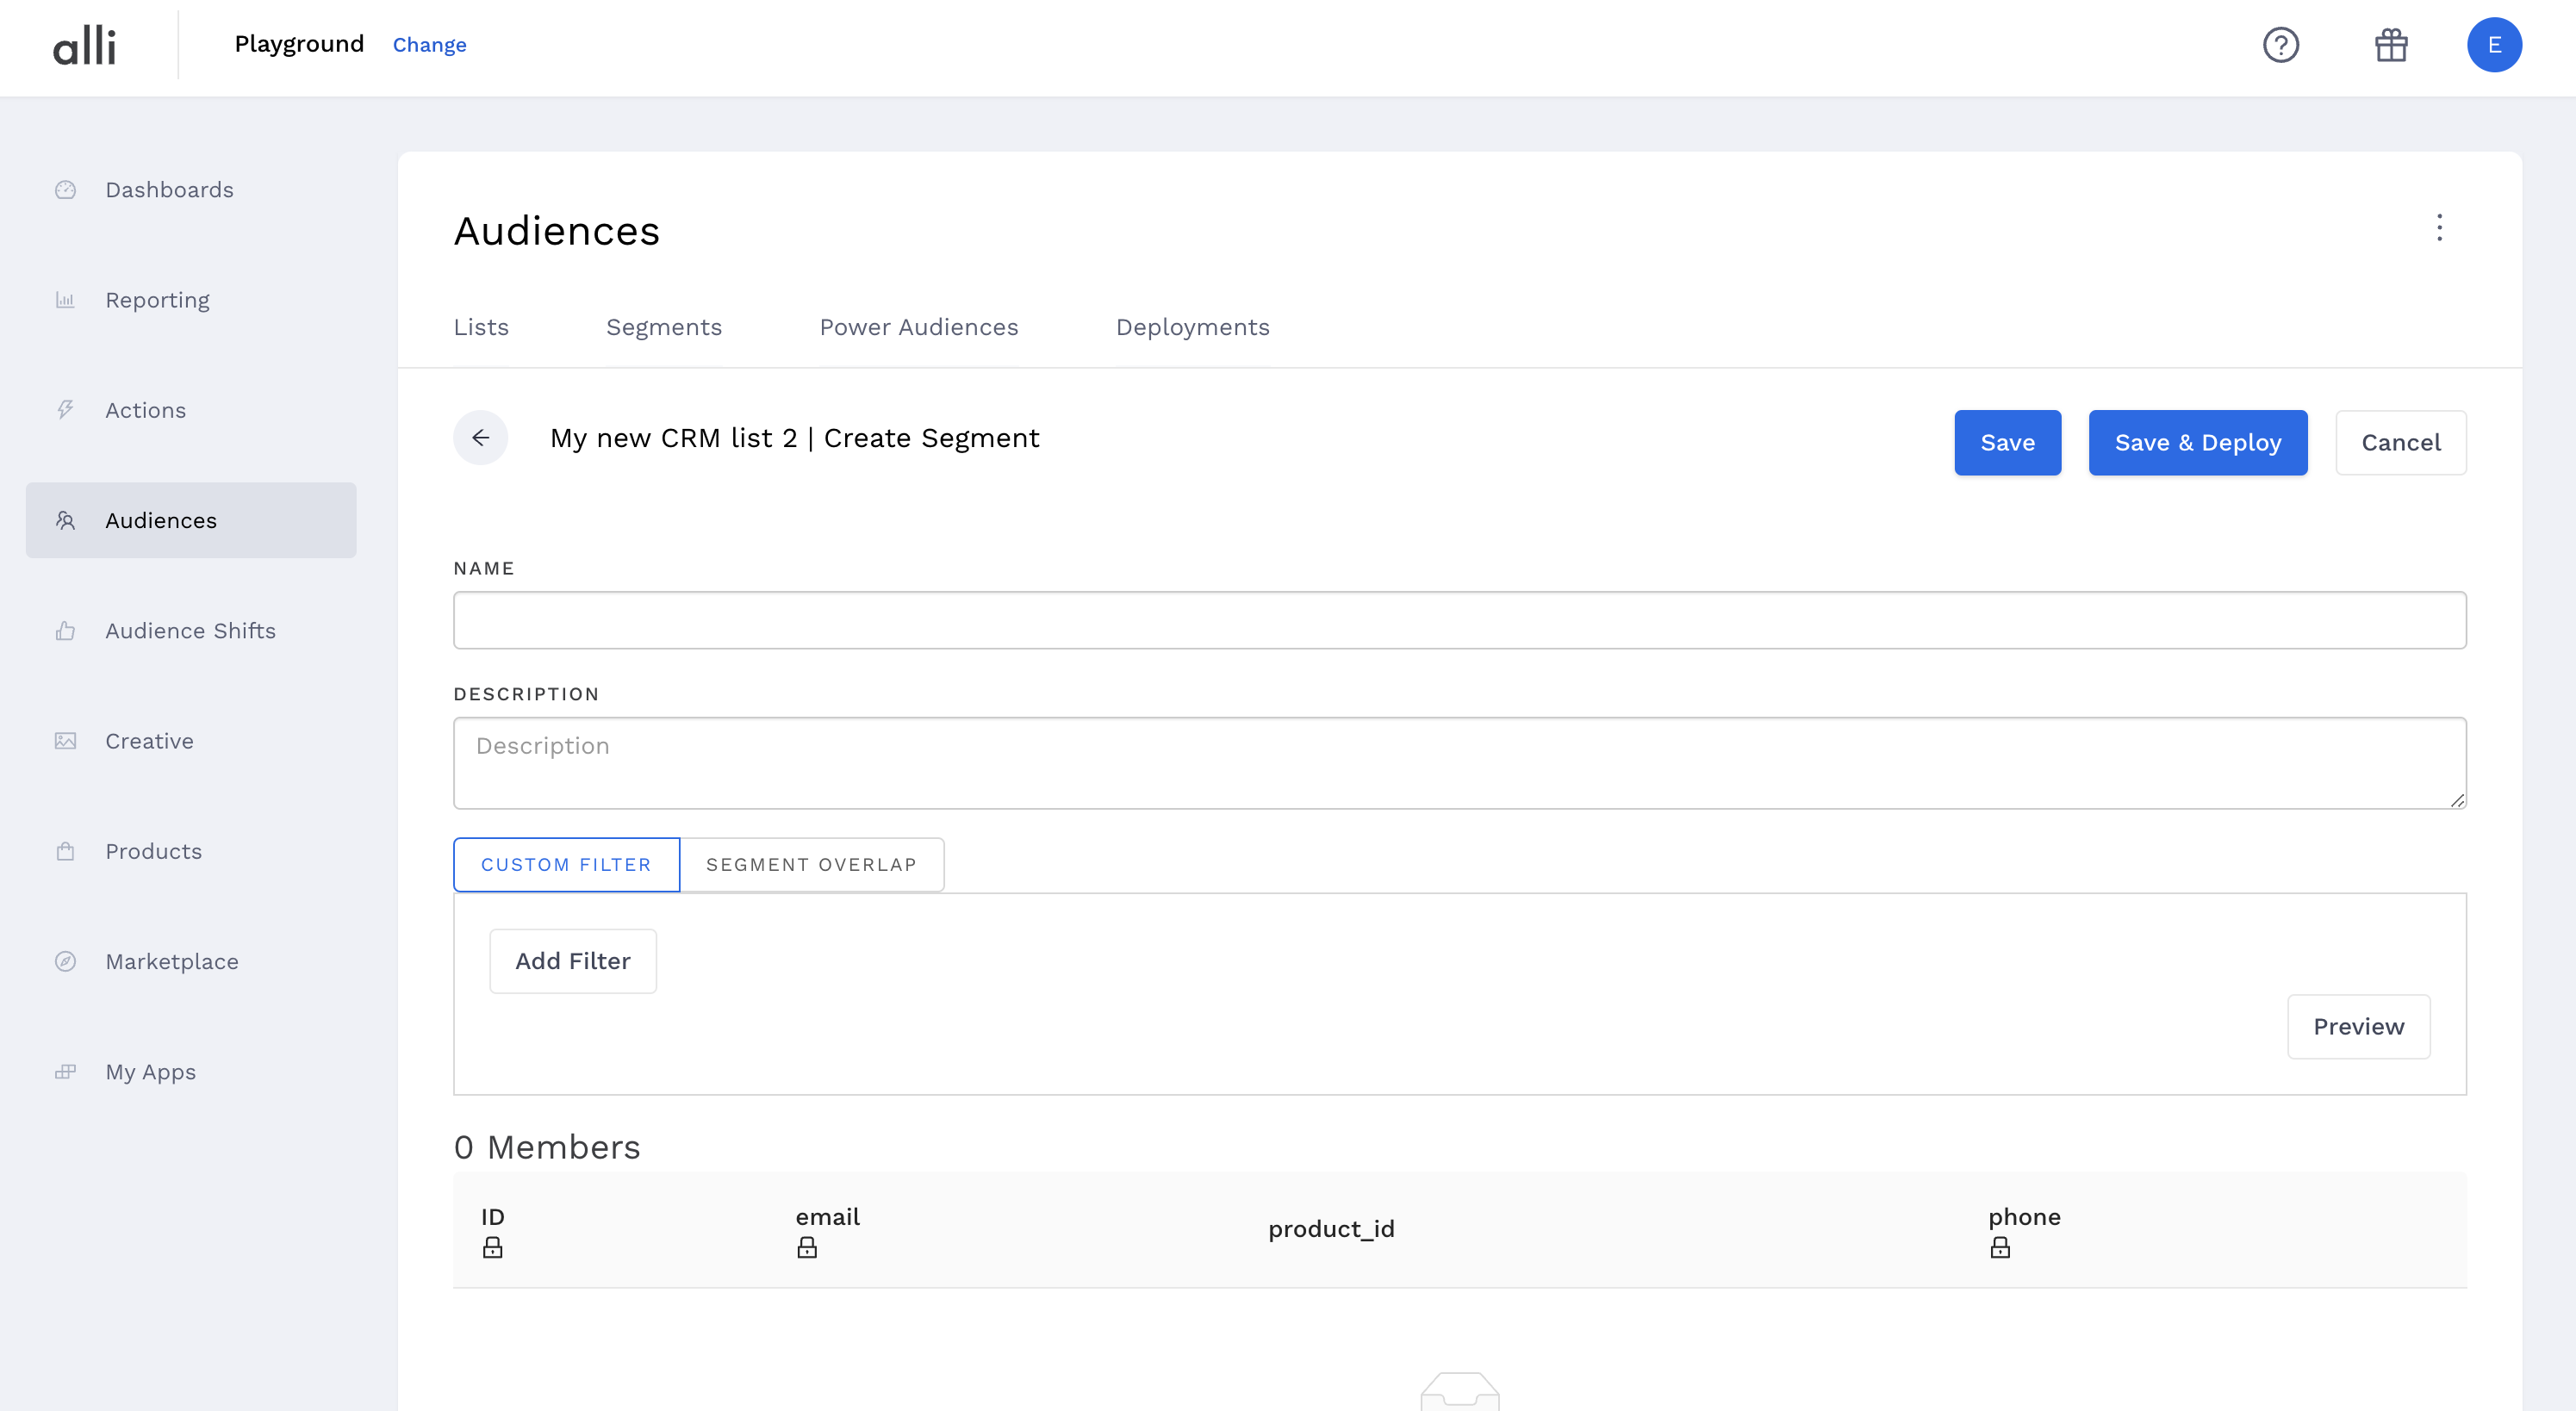
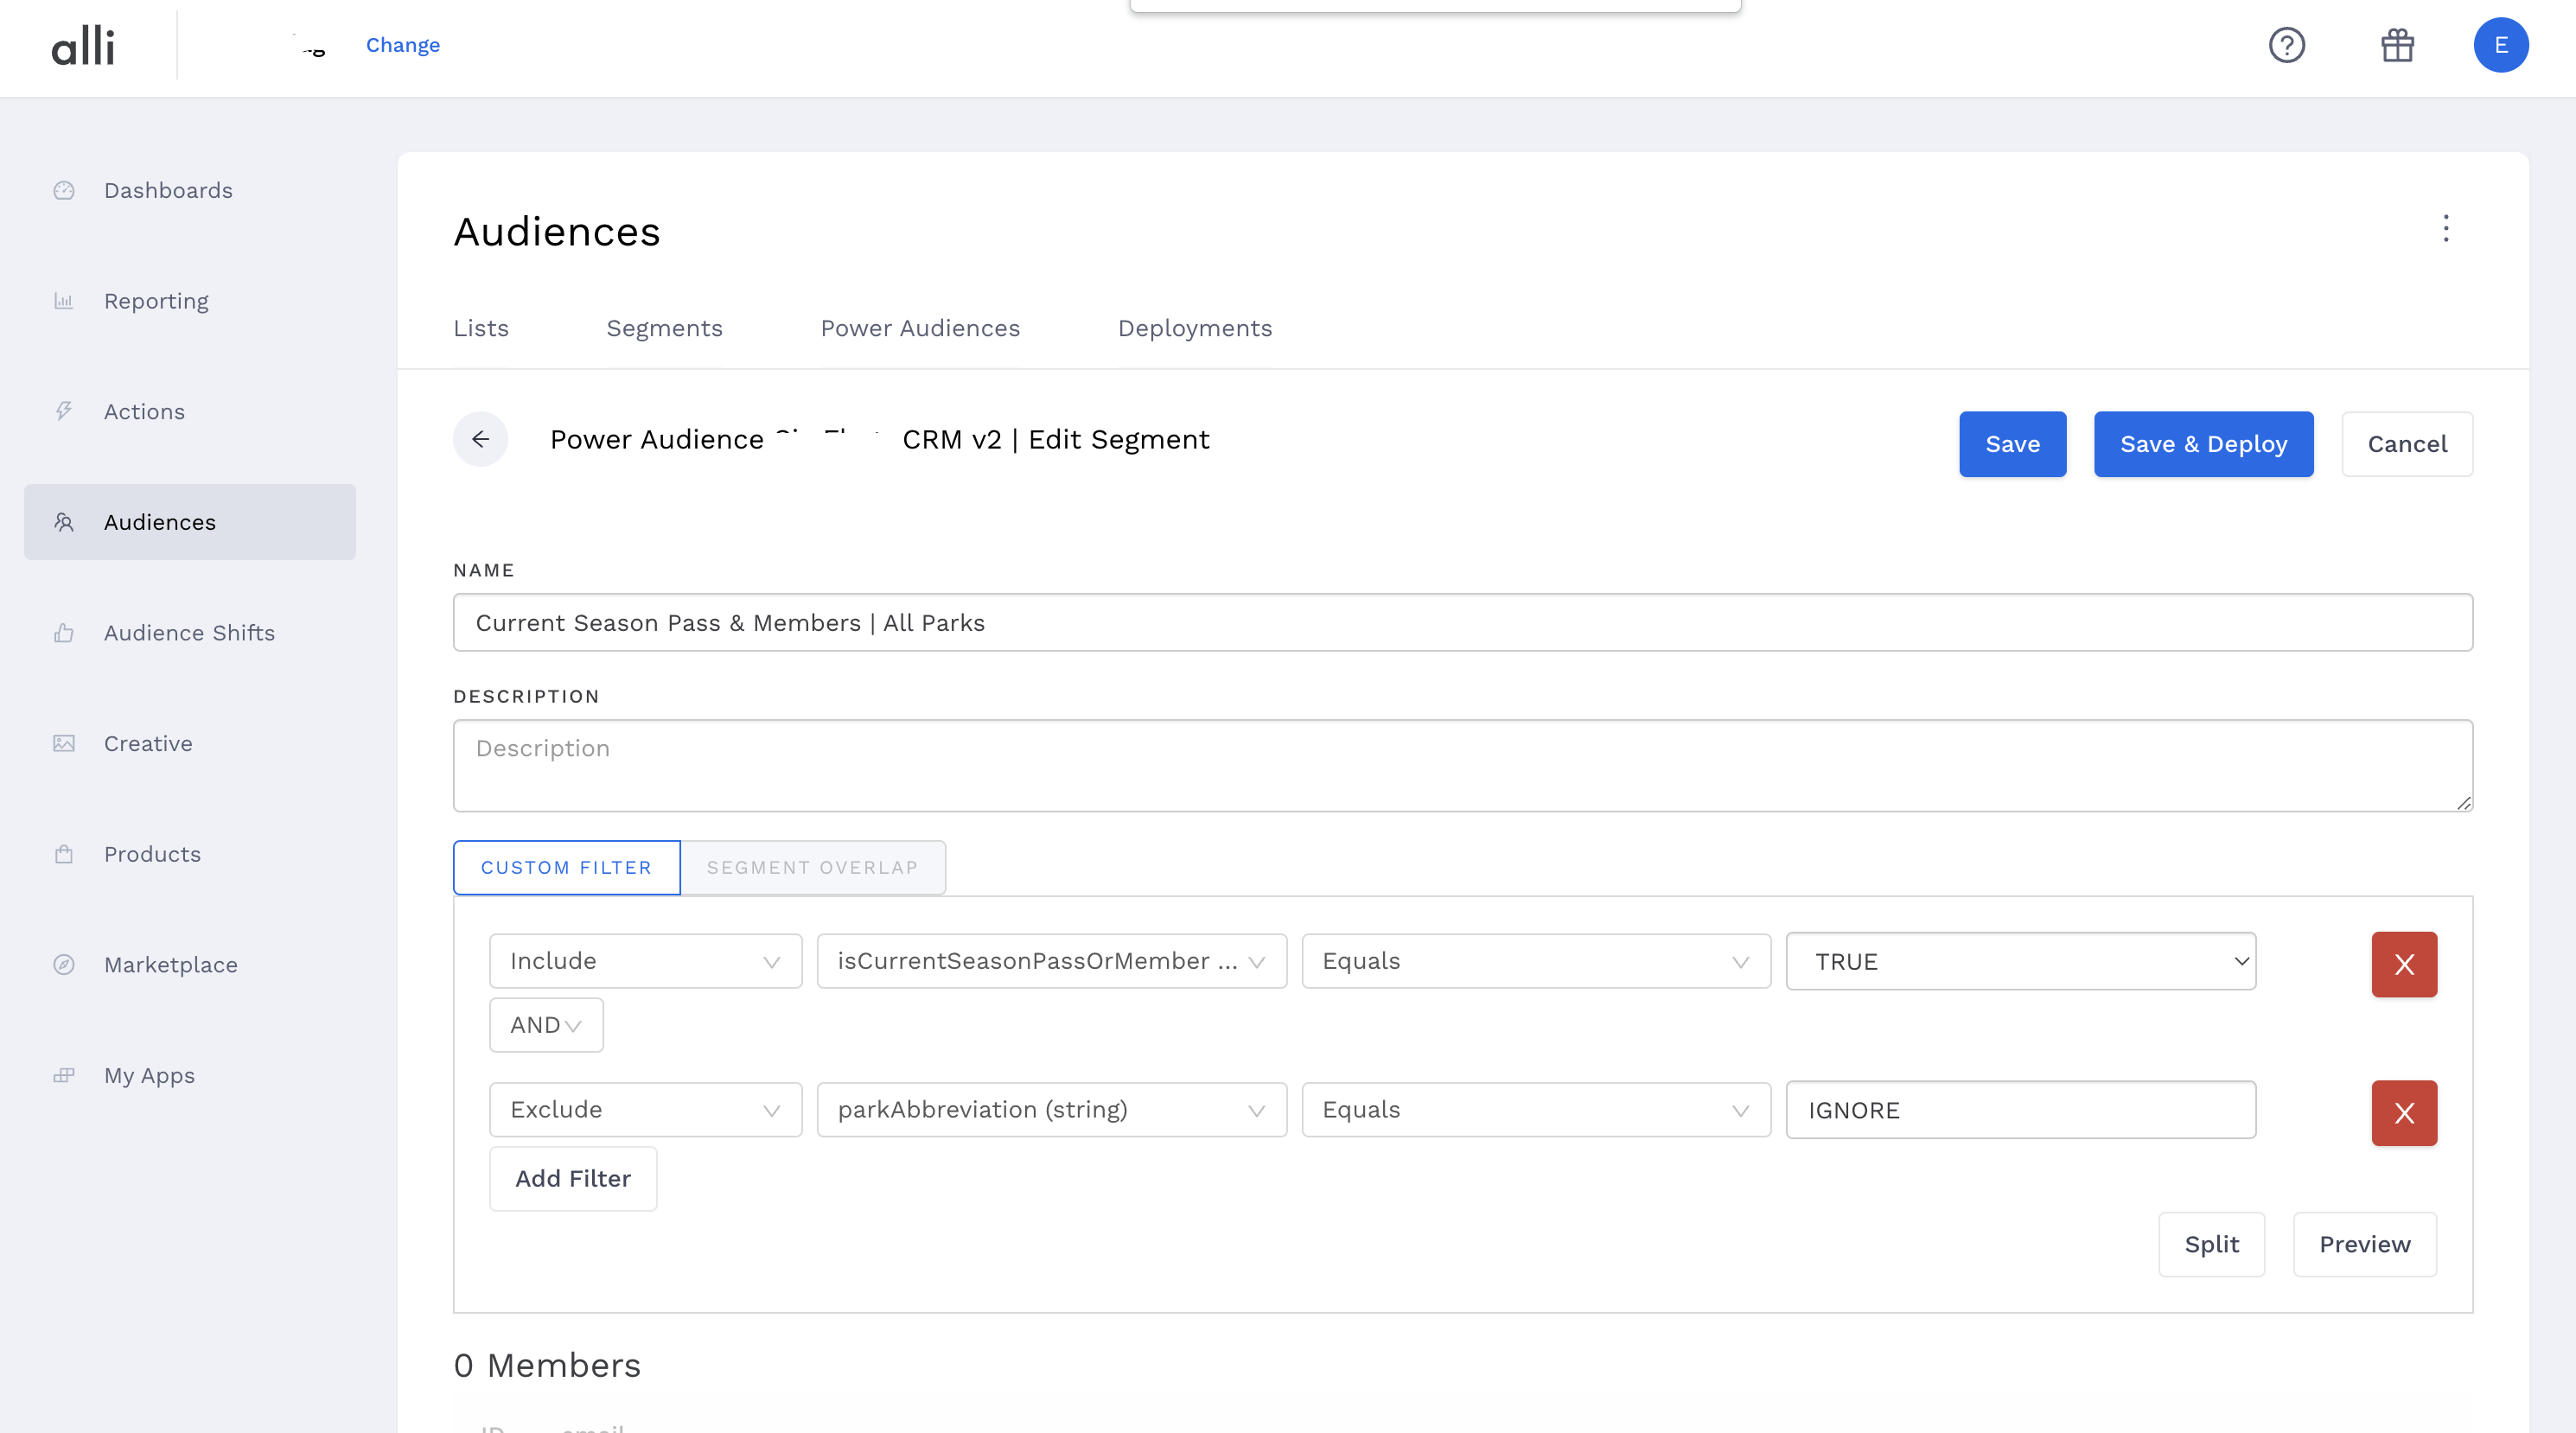
> Setting up a segment follows boolean logic. As an example, this segment includes current season pass members for a client (currentseasonpassmember = true) and excludes any line items that should be ignored (parkabbreviation = ignore).
Note: If you are unsure of the set up and/or logic of your list, click on Preview in order to see a selection of the line items being imported.
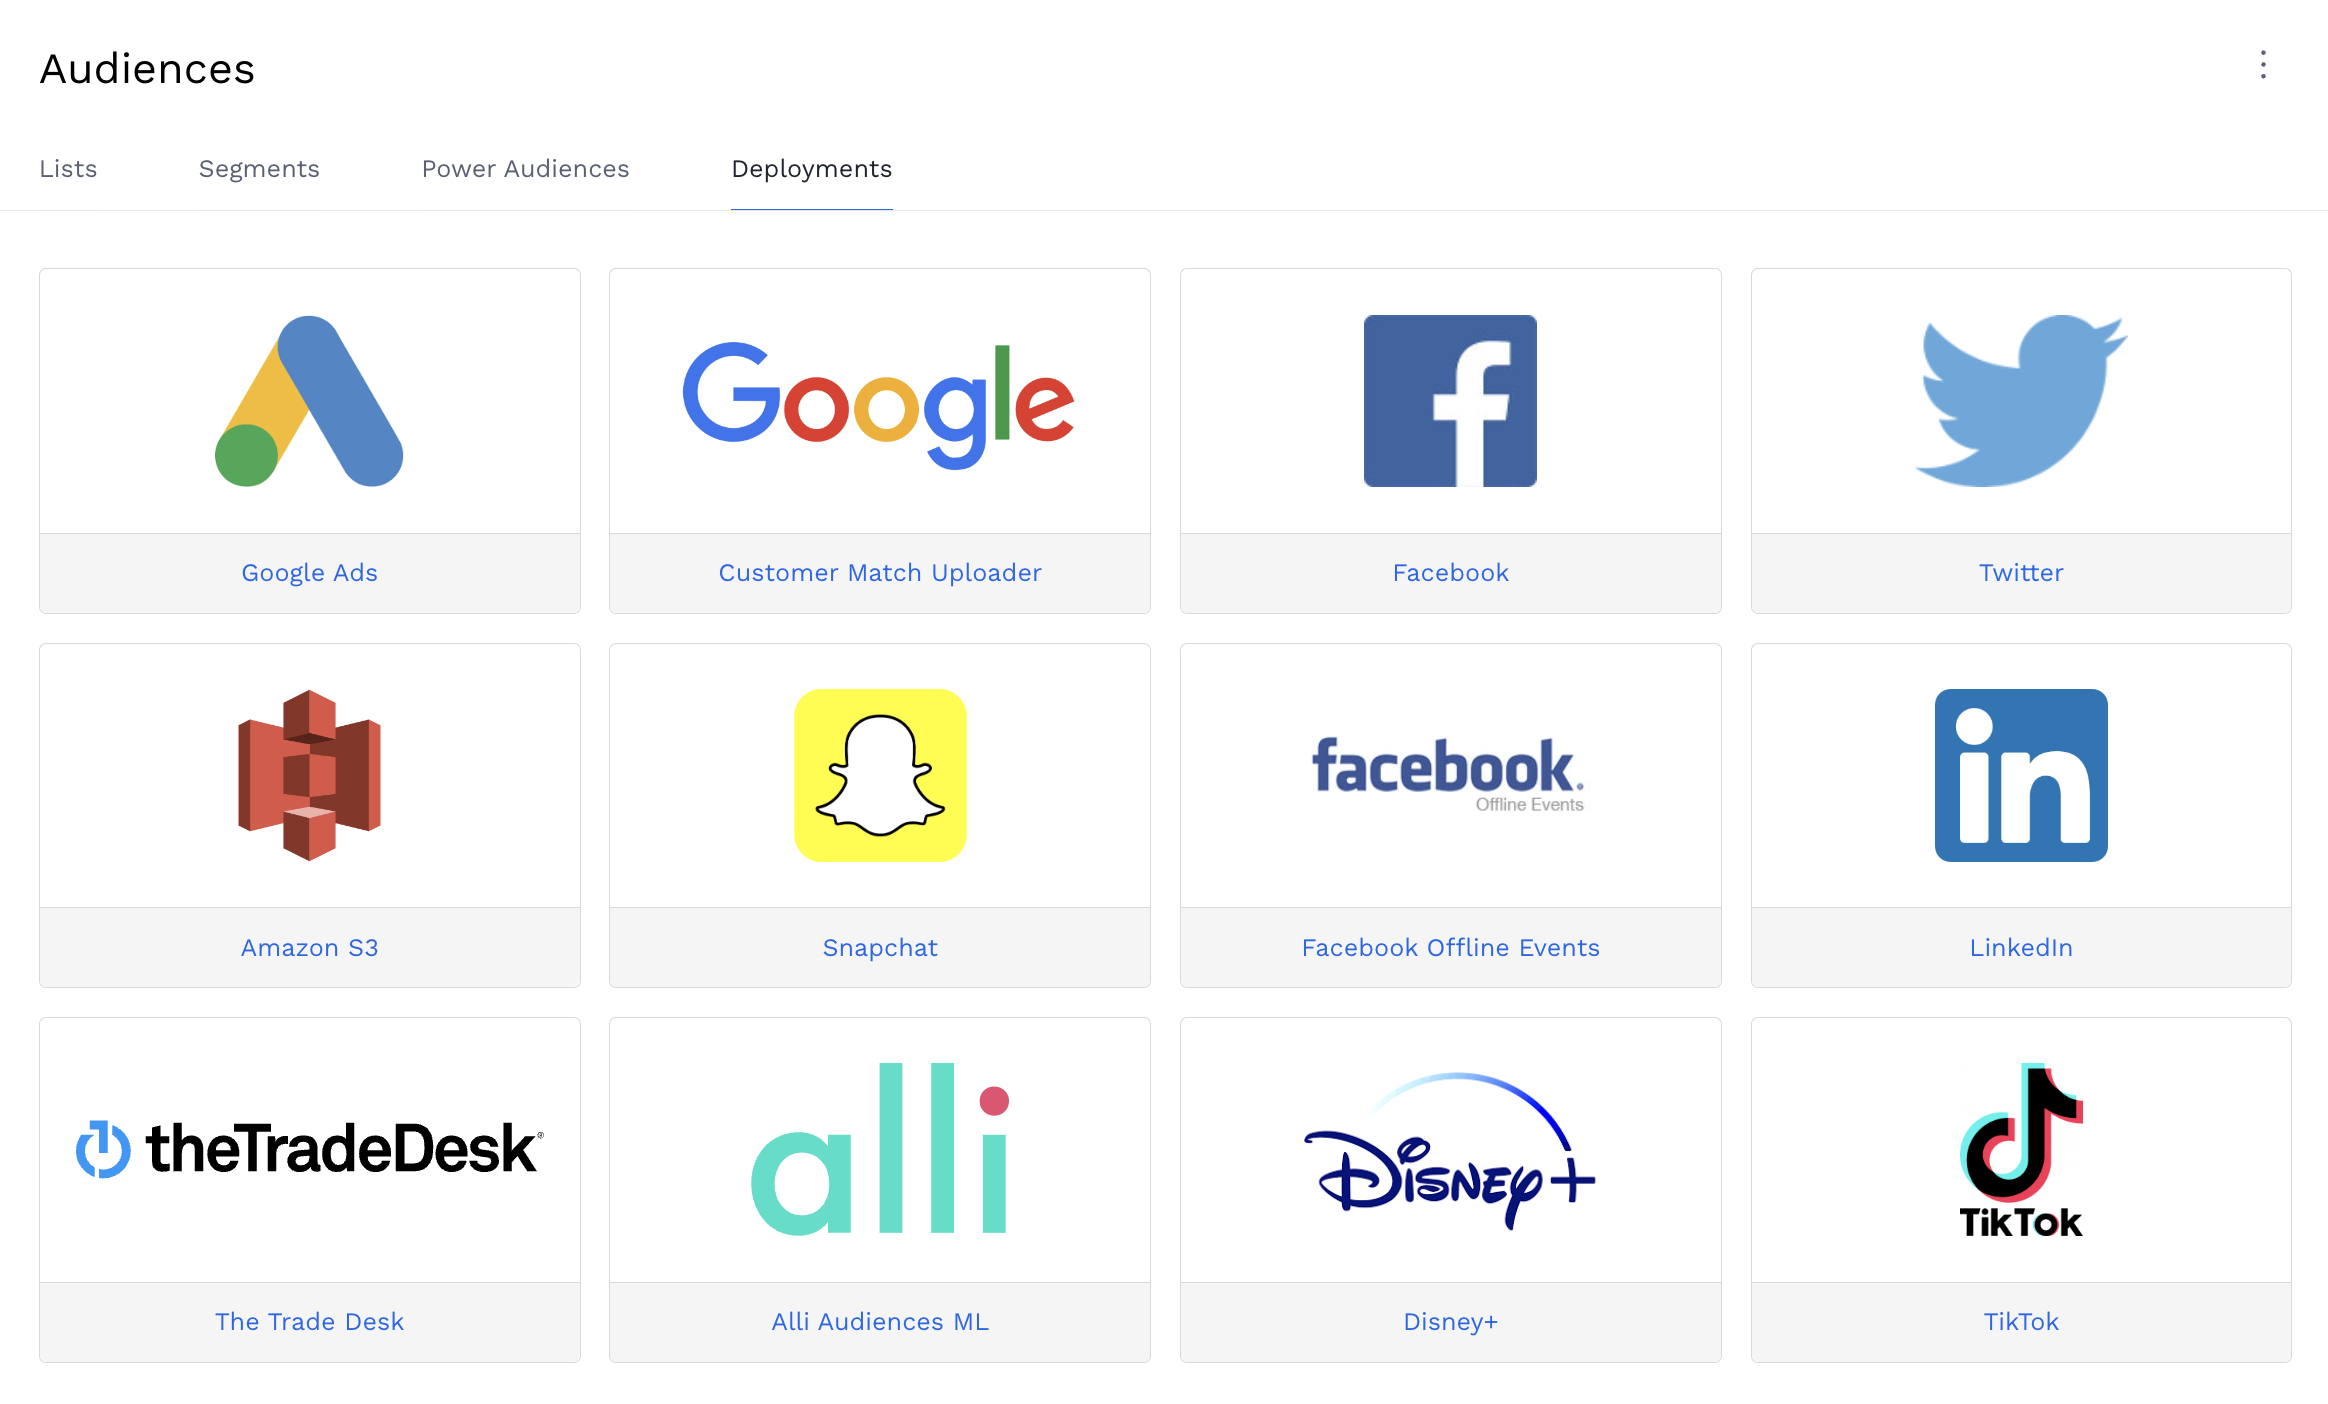
Activating an audience to a partner
> Once your segment is ready, click on Save to save the configuration or Save & Deploy to push it out to partner platforms. Clicking Save & Deploy will bring you to the partner selection page. Choose the partner platform to be activated. (Note: LiveRamp will have additional fees.)
> Add a Description, confirm that the Authenticated User is correct, select an Ad Account and name the Custom Audience. Check the Automatically refresh data whenever there are changes to the audience box if that is applicable to this list.
> Click Save to save the configuration or Save & Send to begin pushing the list to the chosen Activation Partner.
> Confirm that your segment is live by clicking on the Activations tab from the top navigation.

This tab will show you the partner platform, the list size and the last time that it was successfully updated.
Congrats! You have successfully imported, segmented, and deployed an audience list through Alli!