
This how-to covers how to create a segment from an Audience list.
Instructions
Before starting, make sure you have an audience list available within your client to create a segment from.
-
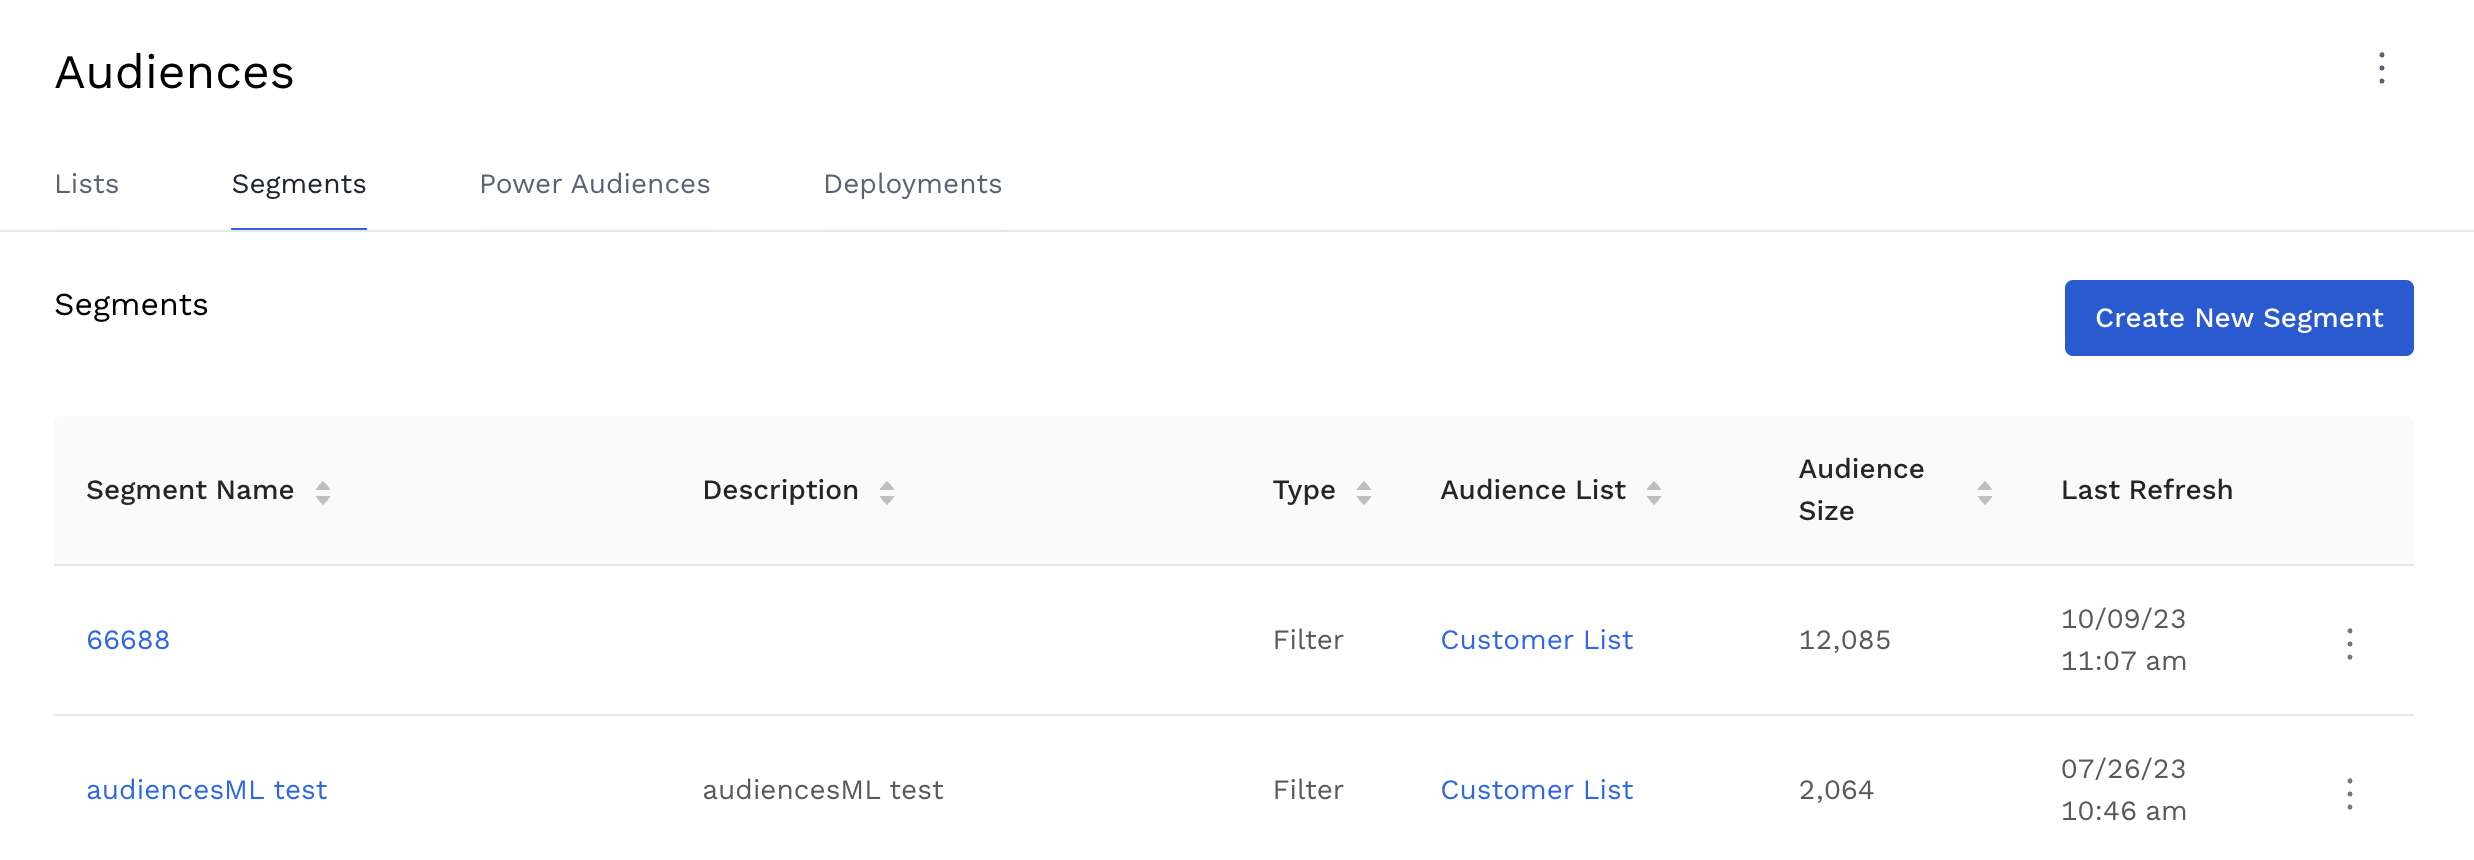
Navigate to ‘Segments’ in Alli Audiences and click ‘Create New Segment’.
-
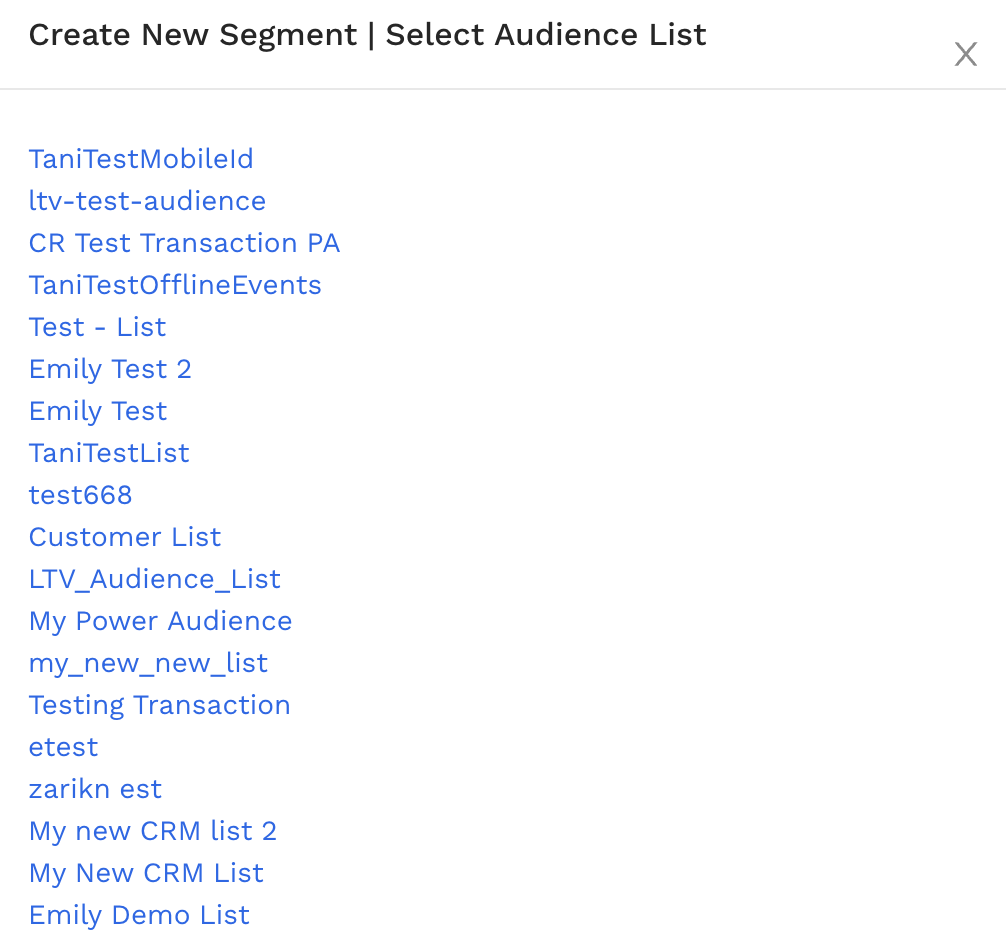
Select from the pop up the Audience list on which you would like to segment.
-
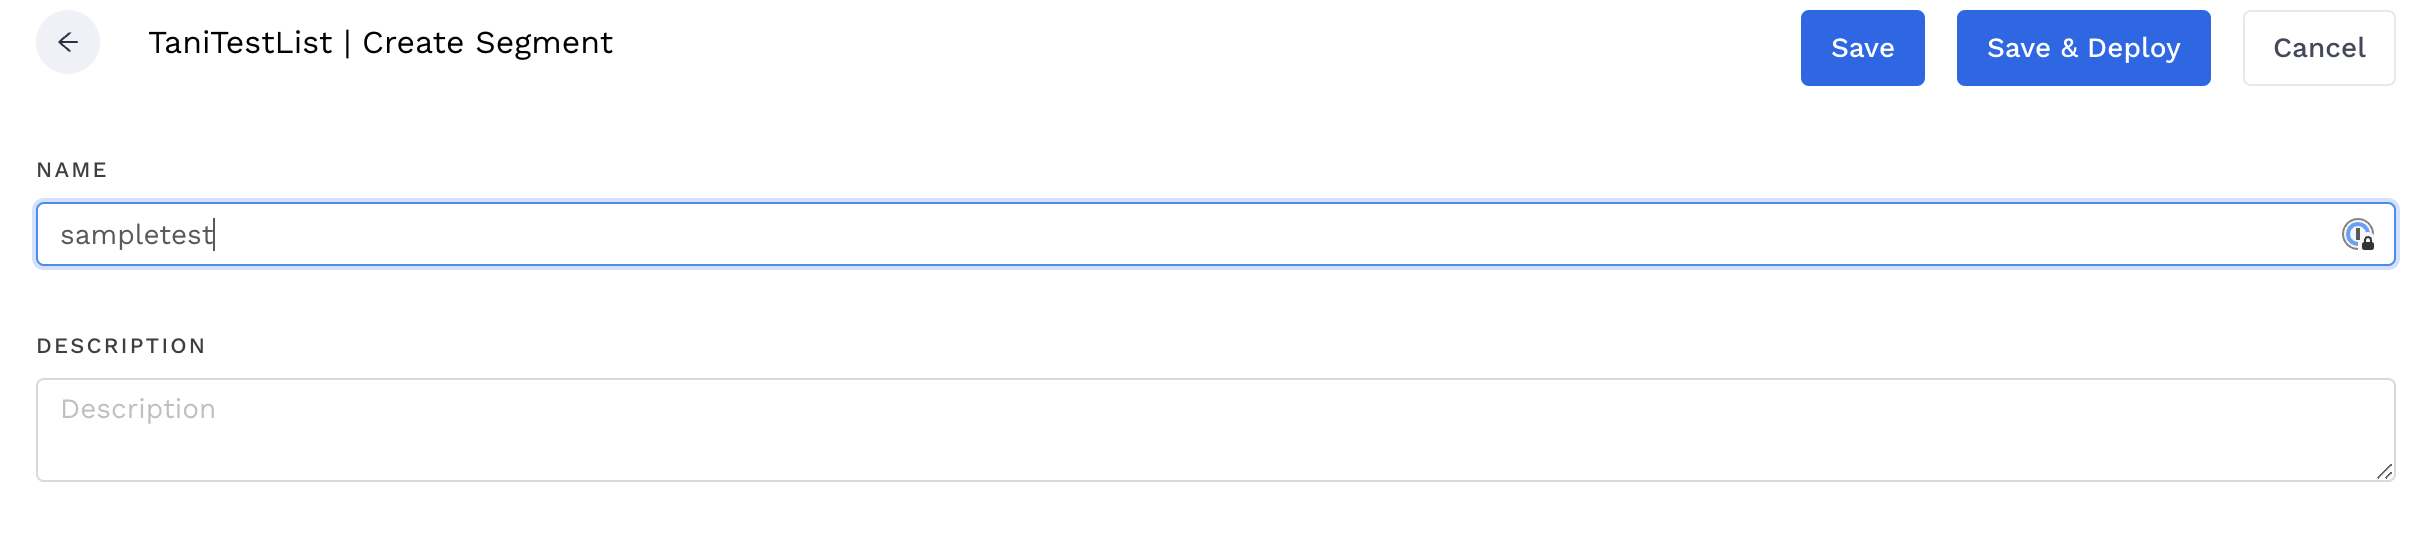
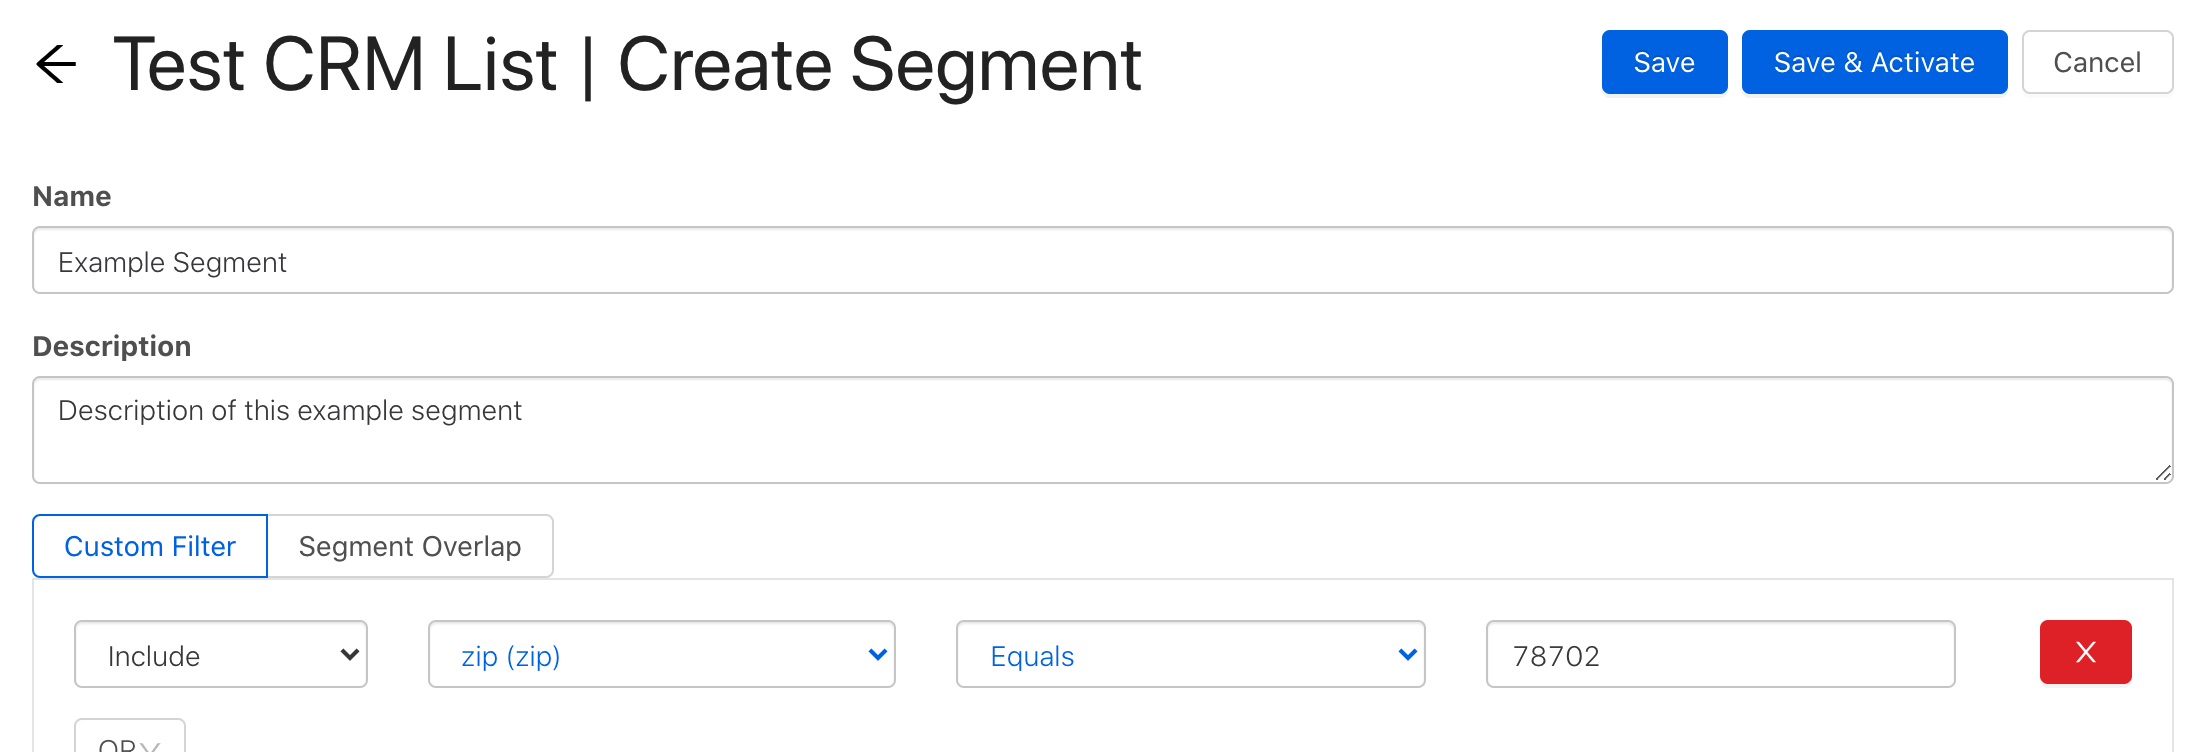
Add a name and description to your segment.
-
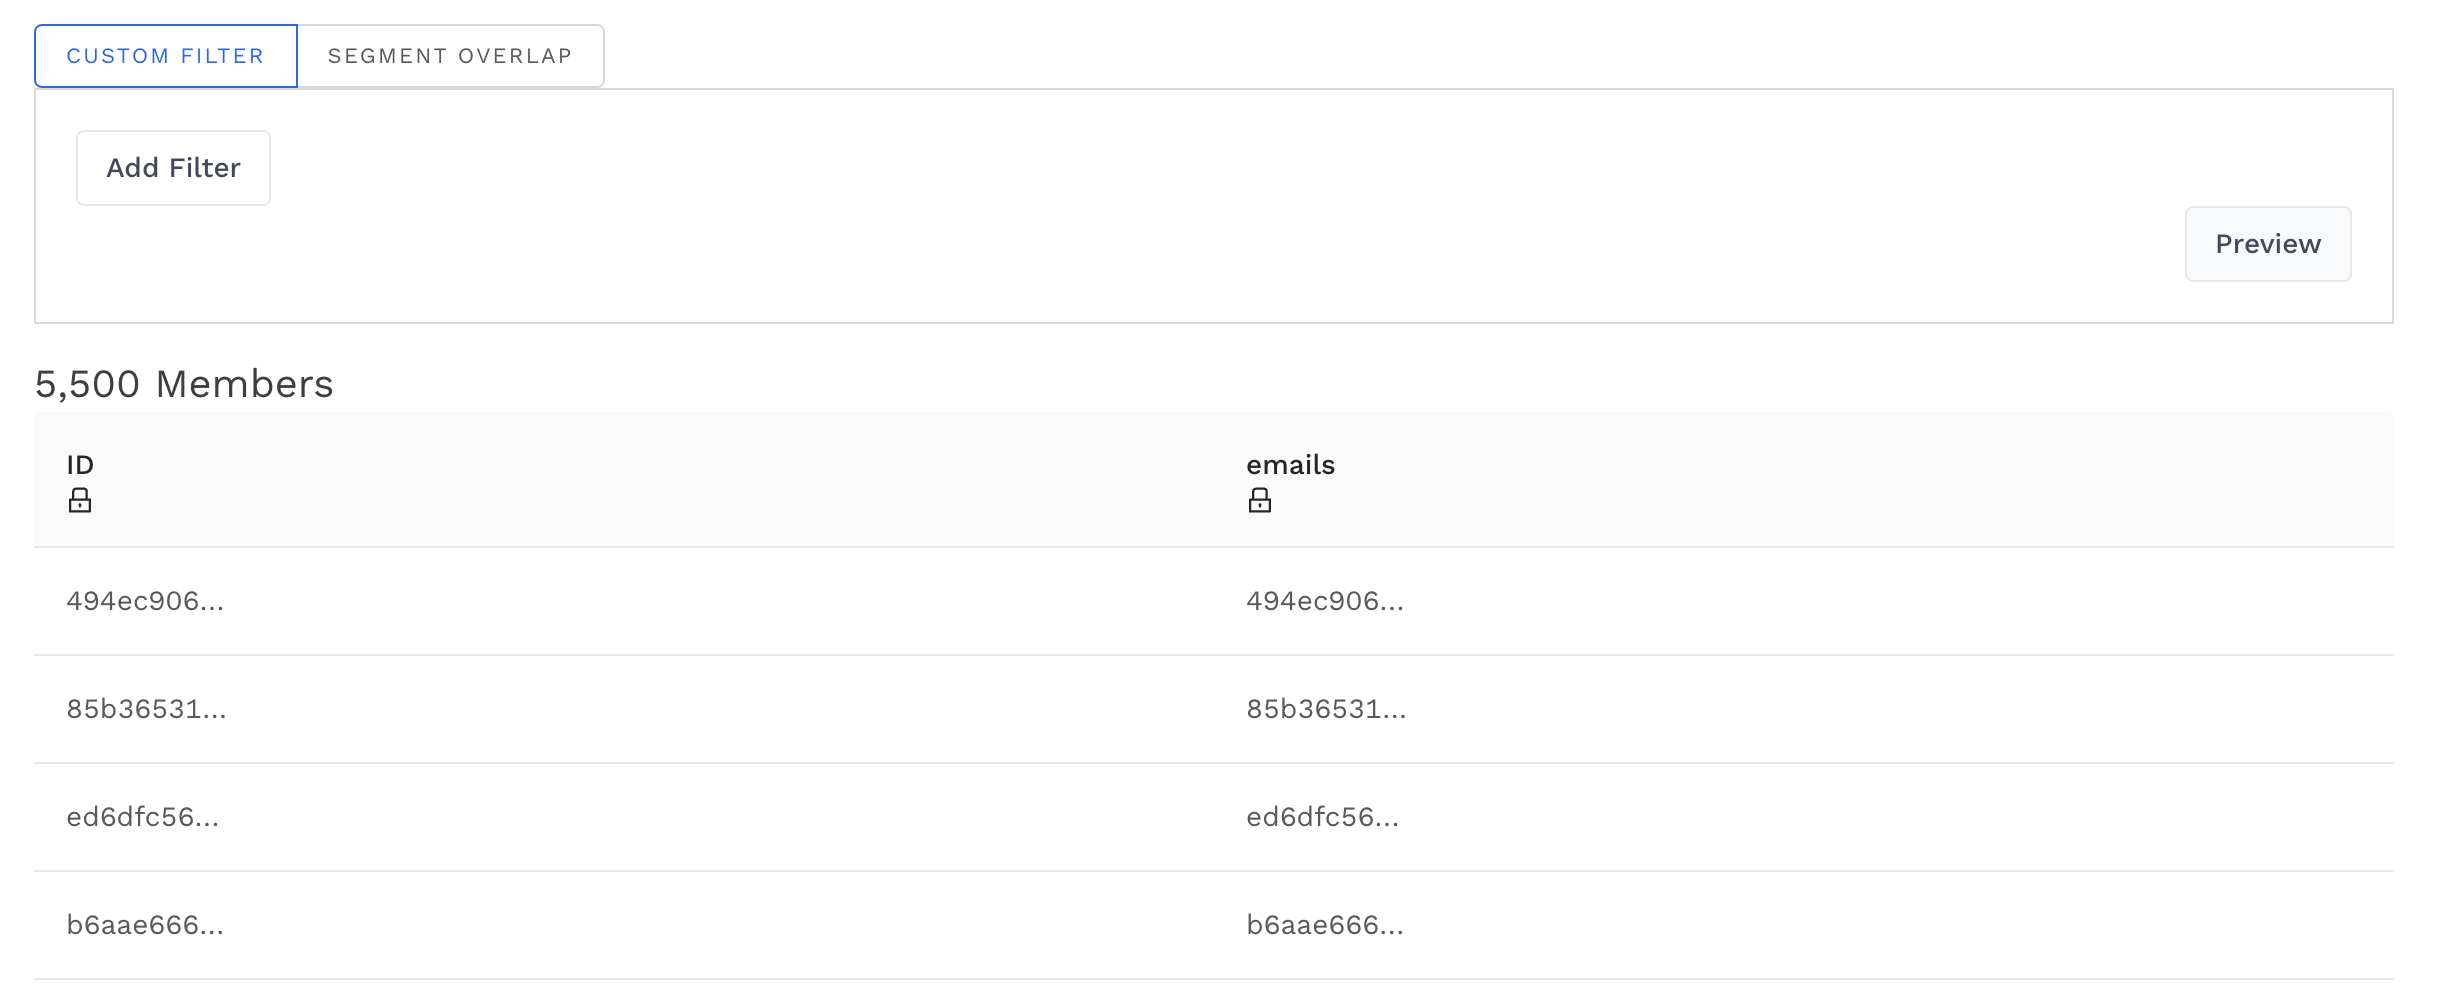
Click ‘Preview’ to ensure data is loading correctly.
-
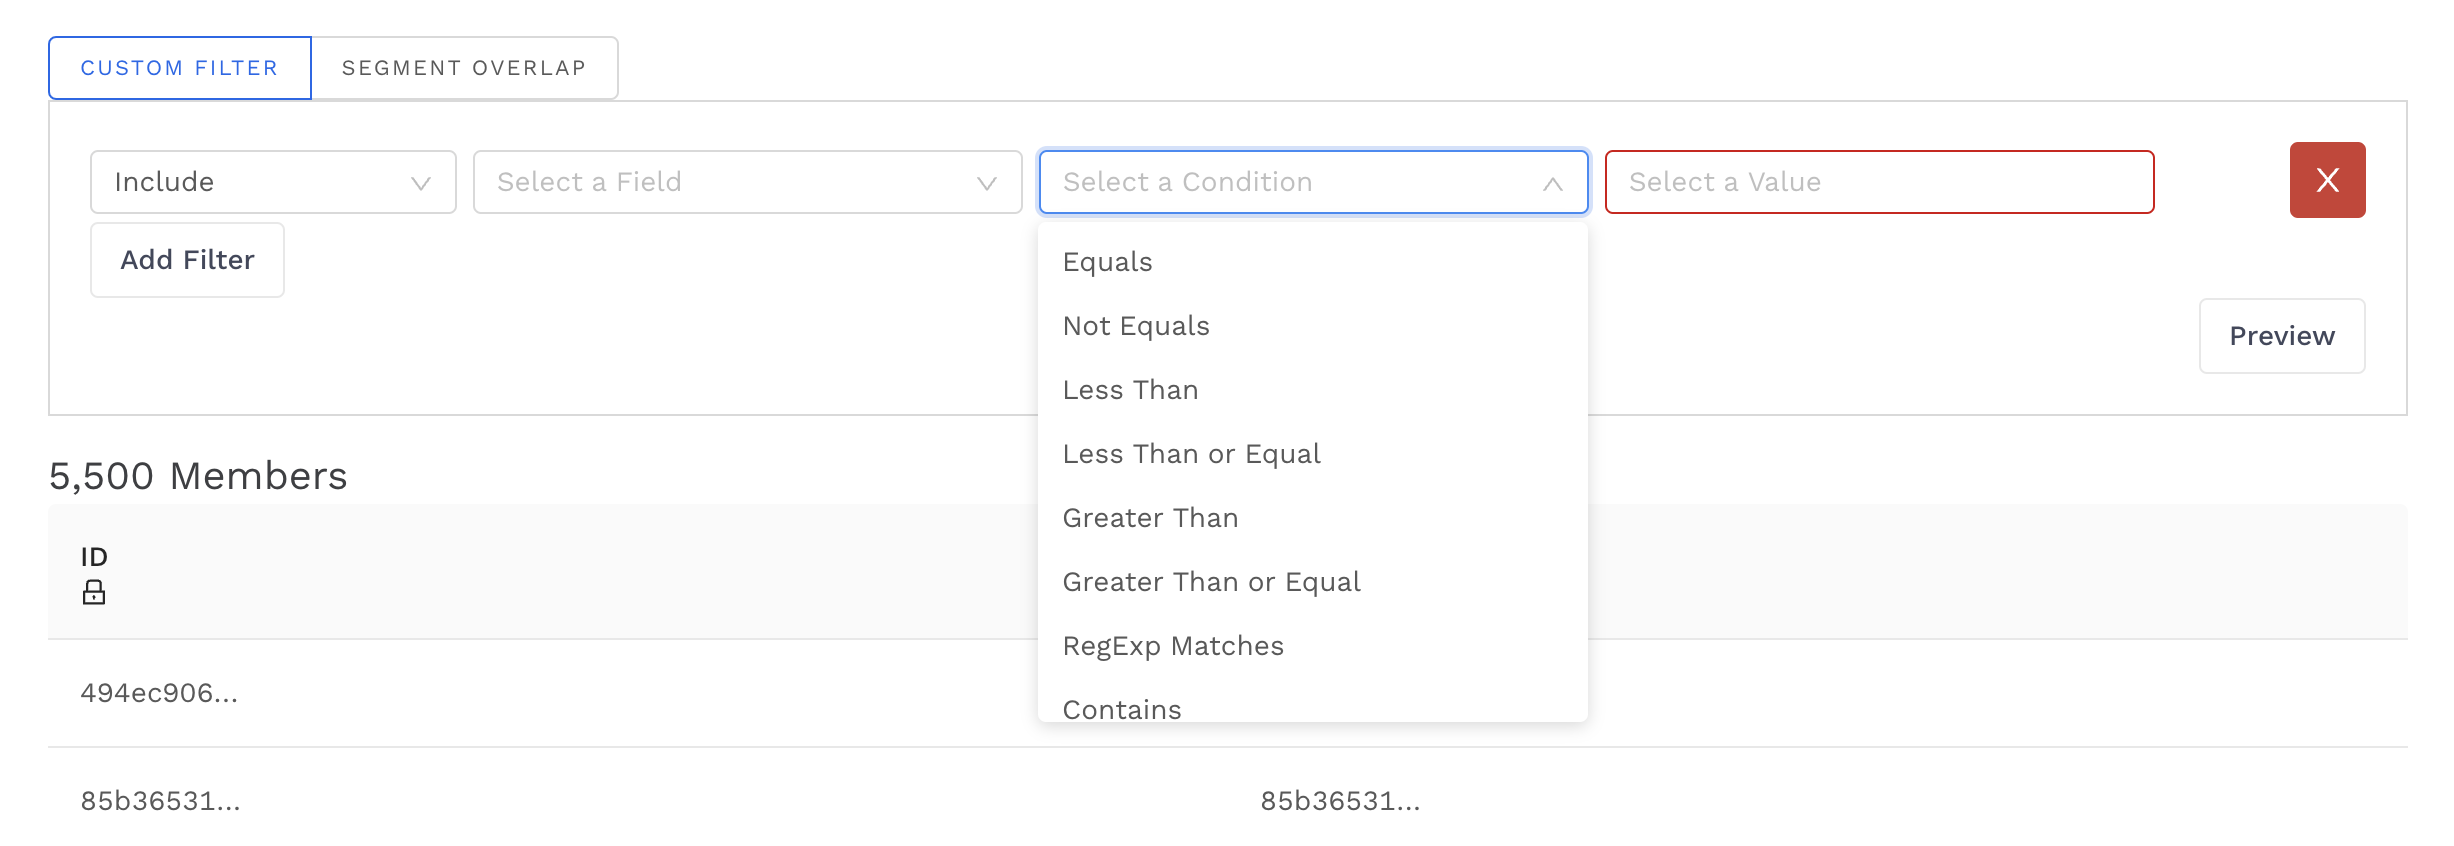
Add a filter to your list to build your segment
-
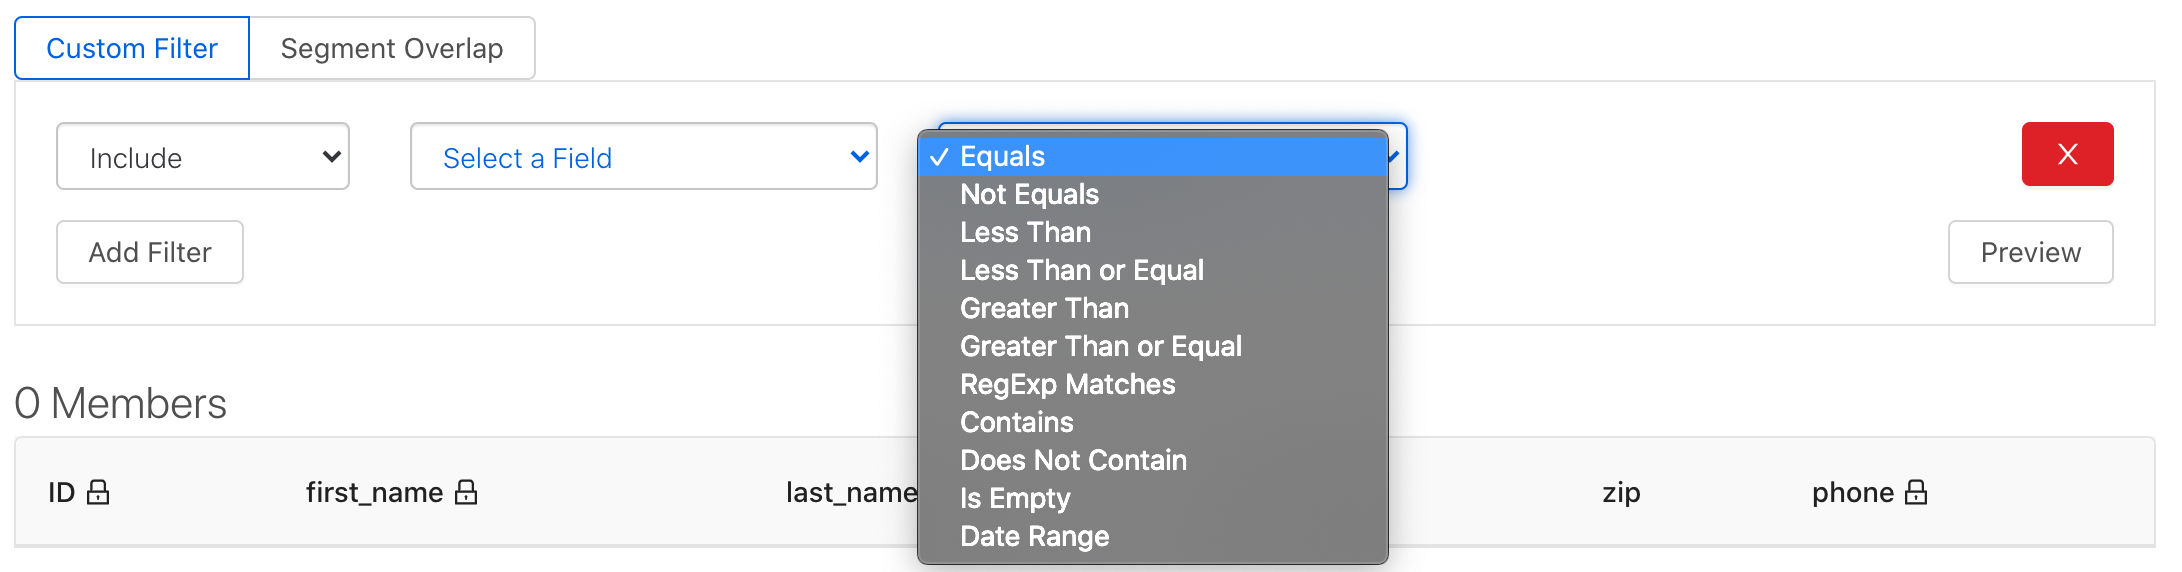
Filters can be applied to any column in your Audience list. You can filter to include or exclude specific customers based on the following conditions.
-
Please visit Segmenting Best Practices and Use Cases for a running list of examples.
-
-
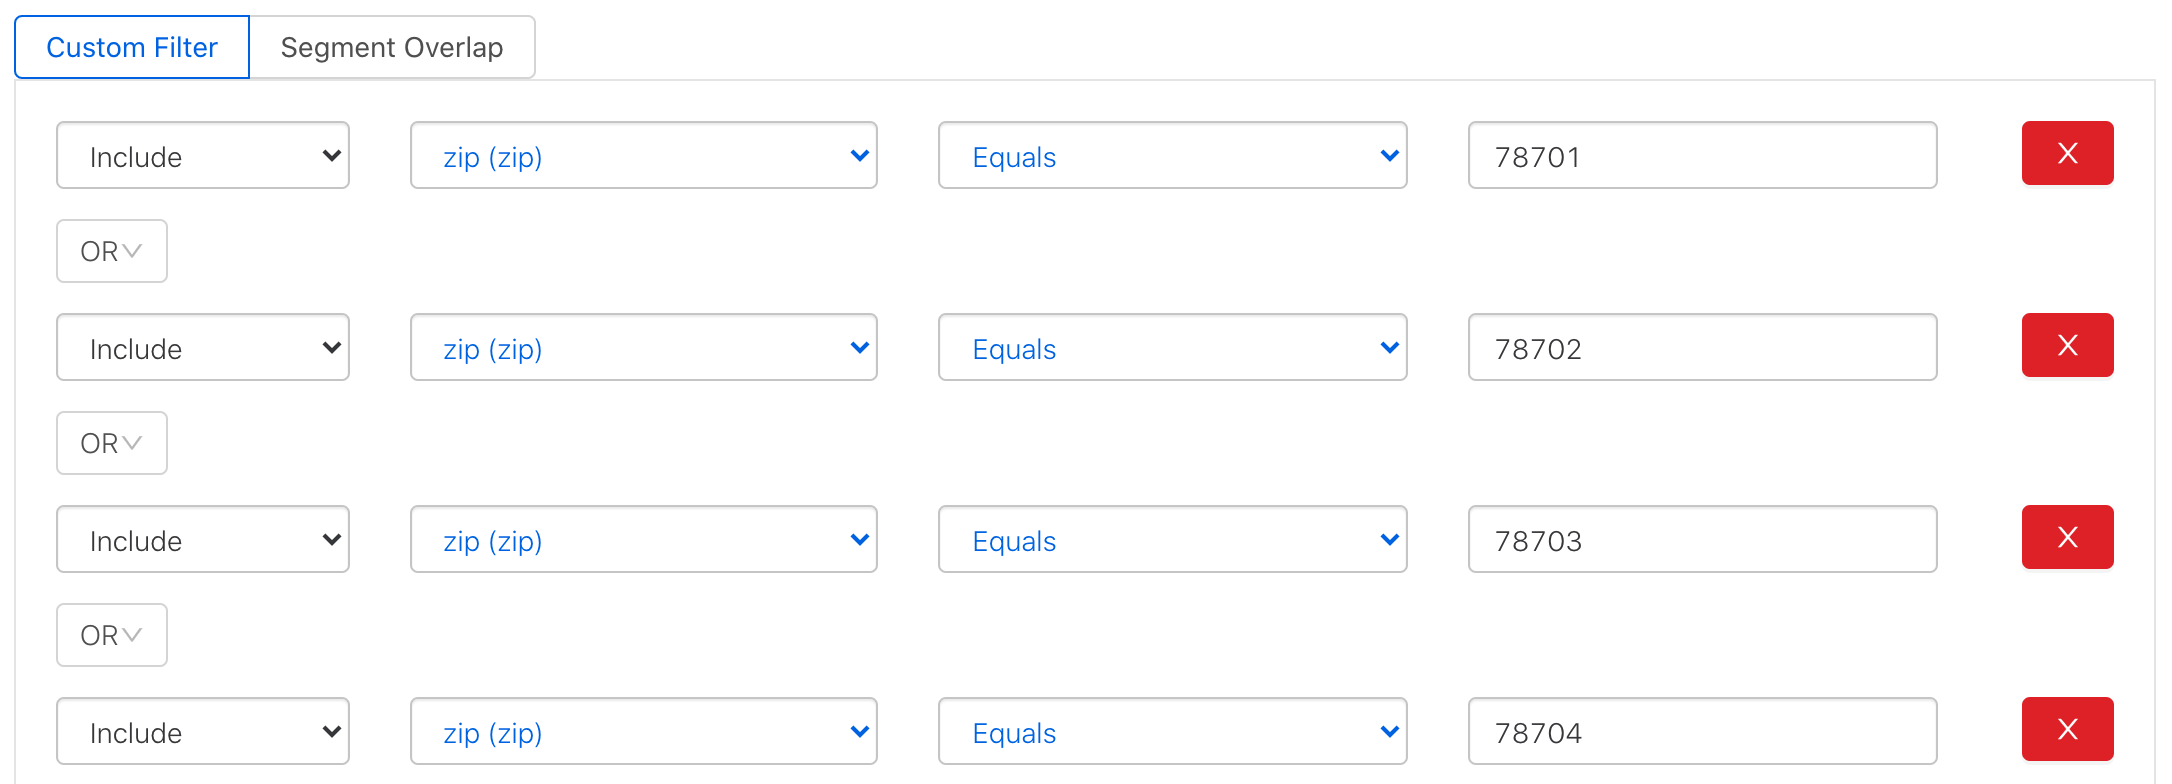
In this case, the only non-hashed field is zip code, so we will create a segment to target customers in Austin, TX using the area’s zip codes with a series of 'Include' filters.
-
-
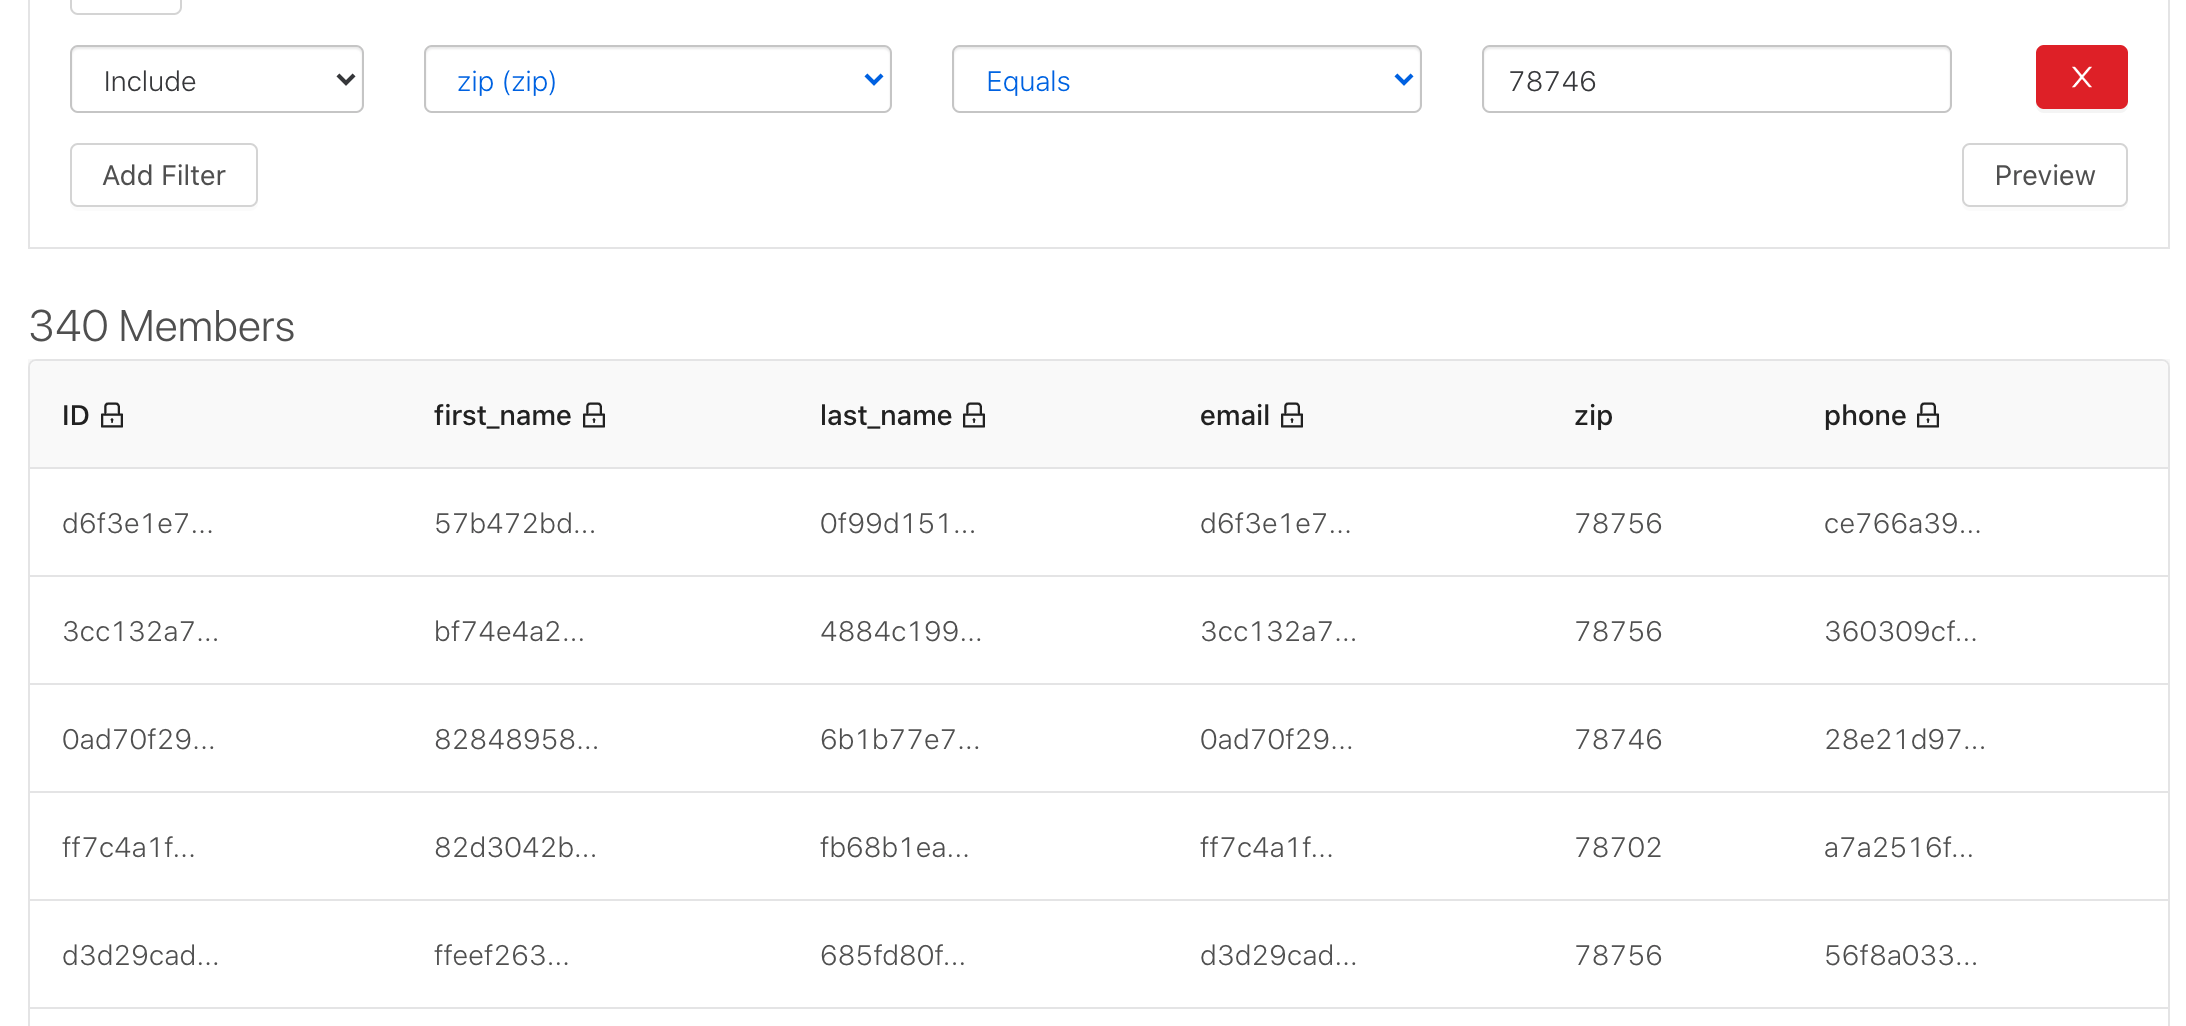
Click ‘Preview’ to inspect the data and view segment size
-
In this Austin, TX customers segment example, the segment size is likely too small to be useful.
-
Please visit Segmenting Best Practices and Use Cases for more on segment size recommendations.
-
-
-
Click ‘Save’ to save your segment, or click 'Save & Activate' to go straight to activating to a publisher platform.
Nice! You’ve created a segment from an Audience list.
Additional Ways to Create an Audience Segment
-
Click on the audience list you would like to create a segment from. It will take you to the following page to enter a name, description and filters for a segment on that list.
This way does not work for creating segments on data lists as they are not clickable. To create a segment on a data list - use the second way.
-
To create a segment on a power audience, click on the power audience you would like to create a segment from. It will take you to the following page to enter a name, description and filters for a segment on that list.
Related articles
- How-To: send a deployment to The Trade Desk
- How-To: Authenticate a Partner Platform to Deploy Audiences
- How-To: send a deployment to TikTok
- How-To: Activate a Segment to Linkedin
- How-To: Remove or Modify an Existing Auto Import
- How-To: Create an Audience Segment (and Filter to a Specific Audience)
- How-To: QA an Imported List
- How-To: Activate a Segment to Facebook
- How-To: Authenticate a SFTP for Import or Activation
- Advanced Guide: Join Two Lists with Power Audiences
- How-To: Authenticate with LiveRamp
- How-To: Import to an Existing List
- How-To: Use an Activated Segment for Targeting in Facebook
- How-To: Use a SFTP Manager to Find File Name and Attributes When Creating a New List