
Overview
Categorizations help normalize your data through universal rules you set up that can be applied to your reports and dashboards. This gives you the ability to easily combine data from multiple partners and channels.
Instructions
-
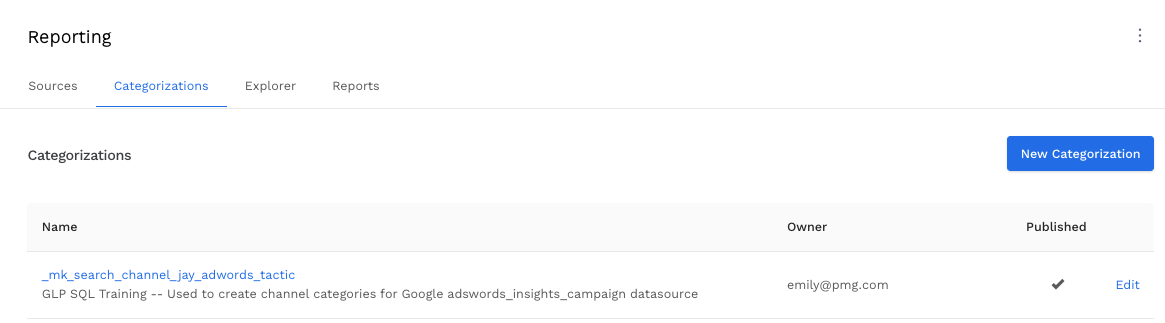
From the Categorization section, click New Categorization from the top right.
-
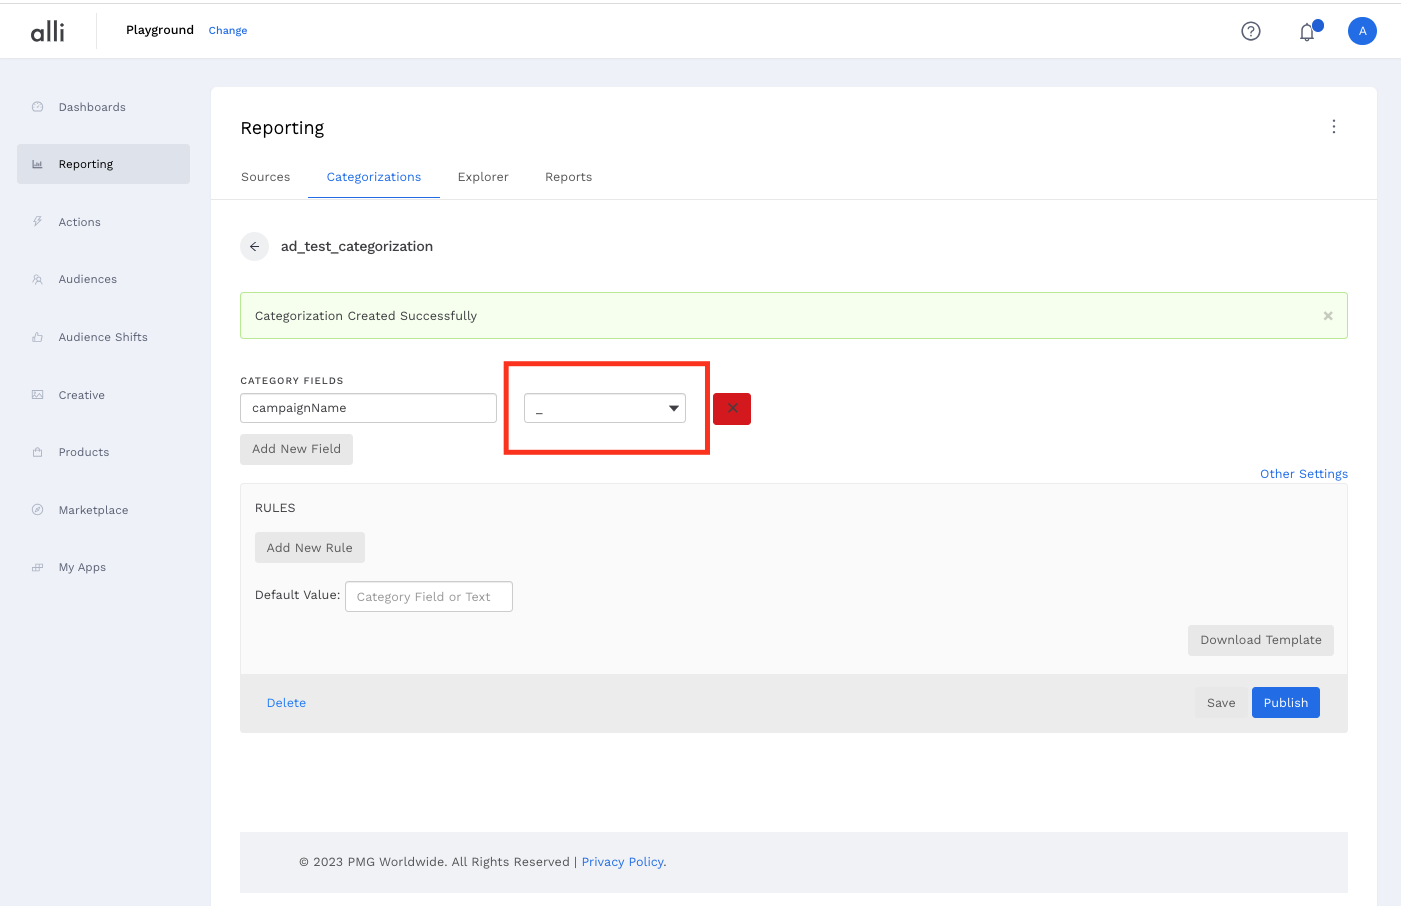
Click the Add New Field button underneath Category Fields.
-
Name the Category Field and which special character the fields will be split by. In this use case, we will use a dash.
-
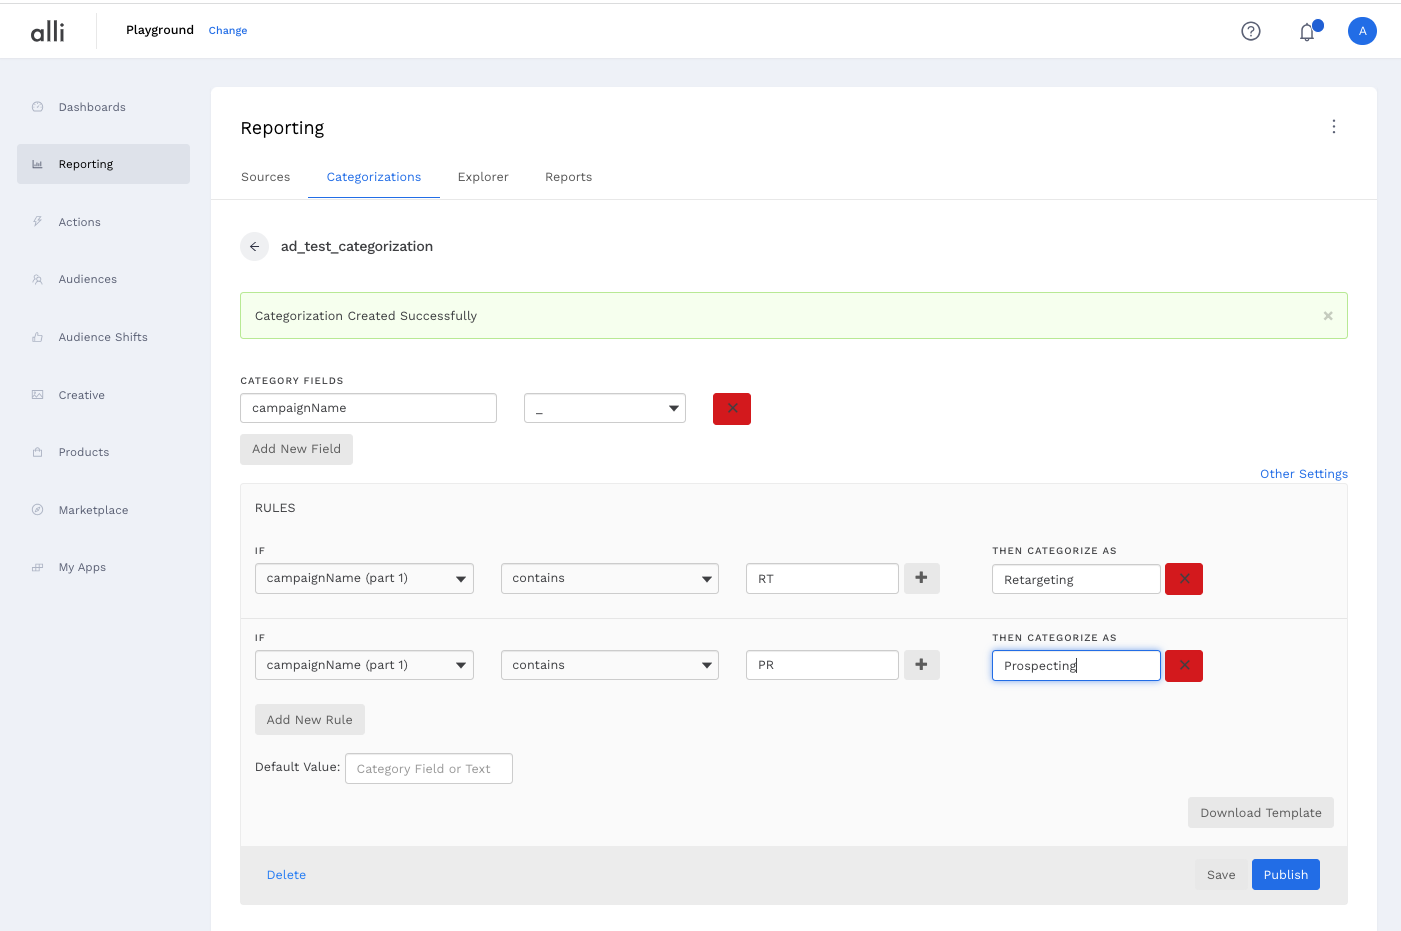
You now have the ability to set up the rules for your naming convention using boolean logic. Press Save to save the configuration as you have it.
You can now use your categorization in reports!
The categorization must be published before you can use it within your reports.
Related articles
- How-To: Use categorizations within your custom report
- How-to add a new datasource to an existing Data Studio dashboard
- Advanced Guide: Enabling Big Query for a Custom Alert
- How-To: Name Datasource Columns
- How-To: Enable Product Feed Reporting
- How-To: Include Custom DSP Cost in Display Reporting
- How-To: Add a new categorization
- Tutorial: Getting started with Explorer Reports
- How-To: Backfill a datasource
- How-To: Categorize CM360 Conversions
- How-To: Create a new datasource
- How-to Create a Sentiment Dashboard from FB Sentiment
- How-To: Identify Which Platforms and Report Types are Enabled for Reporting
- How-To: Enable Device and Demographic Reporting
- How-To: Manually upload data to an existing datasource