
Overview
This article will walk you through changing a datasource schema, i.e. which dimensions and metrics you’d like your datasource to include when it runs.
-
Dropping the data table will be required when dimensions are added or removed.
-
If only changing metrics, then dropping the data table will not be required.
-
You will have to backfill data if you choose to save changes and delete the table.
Instructions
-
Under Reporting from the left-hand navigation and Datasources from the top-hand navigation, scroll to your owned datasources. Select the blue Edit button from the far right side.

Reporting Page -
Under the datasource settings page, click on Define your data.
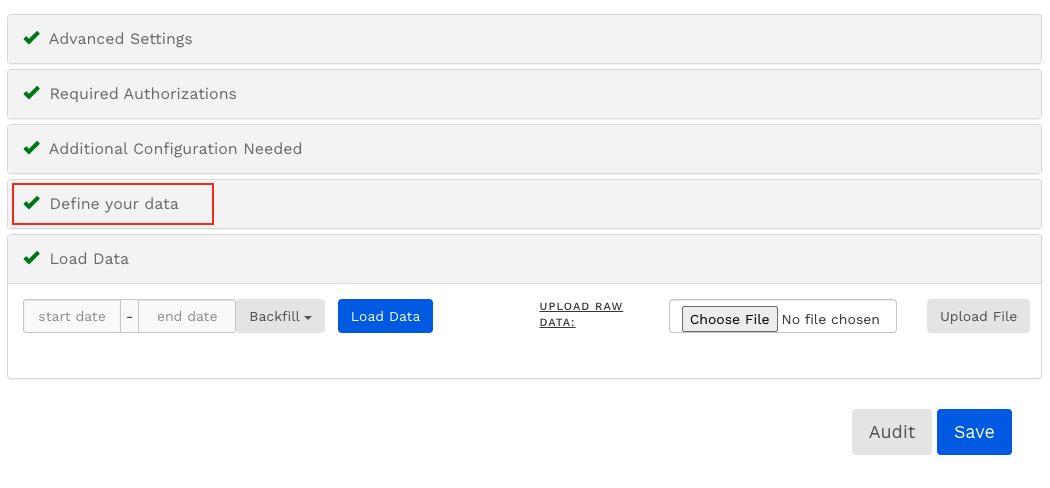
Datasource Settings Page -
Changing dimension/metric selection:
-
Non-manual Datasources: Select the additional dimensions and metrics you’d like to add to the schema from the dropdown list and de-select the ones you’d like to remove, then press the blue Save button.
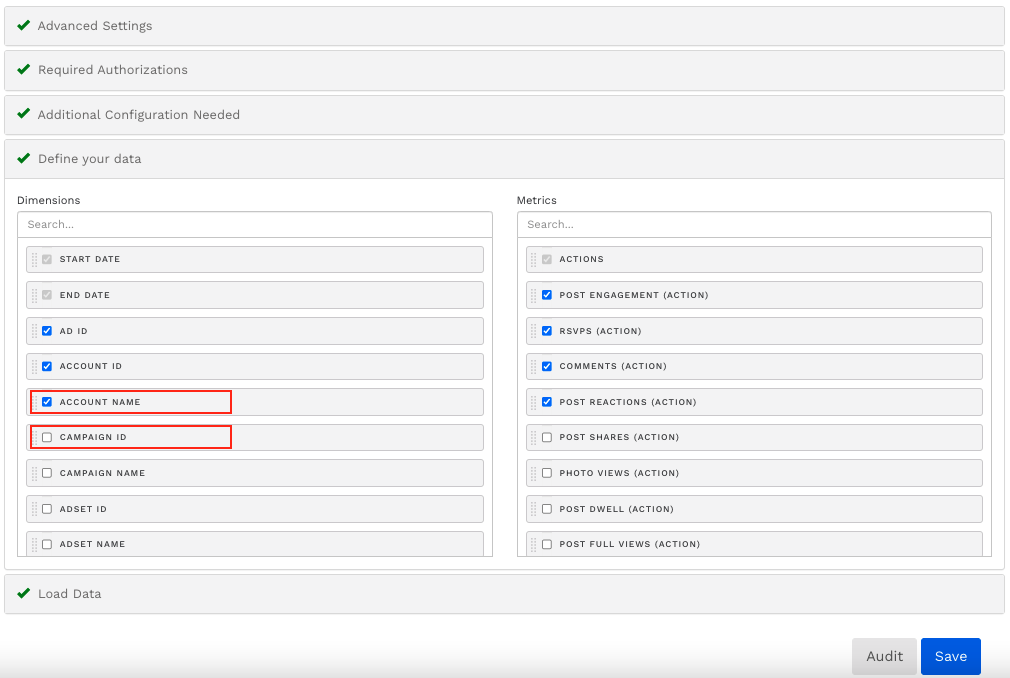
Define Your Data Section, Non-manual Datasource -
Manual Datasources: For manual datasources, press the large + button to add a metric or dimension. To delete a metric or dimension, press the x button corresponding to the metric or dimension you want to delete.
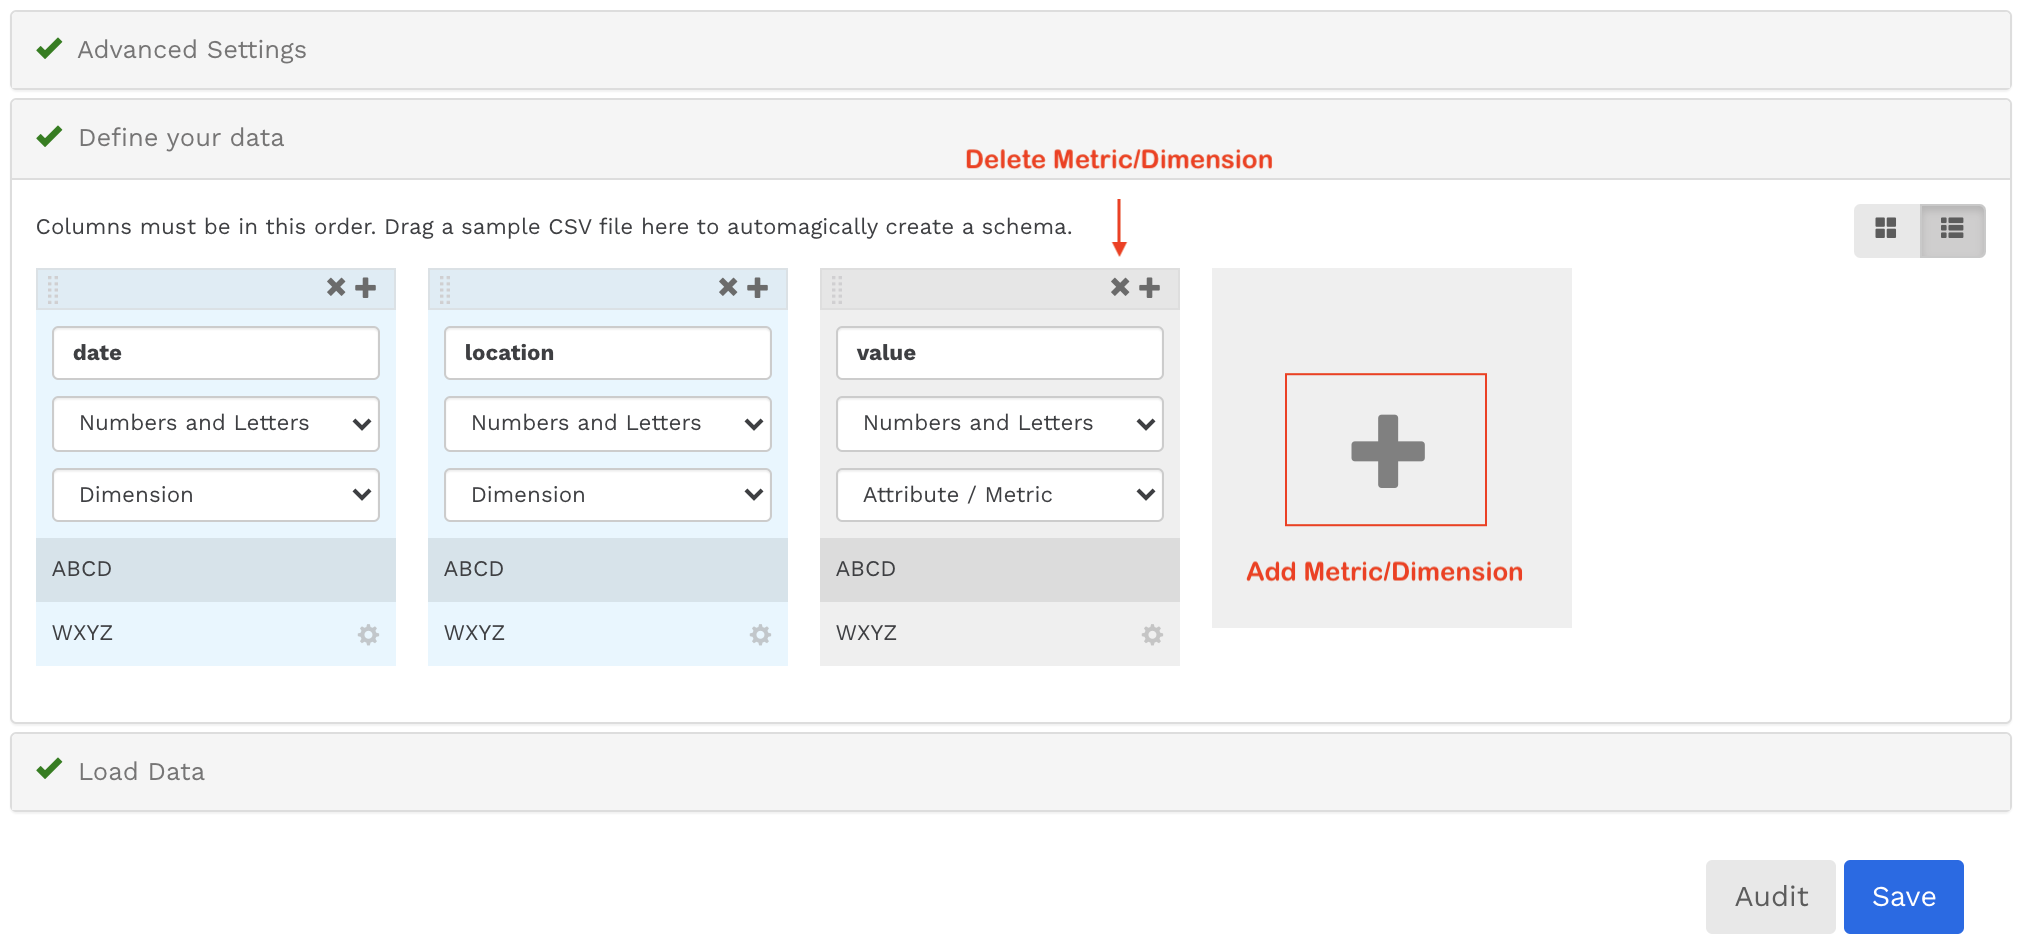
-
-
Changing dimensions will trigger a confirmation modal. To delete the current data in the table and save the current schema selection, press the Save and Delete Current Data in Table button.
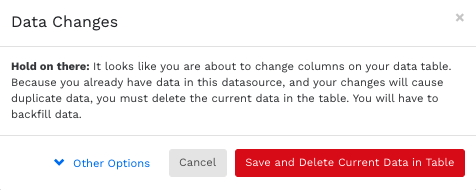
The blue Other Options button allows you to save other changes made in the Advanced Settings or Additional Configuration sections without editing the schema or deleting the current data.
Related articles
- How-To: Use categorizations within your custom report
- How-to add a new datasource to an existing Data Studio dashboard
- Advanced Guide: Enabling Big Query for a Custom Alert
- How-To: Name Datasource Columns
- How-To: Enable Product Feed Reporting
- How-To: Include Custom DSP Cost in Display Reporting
- How-To: Add a new categorization
- Tutorial: Getting started with Explorer Reports
- How-To: Backfill a datasource
- How-To: Categorize CM360 Conversions
- How-To: Create a new datasource
- How-to Create a Sentiment Dashboard from FB Sentiment
- How-To: Identify Which Platforms and Report Types are Enabled for Reporting
- How-To: Enable Device and Demographic Reporting
- How-To: Manually upload data to an existing datasource