
Overview
Per request, the weather API forecast by geo locations app now lives in Alli. Shown below is the instruction on how to set it up.
Instructions
-
Before setting up the app, let’s build our input sheet for now. Head over to this google sheet https://docs.google.com/spreadsheets/d/1yhzYYaWy9g6KGfU1Nbp6LsK3vK-VtZXUhgzYJ-dWdeU/edit?usp=sharing , and copy it into your own space. Please be aware, only share with people within your own organization and your client specific IAM account specified here:.
-
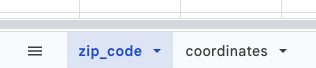
Rename the sheet and fill in desired geolocations. You have the option to choose from coordinates and zip codes. Please be sure not to touch the tab names “zip_code“ and “coordinates“. Please do now alter the tab name.
-
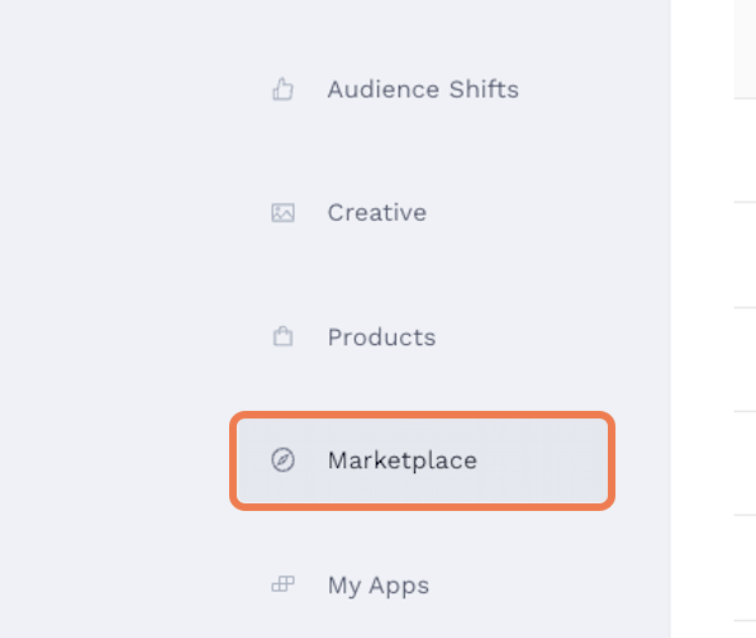
Now go to Alli, please choose “marketplace“ from the left:
-
In the search bar, type in ‘Weather API by Geo-Locations'. When the icon show up, click add button and install

-
This will lead you to the UI. Please follow in instruction closely in the prompt. You will be asked to provide 4 inputs for the app to run successfully:
-
the name of the app
-
Google sheet id: which is the long string consists of letters and numbers embedded in the URL of your geo location Google sheet, between two “/“.

-
Tab name: Choose the type of your input. If you are using zip code, choose zip code option; if using coordinates, choose coordinates
-
(optional) Days to backfill: if you are adding in a new geo-location, you have the ability to choose number of days you want to backfill the data. Default is set to 30 days.
-
-
You can also choose to have the app run on a schedule.
-
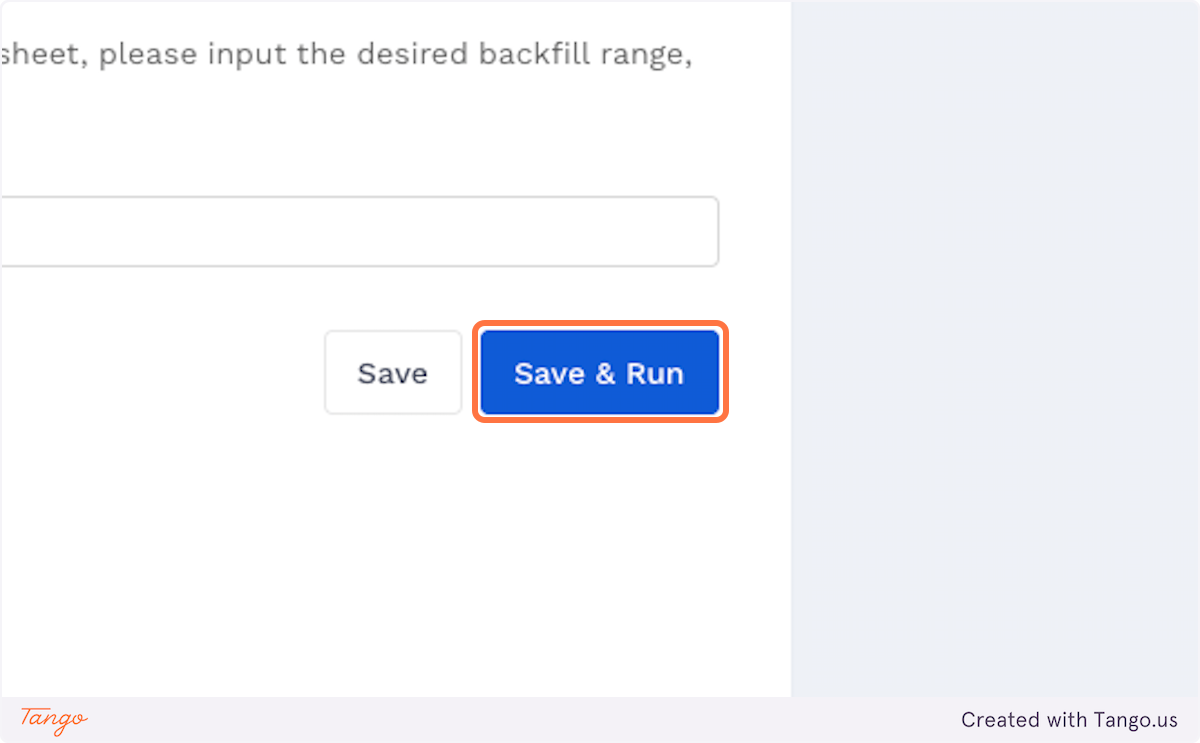
Click save and run.
-
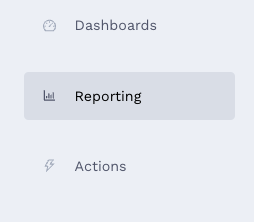
After the app finishes running, showing “Upload client_name_weather_data_combined_1692033032 to S3 Status: True”, we can now head over to “Reporting“ from the left panel:
-
Click “Add New Datasource“ and choose “Alli Cloud Storage“
-
after naming the datasource, hit next. Please make sure your file name is “
{client_slug}_weatherAPI_data.*\.csv“. You can find your client slug by going to Manage Client > Settings > slug. -
Use this file as a template, drop it into the “Define your data“ section. weatherAPI_data_example.csv Make sure you choose datetime and geolocation as dimensions (primary key) and others as features.
-
Click save and load data
Please be aware that we are still making updates to the app and will simplify the procedures in the future.
Related articles
- How-To: Set Up Brand Media Pacing Datastudio Dashboard
- How-To: Setup Social Ad Bloat
- How-To: Weather API App
- How-To: Disable or Remove an Installed App
- How-To: Set Up a New Workflow
- How-To: Schedule an App to Run
- How-To: Brand Media Screenshot Calendar Tool
- How-To: Onboarding Alli Social Budget Consolidation
- How-To: Use Weather API Connector within Alli
- Tutorial: How to Implement a Social Bid Modifier 2.0
- Tutorial: How to Automatically Delete and Backfill a Datasource on Schedule
- How-To: Browse & Explore Available Solutions
- How-To: Create BigQuery View
- How-To: Pull AppsFlyer Reports to Upload into Alli Data
- Tutorial: TheTradeDesk - Brand Safety Alerts