
How to add fields to a datasource without losing historical data
Overview
Adding fields to an existing datasource may be required for ADL version upgrades. This may require dropping the existing table depending on the type of datasource and field(s) being added. This isn’t a huge issue for most API-based connectors, as you would be able to re-backfill the after dropping the data with no issues. However some APIs have a limited window for backfilling historical data, e.g., DV360 and CM360 only allow backfills from up to 24 months prior to the current date.
Learn how to back up your datasource and update your datasource without losing historical data.
Instructions
Backing up your datasource using Data Explorer
1.) Navigate to Data Explorer by selecting Reporting → Explorer in Alli
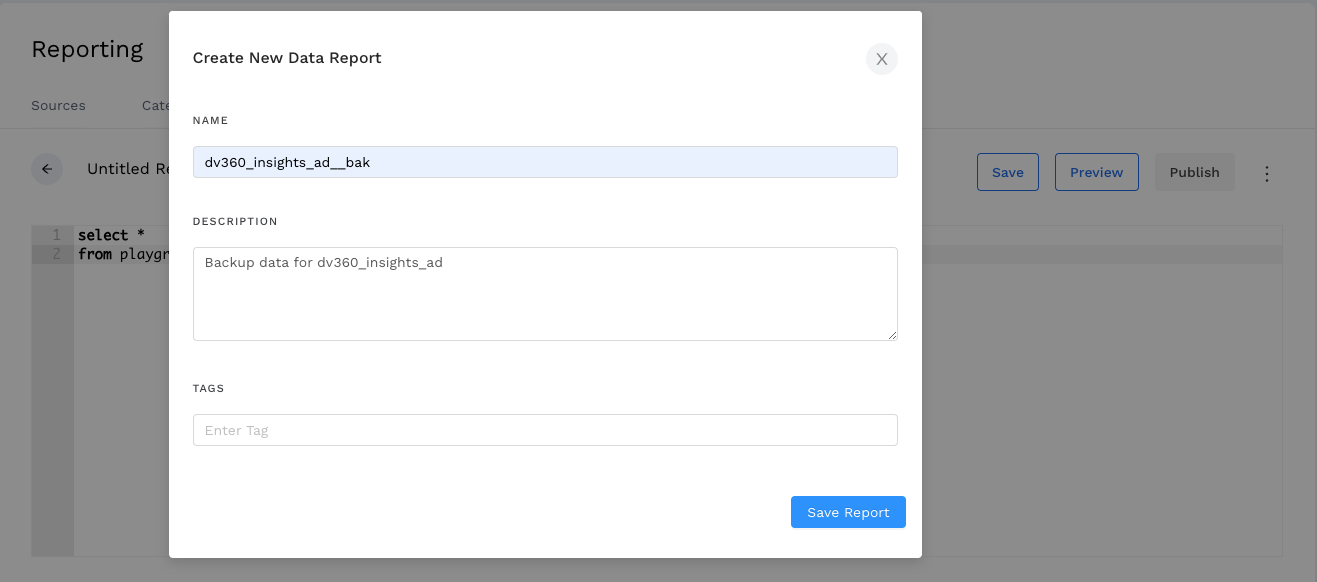
2.) Create a new report by clicking on New Data Report. Select the SQL - Edit Custom SQL option.
3.) Enter the following query:
select *
from {alli_client}.{datasource}
where {date_column} < {minimum_backfill_date} --OPTIONAL
Legend (excluding the brackets):
{datasource}- The name of the datasource{date_column}- The column name for date{minimum_backfill_date}- The minimum backfill date allowed by a platform API, e.g., today’s date two years ago for DV360This minimizes the size of the backup, and ensures that the API is used as much as possible to backfill the updated datasource
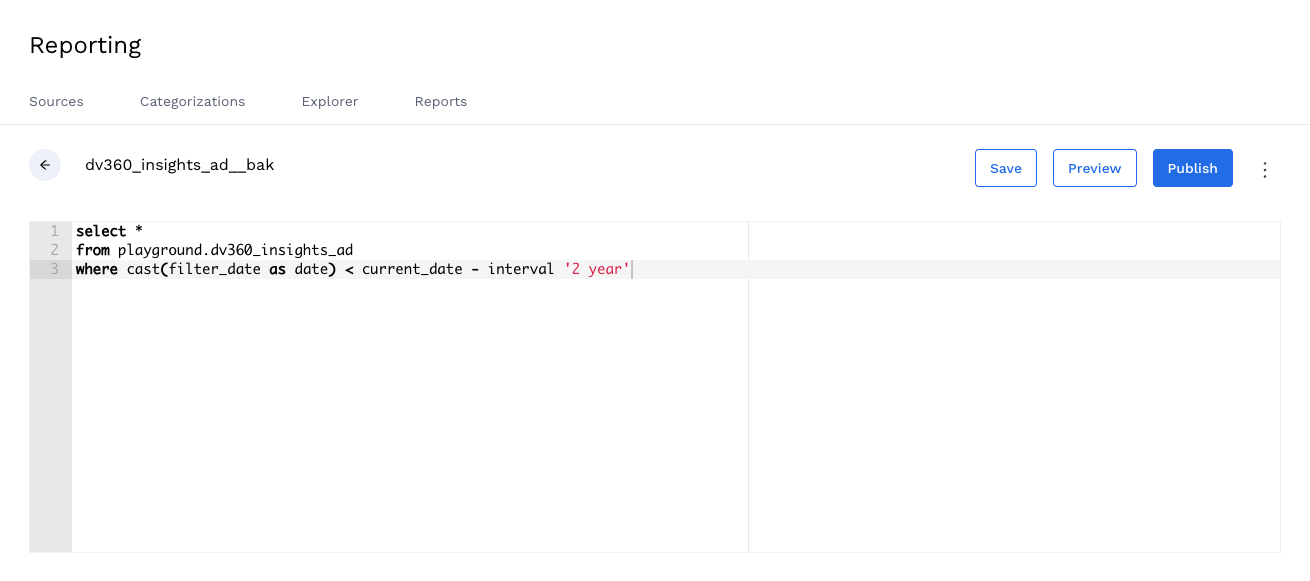
Backing up dv360_insights_ad data from older than two years ago (DV360's backfill limit)
4.) Click on Save and name it as {datasource}__bak to save your report.
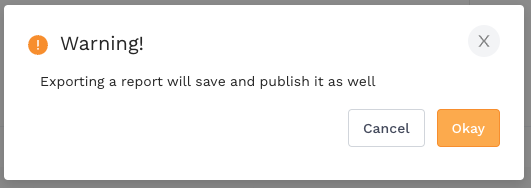
5.) Export your report by clicking on the three dots next to the Publish button, and selecting Export. Click on Okay in the warning if prompted.
6.) If successful, you should see a the following success message.
Success!
Your Export was added successfully. You will receive an email with a link when it is ready to download.
Once you receive the email, download the CSV file – this is your backup data for the datasource.
Modifying the datasource
7.) Navigate to the datasource in question and add the necessary field(s) via the Define your data tab
8.) Save the datasource. You may see a warning message about having to delete the data - click on the red Save and Delete Current Data in Table button.

9.) Backfill the updated datasource as far back as possible.
Manually inserting the backup to the datasource
10.) When the backfill has finished, query the table in and observe the order of the columns. Take note of the position of the newly added column(s).
11.) Open the CSV file downloaded from step #6 in Excel or Google Sheets, and insert a dummy column(s) in the same position as the newly added column(s) from the previous step. Make sure to populate the header row. Save the CSV file.
12.) Manually upload the CSV file to the updated datasource by selecting Upload File under the Load Data tab. This should succeed assuming your backup and datasource schemas match (previous step).
Related articles
- How to add fields to a datasource without losing historical data
- How to categorize CM360 conversions in Data Library
- How to find which platforms and reports are enabled in Data Library
- How to find your Data Library datasources in Alli Data
- How to add custom Programmatic cost in Data Library
- How to add source of truth data in Data Library
- How to reclassify media channel data in Data Library