
Overview
Actions can pull from a variety of sources, one of them being a manually uploaded file. This type of upload is great for one-time action runs, external data that is not pulled into Alli Data already (like emailed partner files), or for testing format and column values. This how-to will walk you through how to set up an action with manual upload as your datasource type
Instructions
Creating A New Action
Before setting up an action, if you have not already, you need to authenticate your partner account/platform within your client settings page.
View instructions on how to do so here: How-To: Manage Partner Platform Authentication in Actions
How To Set Up a New Action
-
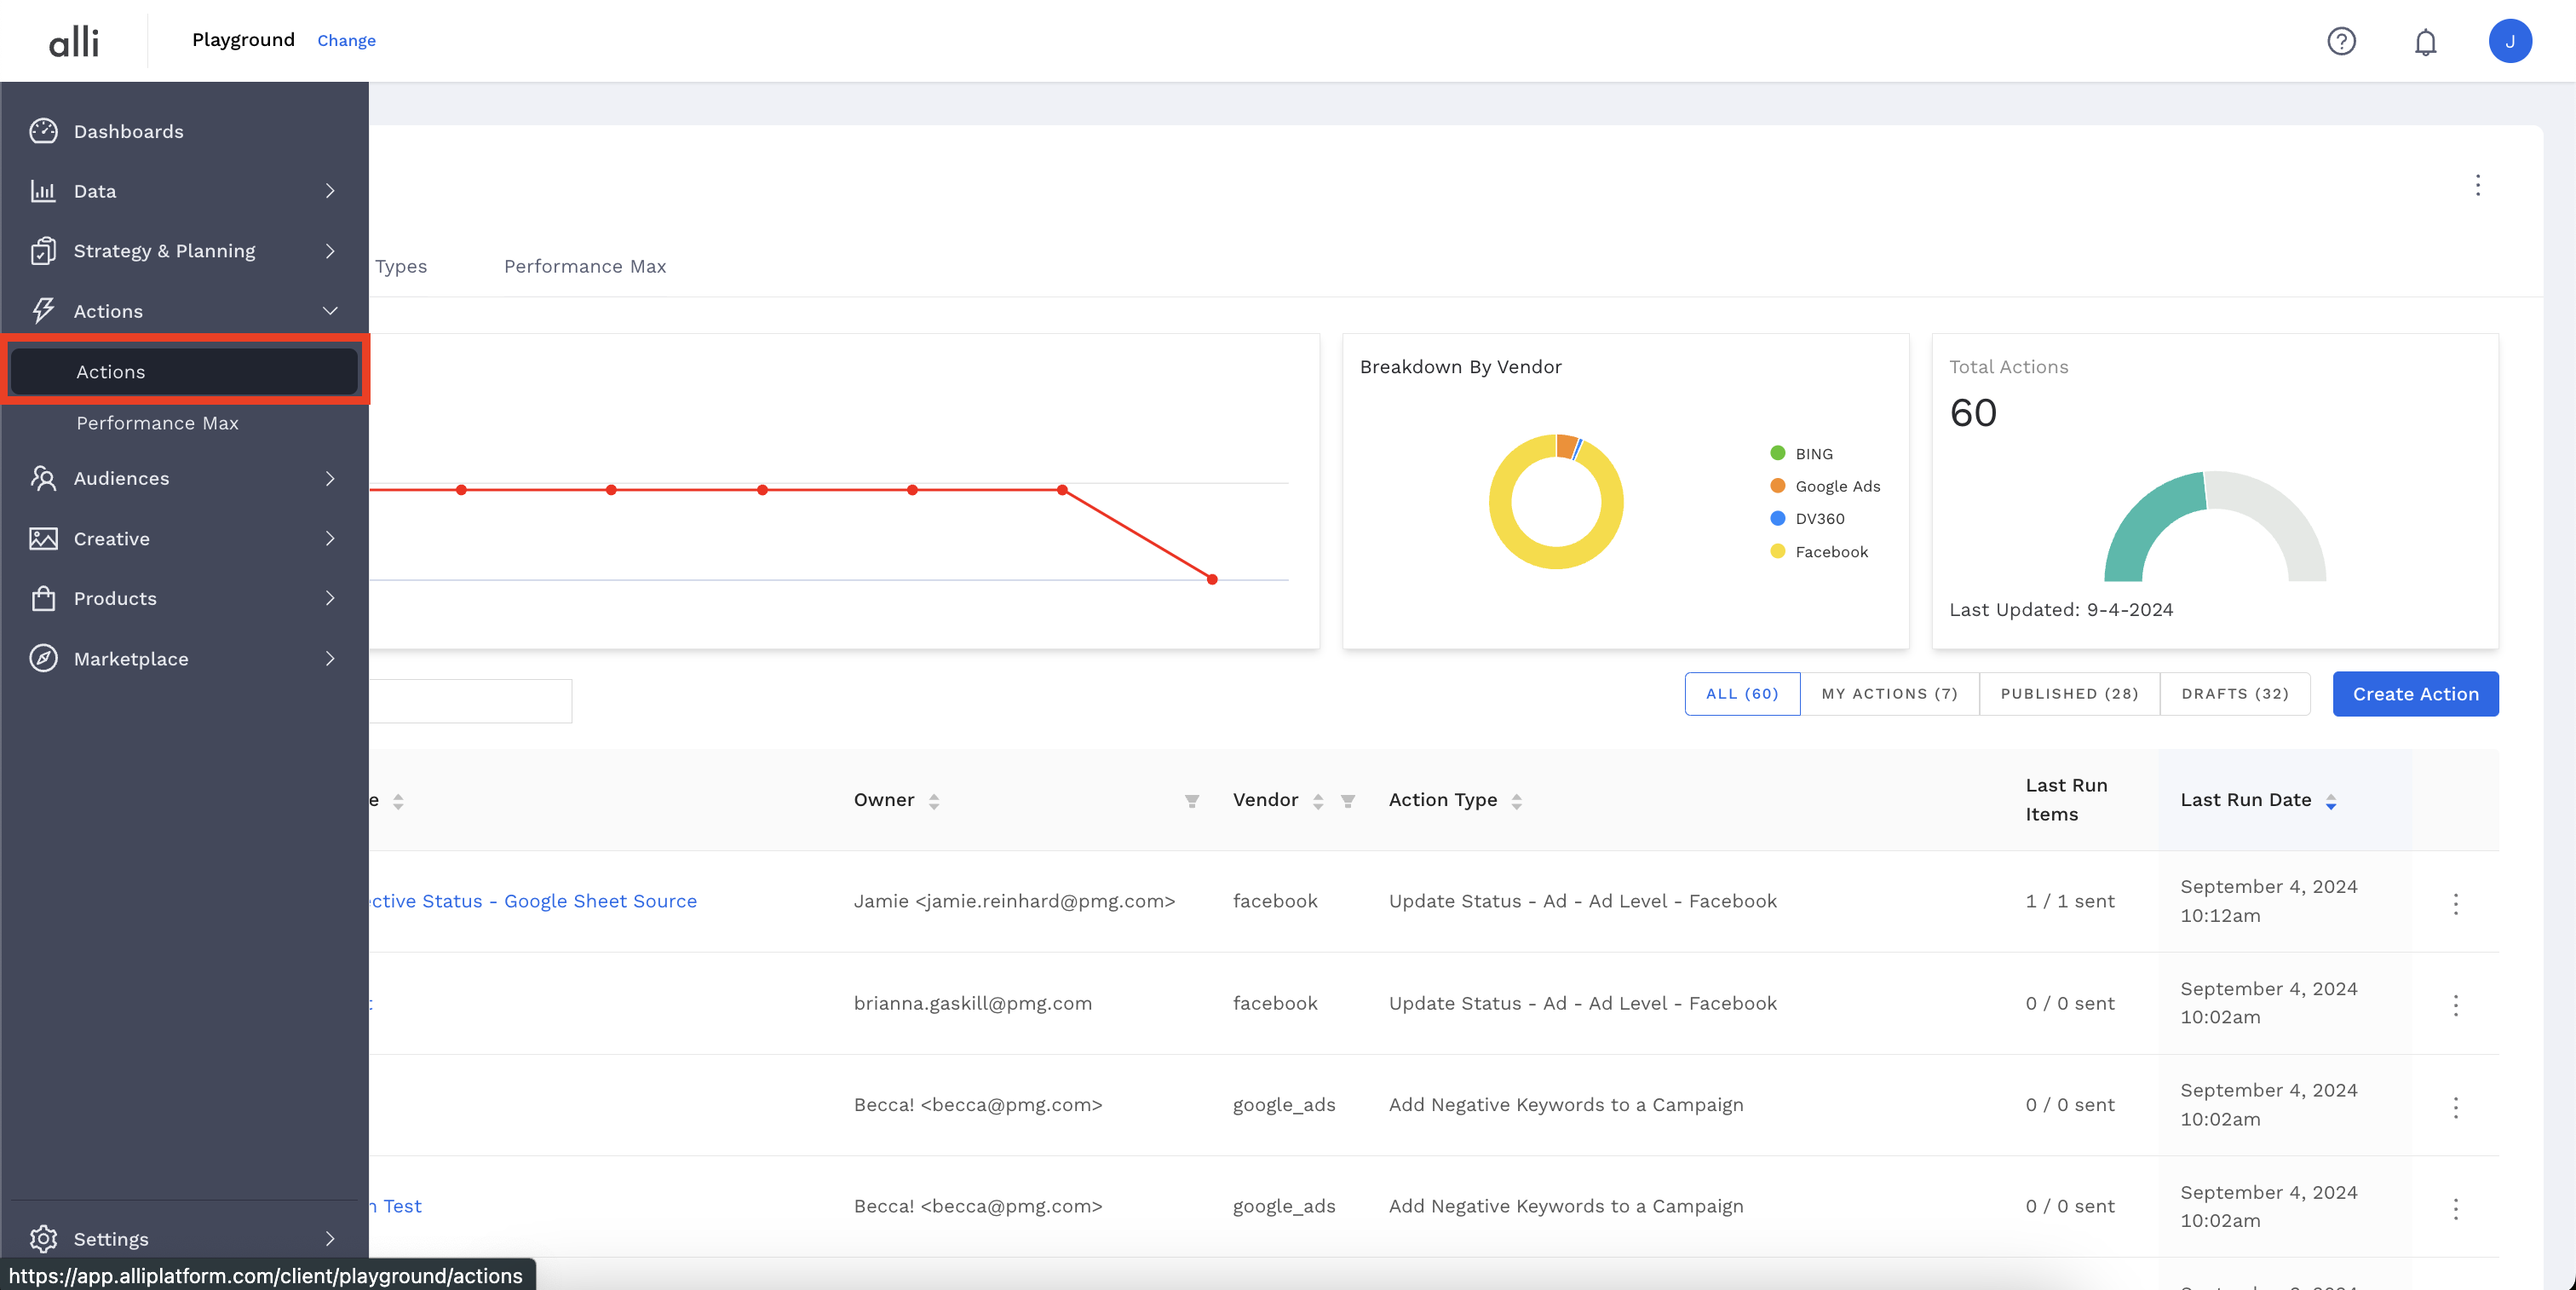
Navigate to Actions in the left side navigation.
-
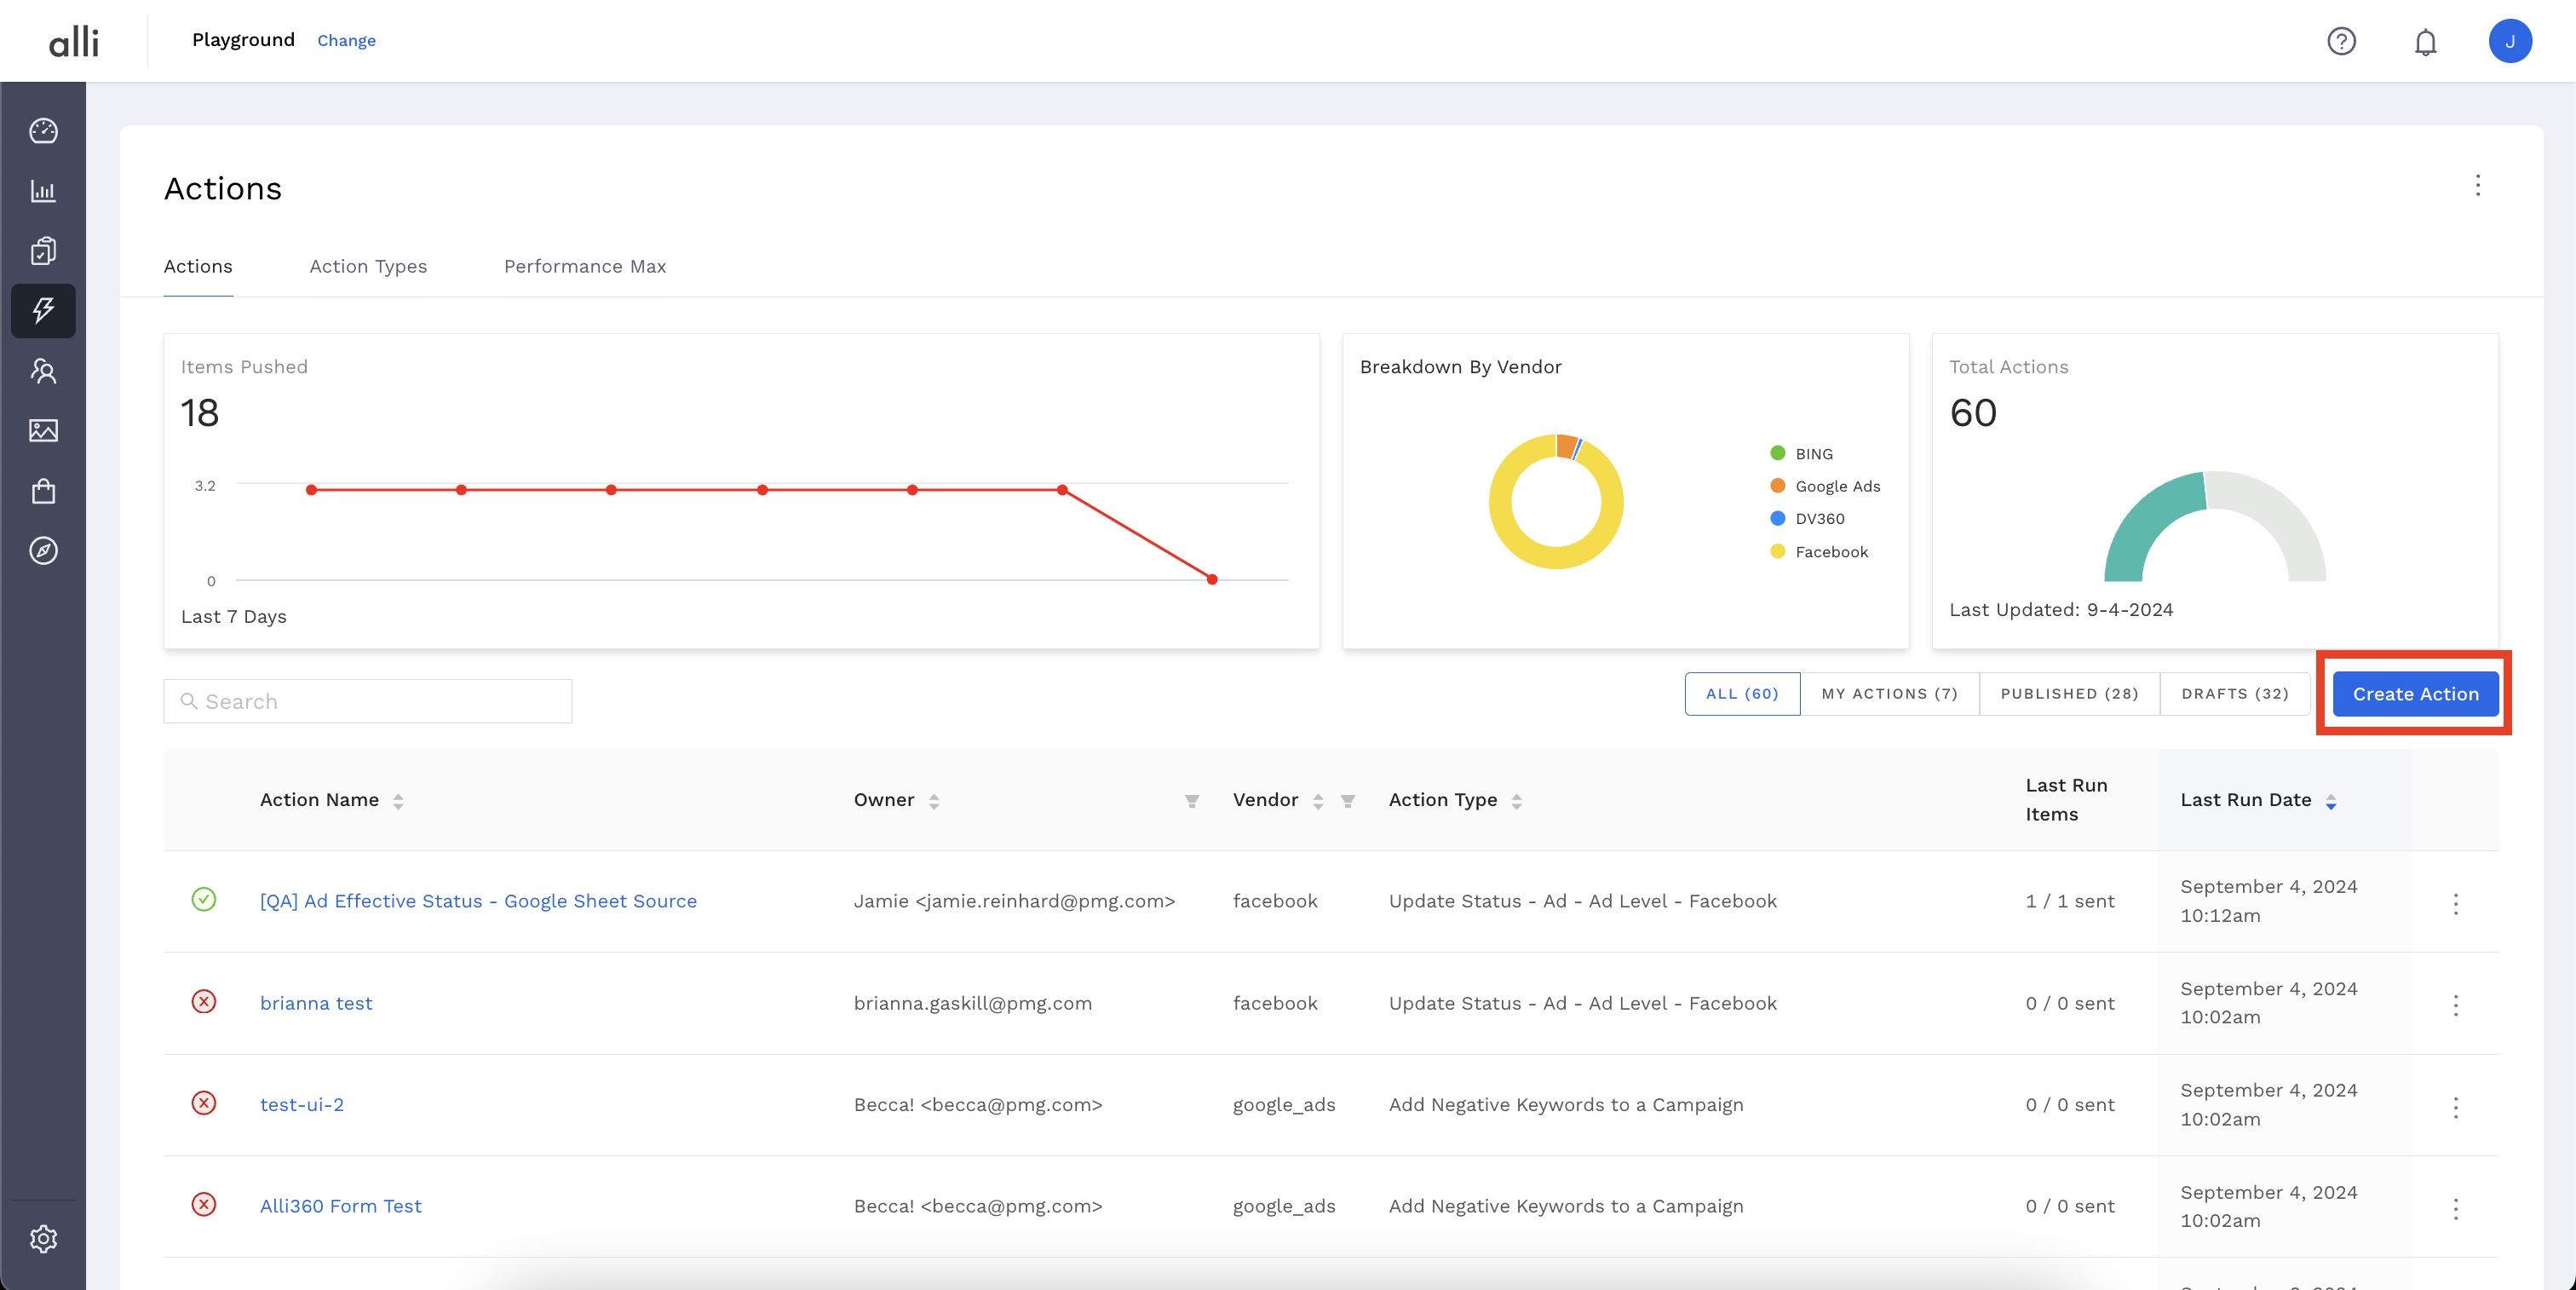
Click on the blue Create Action button.
-
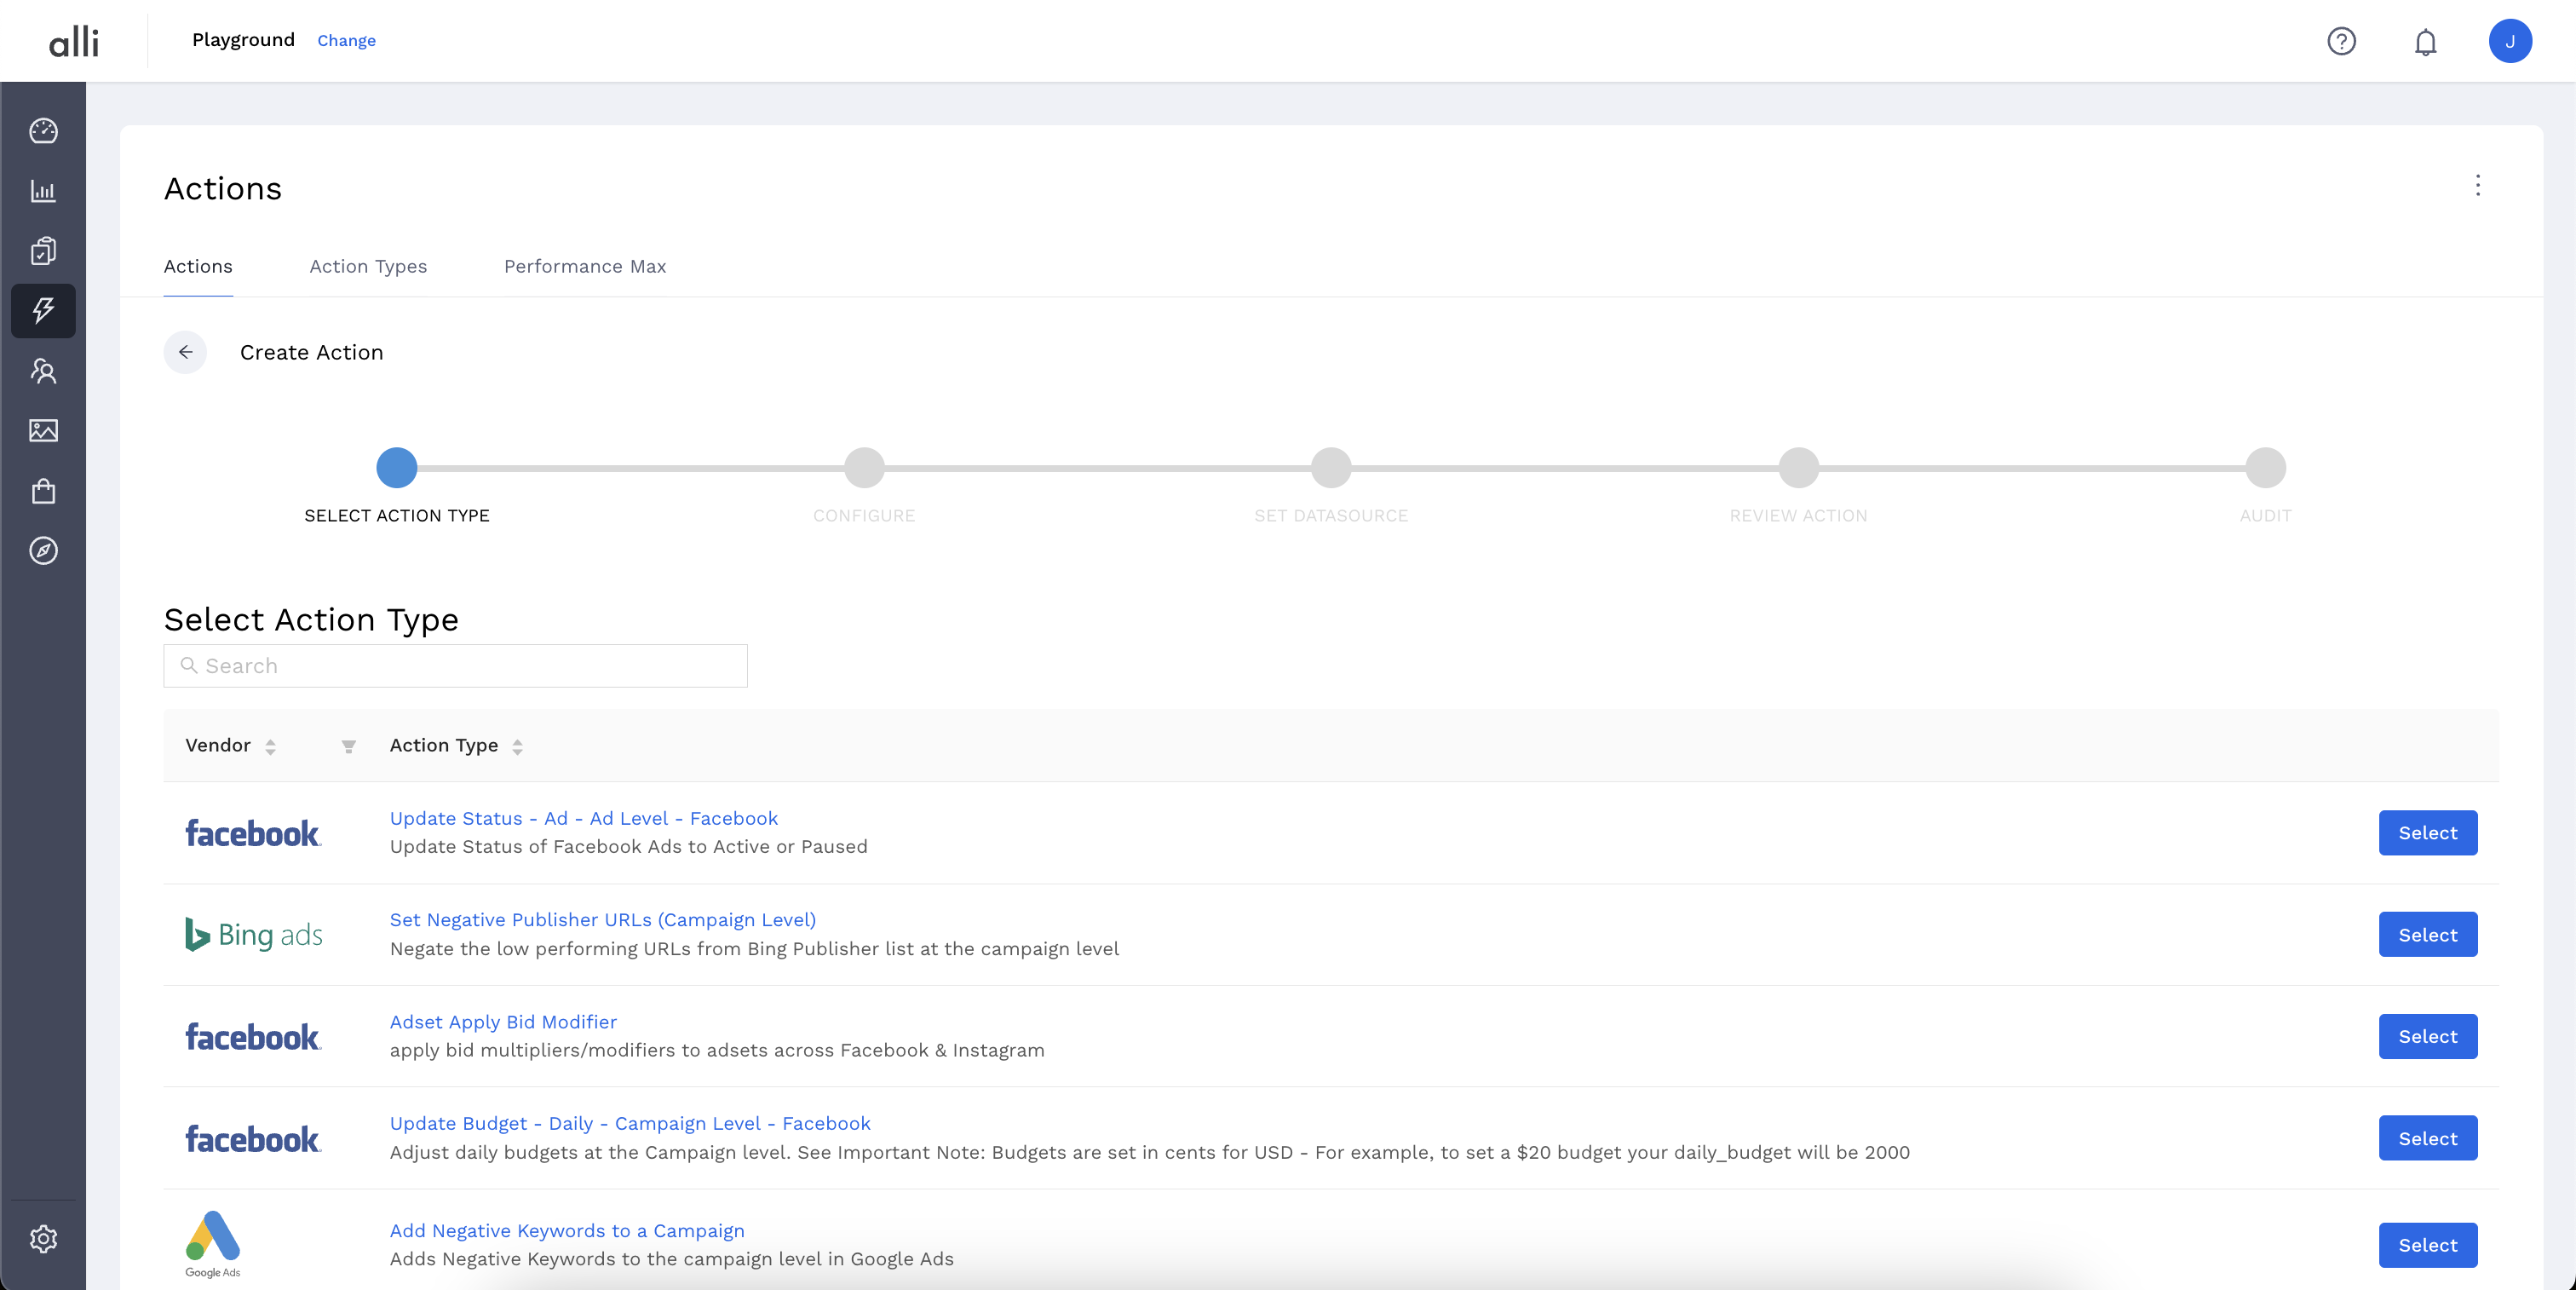
Select the Action Type that describes your goal. You can use the search bar to look specific Action Types, or filter by Vendor to help narrow your search.
-
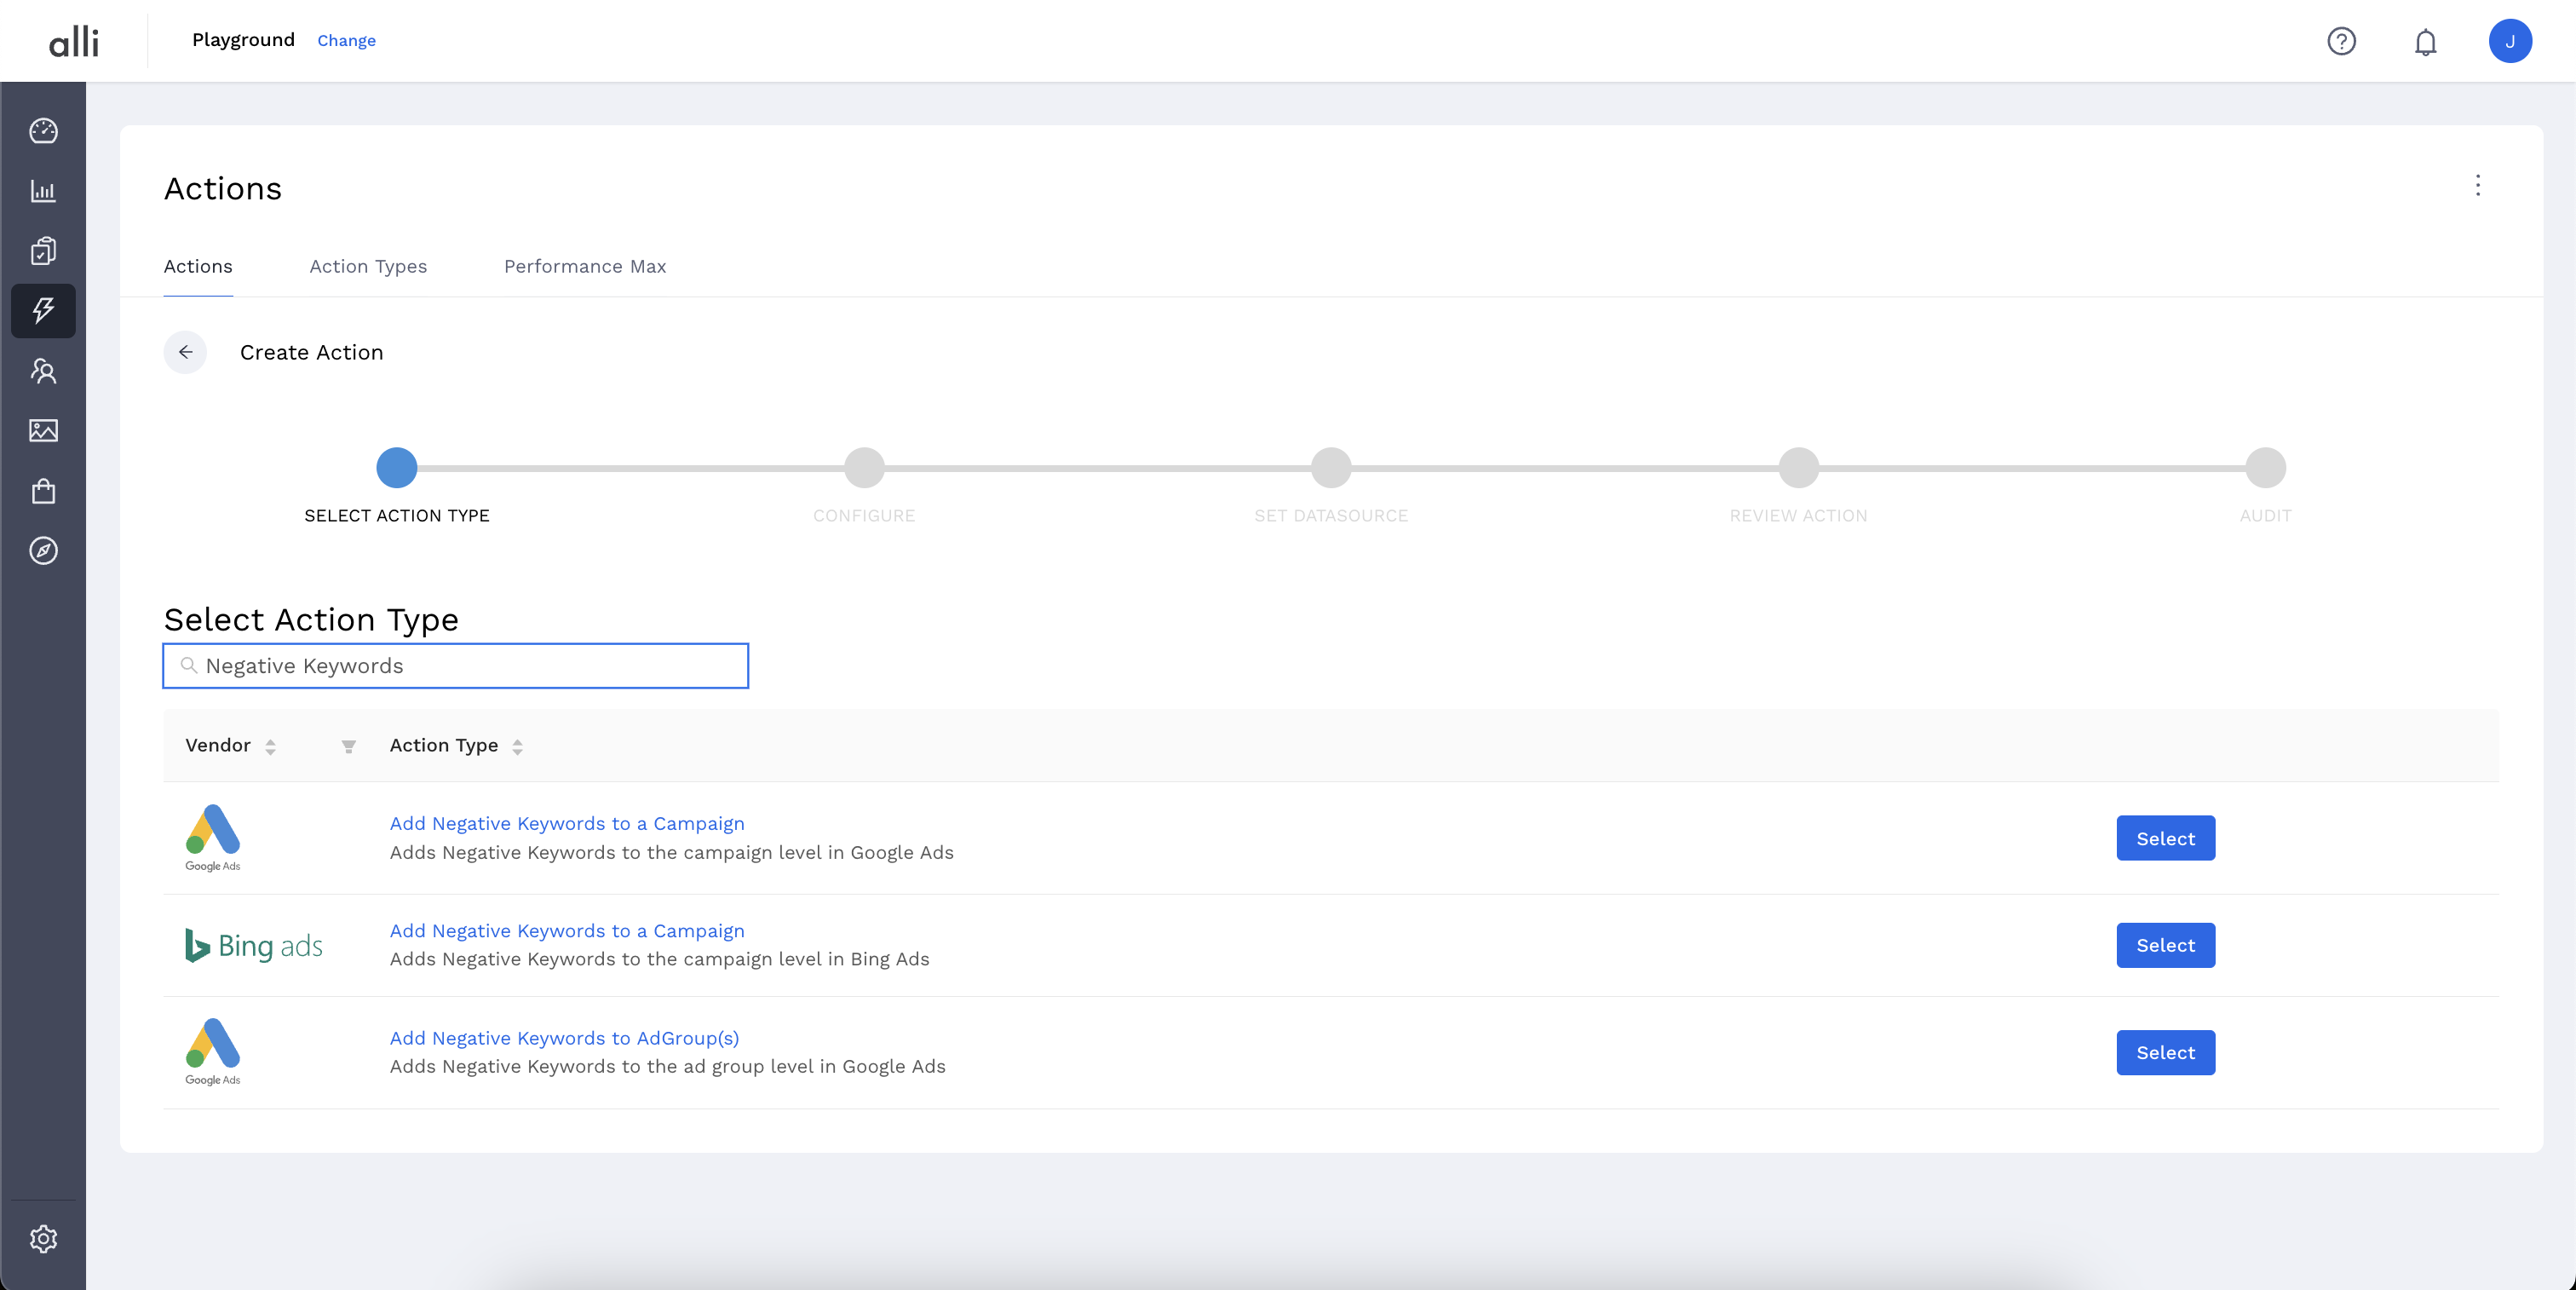
In this example, we will Add negative keywords to a campaign through Google Ads. Click the blue Select button.
-
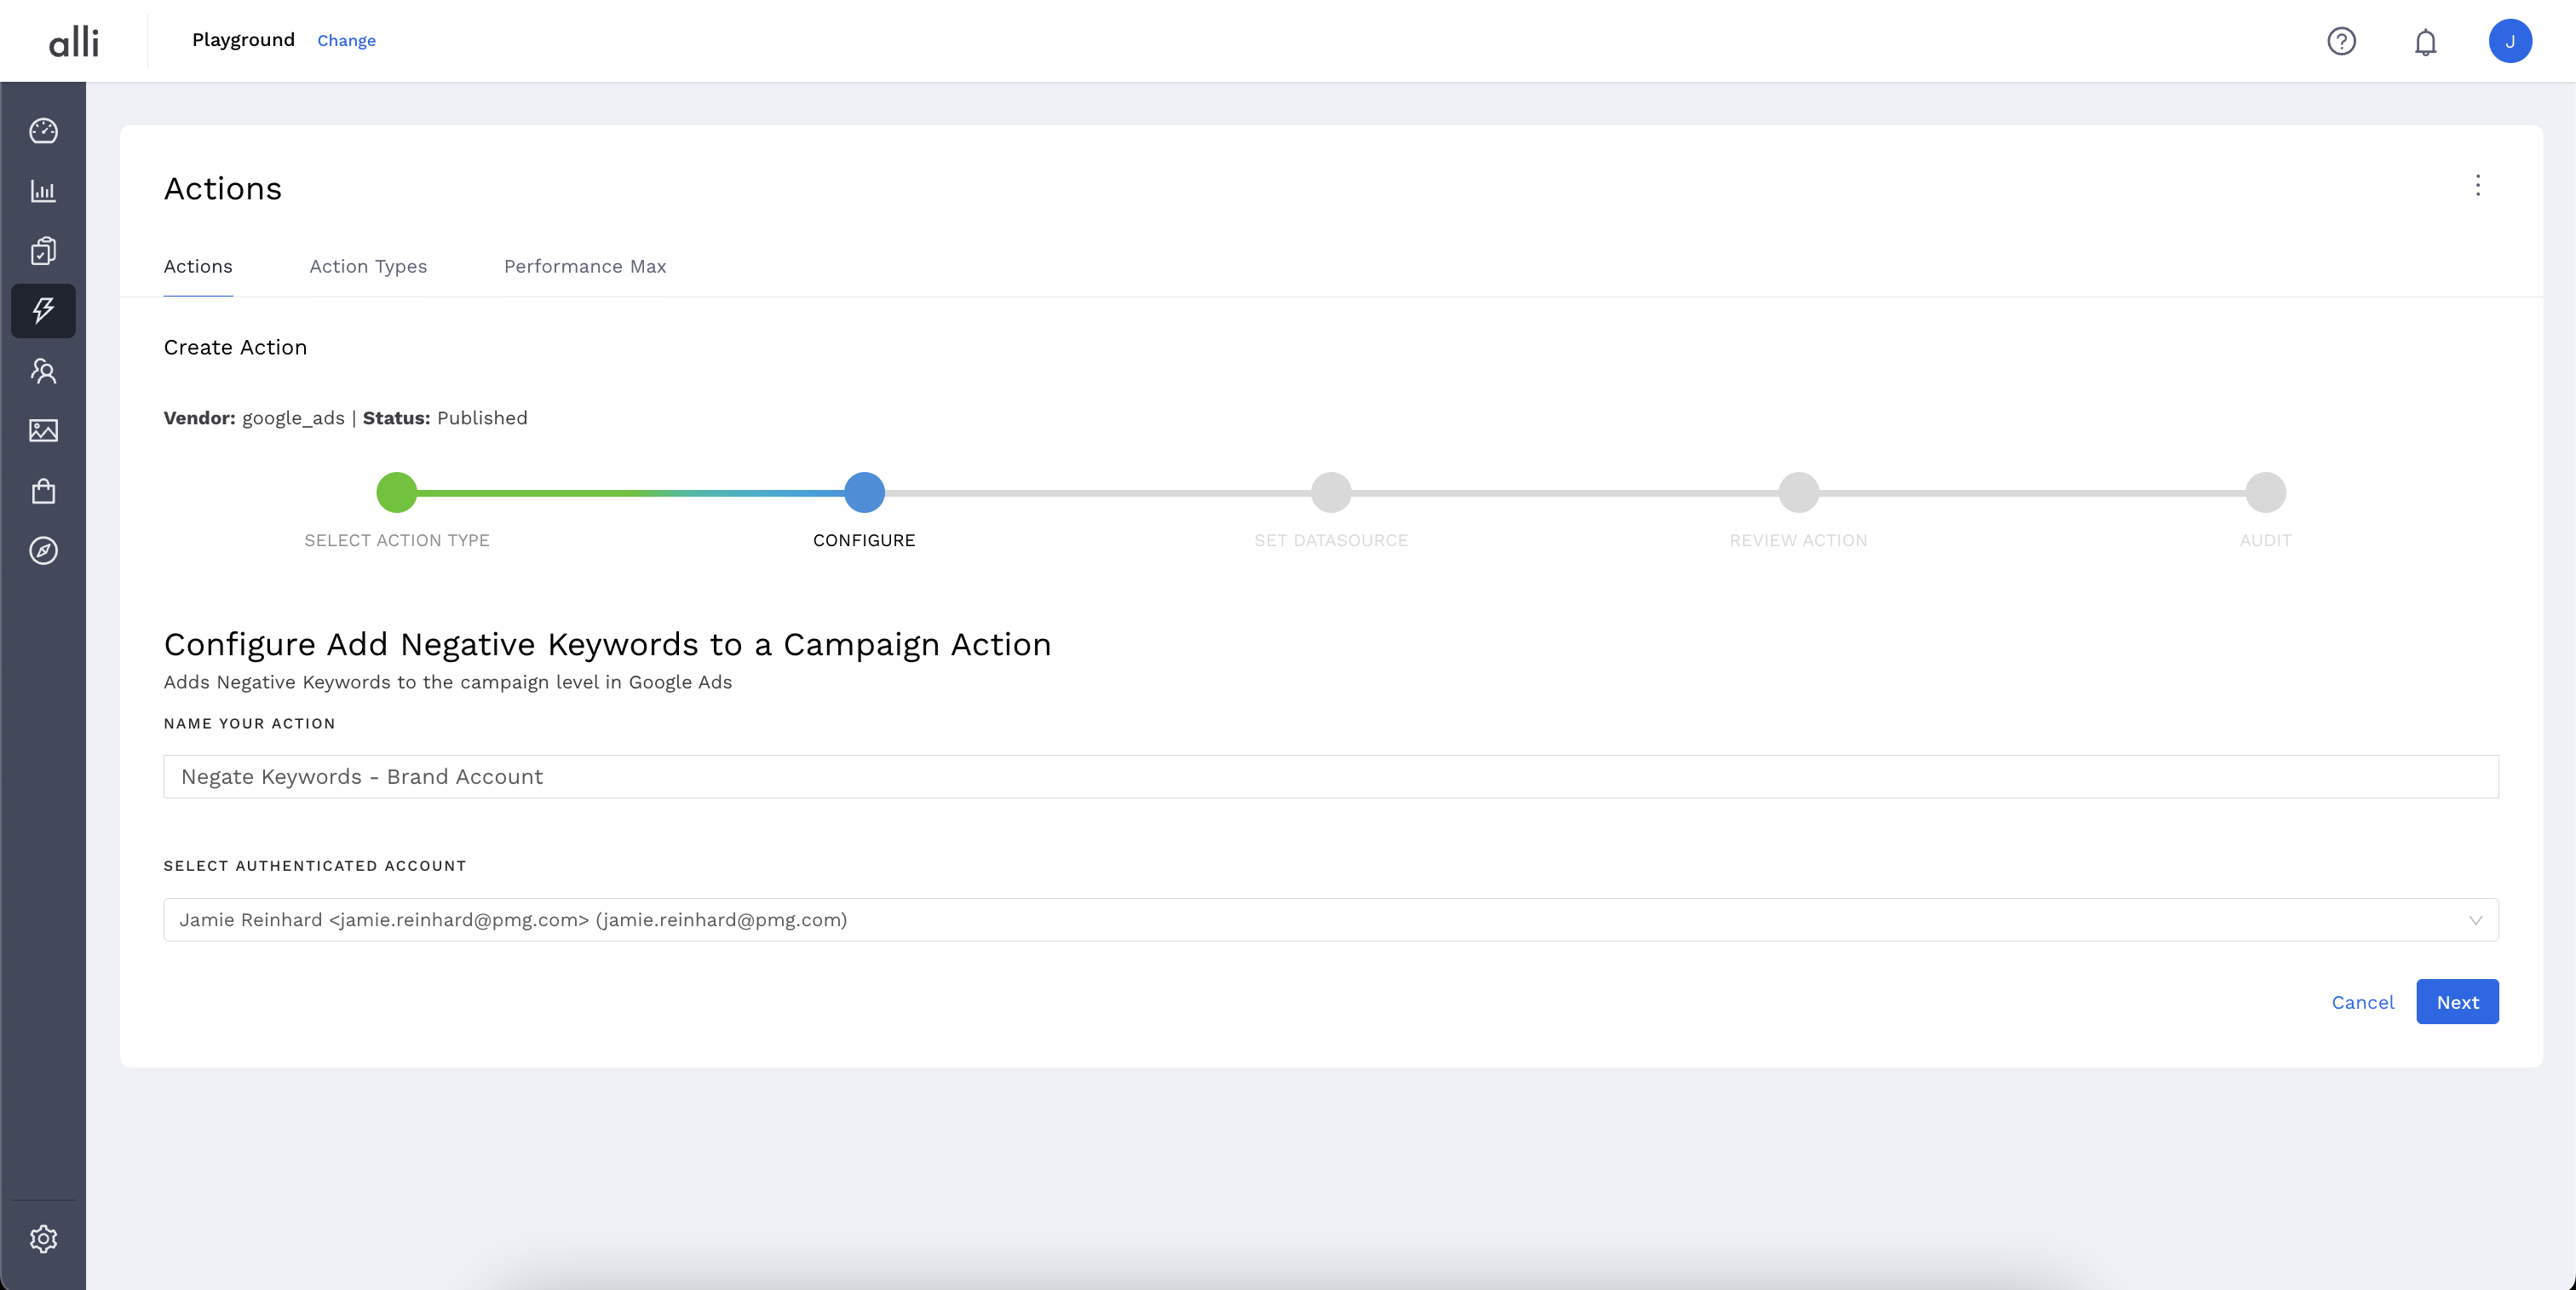
Name your Action and select the Authenticated Account, the user account you'd like to use for making changes. The user associated with this account should have access to the relevant ad accounts.
-
Start by giving your action a descriptive name that reflects the changes you plan to make.
-
Tip: If your desired account isn't listed, or you need to create a new one, refer to the authentication documentation for instructions on how to authenticate a partner platform.
-
-
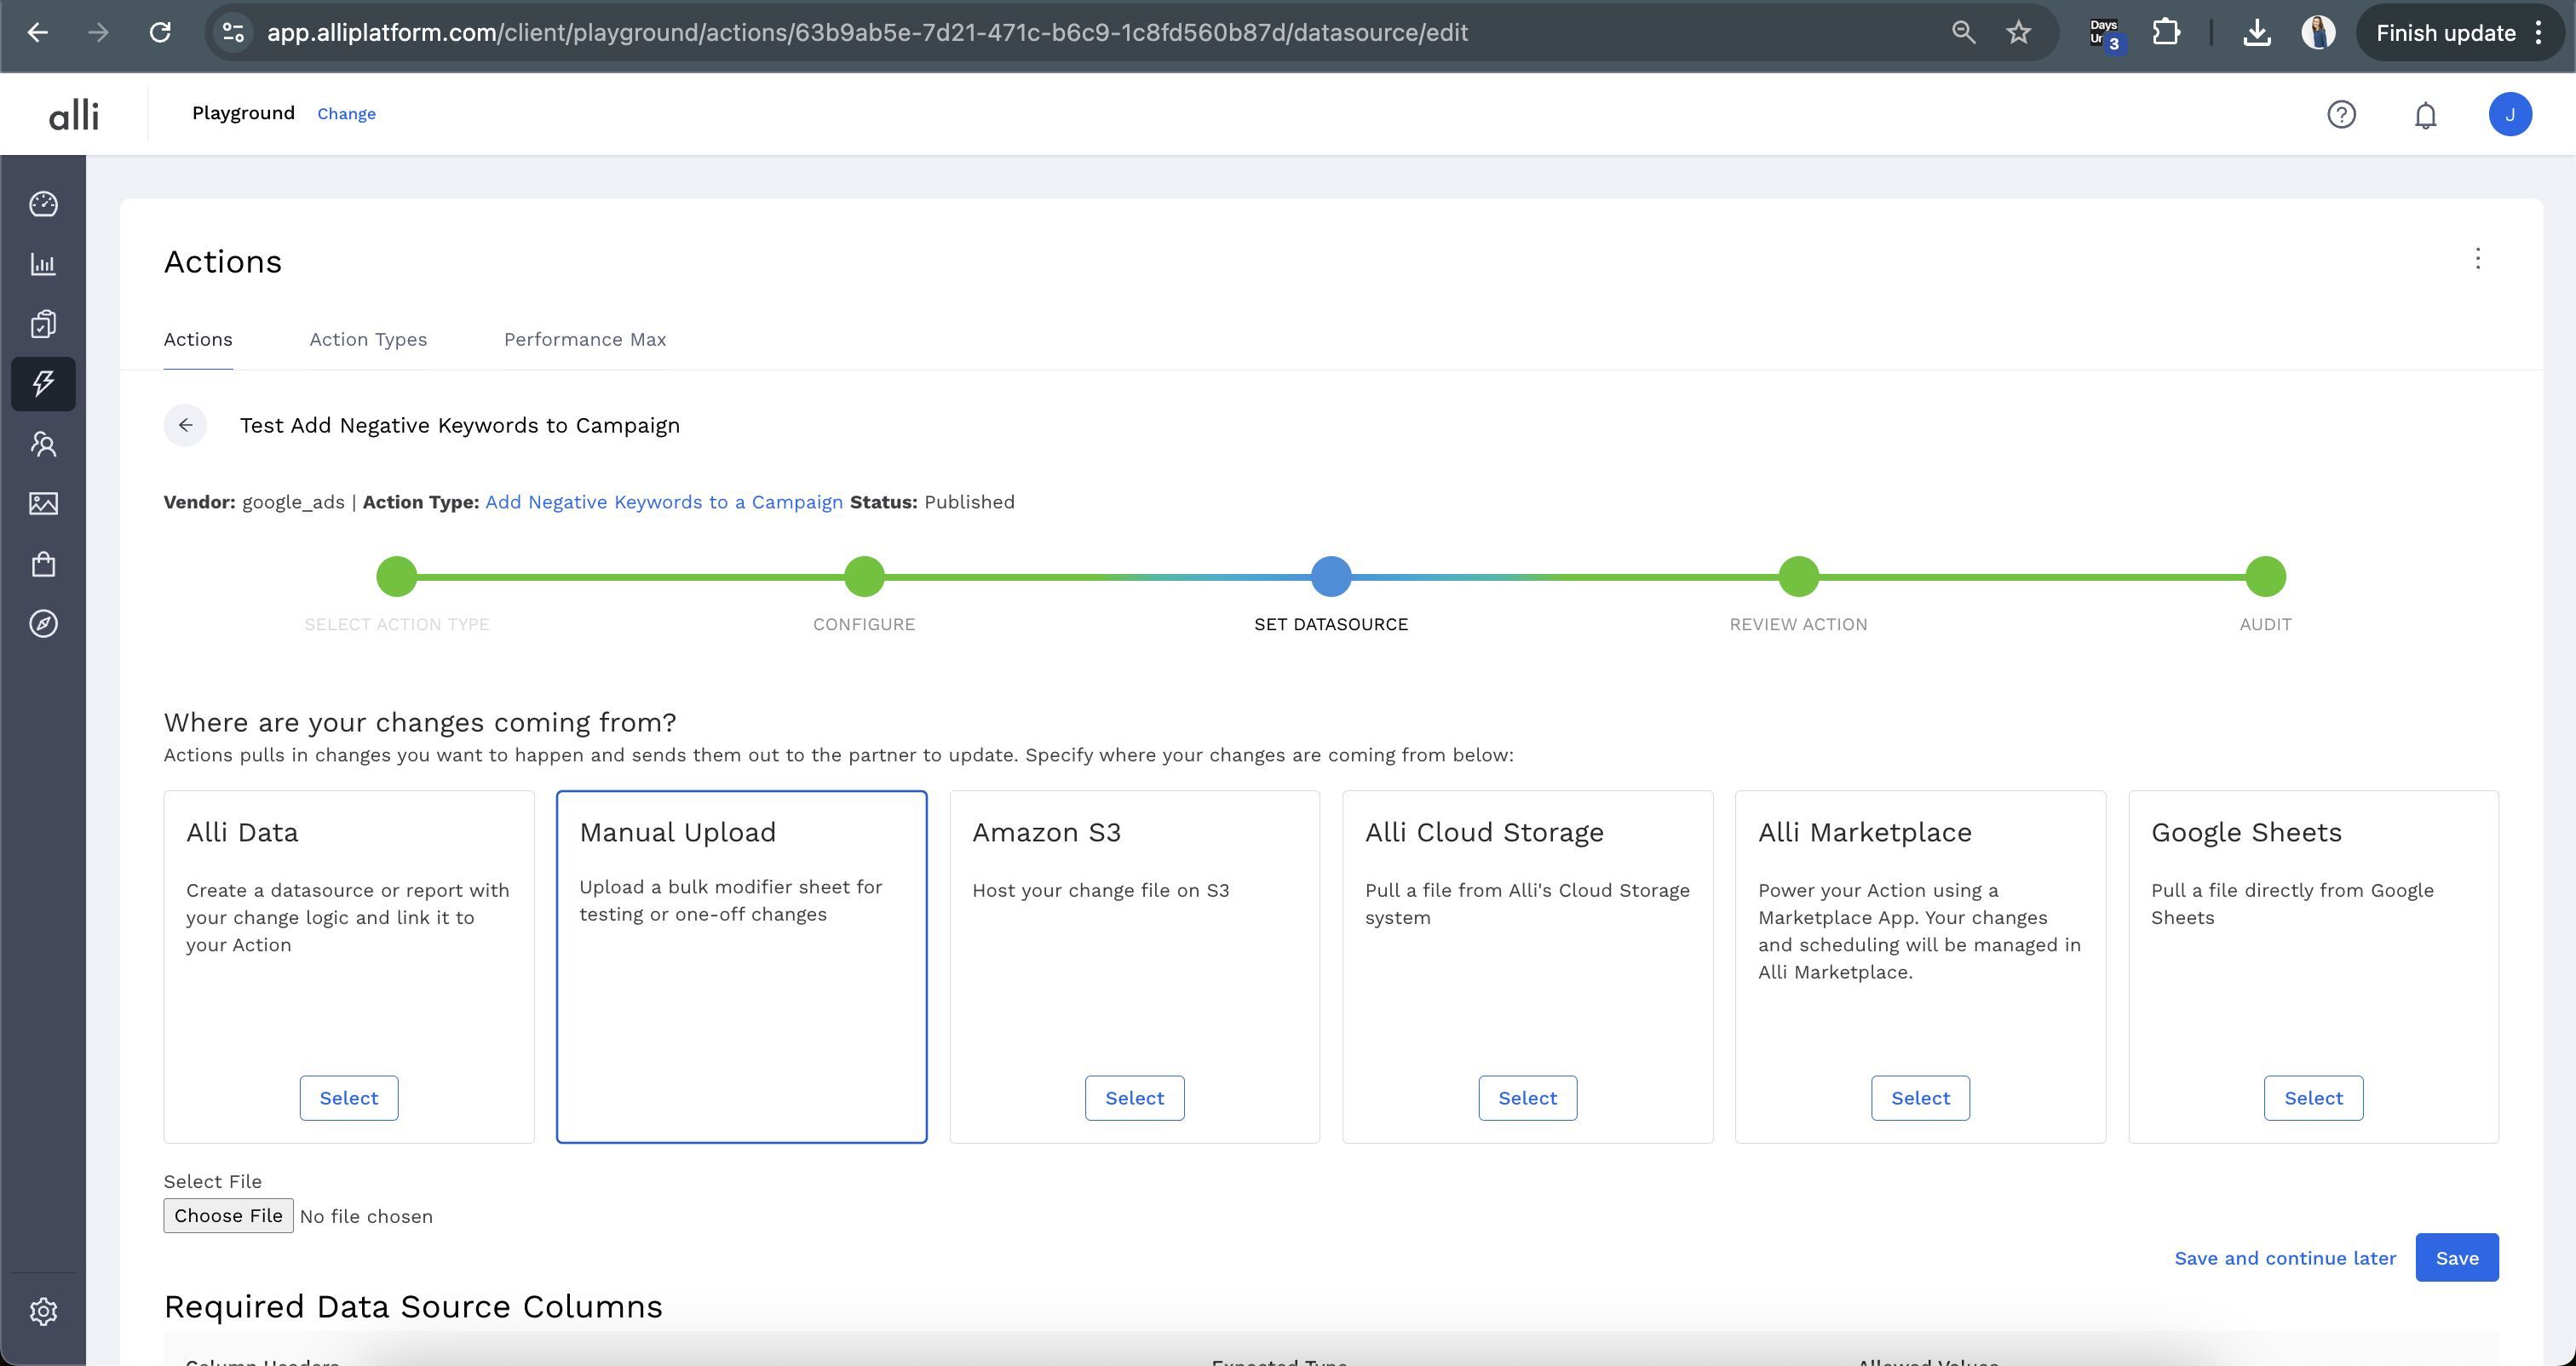
Choose the Manual Upload for a manual, one-off action.
-
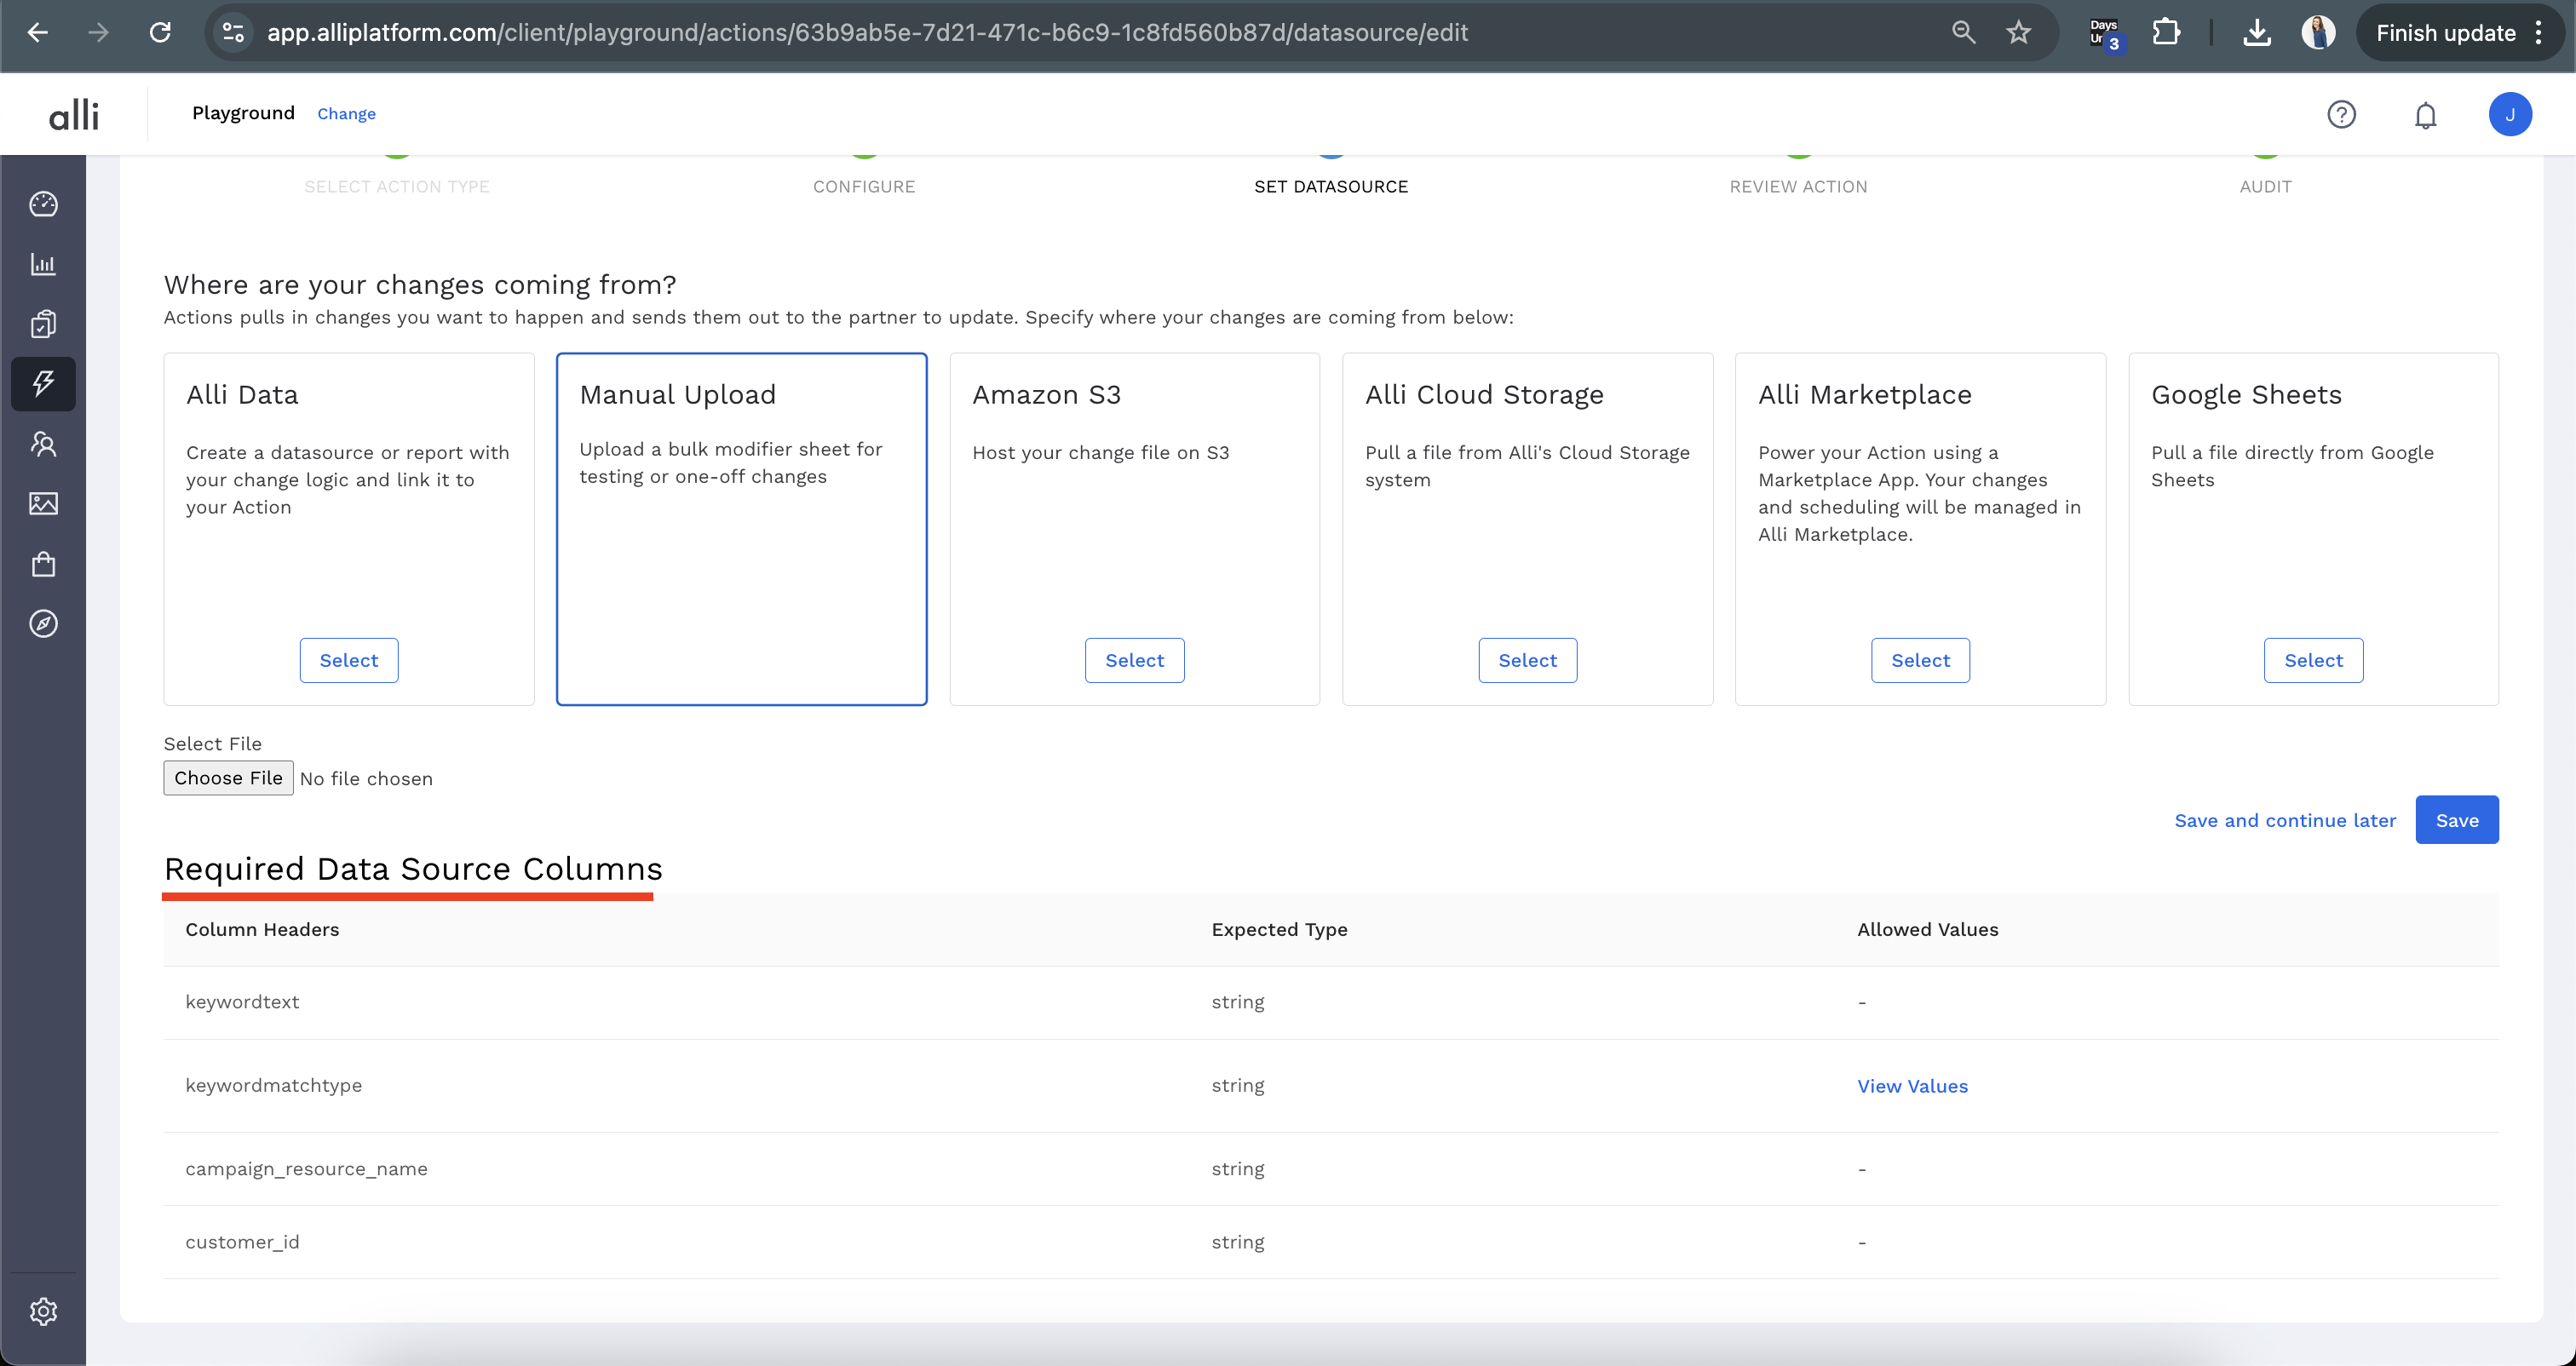
Before moving forward, review the Required Data Source Columns at the bottom of the page. The table will provide you with the column headers (names of the columns in your data) required to complete the action, as well as tips to the expected data type or values required by the vendor. Ensure the data you are meets these requirements.
-
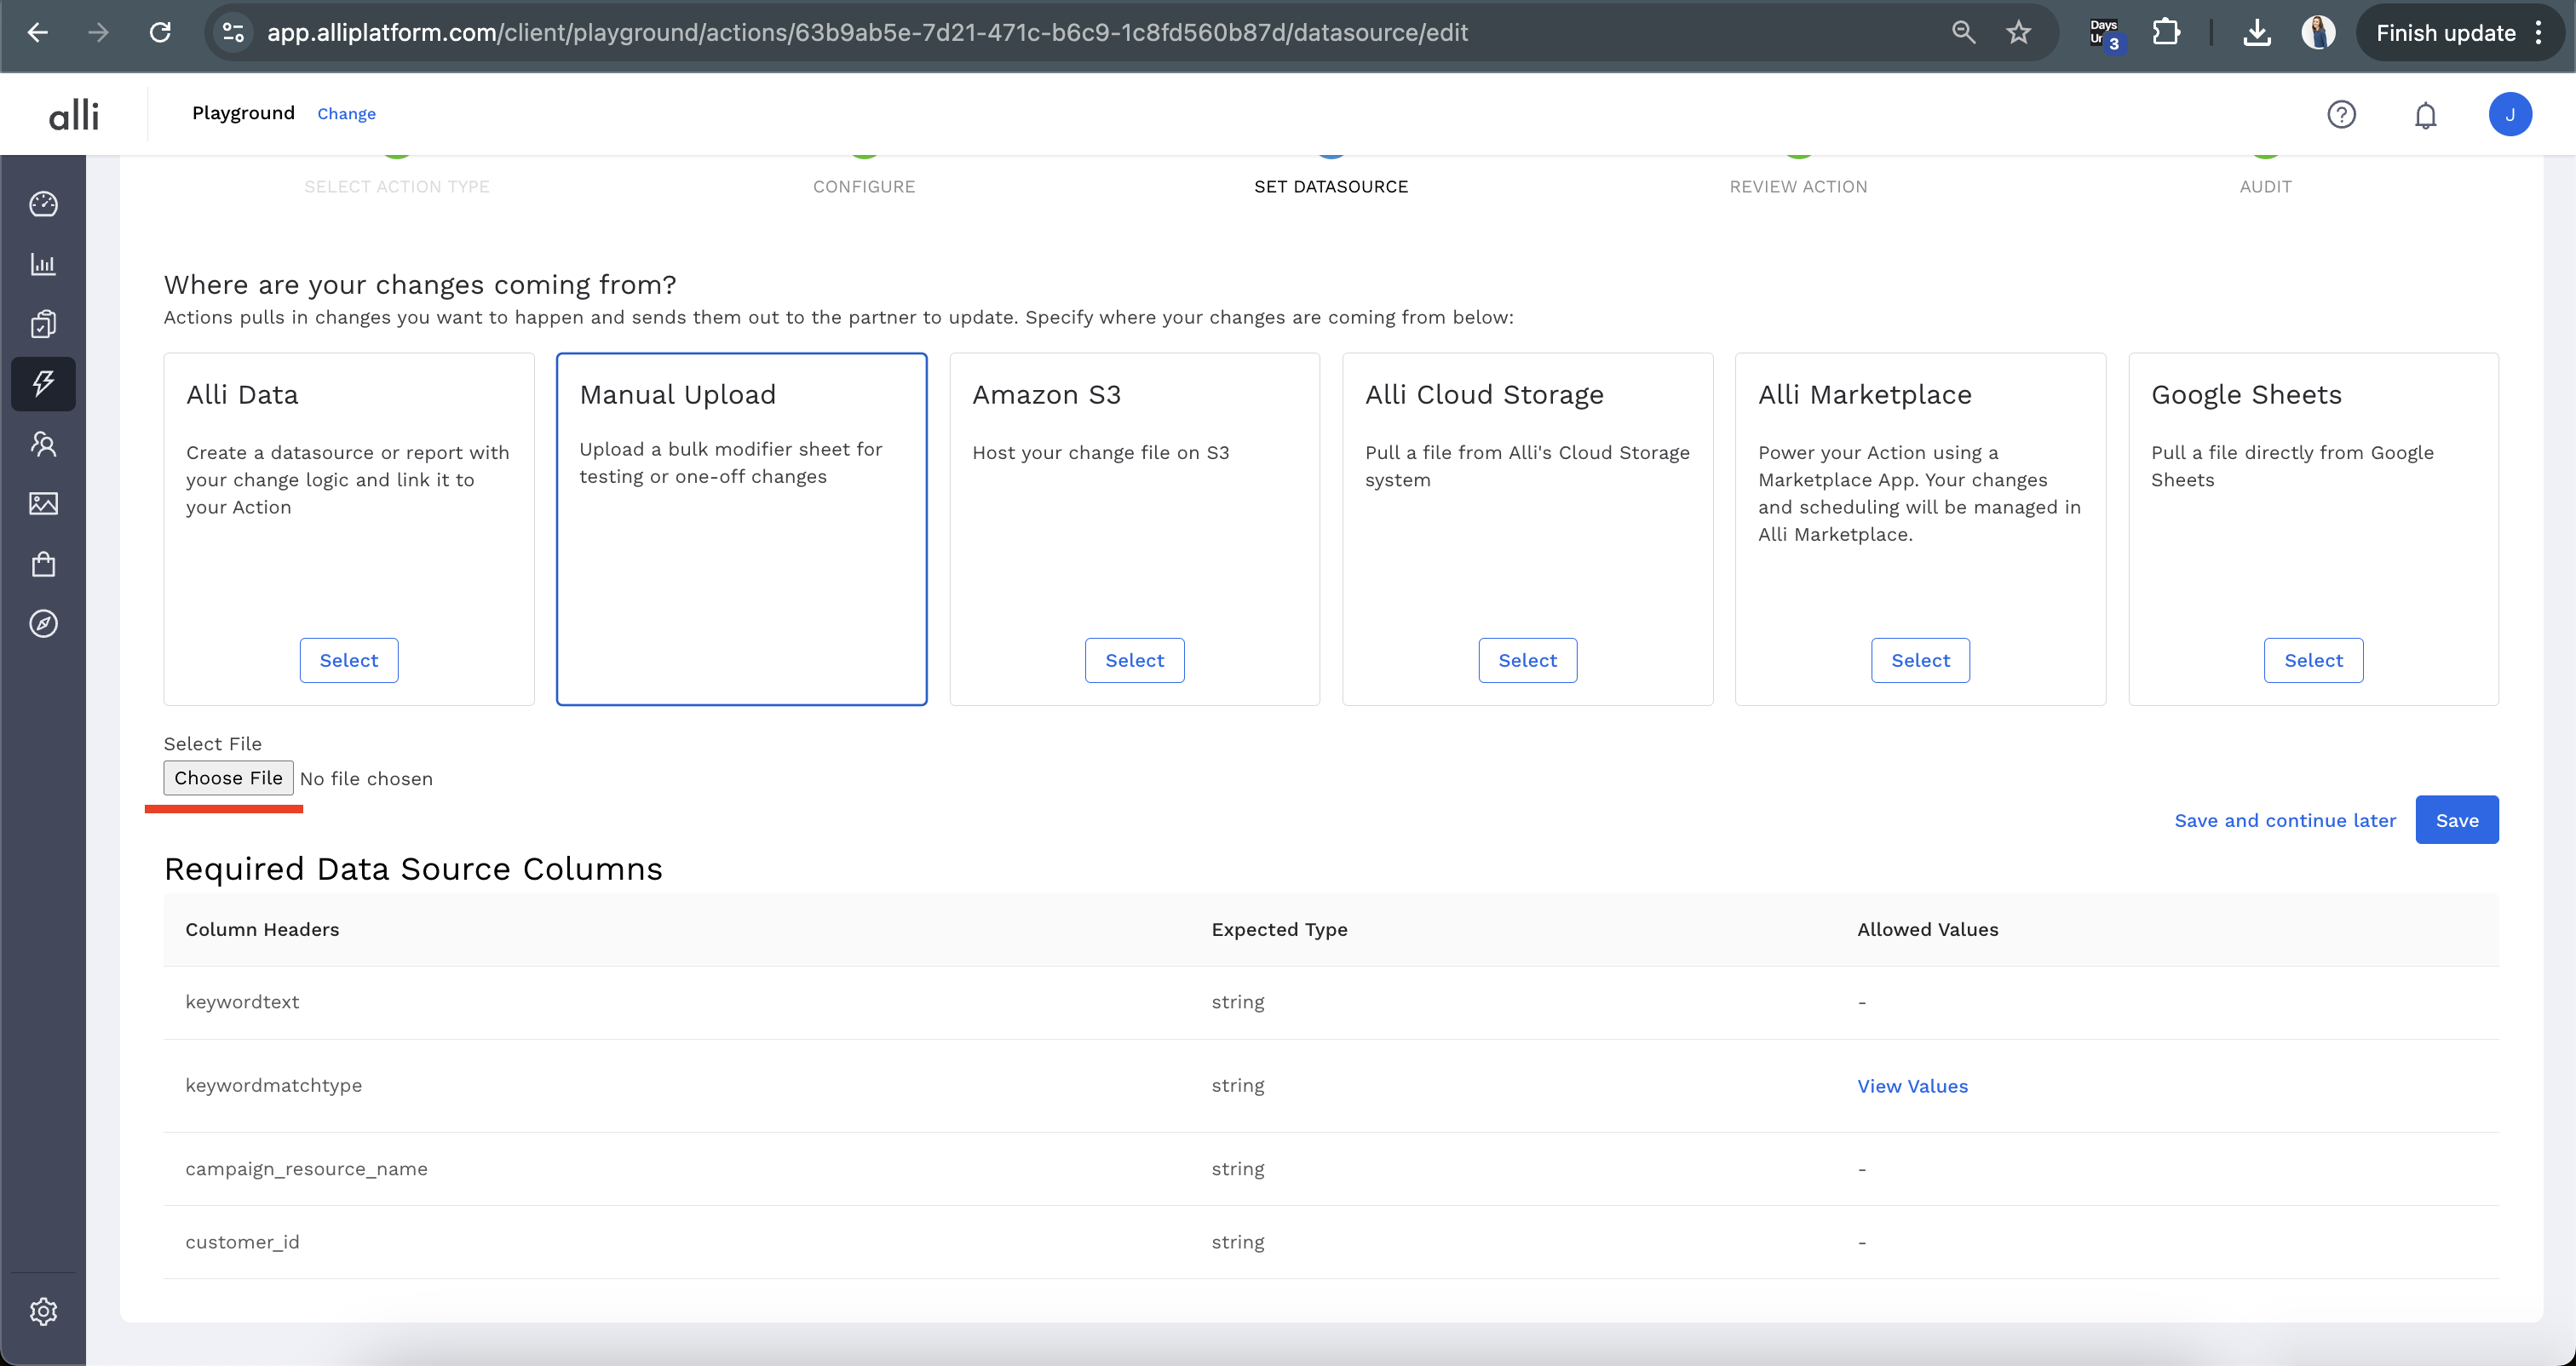
Select Choose File to upload the intended file from your computer.
-
You can select Preview to ensure the right file was selected. If correct, press the blue Run Now button.
-
Your action will run and the Audit page will show either a successful run or any errors that need to be amended.
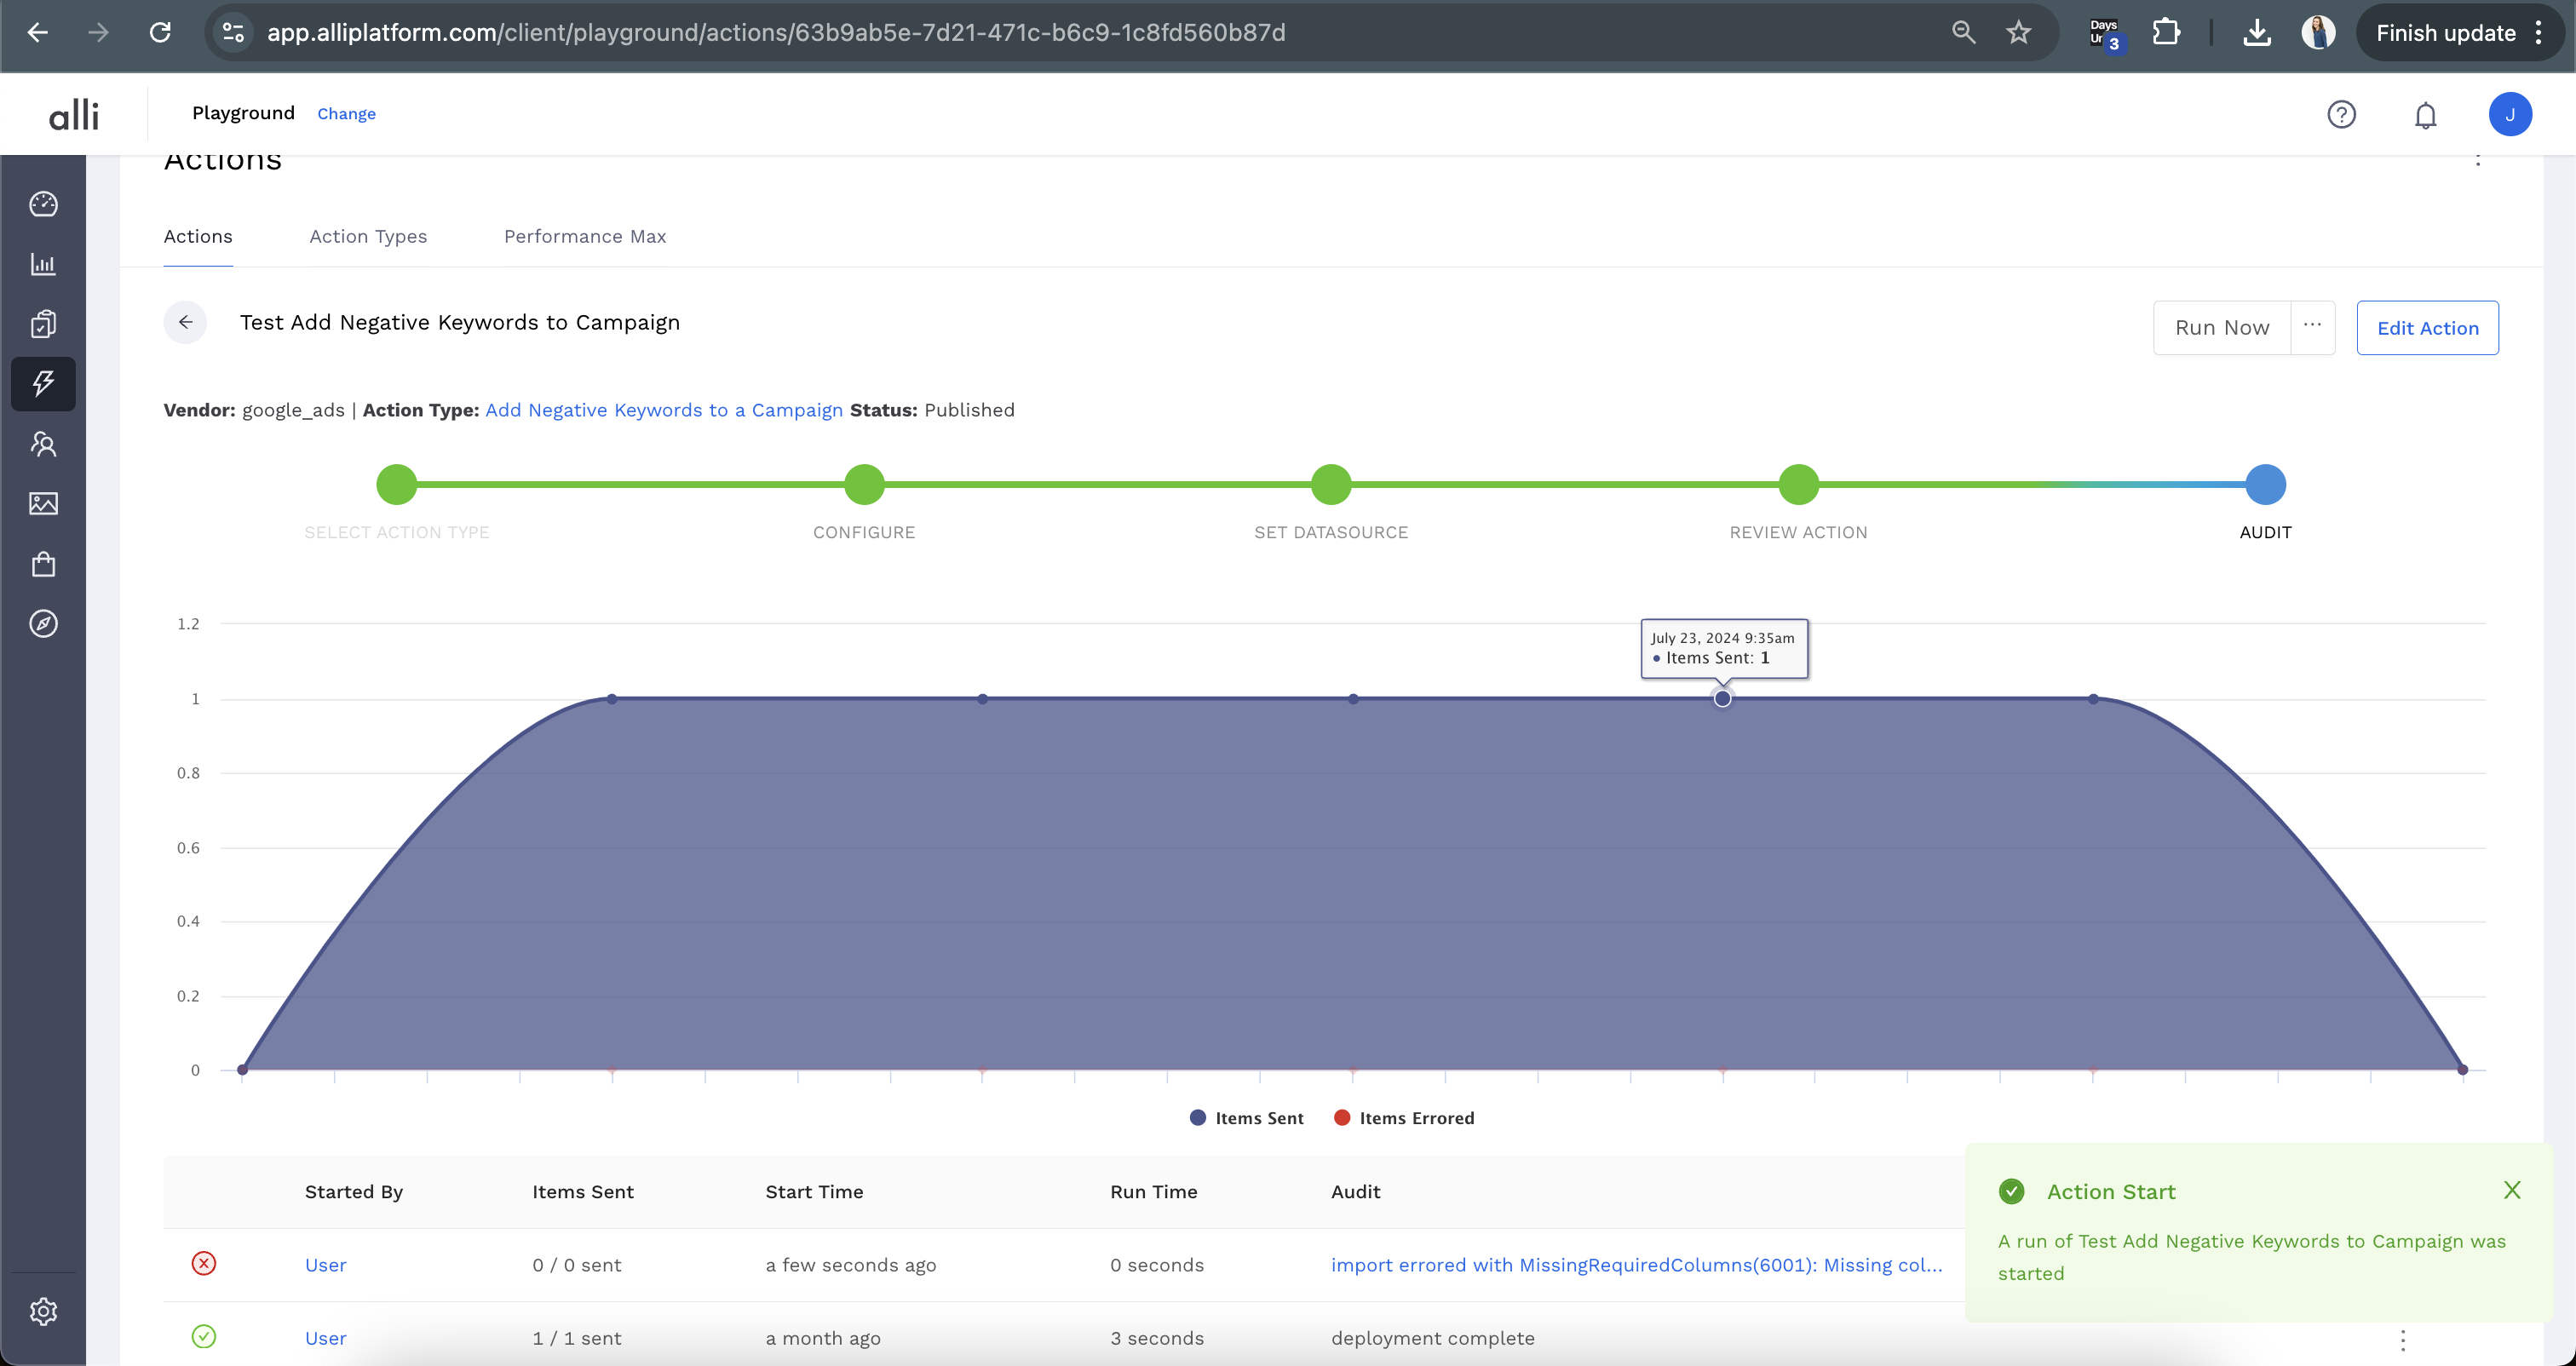
One Time Upload - Existing Actions
This can be useful if you don’t want to change the datasource of your action, but need to upload a few items. Like if your datasource is an Alli Data report, but you have a few extra items you’d like to automate
-
Navigate to Actions
-
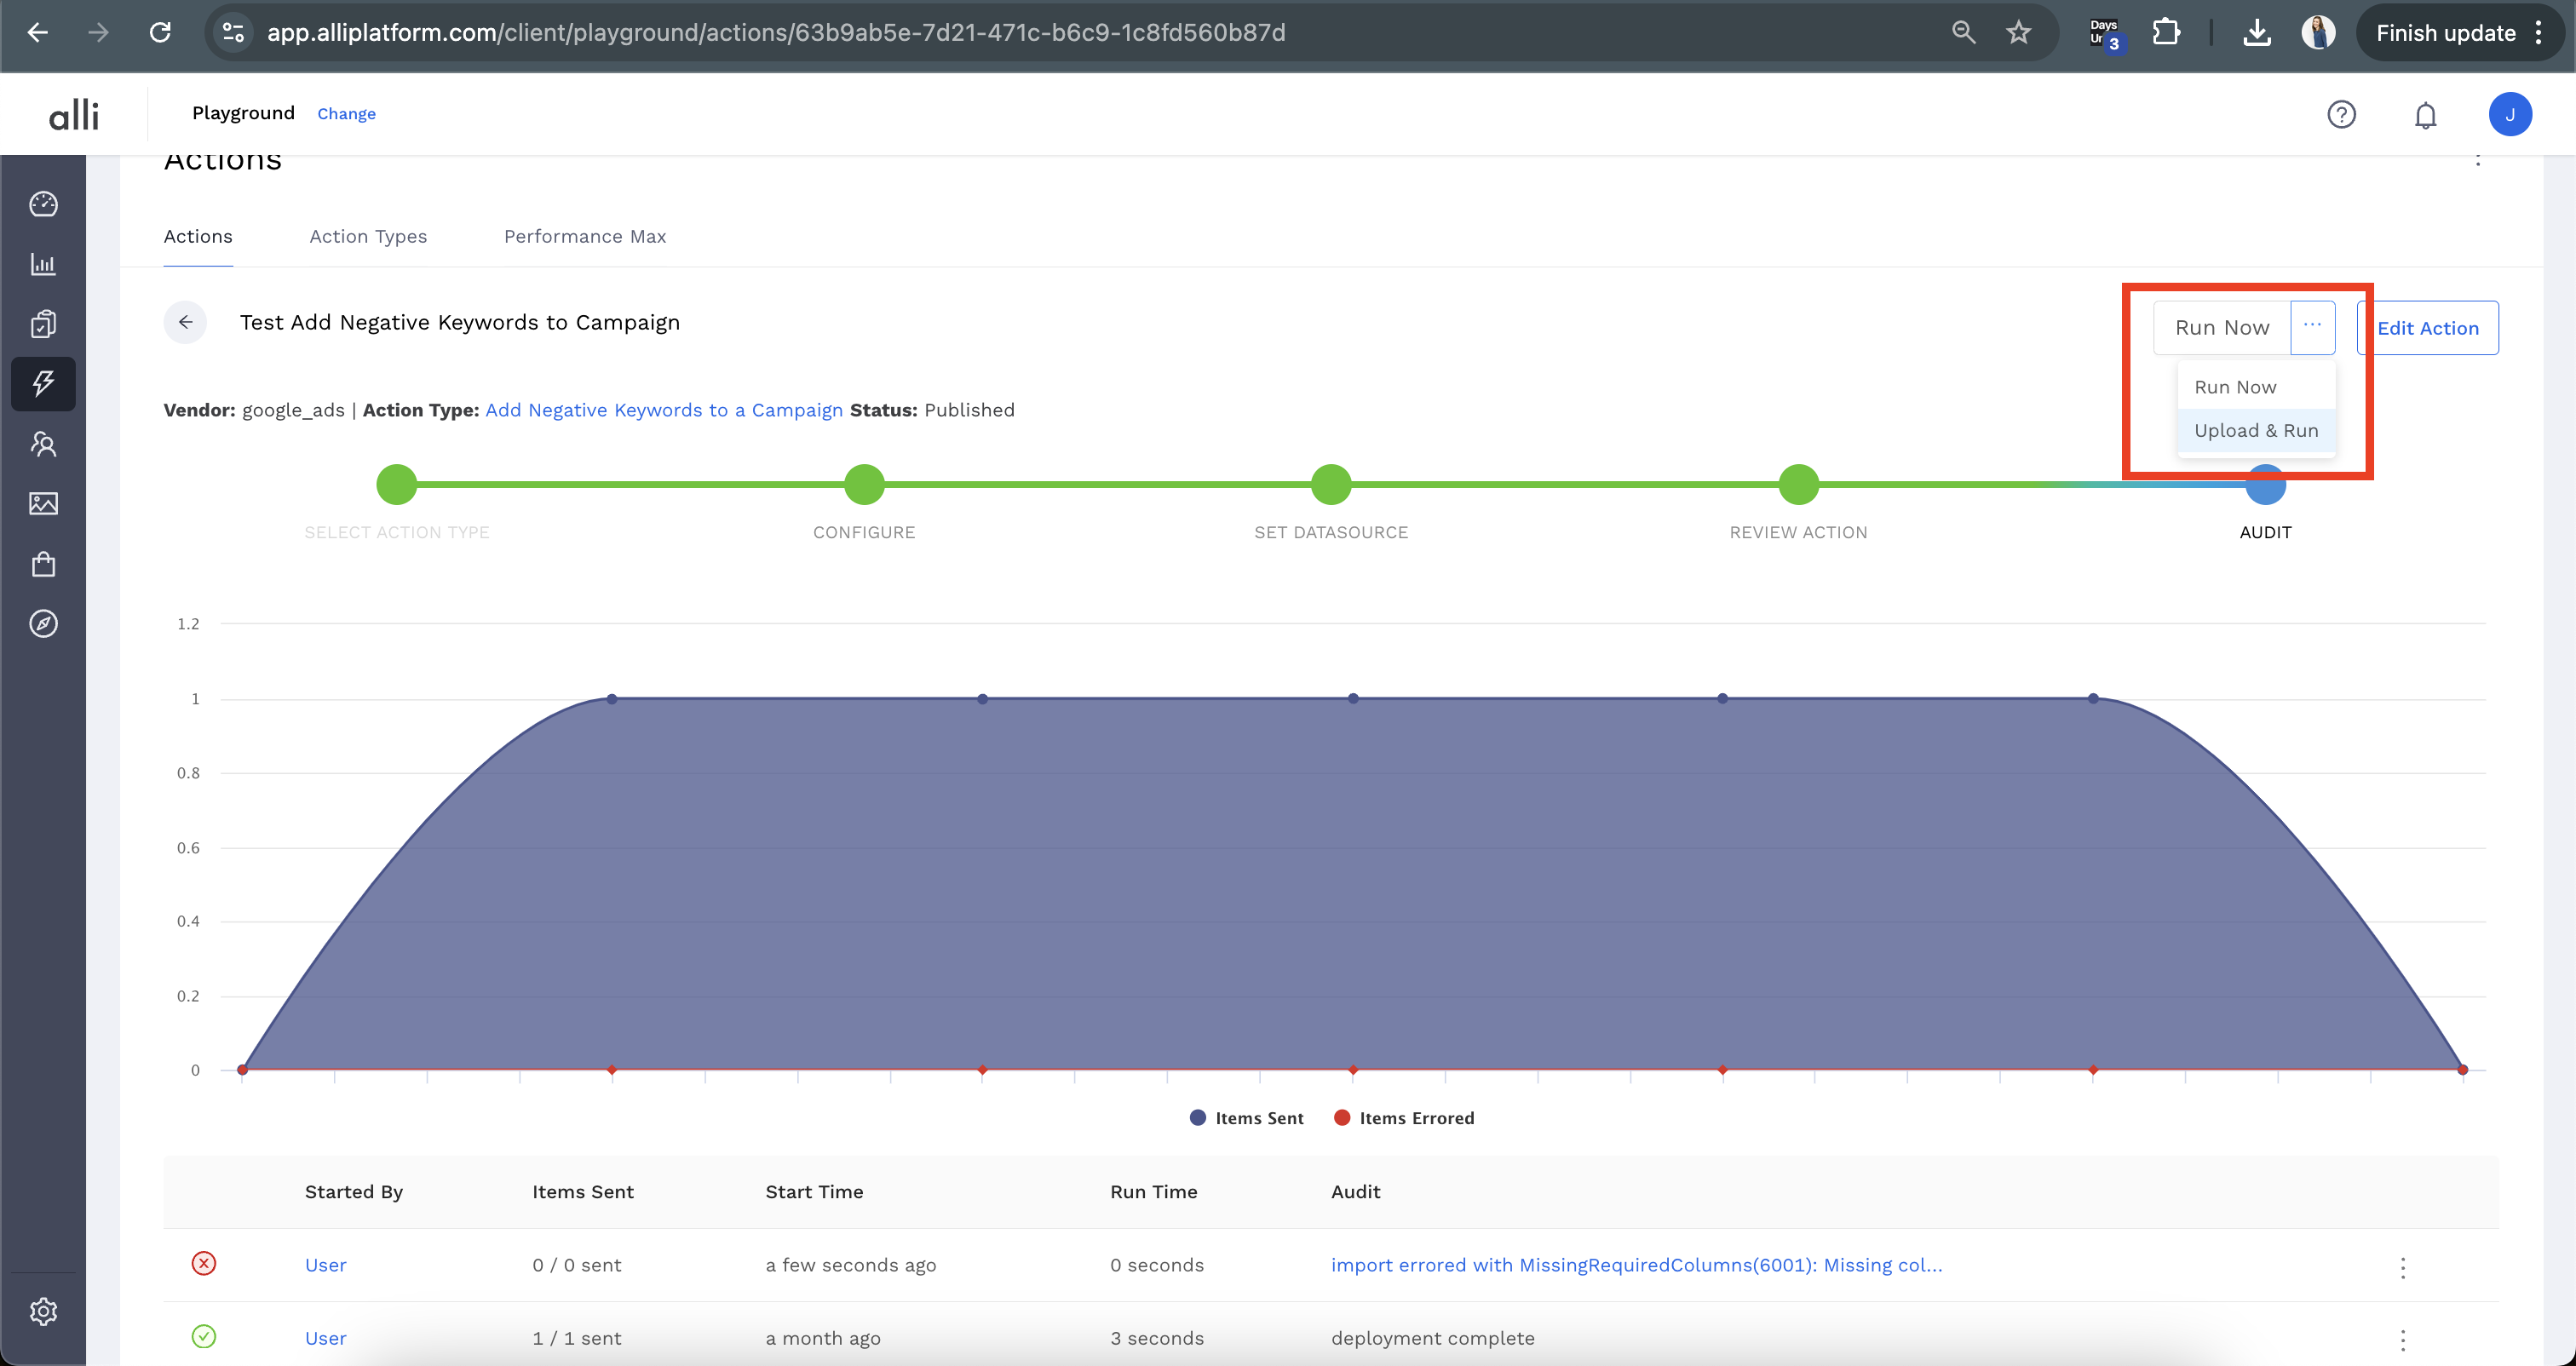
For the action you would like to run, on the far right of the row under the three dots, select Audit.
-
At the top left, click the dropdown arrow next to
Run Nowand selectUpload & Run
-
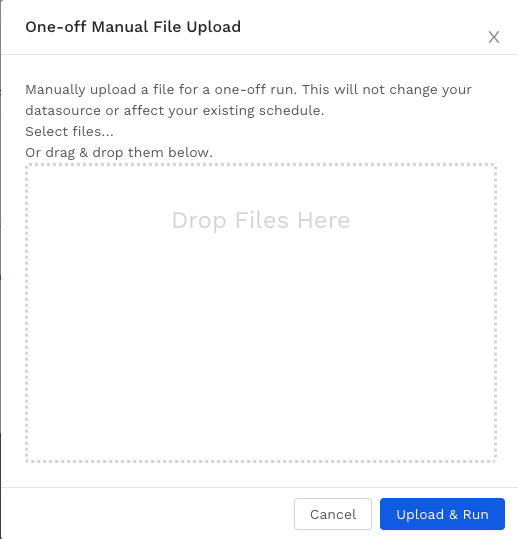
In the modal that pops up, you can drag & drop your csv file or click
Select filesand select your files from your file finder -
Click
Upload & Runand you are done! Note: This will not change your datasource or affect your existing schedule. To make a permanent change to manually uploaded files, update the datasource type in theSet Datasourcestep
Related articles
- How-To: Connect your Google Sheet to Actions
- How-To: Disable or Remove an Installed App
- How-To: Set Up a New Workflow
- How-To: Pull Data for TikTok Trends
- How-To: View Error Messages on an Action That Ran
- How-To: Filter Alli Data Reports by Date to Power Actions - Tips & Tricks
- How-To: Understanding Version Statuses
- How-To: Create a Scheduled Version
- How-To: Weather API App
- How-To: Set Up Brand Media Pacing Datastudio Dashboard
- Tutorial: Adding Negative Keywords to Google Ads
- How-To: Test Your Action
- How-To: Using the Execution Log
- How-To: Setup Weather Budget Adjuster
- Tutorial: TheTradeDesk - Brand Safety Alerts