
Overview
Before you can start setting up Actions, you need to authenticate partner platforms. This is required and allows you to push out changes to your client.
Authentication Maintenance: Refresh or Replace
If you need to refresh your authentication or replace a colleague’s due to reasons like parental leave, PTO, or employee transitions, review the Refresh or Replace instructions below.
Instructions
-
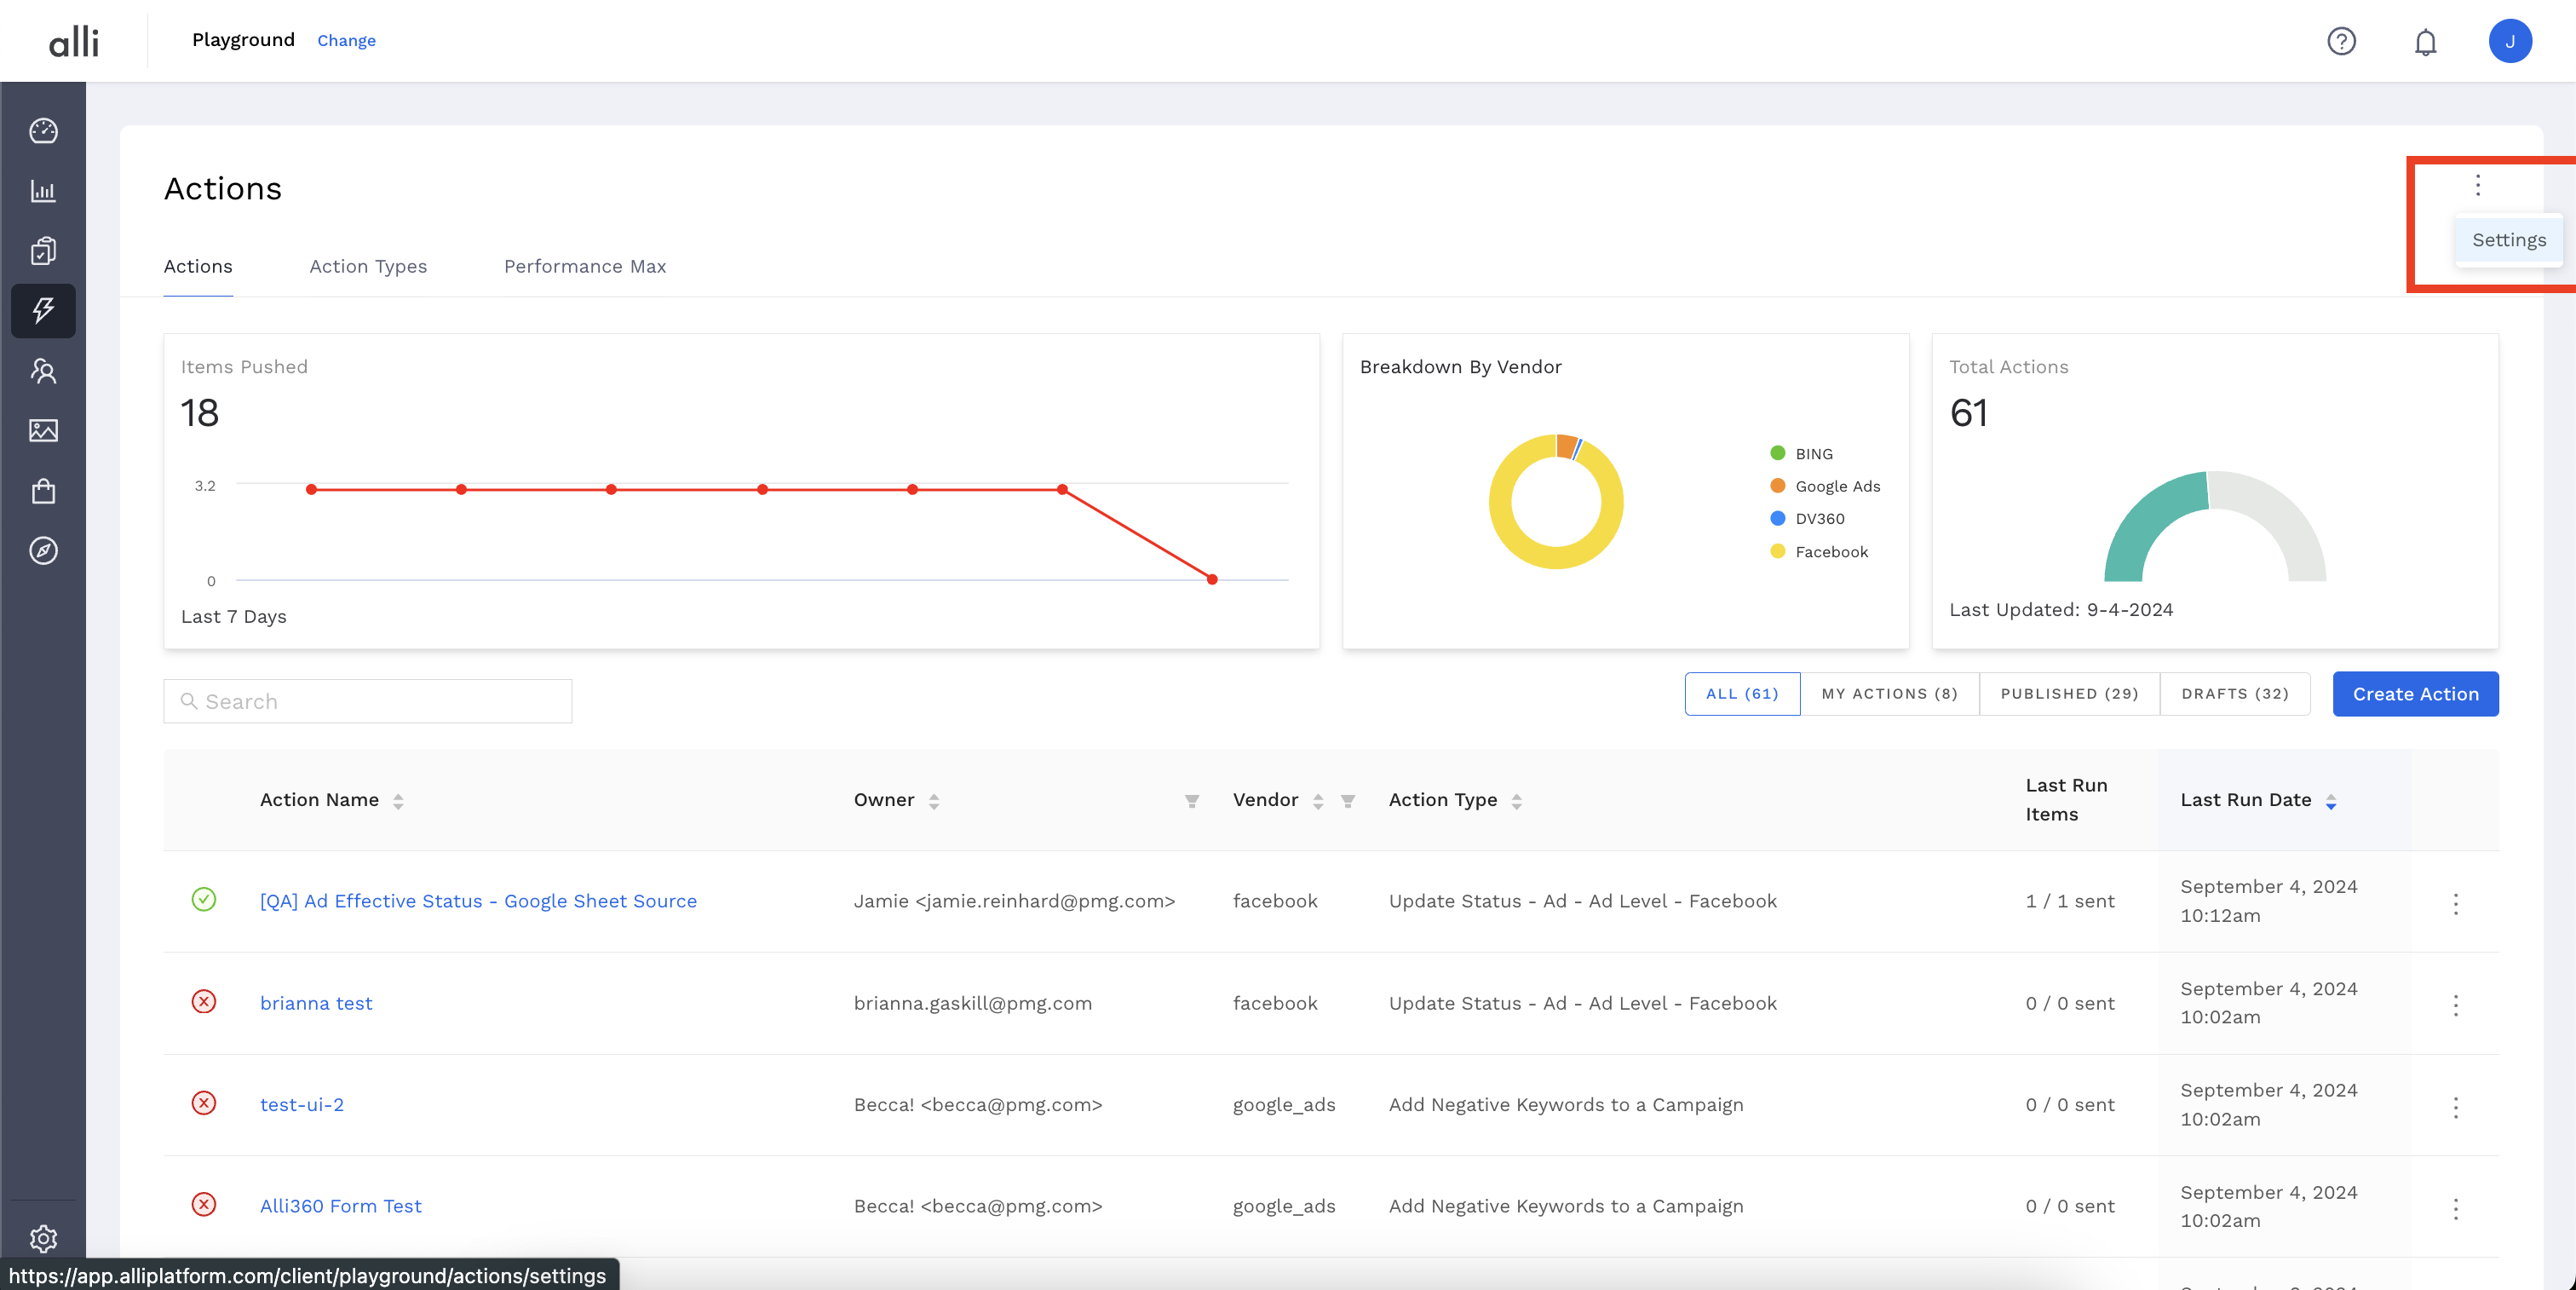
Login to Alli Actions and select your Client.
-
Select the Settings button to go to your customer settings page.
-
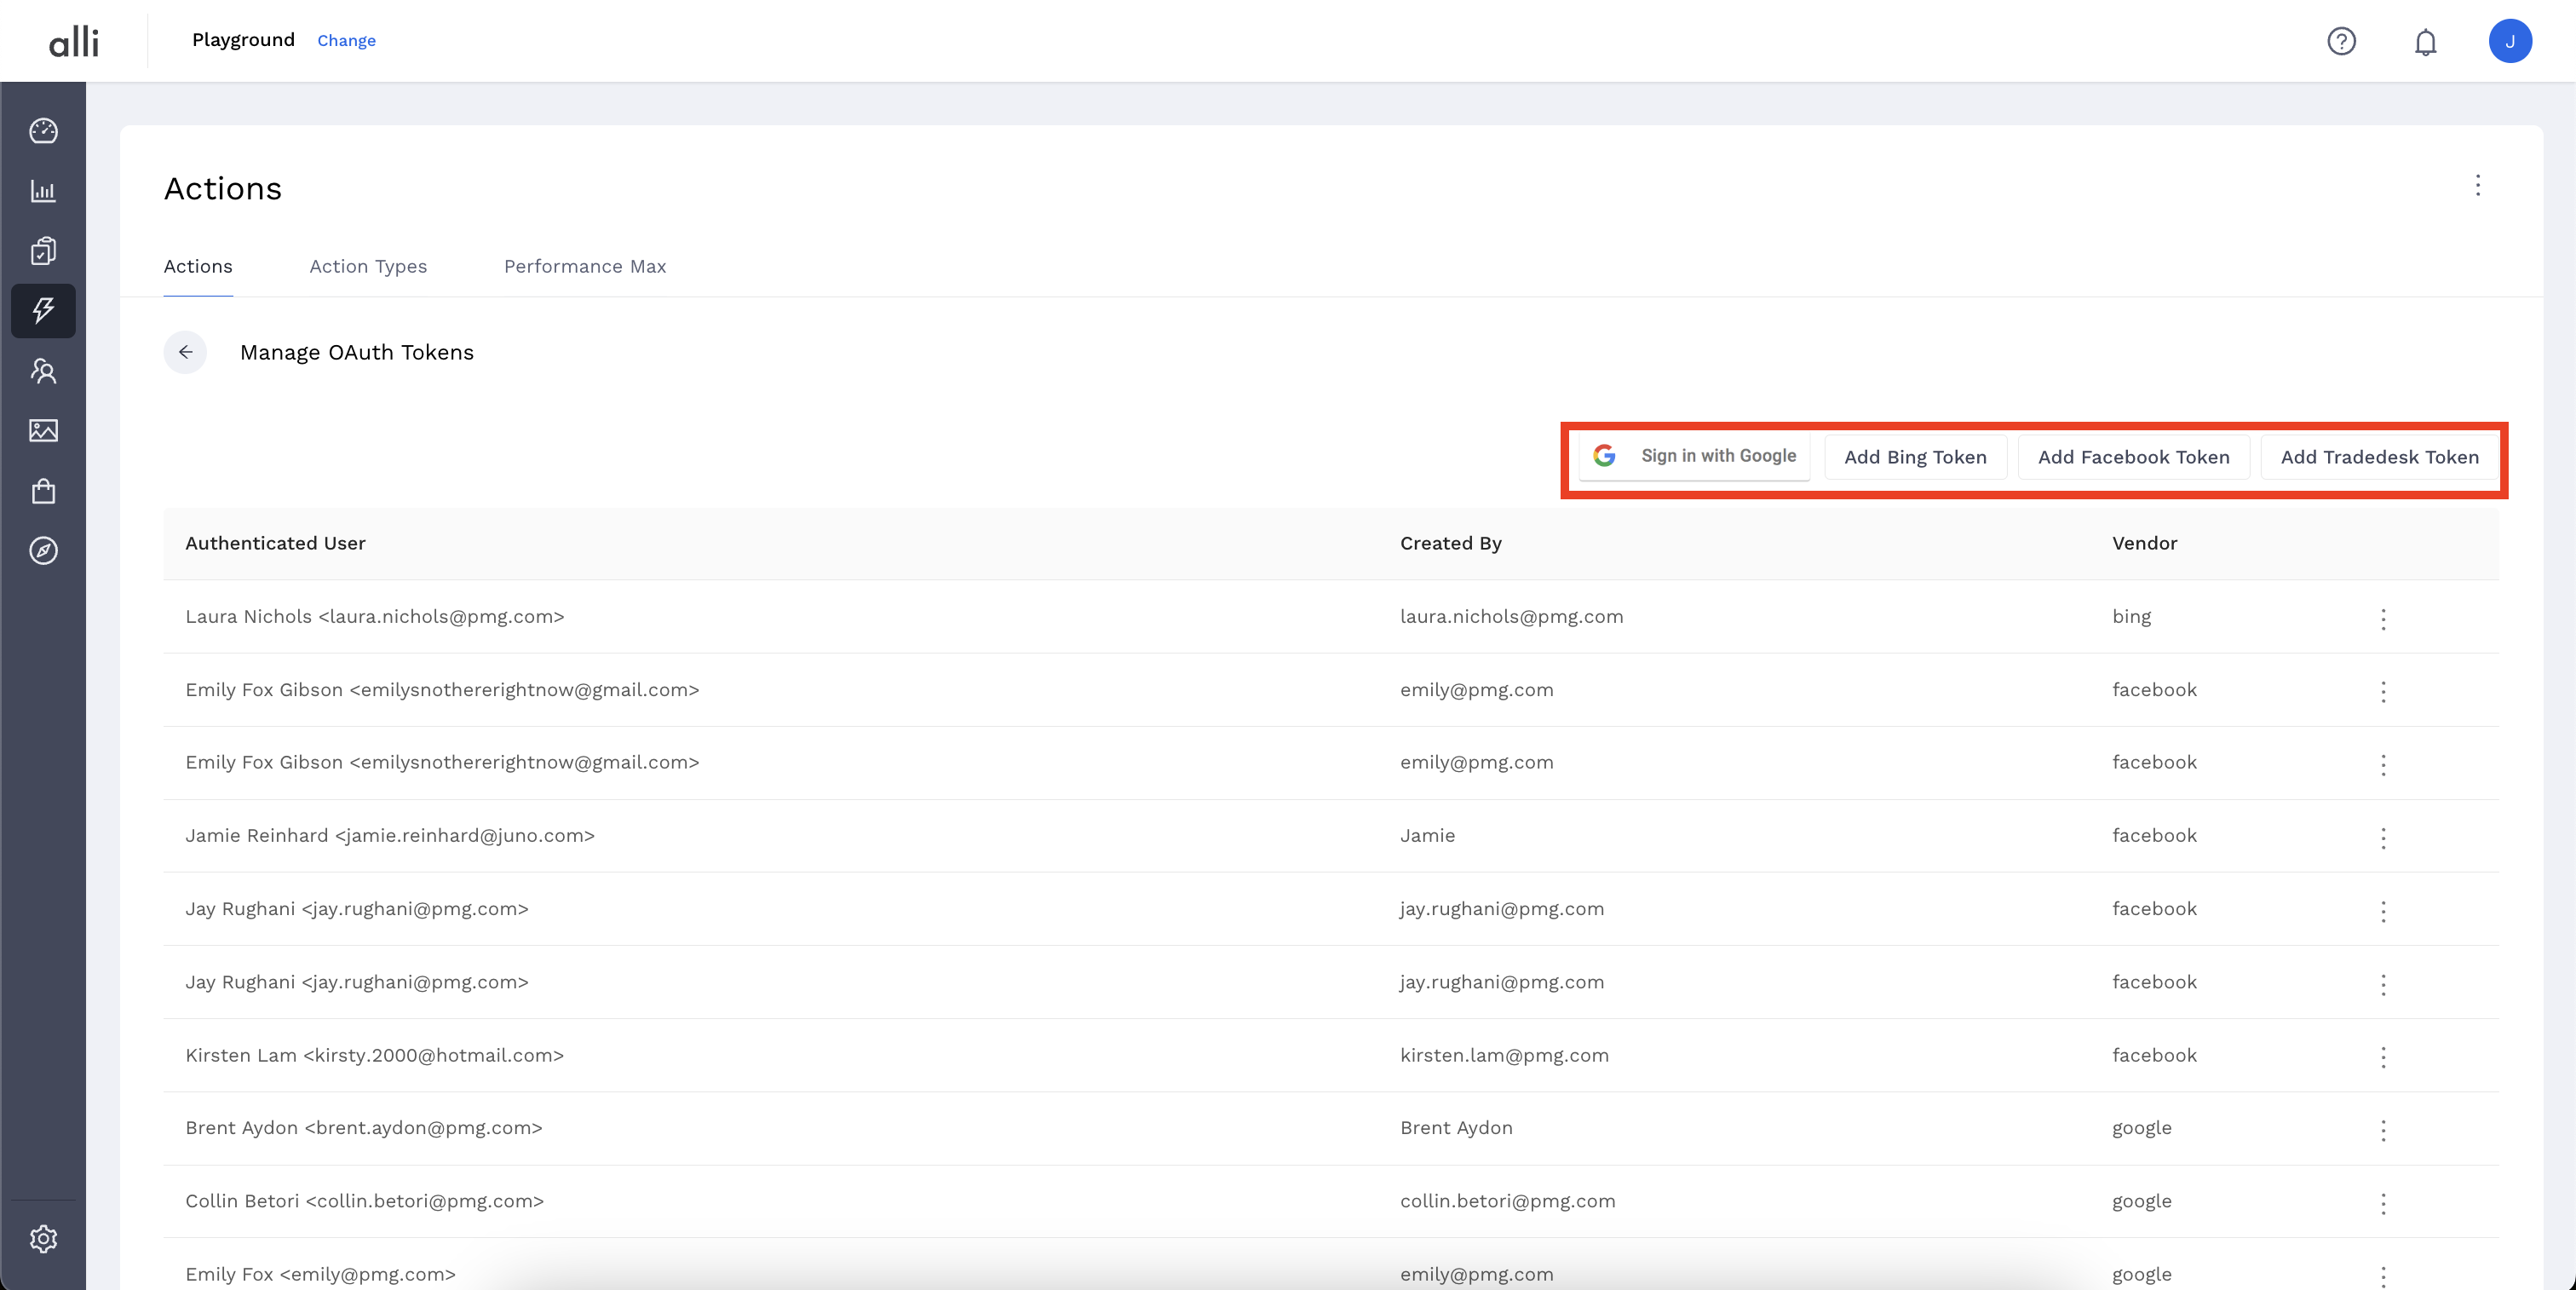
Select the partner platform you want to authenticate.
-
A popup will appear, allowing you to login or select the correct account if you are logged into multiple accounts, and Allow the Alli Platform to act on Actions you set up.
-
Once this is done you will see your authenticated accounts in the list on the settings page and you can get started setting up Automated Campaign Actions using Alli Actions!
Refresh or Replace
Refresh
-
Login to Alli Actions and select your Client.
-
Select the Settings button to go to your customer settings page.
-
Find your existing authentication, click the 3 dots to the far right and select
Refresh. You will be taken through the authentication process again
Replace
To ensure a seamless transition, replace the existing token instead of deleting or creating a new one. This allows for continuous operation without disruption.
-
Login to Alli Actions and select your Client.
-
Select the Settings button to go to your customer settings page.
-
Find the existing authentication, click the 3 dots to the far right and select
Replace. You will be taken through the authentication process and anywhere their token was utilized, your token will now be utilized. (Please review existing actions to ensure you have access to the accounts, datasources, sheets, etc used in the actions)
Related articles
- How-To: Connect your Google Sheet to Actions
- How-To: Disable or Remove an Installed App
- How-To: Set Up a New Workflow
- How-To: Pull Data for TikTok Trends
- How-To: View Error Messages on an Action That Ran
- How-To: Filter Alli Data Reports by Date to Power Actions - Tips & Tricks
- How-To: Understanding Version Statuses
- How-To: Create a Scheduled Version
- How-To: Weather API App
- How-To: Set Up Brand Media Pacing Datastudio Dashboard
- Tutorial: Adding Negative Keywords to Google Ads
- How-To: Test Your Action
- How-To: Using the Execution Log
- How-To: Setup Weather Budget Adjuster
- Tutorial: TheTradeDesk - Brand Safety Alerts