
How to backfill a datasource
Overview
When you first set up a datasource or if a data load is missing or incorrect you may need to backfill it. This can be done by either uploading a file containing the missing data or by selecting a date range to backfill using the partner API.
Instructions
Data Deletion
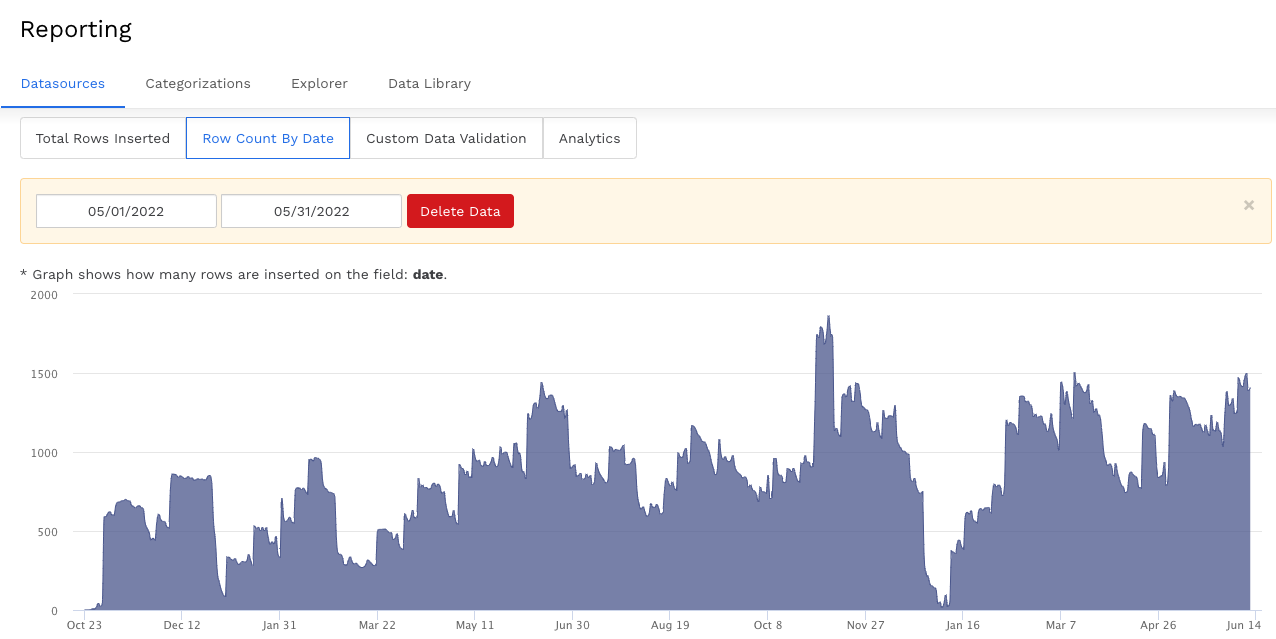
In the case that data exists in the datasource for the backfill dates in question, you will need to delete the data in the date range. This can be found in the “audit” tab within the datasource under the “Row Count By Date” drop-down.
Manual Upload
In order to backfill a manual datasource, you will need to upload the raw file of data with the date ranges that you need.
Under the Load Data section, select Choose File and follow the prompts to select your file.
Click Upload File. Once the file has been uploaded, click Save.
Backfill from Partner API
To backfill a datasource from a partner (such as Facebook), you can either upload manually like the above or you can select the date ranges to pull in from the partner source.
Under Load Data, select custom start and end dates or use the preset ranges under the Backfill button.
Once you have chosen your date ranges, click Load Data. You will see a progress bar on the next screen.
After a few moments, you should see a popup message confirming that your job is finished. This popup will also notify you if there are any warnings or errors to address.
Click Close.
Your data has now been backfilled.
Backfilling a datasource may take several minutes, depending on the file size and date range length. Once your data has been fully backfilled, you will receive email confirmation.
Related articles
- How to name Datasource Columns
- How to manually upload data to an existing datasource
- How to archive and unarchive data sources
- How to create a manual datasource without validations
- How to setup a datasource that requires custom data
- How to Create a new datasource
- How to update datasource dimensions and metrics
- How to create a Smartsheet Datasource
- How to add a manual upload datasource