This how-to covers how to import to an existing list. This is helpful if you do not have auto-importing set up or if you accidentally navigate away from Audiences during new list creation.
Instructions
-
Select ‘New Import’ from the three dots drop-down for an audience

-
Select SFTP for the Import Source.

-
Please visit Advanced Guide: Audience Import Sources for a full list of import sources.
-
-
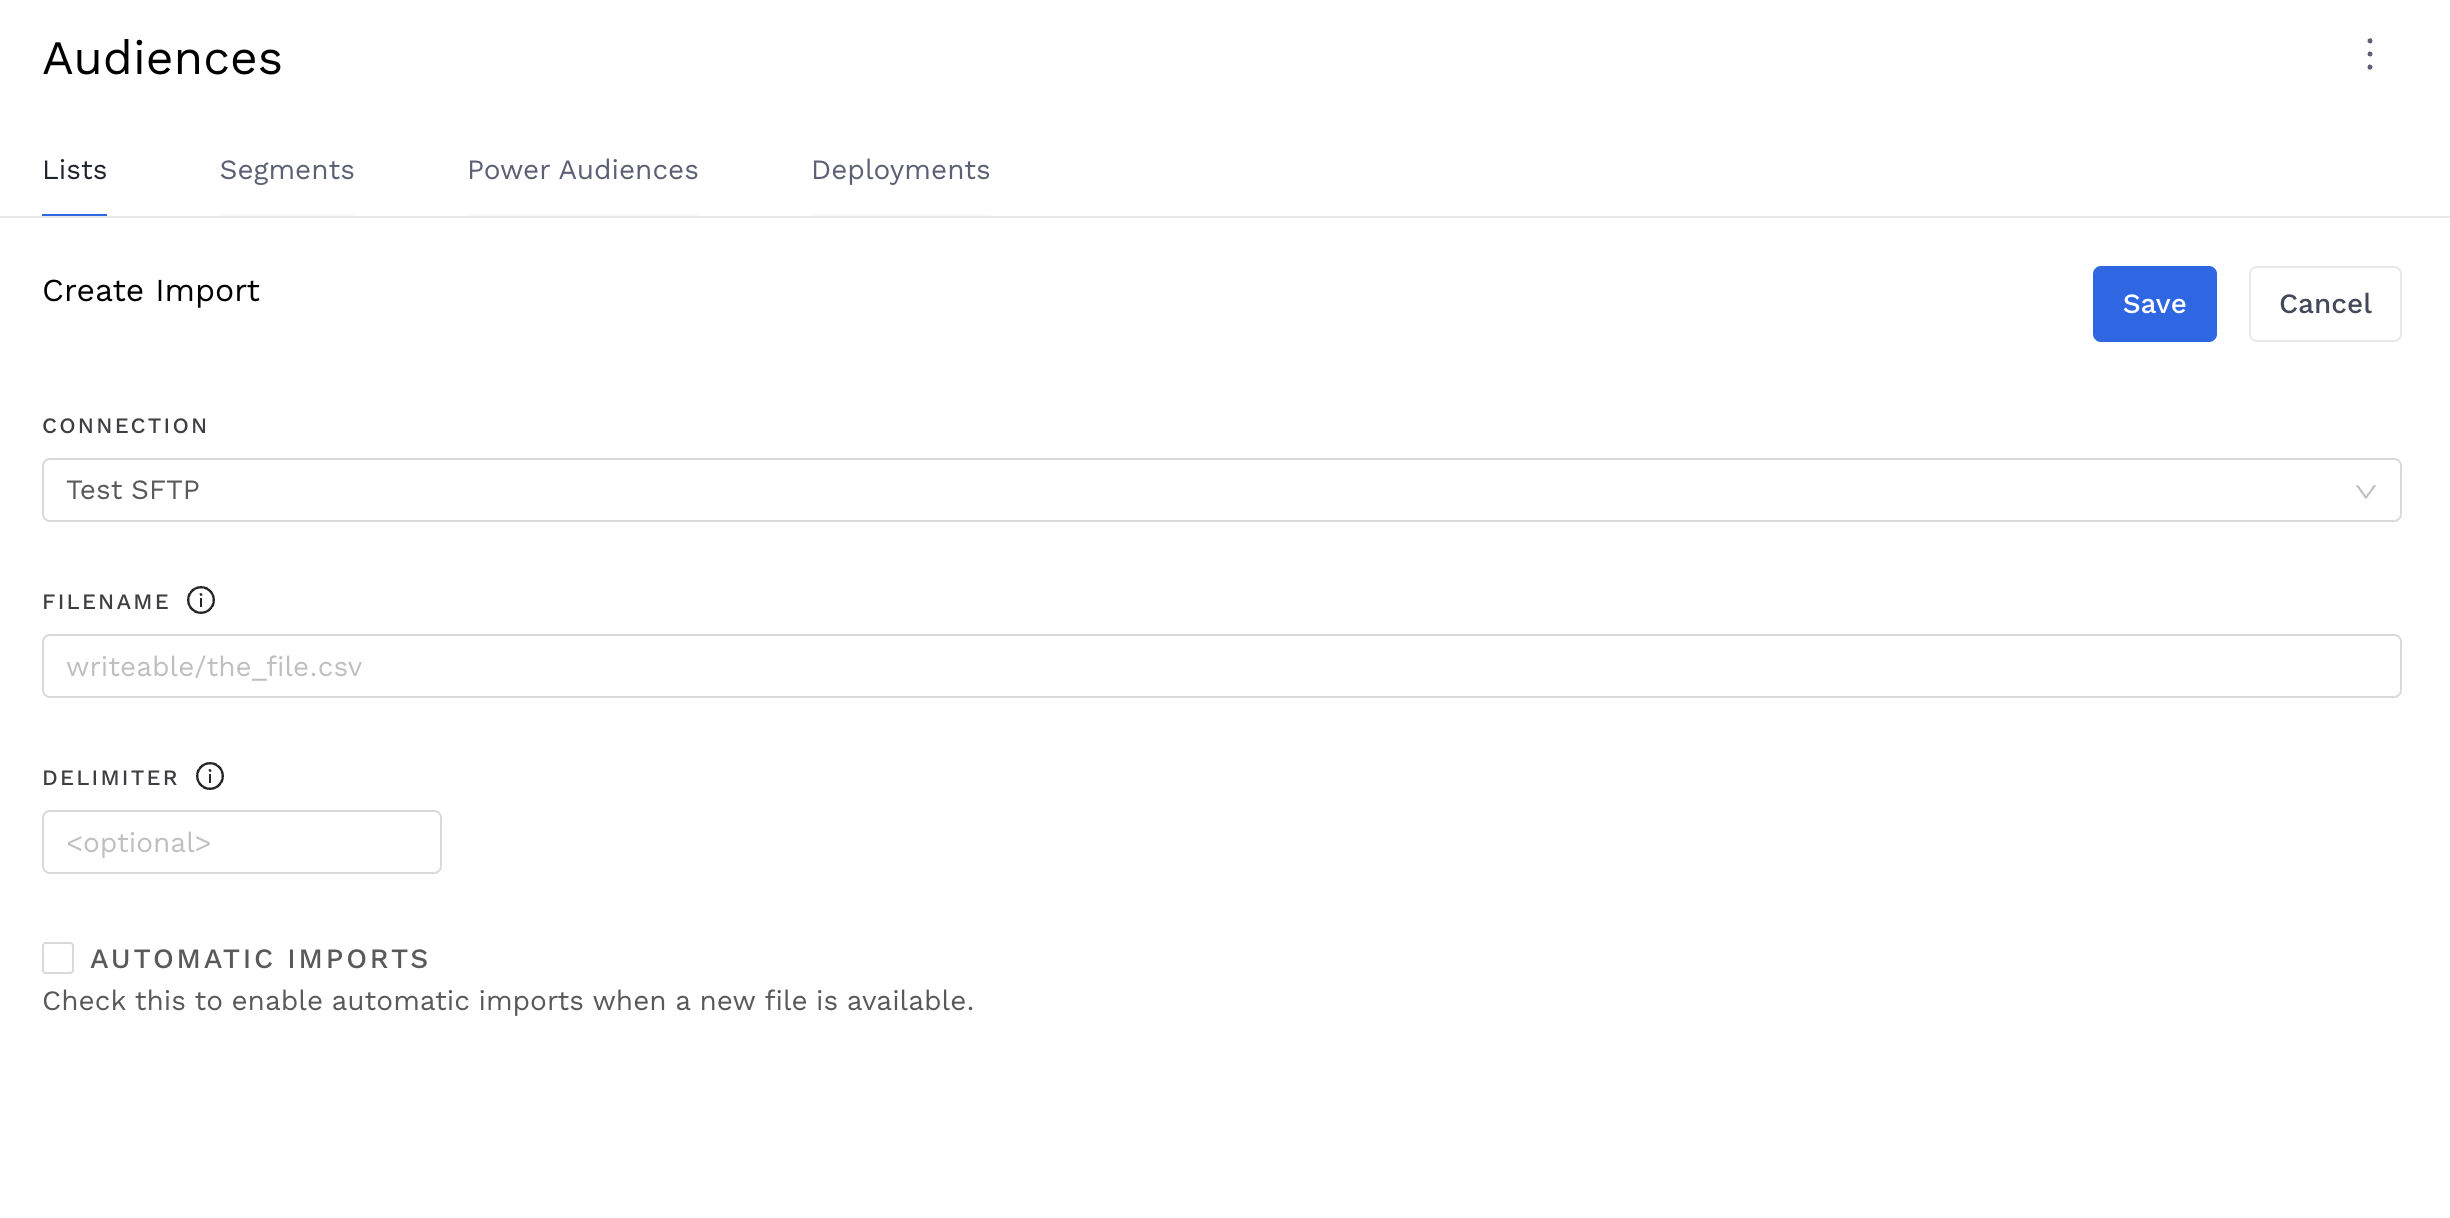
You should see this page.

-
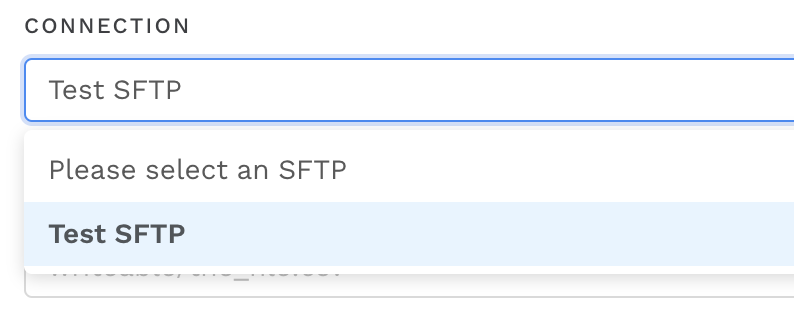
Select your SFTP connection from the dropdown.

-
If you don’t see your SFTP connection, your account admin may not have correctly authorized Audiences to access the SFTP. Please visit How-To: Authenticate a SFTP for Import or Activation for more information.
-
-
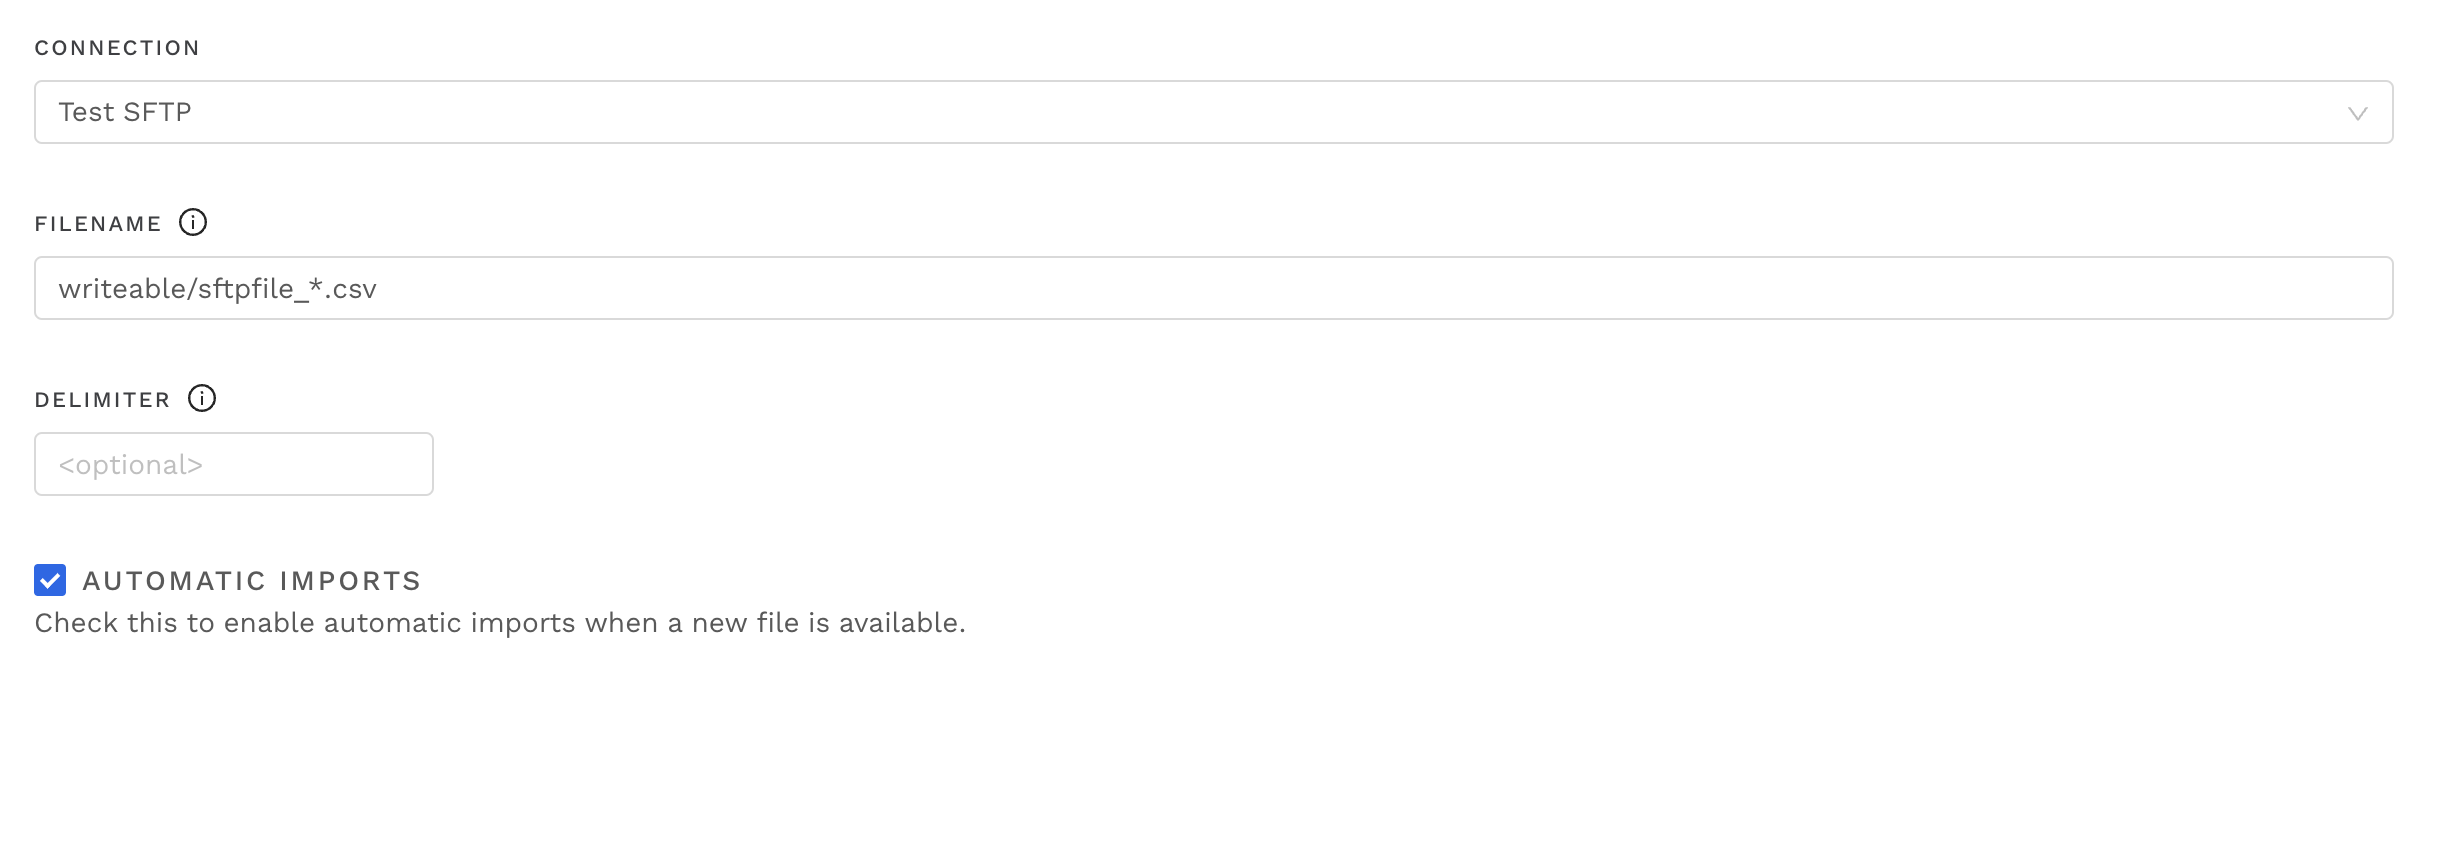
Input “writeable/{your-files-name}.csv” in the File Name field.

-
If you don’t know your exact file name but do have access to your client’s SFTP, go here to see How-To: Use a SFTP Manager to Find File Name and Attributes When Creating a New List
-
-
Replace the timestamp with a * at the end of the file name and check the Automatic Imports checkbox if you expect to do auto-imports.

-
The * will ensure the auto-import process works correctly if any text from a timestamp or otherwise is appended to the end of the file name.
-
This Audience list will be updated whenever Audiences notices the client drops a new file in the SFTP.
-
-
Hit Save.
-
You should see this screen where you can view import progress and QA for errors.

You now have an Audience list set up to automatically import from SFTP.
Related articles
- How-To: send a deployment to The Trade Desk
- Security and Compliance
- Audiences
- Advanced Guide: Audience Import Sources
- How-To: Authenticate a Partner Platform to Deploy Audiences
- Audience File Requirements/Schema
- How-To: send a deployment to TikTok
- Tutorial: Getting started with Alli Audiences as a new users
- How-To: Activate a Segment to Linkedin
- How-To: Send Audiences to DV360 via Google Customer Match Uploader (CMU)
- How-To: Remove or Modify an Existing Auto Import
- How-To: Create an Audience Segment (and Filter to a Specific Audience)
- Activation Explainers
- How-To: QA an Imported List
- How-To: Activate a Segment to Facebook
- How-To: Authenticate a SFTP for Import or Activation
- Advanced Guide: Join Two Lists with Power Audiences
- How-To: Authenticate with LiveRamp
- How-To: Import to an Existing List
- How-To: Use an Activated Segment for Targeting in Facebook
- How-To: Use a SFTP Manager to Find File Name and Attributes When Creating a New List
- Audience Technical References