How-To: Create a Support Request
Instructions
List of steps to create a detailed request:
Log into the service desk:
Point your browser to the Alli Service Desk portals. NOTE: Each organization has it’s own portal; PMG, Nike, Future SaaS Organization(s)…. You will only have access to your particular organization’s portal.
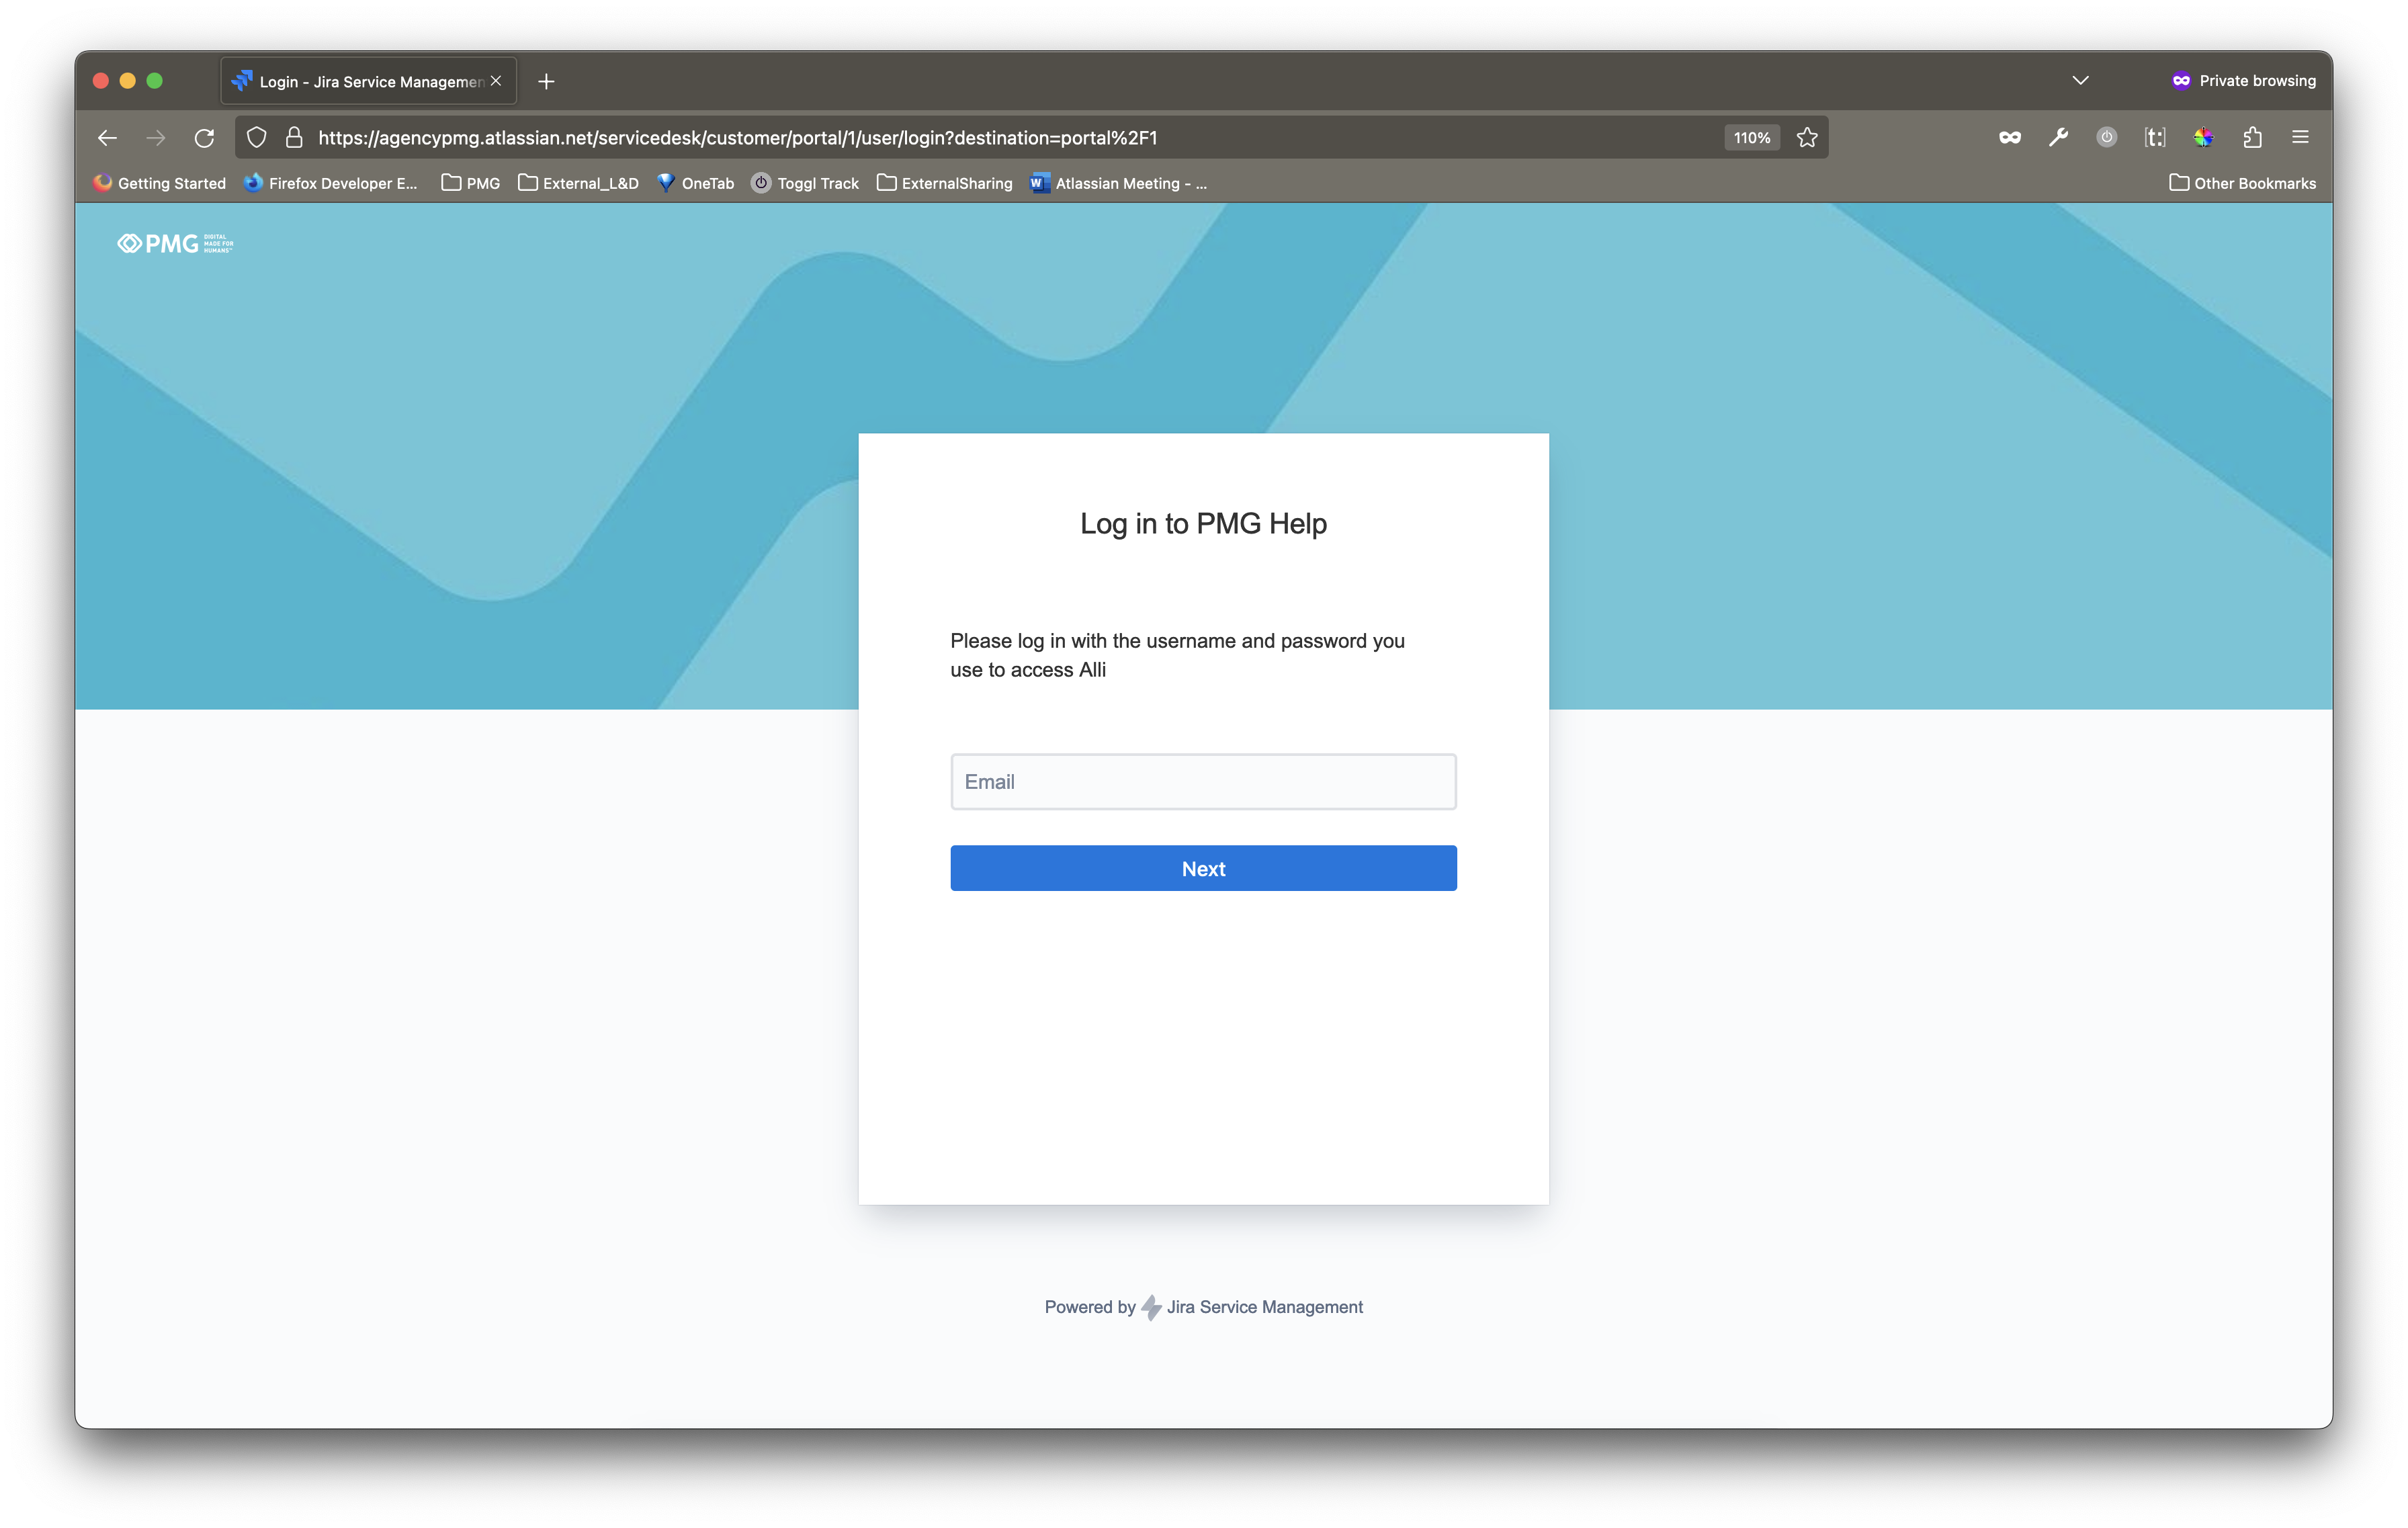
Not Logged In: If you have not logged in through Google with your associated organization email, you’ll see the following screen
Logged In: If you have logged in successfully through Google with your associated organization email, you will see the following screen, specific to your organization, and ready to configure your request.
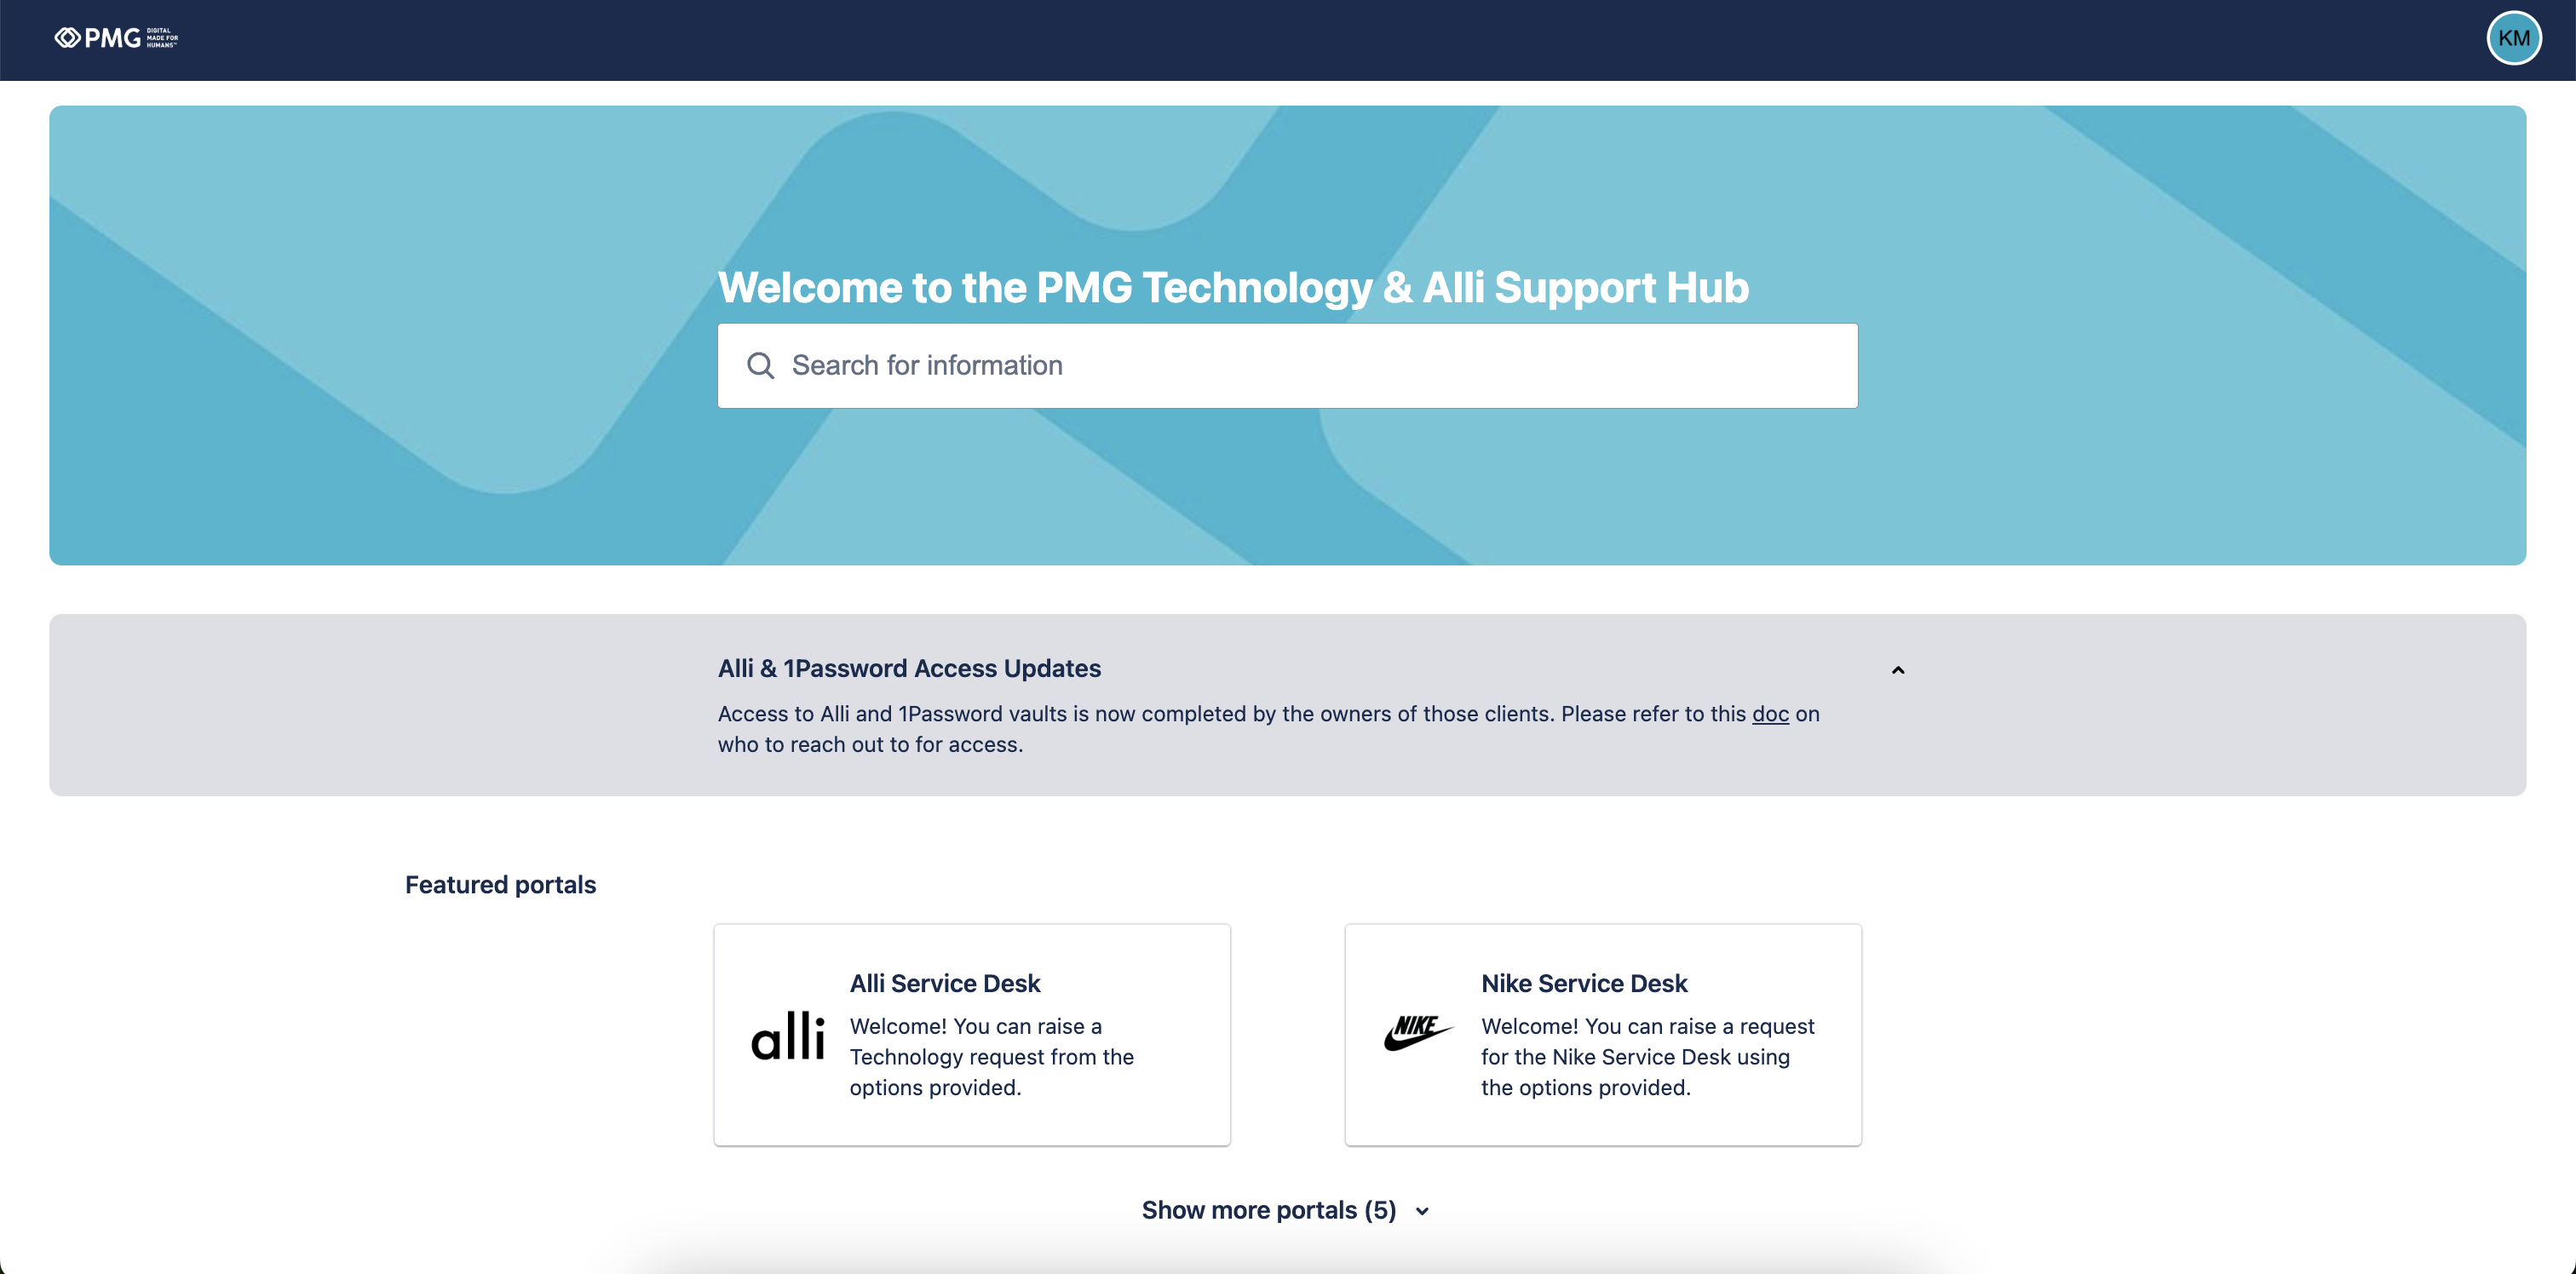
2. Choose the Request Type from the list of options. See How-To choose the appropriate request type for more details.
3. Complete the form by making selections and entering your details into the fields.
Please review the Information You’ll Need to Provide prior to submitting.
Form fields with a * next to them are required.
4. Select the Send button to submit your request.
Related articles
- How to Import a feed with a datetime stamp
- How to enable Big Query for a custom alert
This presentation will walk you through how to enable Big Query for custom alerts.
- How To Handle Common Types of Actions Issues
Understanding and dealing with issues in Actions can sometimes be difficult, so use the below table for helpful tips on how to address some common types of issues. For instructions on how to find errors/see specific errors, review the How To QA Your Action Runs documentation. Note: All IDs or names present in any photos or error examples are fake and/or obscured.
- How To Filter Alli Data Reports by Date to Power Actions - Tips & Tricks
The purpose of this document is to highlight how to properly filter an Alli Data report by date with tips & tricks to ensure you properly account for things like timezones and daylight savings.
- How to name Datasource Columns
- How To Run an Action One-Off with Manual File
This how-to will walk you through manually uploading a file and running a one-off action, without permanently adjusting the datasource or updating the action’s schedule.
- How to send a deployment to TikTok
- How-to Add A New Slack Workspace to send alerts to
- How to add fields to a datasource without losing historical data
Adding fields to an existing datasource may be required for ADL version upgrades. This may require dropping the existing table depending on the type of datasource and field(s) being added. This isn’t a huge issue for most API-based connectors, as you would be able to re-backfill the after dropping the data with no issues. However some APIs have a limited window for backfilling historical data, e.g., DV360 and CM360 only allow backfills from up to 24 months prior to the current date. Learn how to back up your datasource and update your datasource without losing historical data.
- How to categorize CM360 conversions in Data Library
The standard Campaign Manager 360 report, which is used in Data Library, renders conversions as a dimension rather than a metric. Learn how to use Alli Categorizations to properly classify these conversion activities and exclude any “non-essential” conversions from ADL reports.
- How to find which platforms and reports are enabled in Data Library
Understand which platforms and/or reports are currently enabled for your customer in ADL 2.0
- How to manually upload data to an existing datasource
This article walks you through adding manual data to the Alli platform. Some examples of when you may use this include: A one-off data load To backfill or load missing data into an existing datasource
- How to use Alli Cloud Storage in an Alli Data datasource
- Cloud Storage How-Tos
- How to find your Data Library datasources in Alli Data
Understand how to find the corresponding ADL 2.0 datasources for a given platform within Alli Data using 2 different methods.