
Overview
-
Use this guide to create a custom fiscal calendar and connect it to Certified Datasources, so your reports can reflect fiscal periods instead of standard calendar dates.
-
Promo Calendar to track promotions applied.
Instructions
Before proceeding:
Verify whether the fiscal/promo calendar source already exists by searching for dim_fiscal_calendar or dim_promo_calendar within the Data → Sources section in Alli. If it exists, you can still reference this guide to modify the data source as needed. Otherwise, follow the steps below to create a new one.
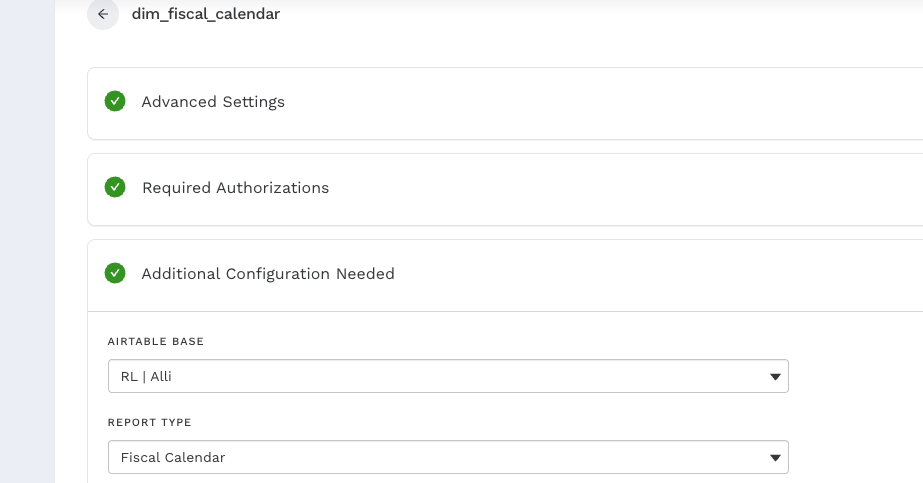
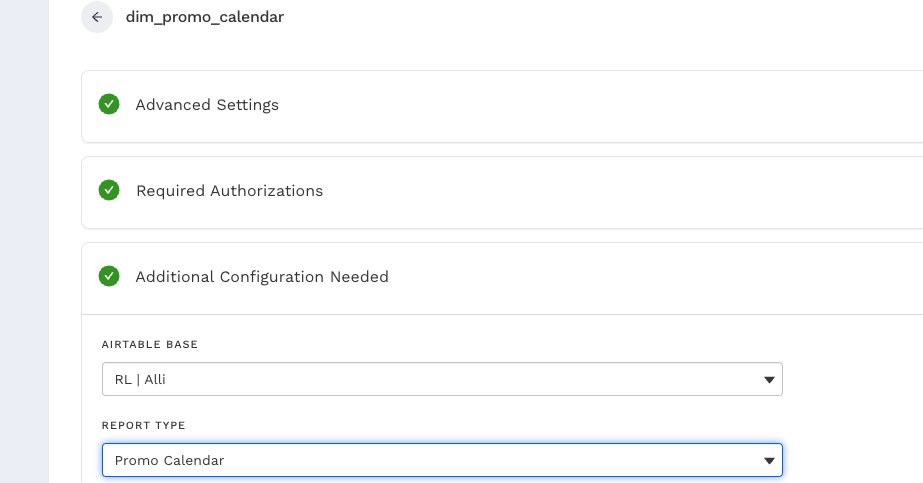
1.) Run the ADL 2.0 - Onboard Platform app with PLATFORM = Fiscal Calendar/Promo calendar selected. This creates a datasource named dim_fiscal_calendar or dim_promo_calendar accordingly.
2.) Navigate to the newly created datasource, click the Request Access button to log in to your Airtable instance, and assign which base you want to give Alli access to. Reference the following:
Optional
You may include additional custom columns in the Airtable base report if needed. All additional column headers must use snake_case formatting (e.g., week_start_date ). They reflect in Alli’s fiscal/promo source automatically.
3.) Select any additional columns as required in the Source. And hit the Load button.
4.) Run the ADL 2.0 - Refresh app with DEPLOYMENT = True to add your new fiscal_calendar / promo_calendar data to your existing Certified Datasources/reports.
Related articles
- Tutorial: Backfilling Data for a Platform
- Core Categorizations
- Tutorial: Onboarding a Platform
- Tutorial: Building and Refreshing Certified Datasources
- How-To: Enable Product Feed Reporting
- Data Library Field Mapping - Demographic Performance
- How-To: Include Custom DSP Cost in Display Reporting
- Onboarding CM360
- Certified Datasource References
- How-To: Categorize CM360 Conversions
- Placement ID methodology
- Onboarding Bidtellect
- Onboarding Vistar DSP
- Report Field Mappings
- How-To: Identify Which Platforms and Report Types are Enabled for Reporting