
Welcome! This guide will help you upload your data sets and navigate all the features of Alli Data for each of your clients.
What You’ll Learn
By the end of this guide, you’ll be able to:
-
Find or create a datasource for your client
-
Configure and upload data to Alli Data
-
Understand key settings and options
-
View and use your data in Explorer
Tips:
-
If you don’t see the right customer, contact your account owner.
-
For any issues, reach out to your Alli support team.
Step 1: Log In and Select Your Client
-
Go to the Alli Platform: https://app.alliplatform.com/
-
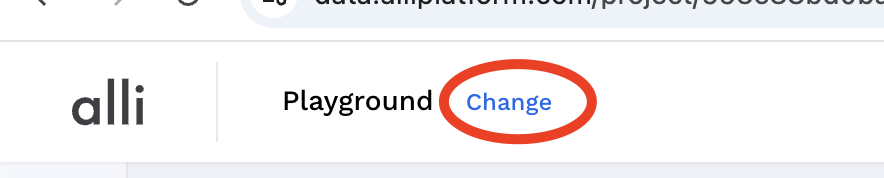
On the left side of your screen, next to the Alli logo, you’ll see your current client’s name.
-
To switch clients, click Change at the top of the navigation and select the correct client from the panel.
Step 2: Create a New Datasource
-
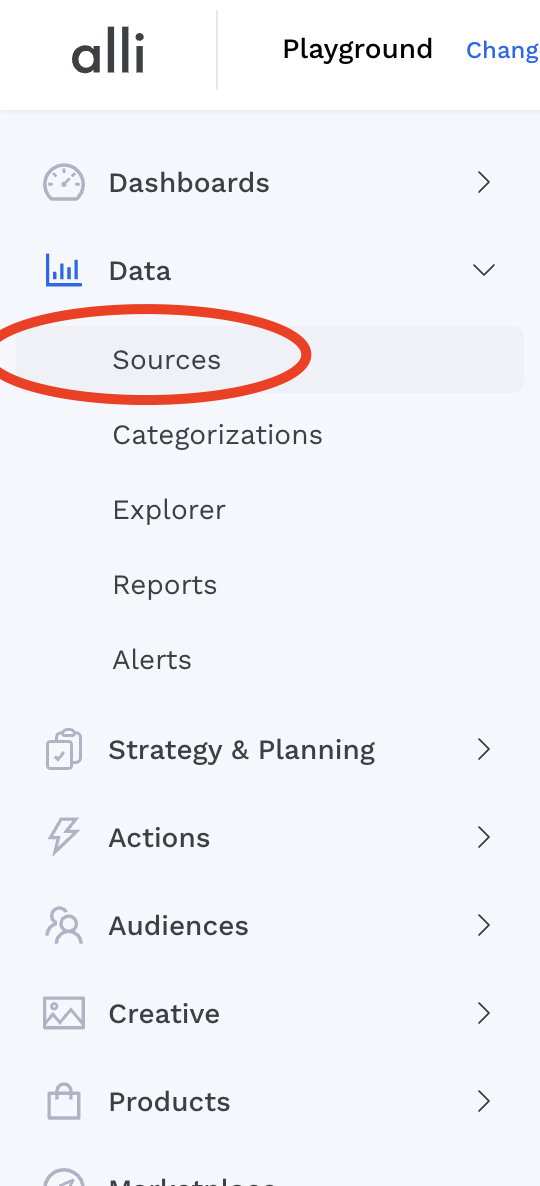
In the side navigation, go to Data → Sources.
-
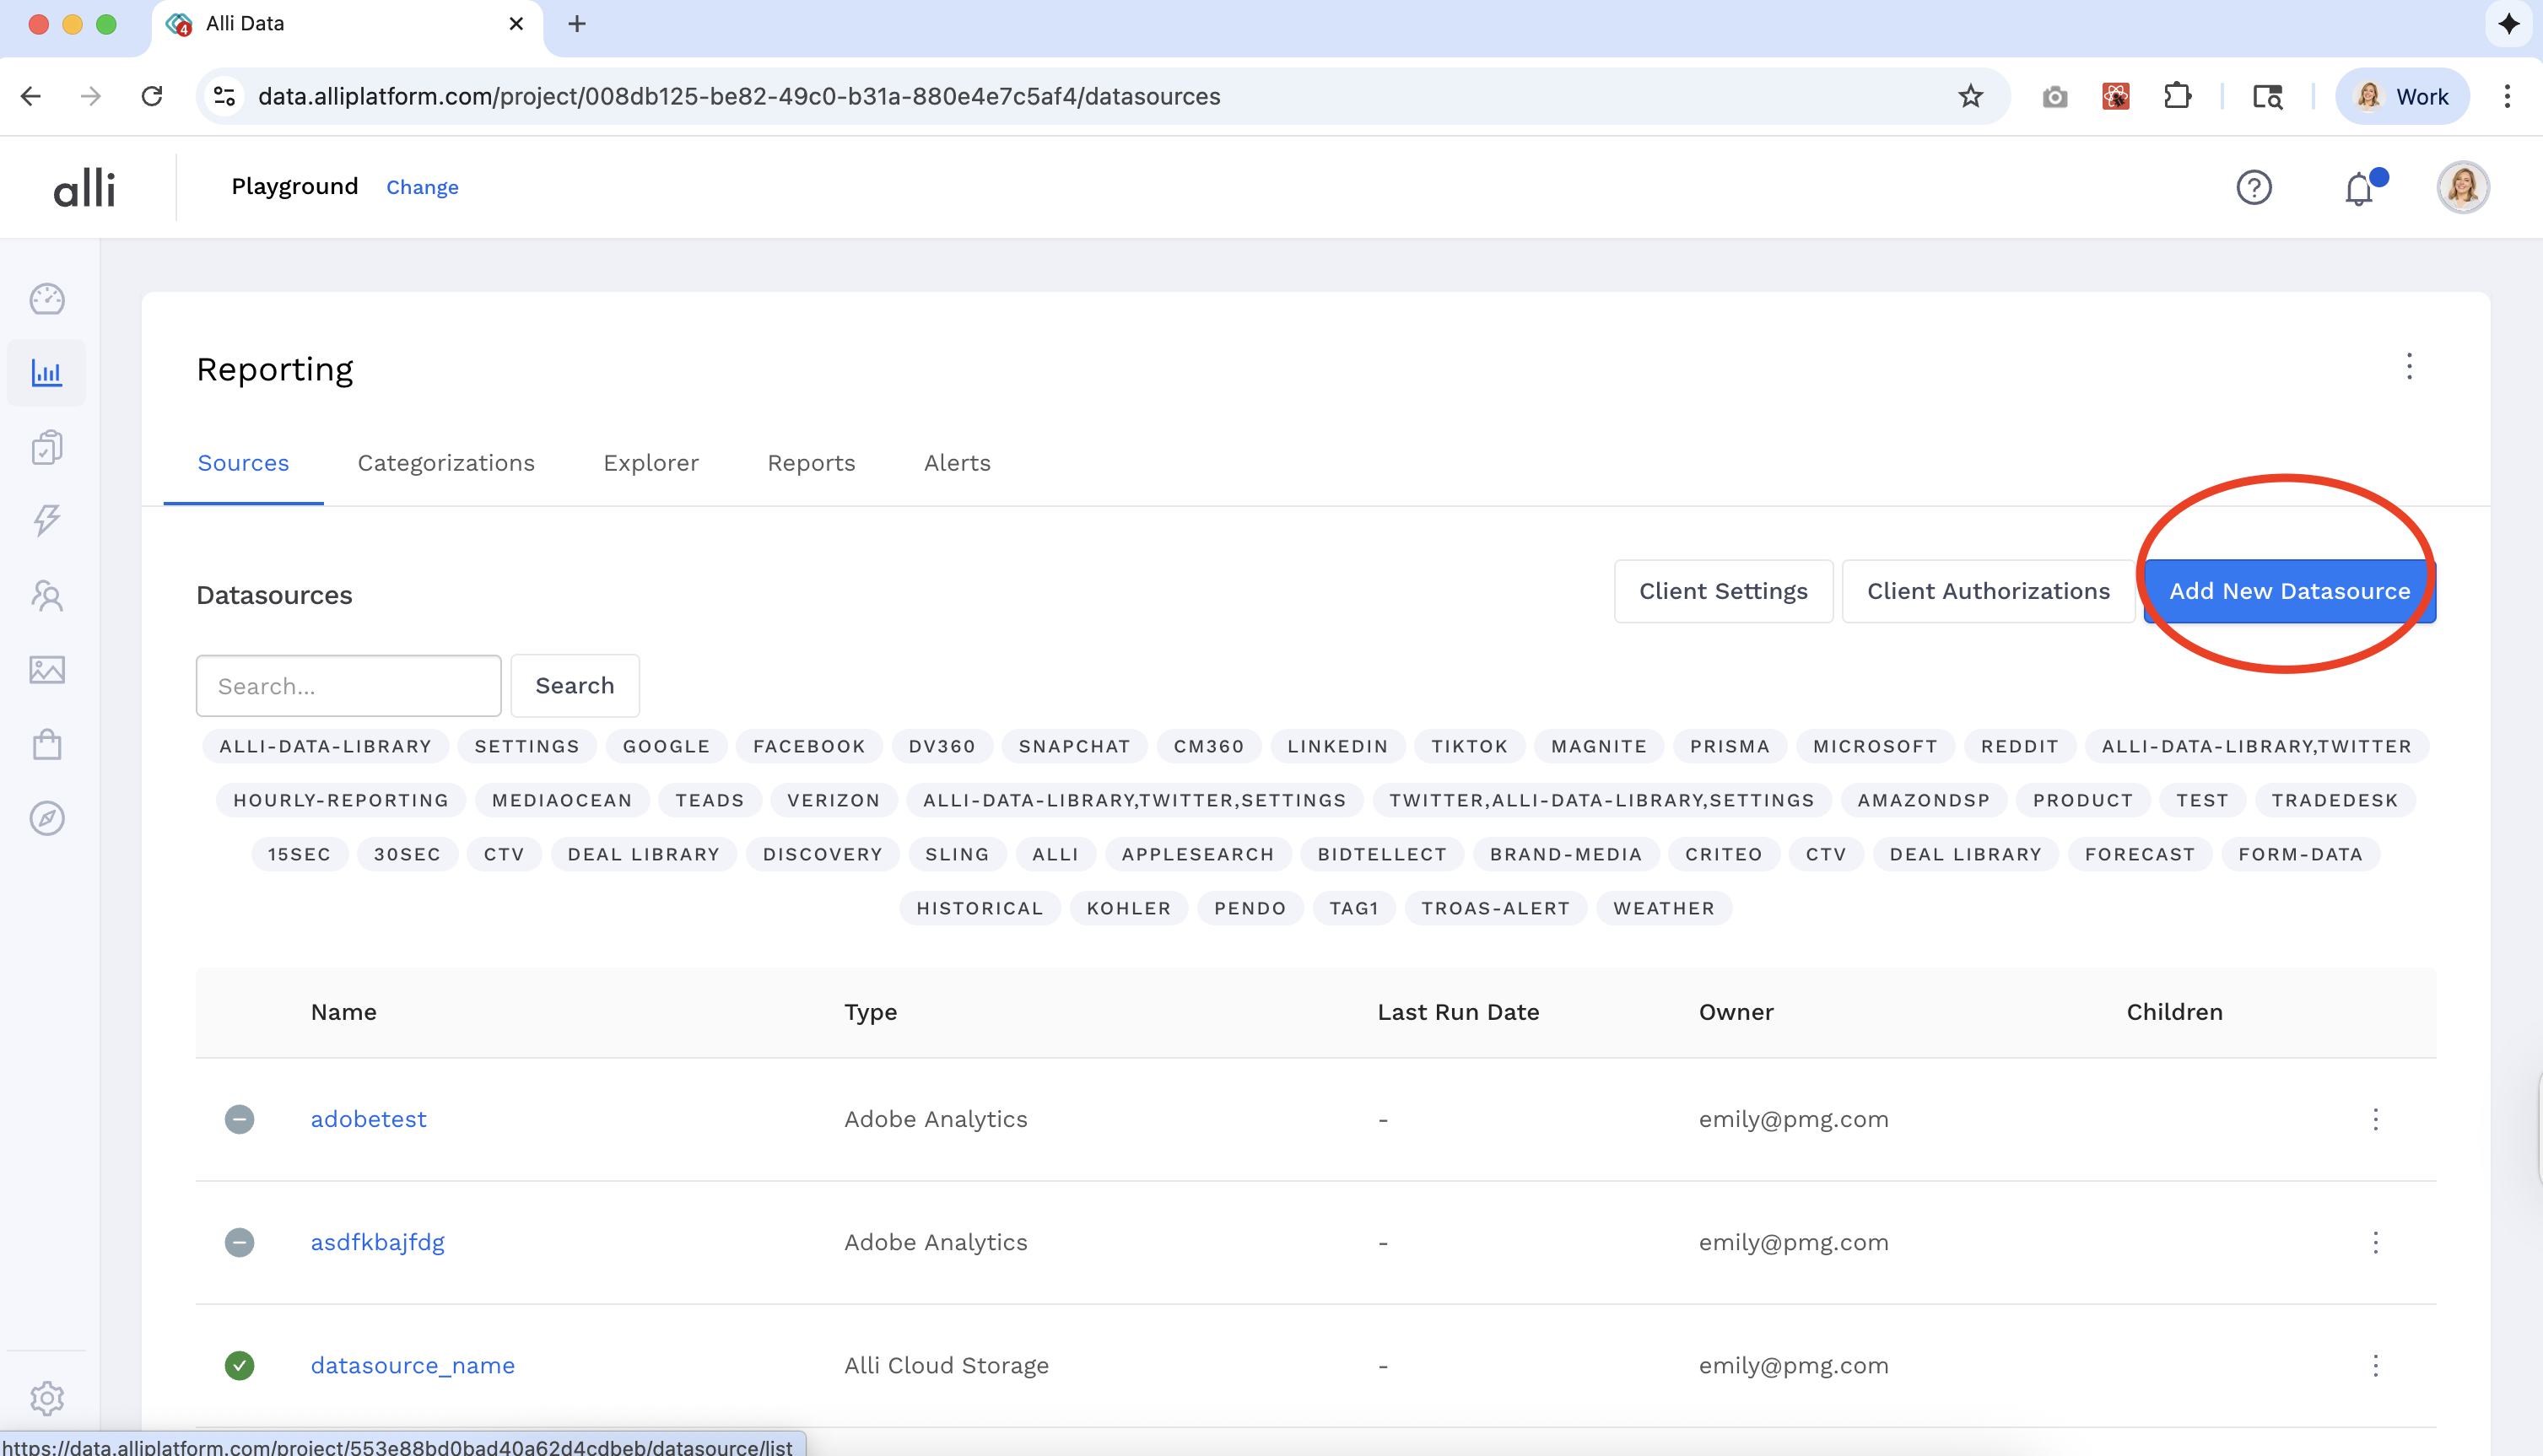
Click the blue Add New Datasource button in the top right.
-
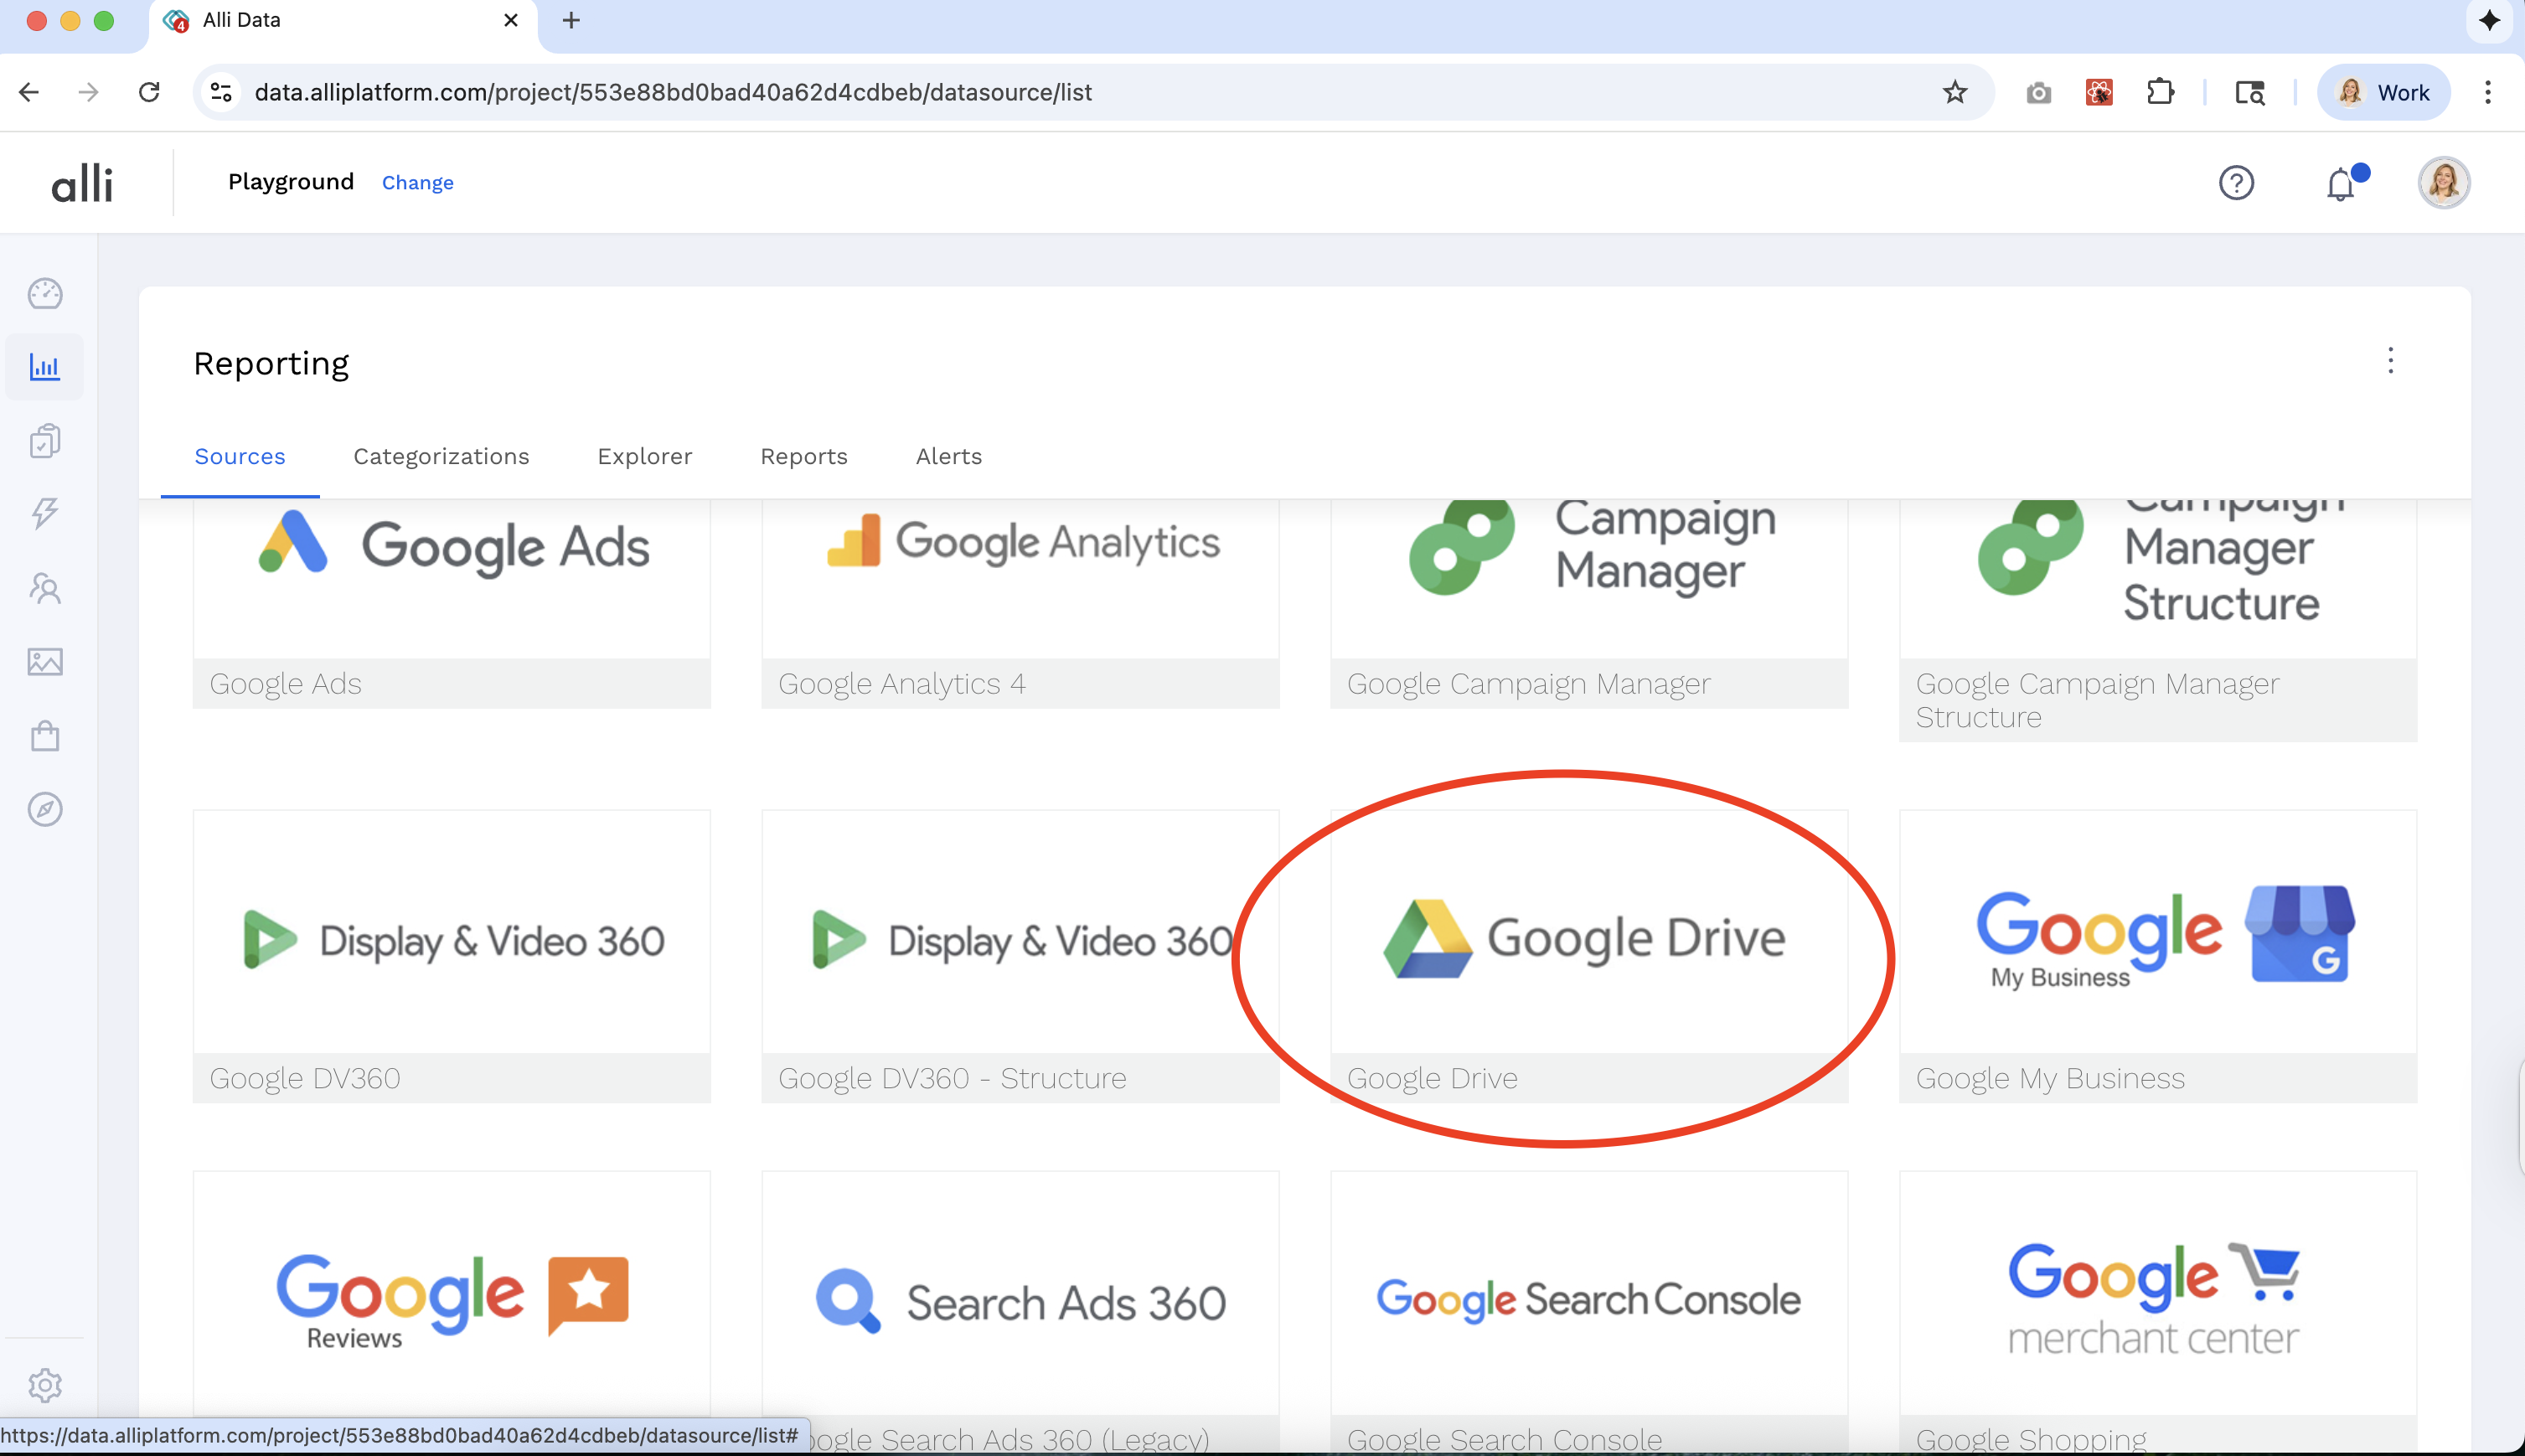
Choose your data partner (e.g., Google Sheets via Google Drive).
-
If your partner isn’t listed, you can upload data via email or SFTP.
-
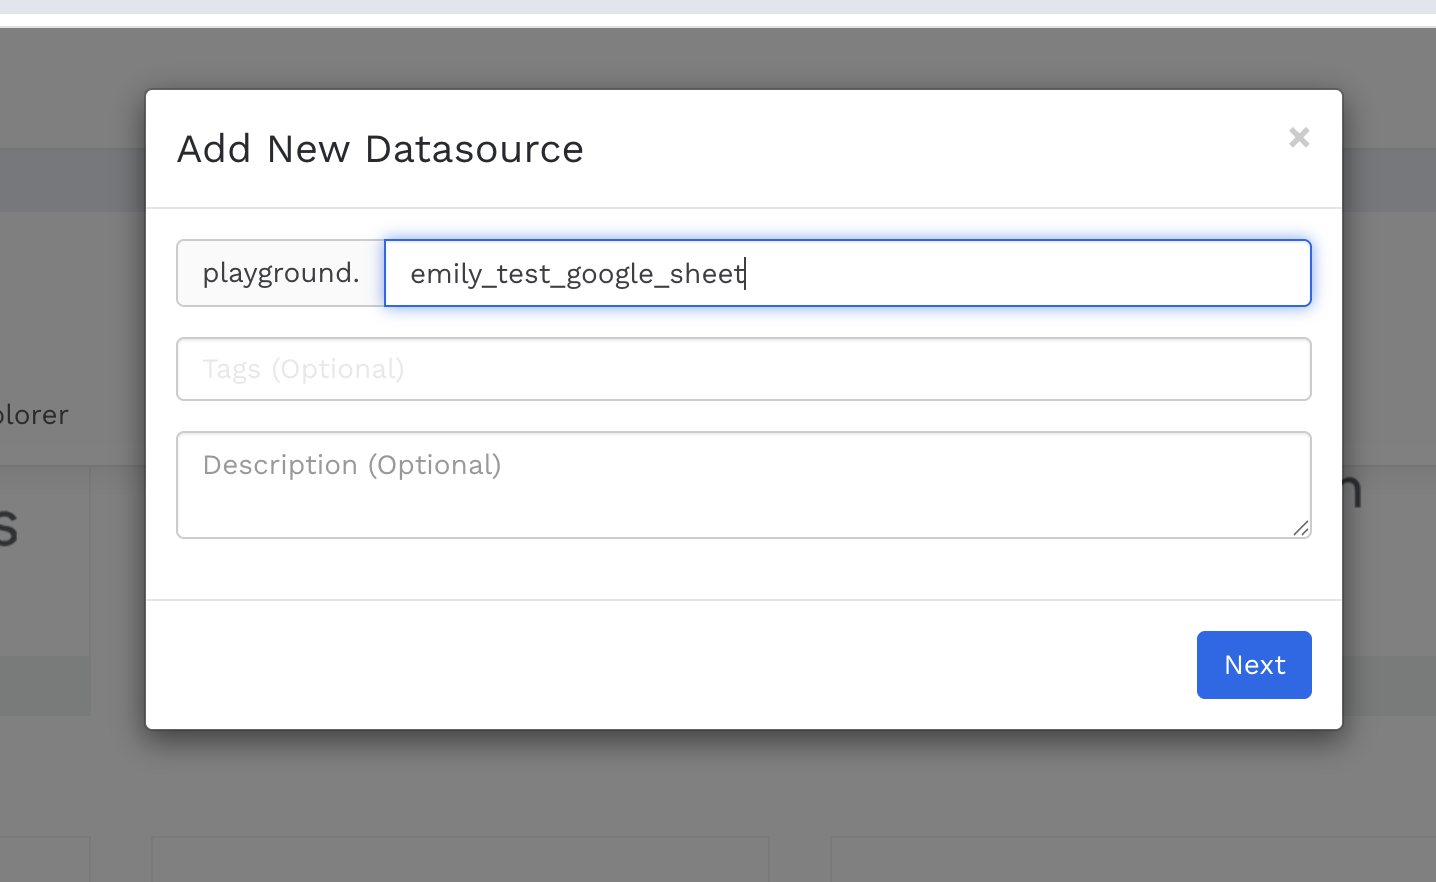
Step 3: Name and Tag Your Datasource
-
Enter a name for your datasource using underscores (_) instead of spaces or special characters.
-
Example: If your customer is “Playground” and your datasource is “emily_test_google_sheet”, the full name will be playground.emily_test_google_sheet
-
-
(Optional) Add tags and a description to help you find this datasource later.
-
Click Next.
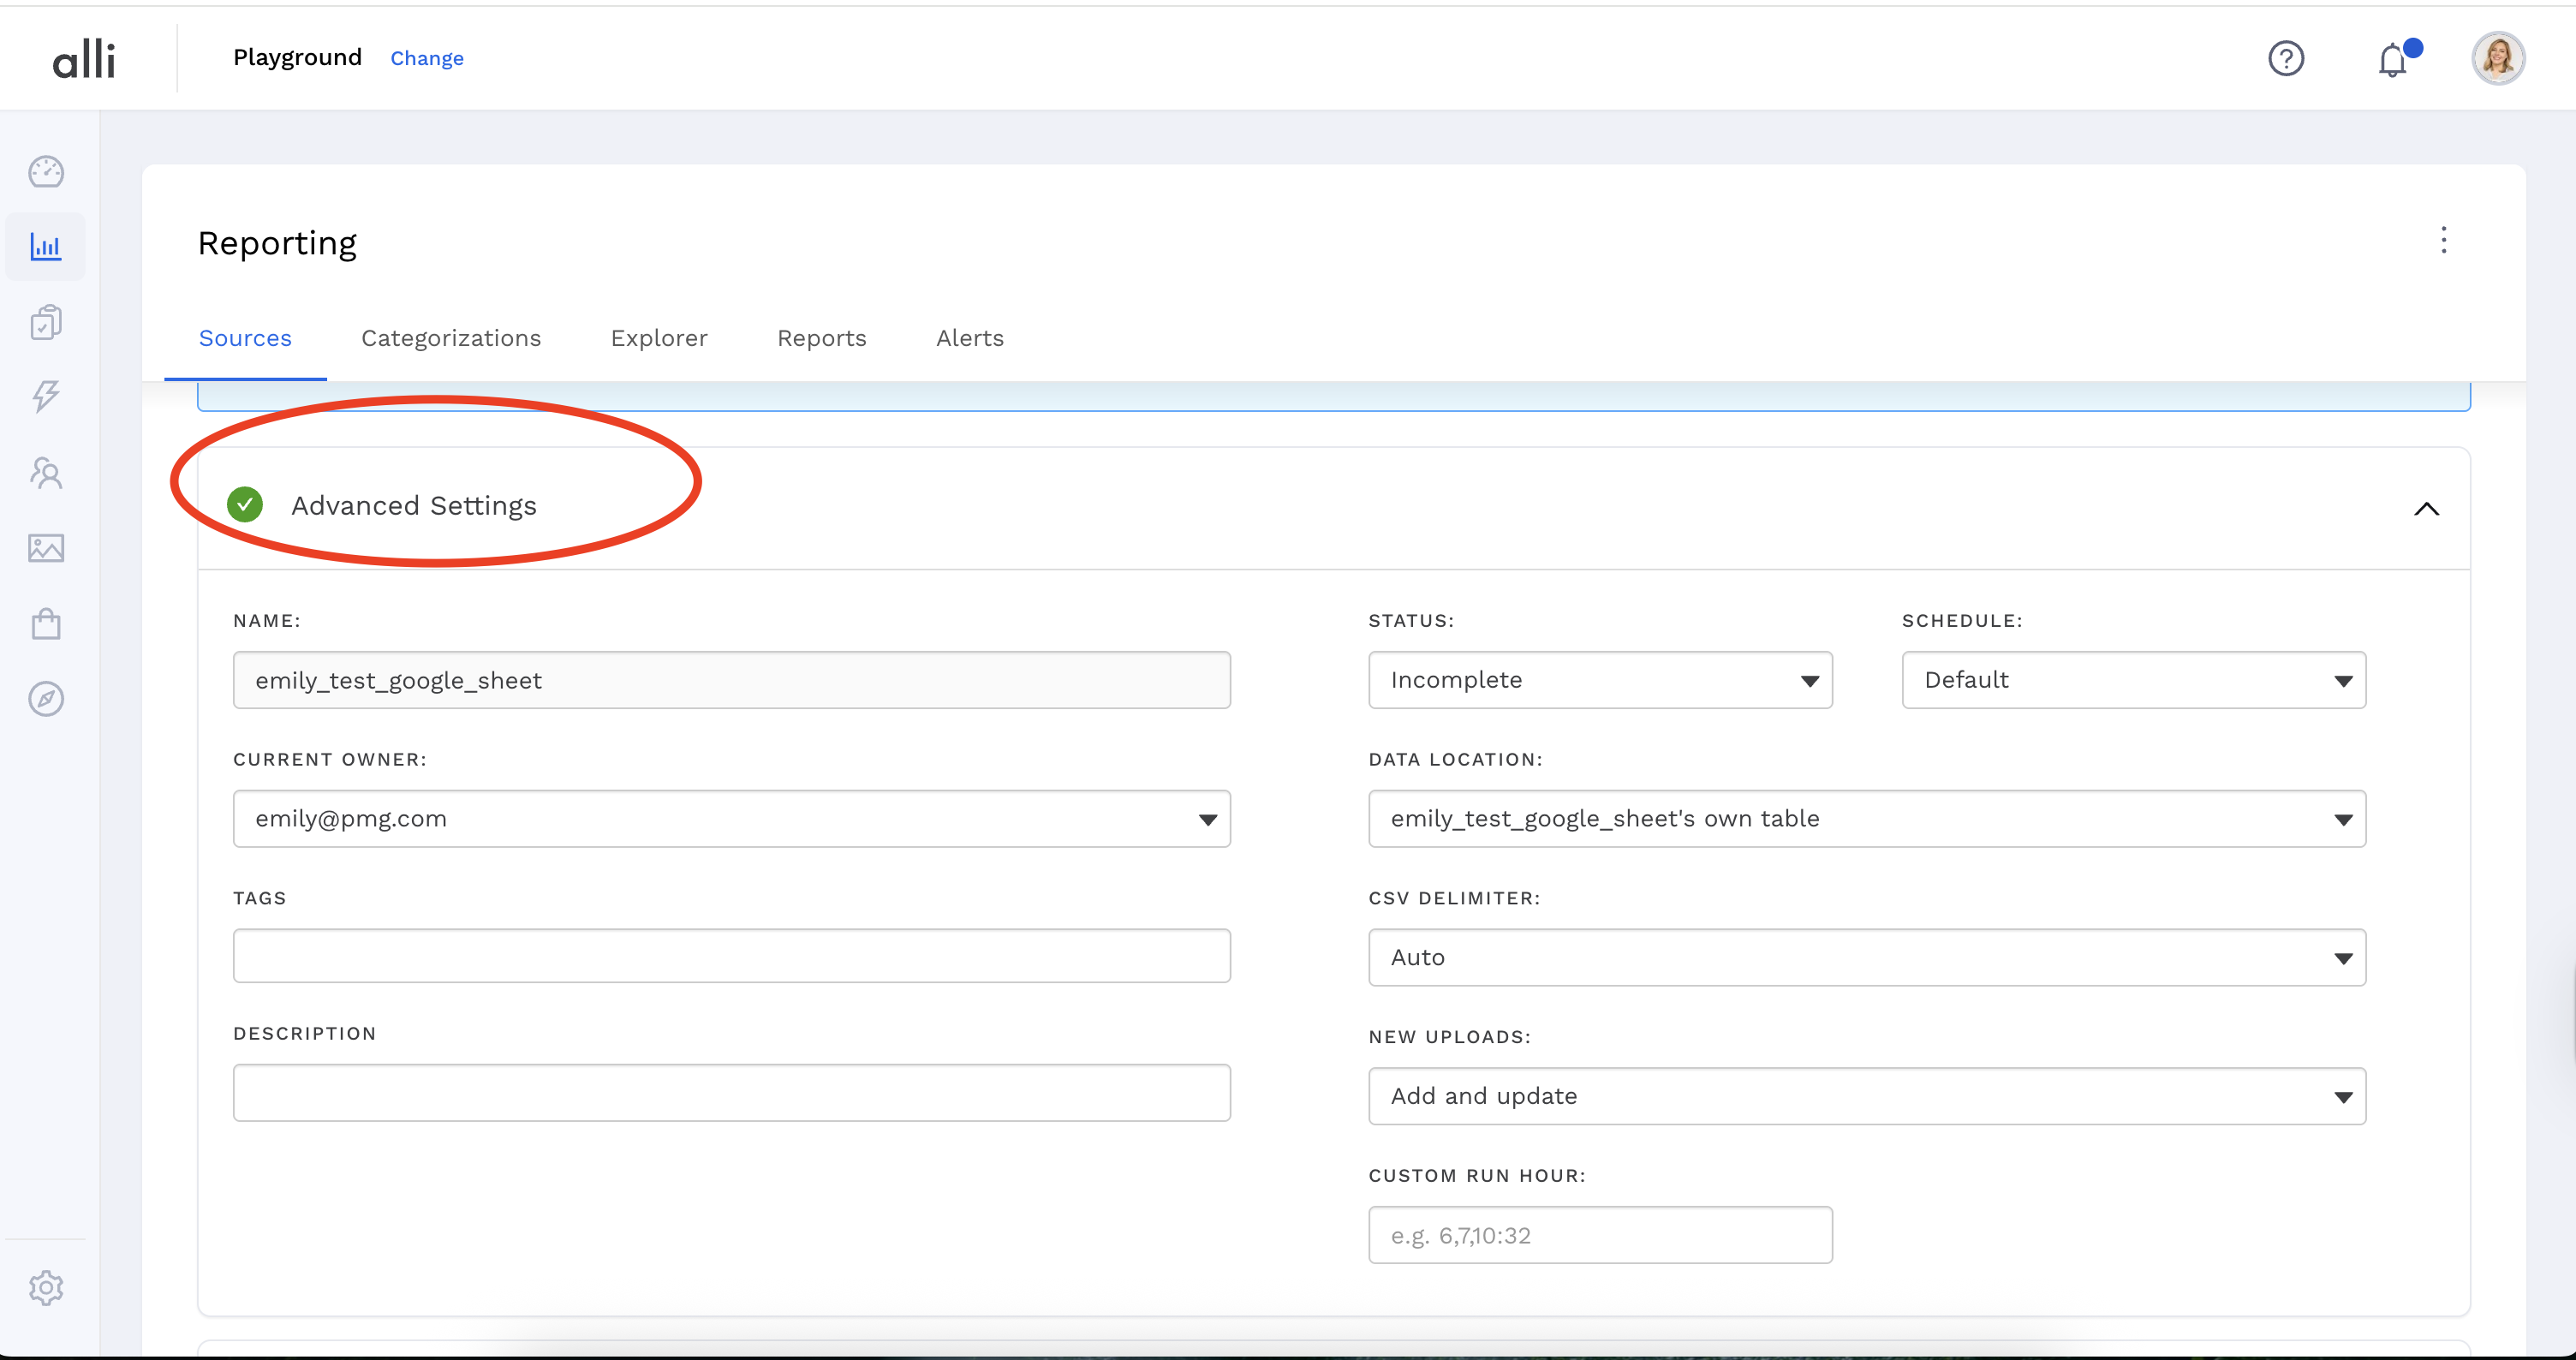
Step 4: Configure Datasource Settings
-
Review the settings for your new datasource.
-
Click Advanced Settings to check all the advanced settings fields.
-
Current Owner: Only the owner can make changes or assign a new owner.
-
(advanced) Data Location: Choose where your data will be stored. You can aggregate tables with the same columns into one parent table.
-
New Uploads allows you to specify how data gets added
-
Add and update (default): Adds new data and updates existing data.
-
Replace: Deletes all existing data and replaces it with new data.
-
If you use dimensions, keep the default Add and update.
-
-
-
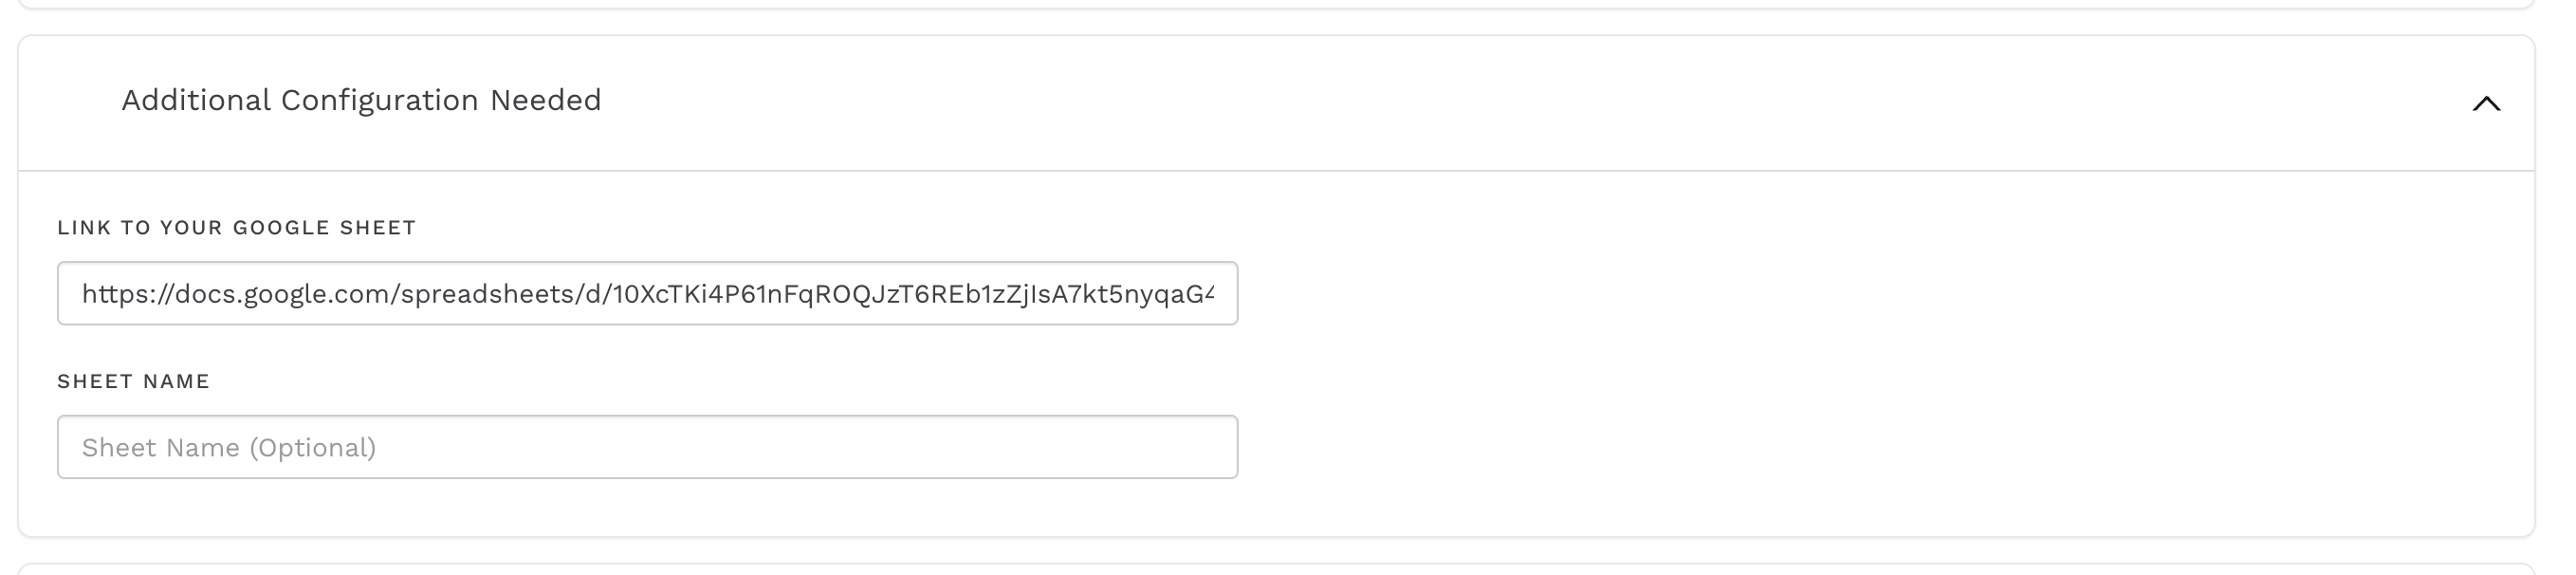
Under Additional Configuration Needed:
Step 5: Authenticate Google Drive
-
For Google Drive, we will need to add authentication to allow Alli to see your Google Sheet and import the data. Under Required Authorizations:
-
Select an authorization or add a new one, allowing the required permissions

-
Step 6: Additional Configuration
-
Depending on your data source type, you may need extra setup.
-
For Google Sheets, insert a link to your Google Sheet you want to load data from
-
If the data is not of the first tab within the Google sheet, specify the tab name
-
Click Next
-
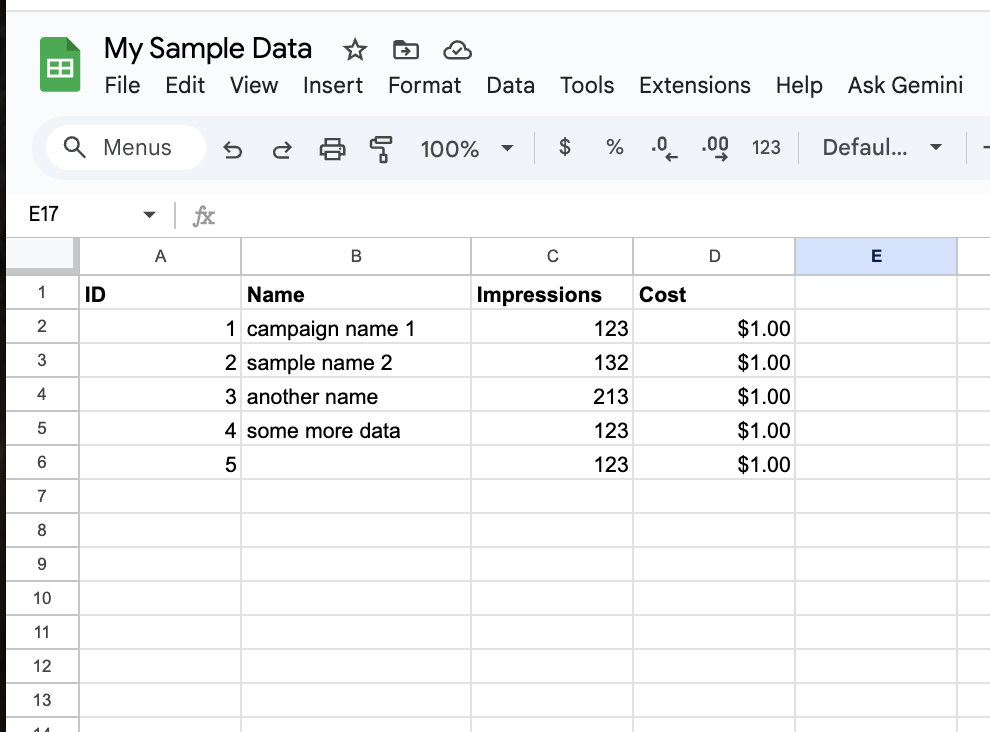
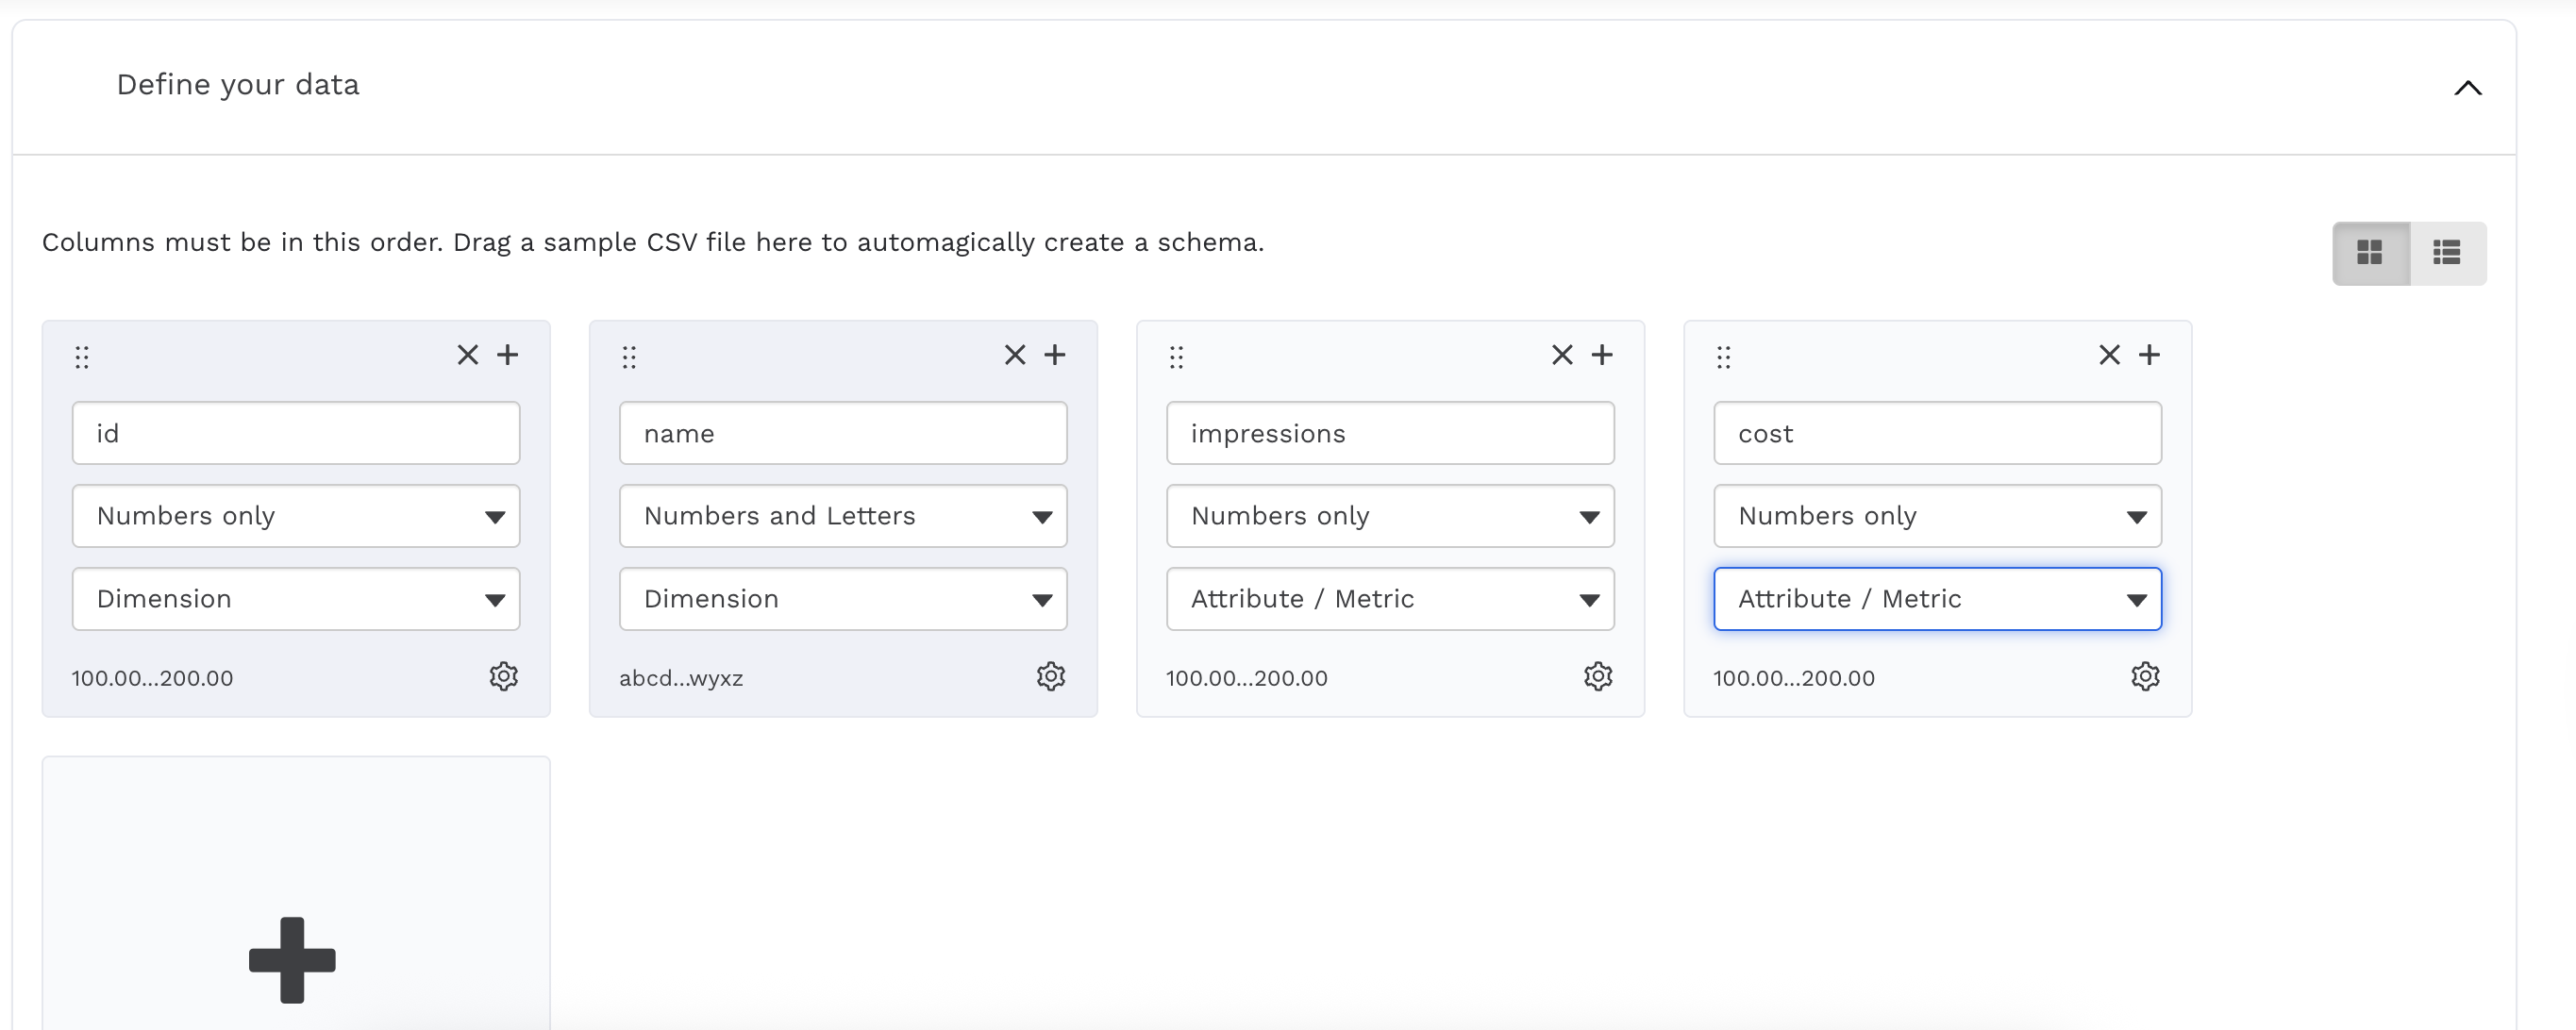
Step 7: Define Your Data Schema
-
Manually enter your schema or drag and drop a sample CSV file to automatically create your schema.
-
Click Save to finish setup.
For advanced setup (like custom columns), see:
How to set up a datasource that requires custom data
Step 8: Confirm and load your data
Now that you have your Google Sheet connected to Alli, click next then select to Load data
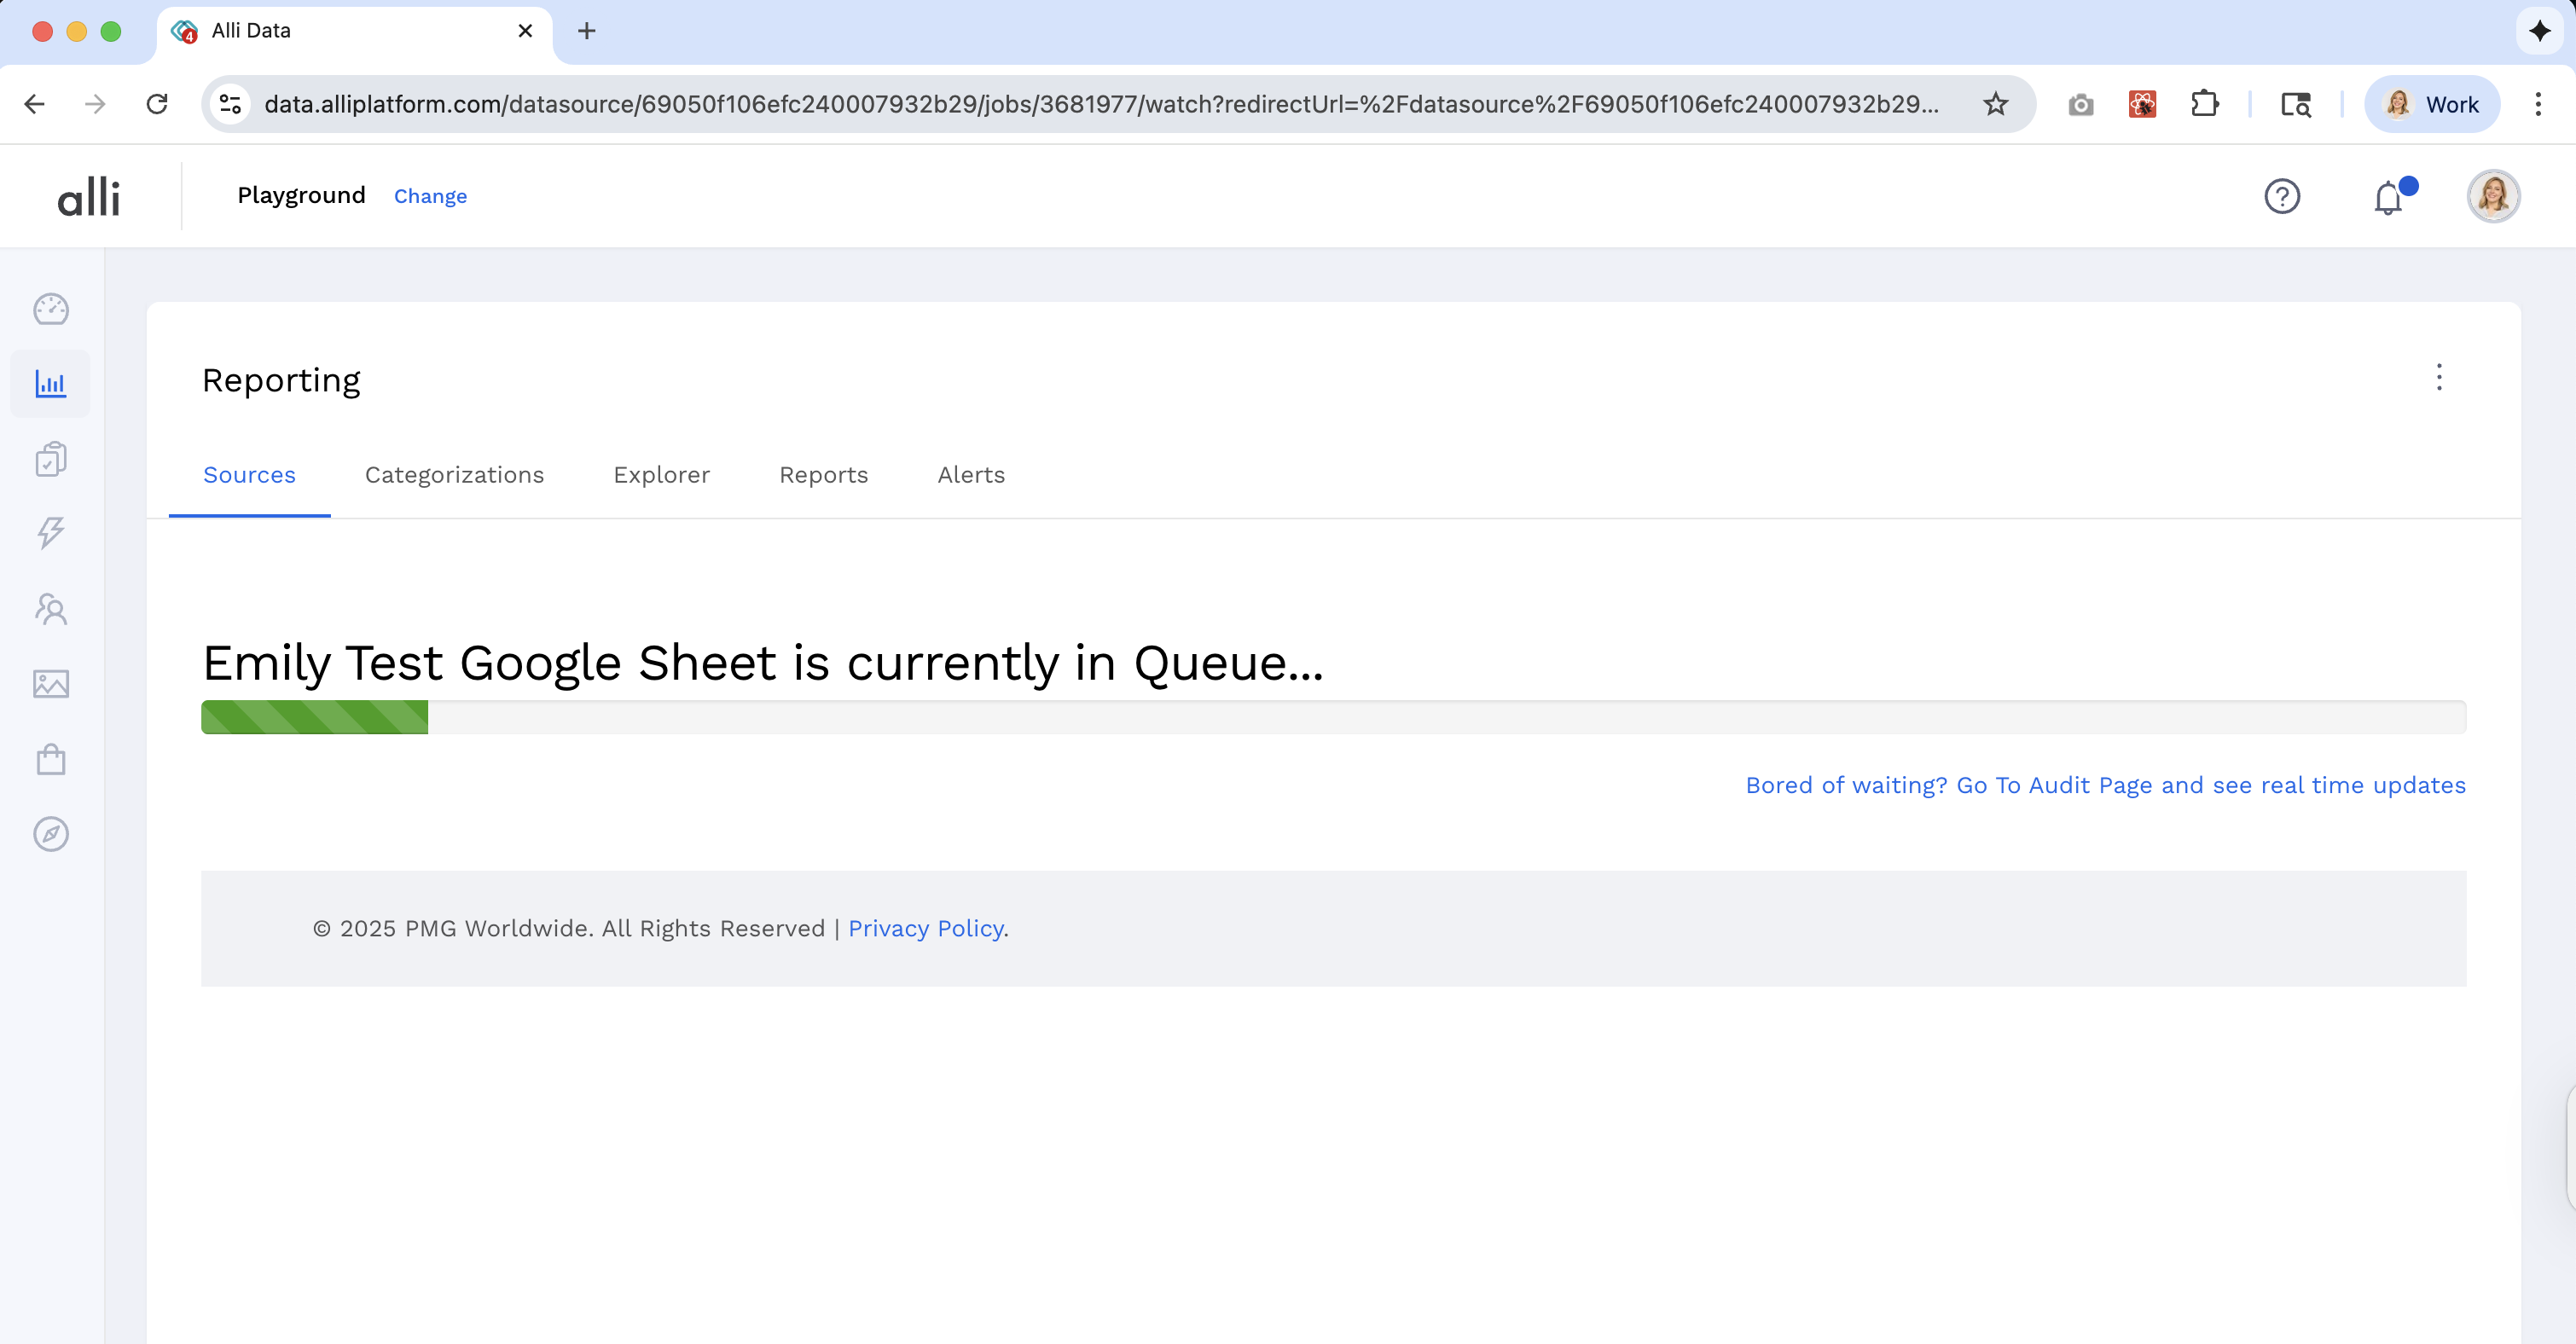
-
Going forward Alli will import data using the timing and format you selected under advanced settings
-
You can use your data to build reports, alerts, dashboards and more!
Step 9: Explore your Data!
-
Your new datasource will appear on the Datasources landing page.
-
Once you send data, check the Last Run Date column for status updates.
-
You can now use Explorer to view your data and create reports!
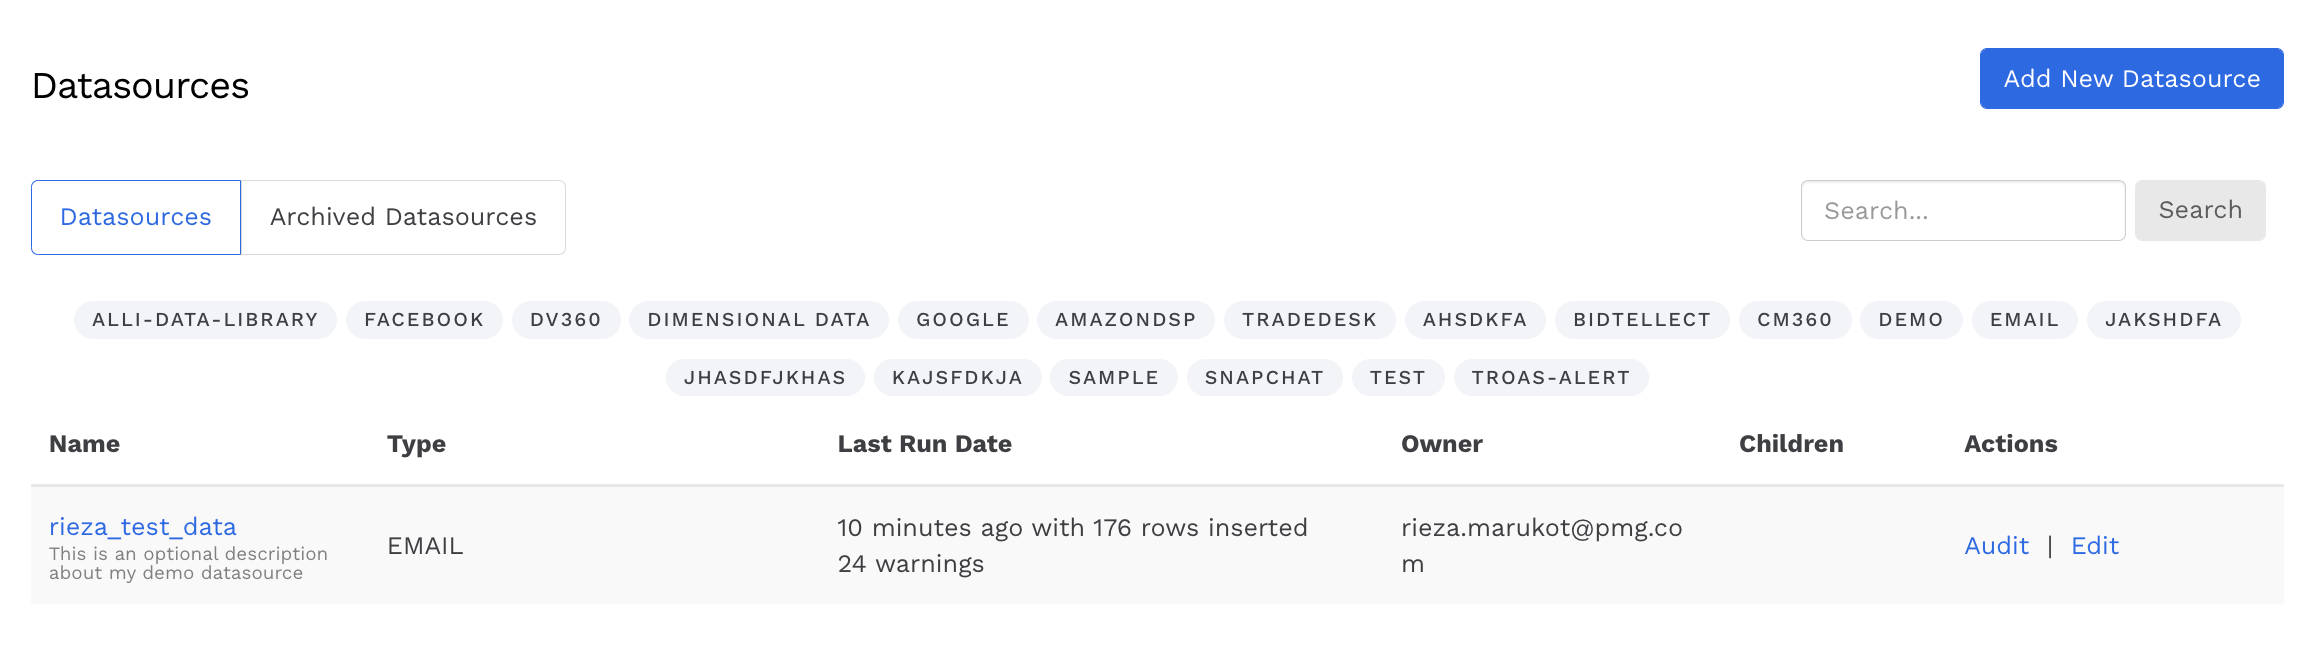
Congratulations, you have successfully created your first Datasource and can now use Explorer to view the data and create a report for future use!
Continued Reading
- How-To: Use categorizations within your custom report
- How-to add a new datasource to an existing Data Studio dashboard
- Advanced Guide: Enabling Big Query for a Custom Alert
- How-To: Name Datasource Columns
- How-To: Enable Product Feed Reporting
- How-To: Include Custom DSP Cost in Display Reporting
- How-To: Add a new categorization
- Tutorial: Getting started with Explorer Reports
- How-To: Backfill a datasource
- How-To: Categorize CM360 Conversions
- How-To: Create a new datasource
- How-to Create a Sentiment Dashboard from FB Sentiment
- How-To: Identify Which Platforms and Report Types are Enabled for Reporting
- How-To: Enable Device and Demographic Reporting
- How-To: Manually upload data to an existing datasource