Overview
This Action allows you to edit what networks your campaigns will target in Google Ads, including Search Partners and GDN.
Instructions
This Action setup uses the Settings - Google Ads Network Setting Action Type
-
Set up your change logic
-
Set up your Alli Data Explorer Report, referring to the Tutorial: Getting started with Explorer Reports | Custom SQL Custom SQL instructions
-
Copy and paste the SQL Example in from below and update anything within and including
{}to match your client settings -
Once your SQL is updated, click Publish to update the query
-
Click Preview to ensure the output is as expected
-
Create a new Action
-
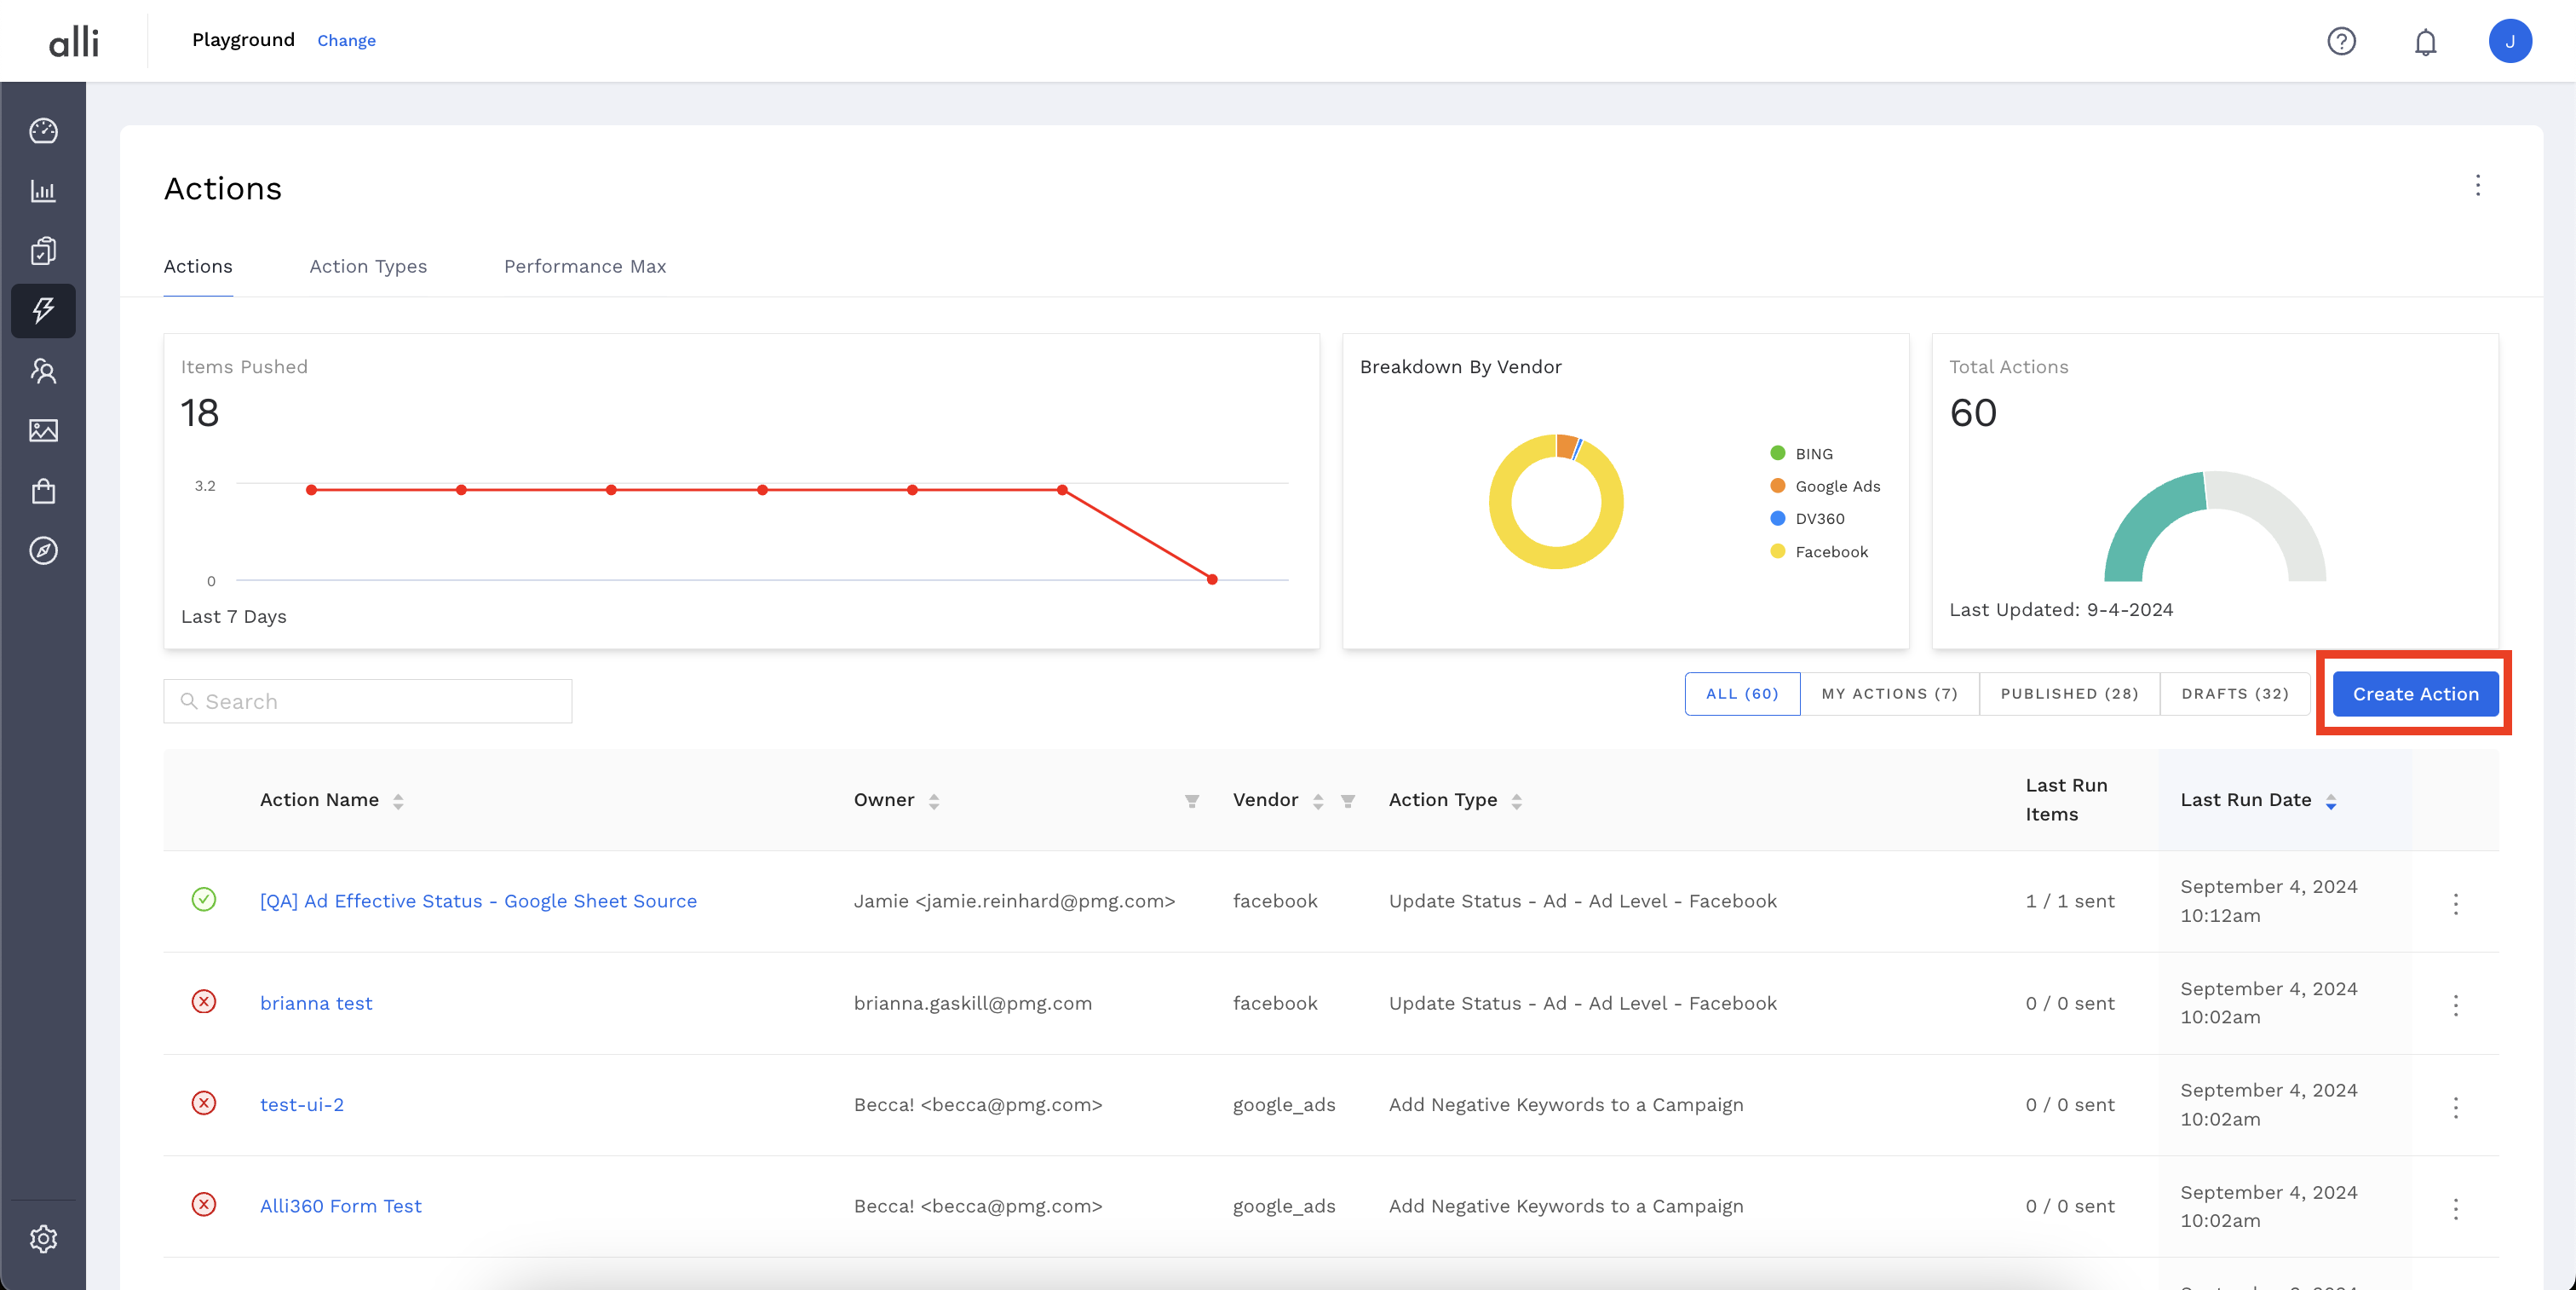
Go to Alli Actions then select Create Action

-
Create a new Action
-
Go to Alli Actions then select Create Action

-
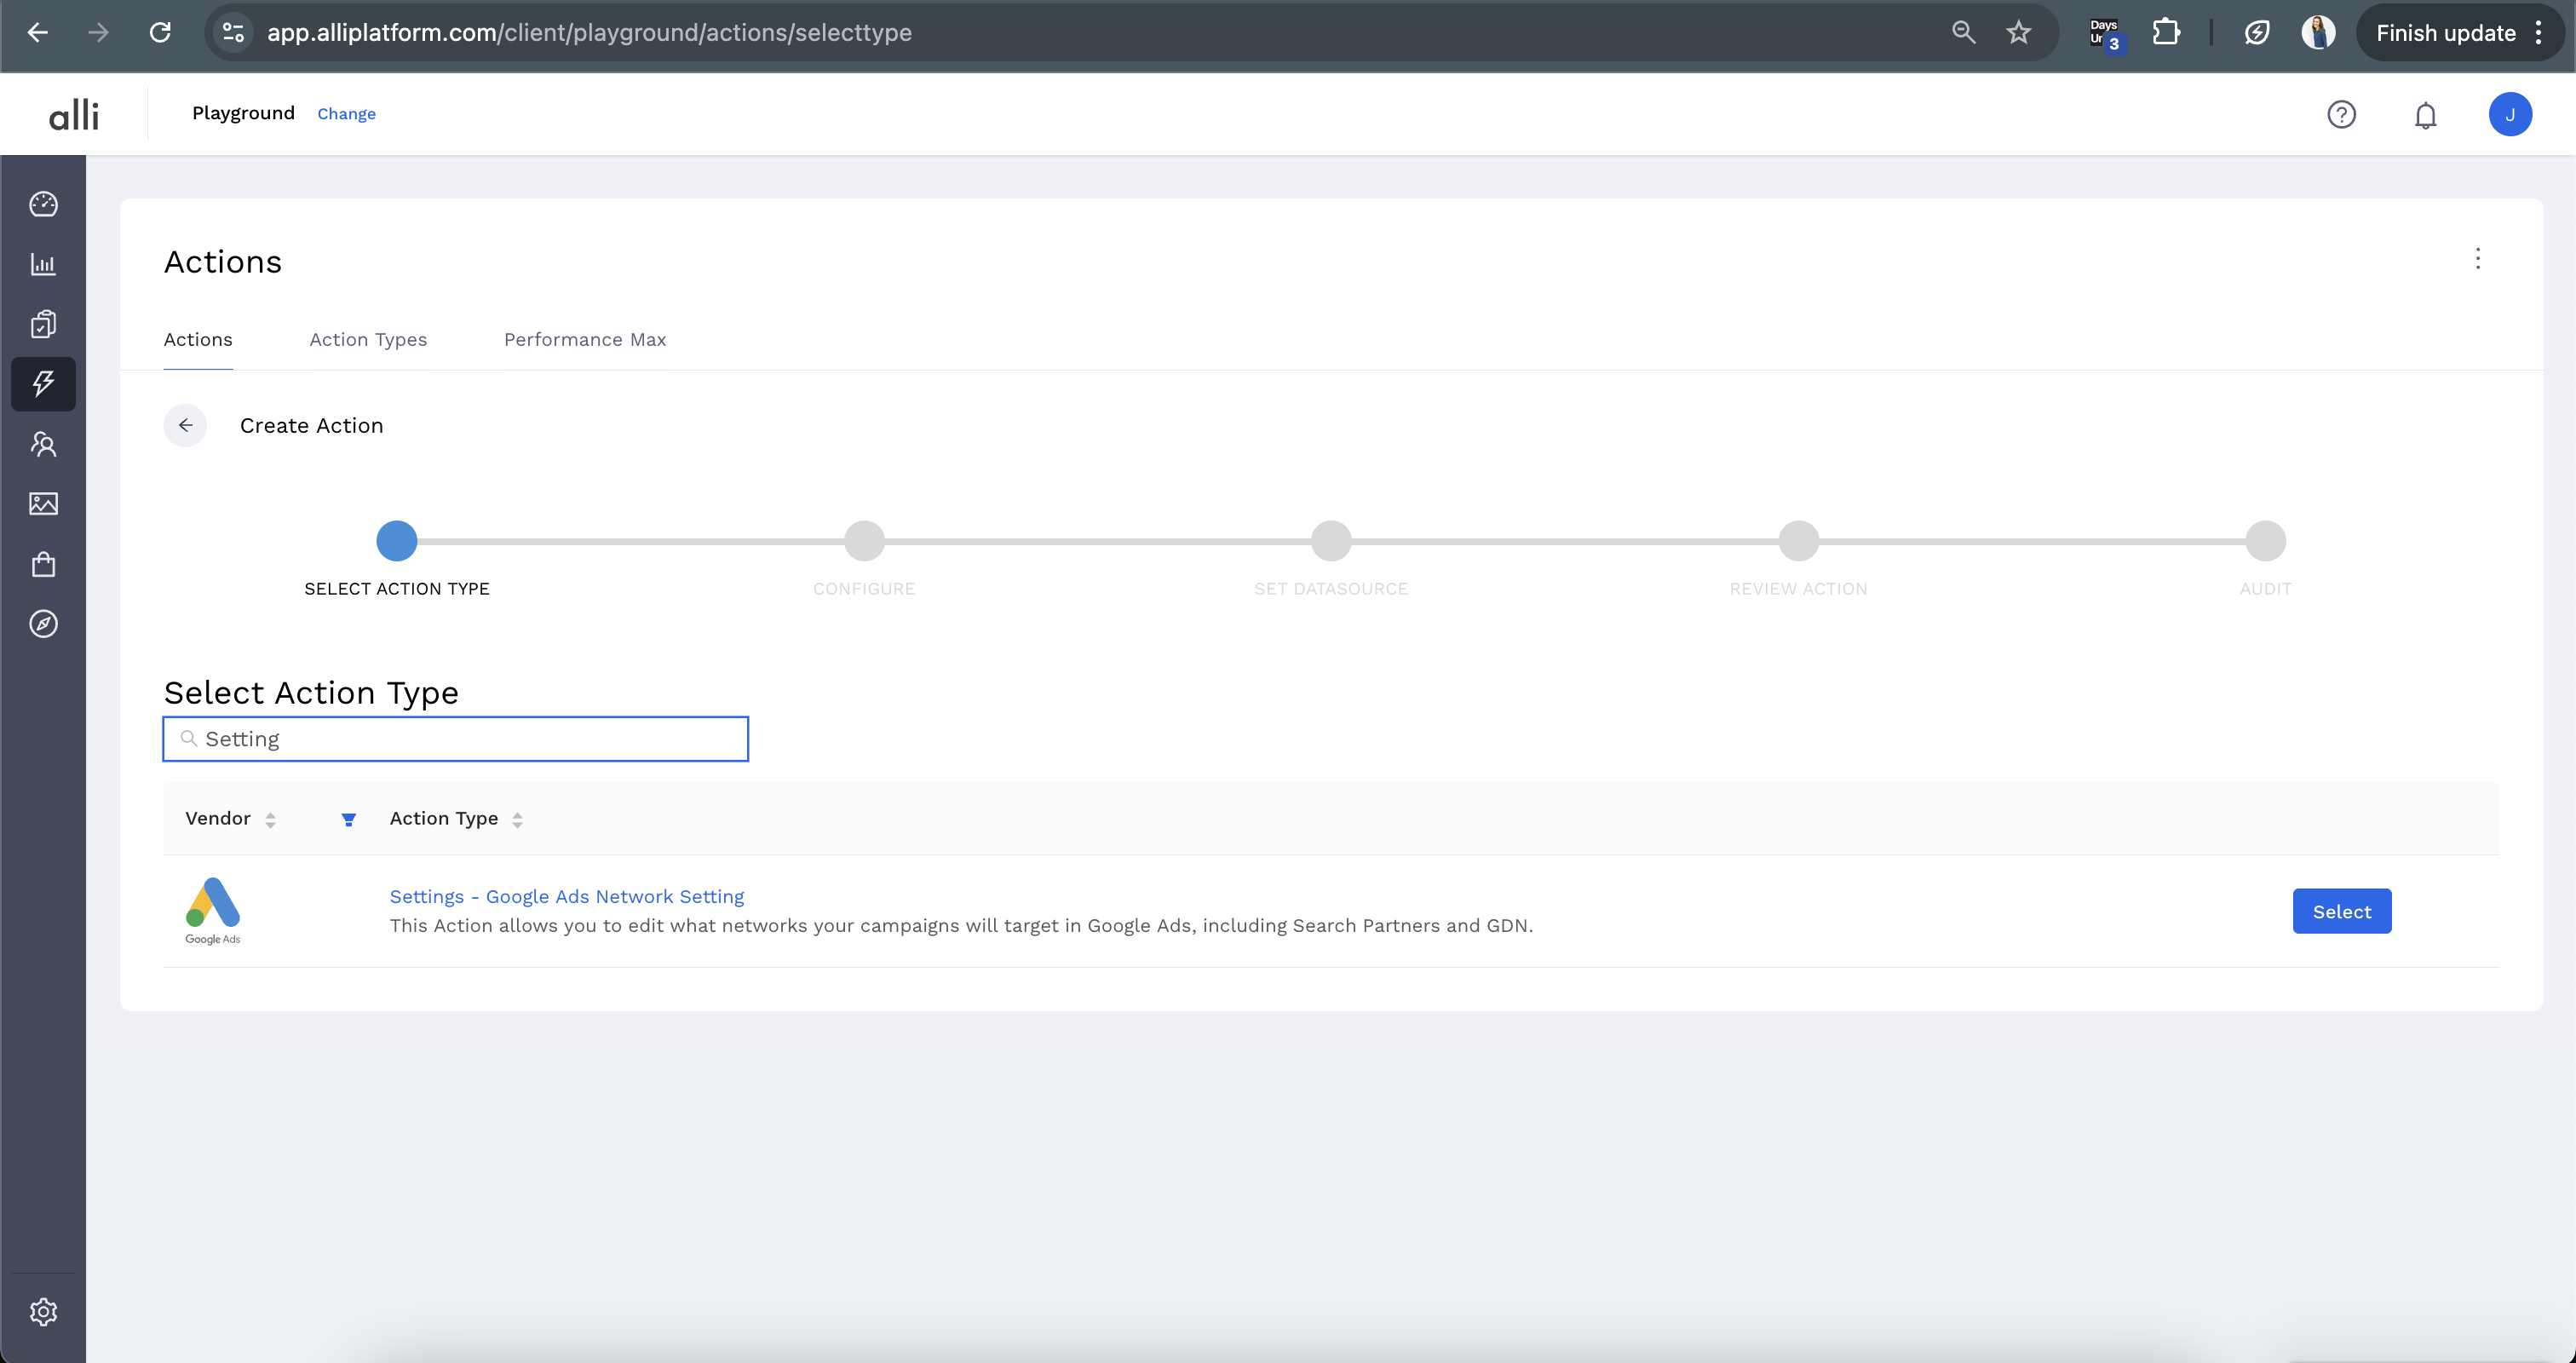
Filter the Vendor column for Google Ads and select the Settings - Google Ads Network Setting Action Type

-
Name your Action and select the Authenticated Account, the user account you'd like to use for making changes. The user associated with this account should have access to the relevant ad accounts.
-
Start by giving your action a descriptive name that reflects the changes you plan to make.
-
Tip: If your desired account isn't listed, or you need to create a new one, refer to the authentication documentation for instructions on how to authenticate a partner platform.
-
-
Click Next. Select the correct data source where your changes are coming from. Since we have just created an Alli Data report to power this action, that will be Alli Data
-
Choosing Alli Data will prompt you to click
Select Sourceso you can filter to and select the datasource or report of your choosing -
Click Save and review your Action setup.
-
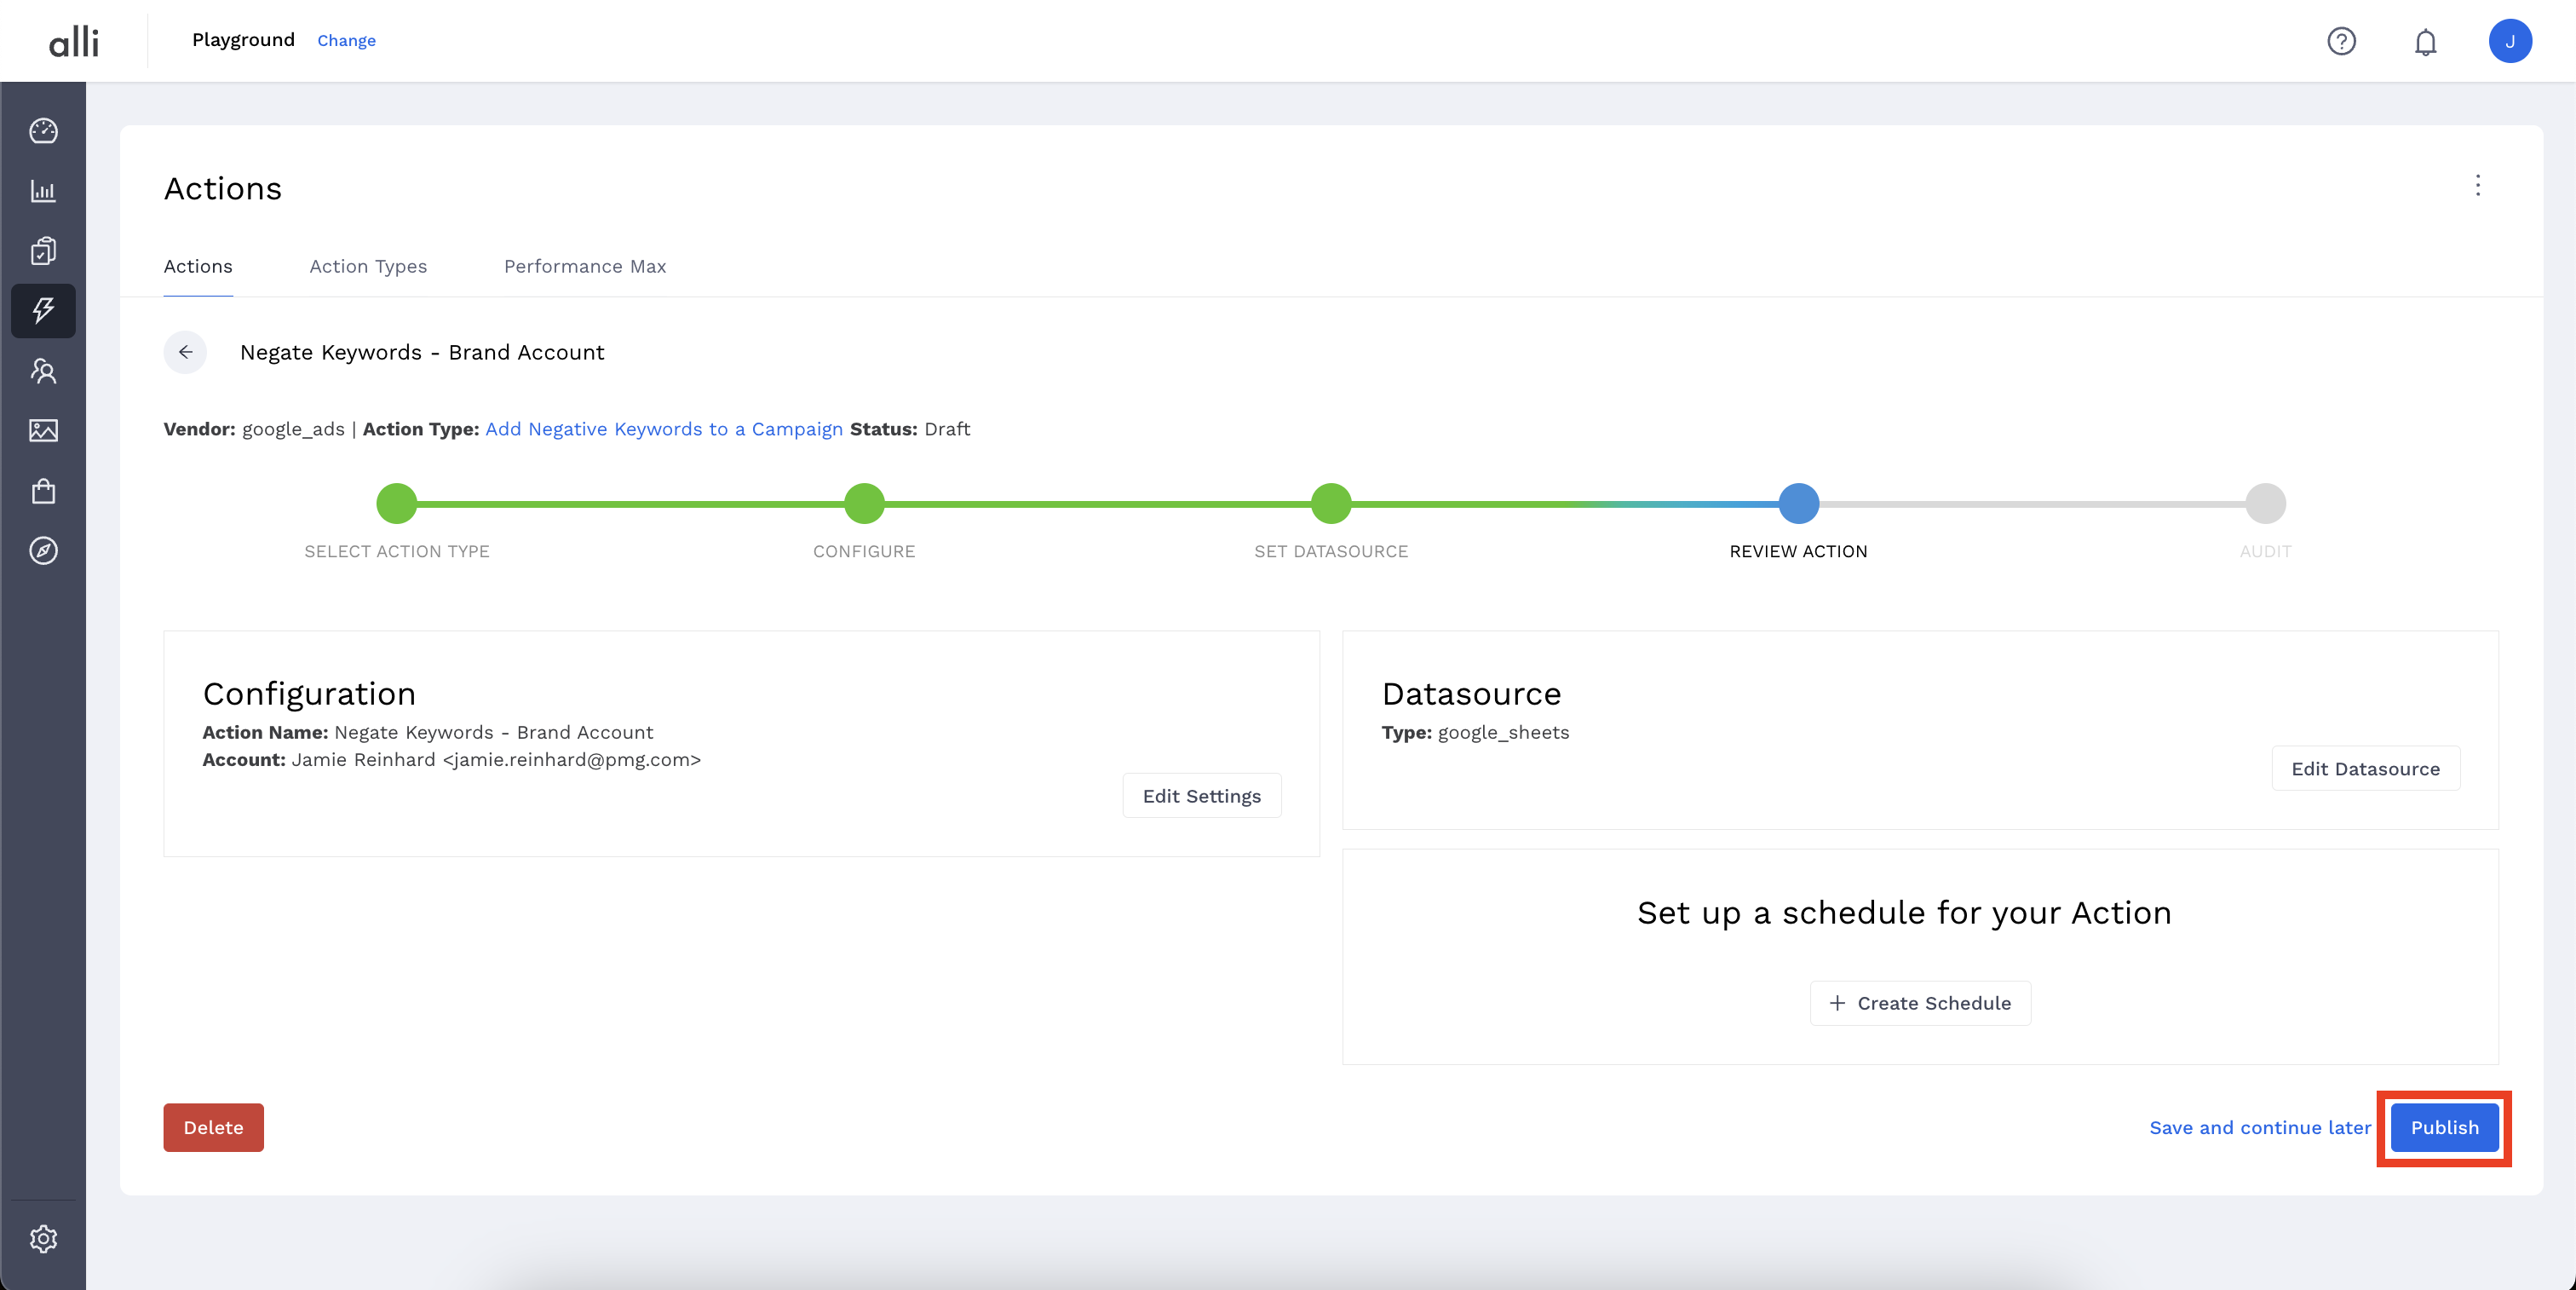
Review Action for accuracy. Set up a schedule for your Action if applicable. Select the blue Publish button.
-
A pop up box will confirm your setup. Click I’m Done to exit.

-
You can use this Google Sheet to reference Google Ads Network Setting options
-
SQL Example
Line 2: '{XXX-XXX-XXXX}' as login_customer_id,
-
This corresponds to the MCC ID. If you don’t have MCC for your account, this line can be removed.
-
Ex: ‘{XXX-XXX-XXXX}’ becomes ‘012-345-6789’
-
Lines 5-8
-
need to be either TRUE or FALSE, which value you want can be determined based on the Google Sheet linked above.
Lines 14/15:
-
replace with filters to restrict only to the campaigns you want to include. For example:
-
(campaign_name ILIKE '%brand%'
OR campaign_name ILIKE '%nonbrand%')
-
-
If you have more than one condition (like the example above) make sure to keep/include the parentheses surrounding your filters.
Context for the WHERE section below:
-
This is where you choose campaigns to include or exclude from this action.
-
The way this is done is by saying “campaign_name ILIKE '%TEXTHERE%'”.
-
The ILIKE means “contains” and is not case sensitive, it will match uppercase or lowercase.
-
The TEXTHERE piece is where you can put common pieces of your campaign names to identify which campaigns to select, such as “brand”, “nonbrand”, “retargeting”, etc.
-
That text needs to be surrounded by a tick ' on each side
-
The percent signs mean that it is looking for that text no matter what is before or after it in the campaign name.
-
Essentially using percent signs means “look for campaign names that contain this text”, not using percent signs would mean “look for campaign names that exactly match this text”
-
Example
-
ILIKE '%part%' will match to party & apartment
-
ILIKE 'part%' will match to party but not apartment
-
TRUE/FALSE Inputs
-
Lines 5 thru 8 need to be either TRUE or FALSE, which value you want can be determined based on the Google Sheet linked above.
SELECT distinct
  '{XXX-XXX-XXXX}' as login_customer_id,
   account_id as customer_id,
   campaign_id,
   '{TRUE/FALSE}' AS google_search,
   '{TRUE/FALSE}' AS search_network,
   '{TRUE/FALSE}' AS partner_search_network,
   '{TRUE/FALSE}' AS content_network

FROM {client}_core.campaign_performance

WHERE
(
campaign_name ILIKE '%brand%'
OR campaign_name ILIKE '%nonbrand%'

)

  AND campaign_status ILIKE 'ENABLED'
Related articles
- How-To: Connect your Google Sheet to Actions
- How-To: Disable or Remove an Installed App
- How-To: Set Up a New Workflow
- How-To: Pull Data for TikTok Trends
- How-To: View Error Messages on an Action That Ran
- How-To: Filter Alli Data Reports by Date to Power Actions - Tips & Tricks
- How-To: Understanding Version Statuses
- How-To: Create a Scheduled Version
- How-To: Weather API App
- How-To: Set Up Brand Media Pacing Datastudio Dashboard
- Tutorial: Adding Negative Keywords to Google Ads
- How-To: Test Your Action
- How-To: Using the Execution Log
- How-To: Setup Weather Budget Adjuster
- Tutorial: TheTradeDesk - Brand Safety Alerts
- How-To: Disable or Remove an Action
- How-To: Schedule Your Action to Run
- How-To: QA your app
- How to: Connect to Google Ads
- Tutorial: How to Automatically Delete and Backfill a Datasource on Schedule
- How-To: Write Custom Code Task
- Tutorial: How to Implement a Social Bid Modifier 2.0
- How-To: Browse & Explore Available Solutions
- How-To: Create BigQuery View
- How-To: Use Weather API Connector within Alli
- How-To: Delete a Version
- How-To: Add & Manage Webhook Triggers
- How-To: Onboarding Alli Social Budget Consolidation
- How-To: Schedule an App to Run
- Audience Planner Templates Overview
- How-To: Brand Media Screenshot Calendar Tool
- How-To: Run an Action One-Off with Manual File
- How-To: Handle Common Types of Actions Issues
- How-To: Execute a Webhook Trigger
- How-To: Setup Social Ad Bloat
- How-To: Use/Install A Template
- How-To: Set Up a Manual Upload Action
- How-To: Duplicate Versions
- How-To: Use the ChatGPT “Generate” Function to Create Ad Copy
- How-To: Pull AppsFlyer Reports to Upload into Alli Data
- How-To: Manage Partner Platform Authentication in Actions
- How-To: QA Your Action Runs