
Overview
This Action can be used to implement new geo locations to campaigns in Google Ads
Instructions
1. You will need a Google Sheet with the following columns, copy this example file, and ensure you do not adjust the column names. This action will require:
-
id: campaign id
-
location_id: id for the location you want to apply to the campaign
-
account_id: id for the account you’re working in
-
login_customer_id: This corresponds to the MCC ID. If you don’t have MCC for your account, this column can be removed.
2. Create a new Alli Data datasource with the Google Sheet you just created. (Google Drive Datasource). Documentation for creating datasources can be found here
-
Create a new Action
-
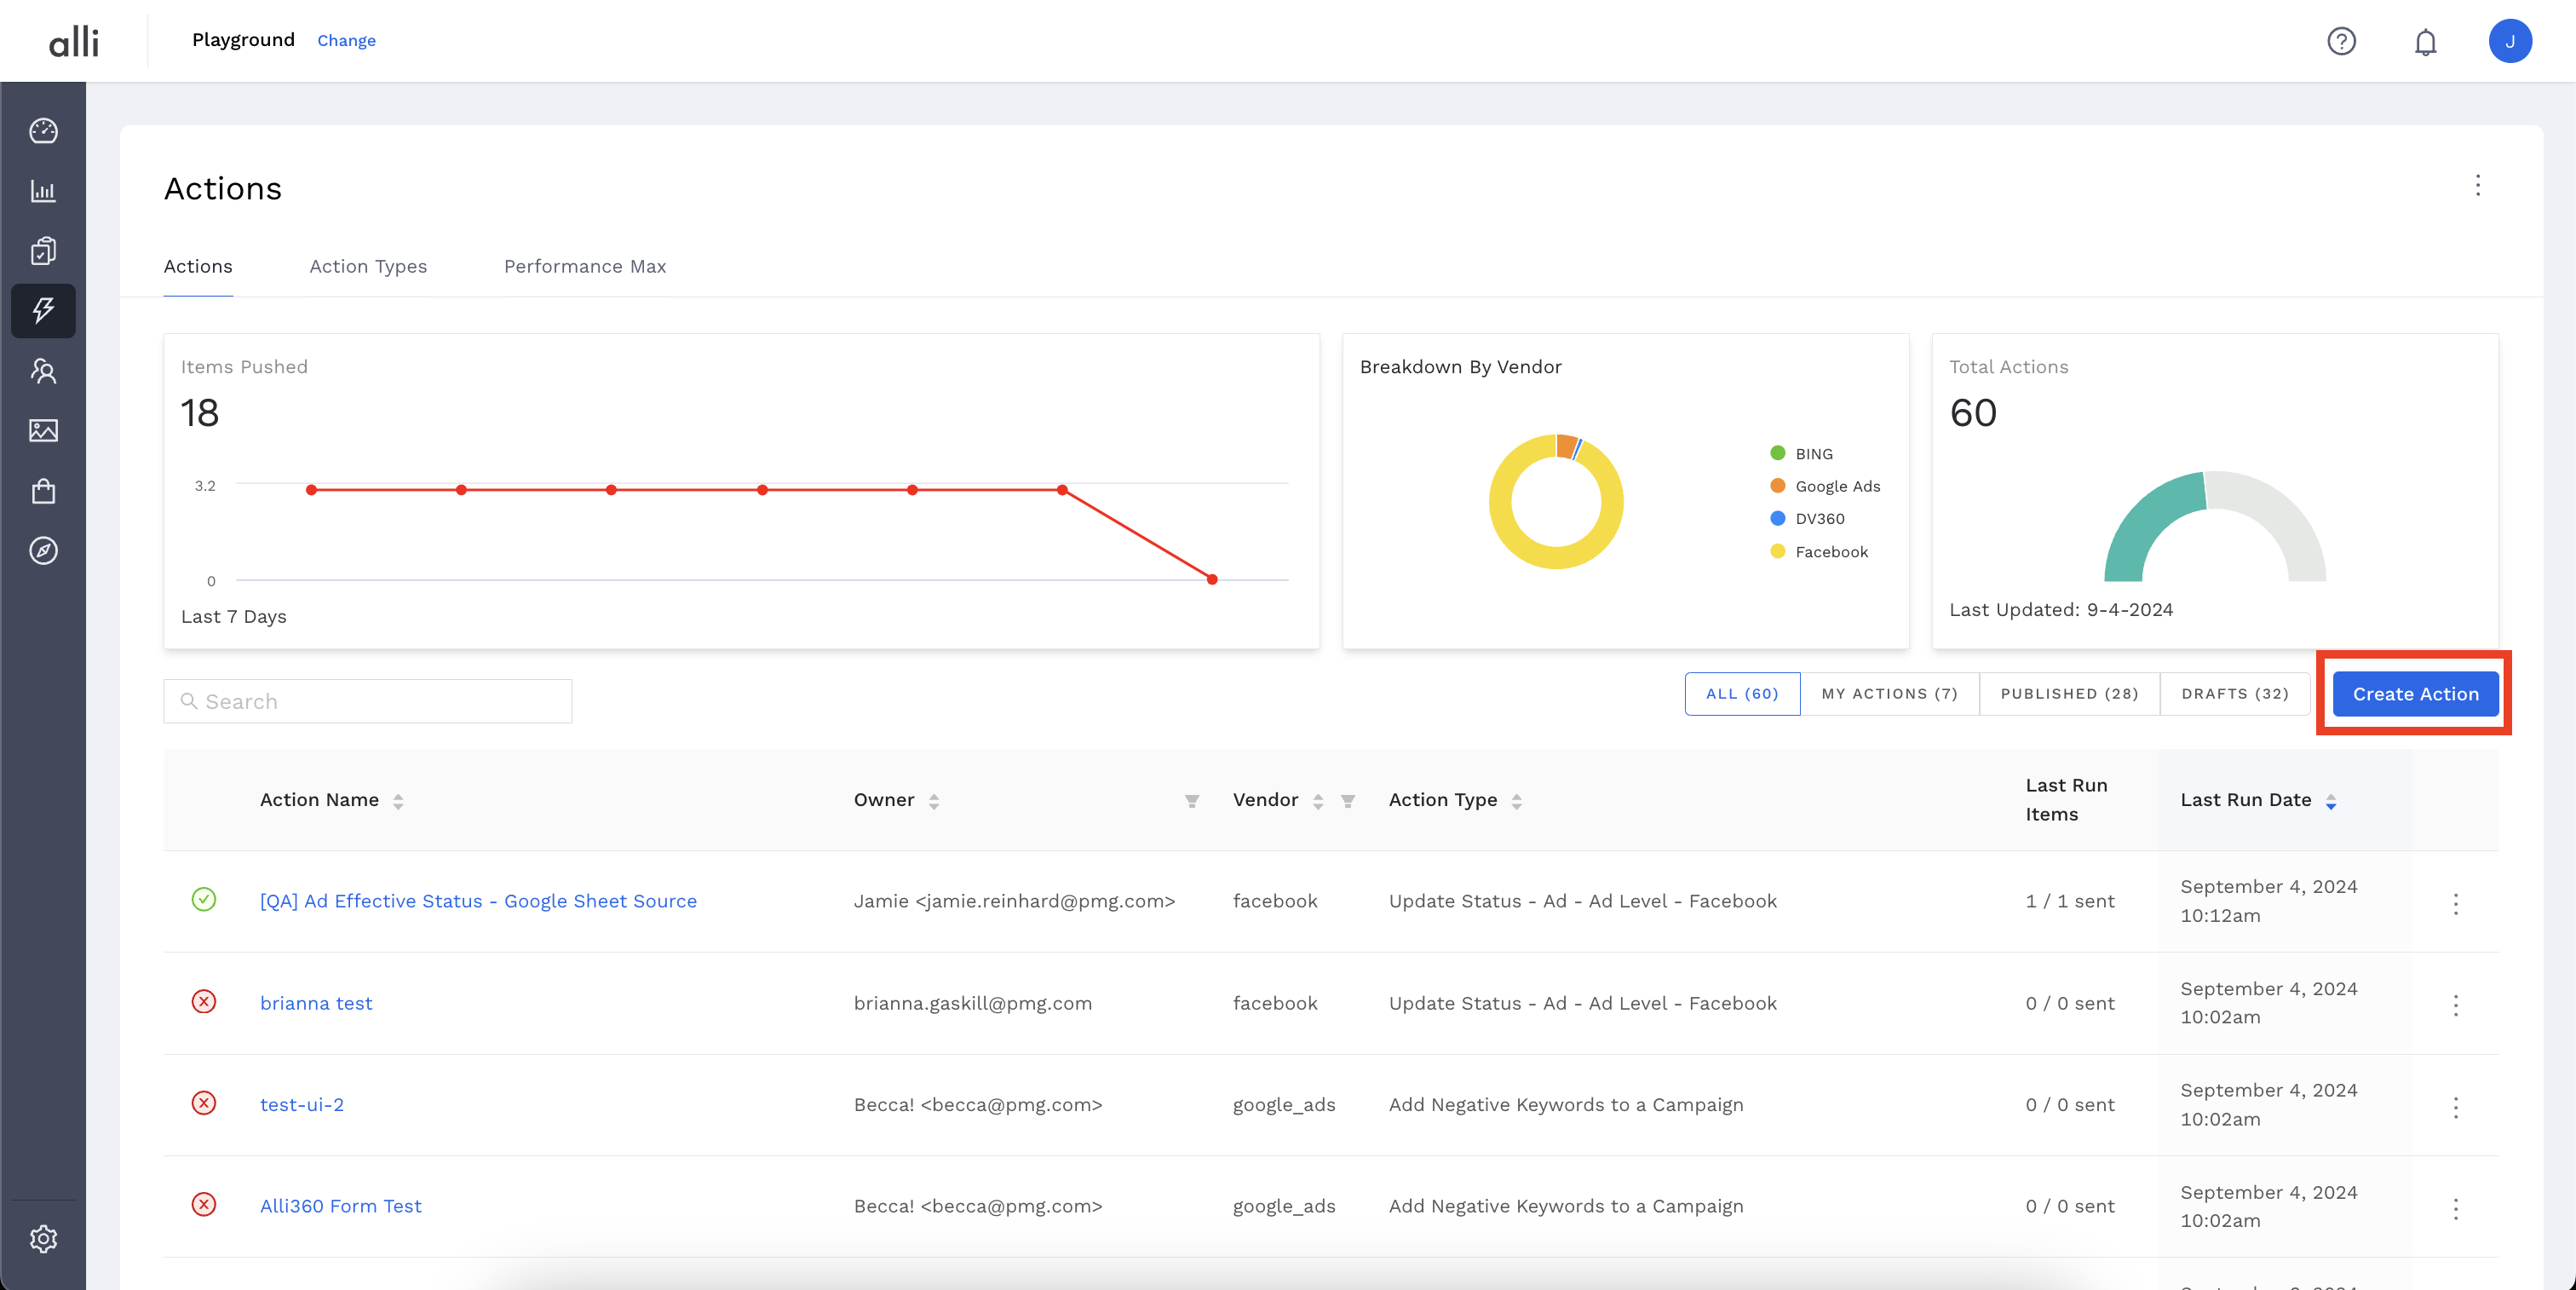
Go to Alli Actions then select Create Action.
-
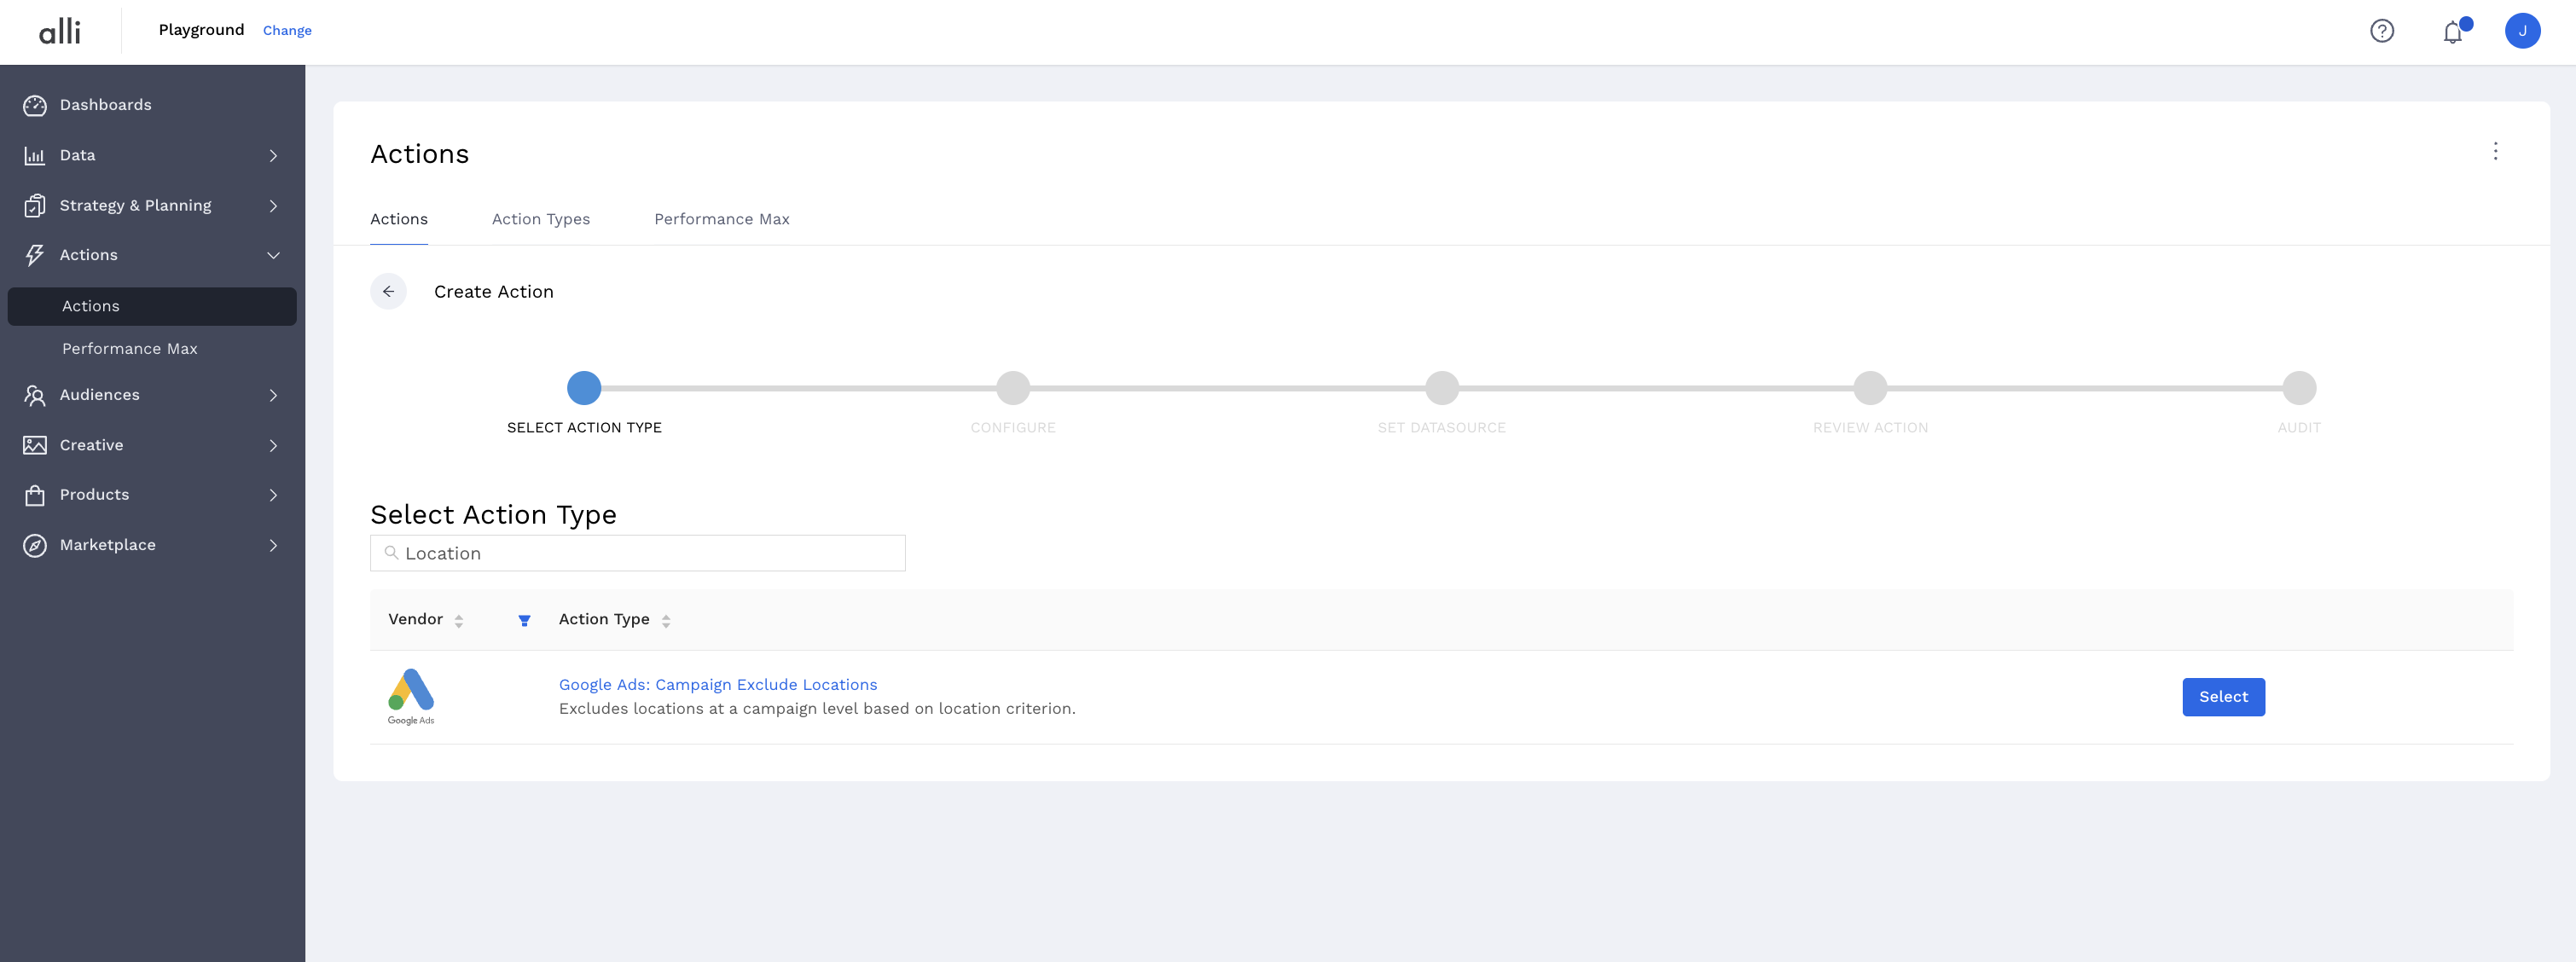
Filter the Vendor column for Google Ads and select the Google Ads: Campaign Exclude Locations Action Type
-
-
Name your Action and select the Authenticated Account, the user account you'd like to use for making changes. The user associated with this account should have access to the relevant ad accounts.
-
Start by giving your action a descriptive name that reflects the changes you plan to make.
-
Tip: If your desired account isn't listed, or you need to create a new one, refer to the authentication documentation for instructions on how to authenticate a partner platform.
-
-
Click Next. Select the correct data source where your changes are coming from. Since we have just created an Alli Data report to power this action, that will be Alli Data
-
Choosing Alli Data will prompt you to click
Select Sourceso you can filter to and select the datasource or report of your choosing -
Click Save and review your Action setup.
-
Review Action for accuracy. Set up a schedule for your Action if applicable. Select the blue Publish button.
-
A pop up box will confirm your setup. Click I’m Done to exit.
Related articles
- How-To: Connect your Google Sheet to Actions
- How-To: Disable or Remove an Installed App
- How-To: Set Up a New Workflow
- How-To: Pull Data for TikTok Trends
- How-To: View Error Messages on an Action That Ran
- How-To: Filter Alli Data Reports by Date to Power Actions - Tips & Tricks
- How-To: Understanding Version Statuses
- How-To: Create a Scheduled Version
- How-To: Weather API App
- How-To: Set Up Brand Media Pacing Datastudio Dashboard
- Tutorial: Adding Negative Keywords to Google Ads
- How-To: Test Your Action
- How-To: Using the Execution Log
- How-To: Setup Weather Budget Adjuster
- Tutorial: TheTradeDesk - Brand Safety Alerts