
Creative Studio: End-to-End How‑To Guide
This practical guide walks you through Creative Studio’s core workflow: from creating your first template & connecting data feeds, to creating variants, generating previews, routing approvals, and rendering final assets.
What you’ll accomplish
-
Configure a creative template
-
Connect supplemental data feeds (products, locations, promos)
-
Create and edit creative variants
-
Generate previews for QA, share for review, and track approvals
-
Deliver creatives to destinations or export as needed
Terminology: “Template” refers to a reusable creative wireframe (HTML or compatible format). “Variant” refers to a specific creative generated by applying inputs (copy, images, feed rows).
Before You Start: Requirements
-
Brand inputs available (logos, color codes, and brand copy guidelines). If your brand uses themes, confirm theme groupings (e.g., Light, Seasonal, Sale).
-
Template source files ready (e.g., Google Web Designer editable files and published files).
-
[Optional] Data feeds connected or accessible (Product feeds, supplemental feeds for offers, locations, inventory). Align column names to the standardized schema when possible.
Step 1: Access Creative Studio
Navigate in Alli: Side navigation → Creative → Creative Studio. You’ll land on the Creative Studio homepage, where you can browse existing templates or create new ones.
Step 2: Add or Select a Template
You can upload a new template or start from an approved creative blueprint.
-
Choose
-
Provide a clear name and description (Tip: include channel/placement type: e.g., Meta feed, display banner).
-
Select channel type
-
Upload editable template files from the GWD published package.
-
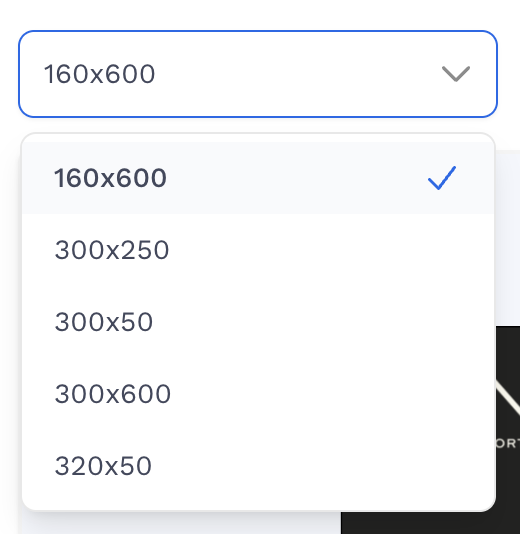
Select sizes: select sizes from the list of available creative dimensions in the template file.
If your team migrated from Dynamic+, replicate the familiar column bindings to minimize retraining and reduce mapping errors.
Step 2: Connect Data Feeds [Optional]
Creative Studio works with standardized inputs and feed-based inputs. Connecting feeds unlocks at-scale variant generation and management.
-
Under Data Feed, select a Supplemental Feed type. There are two ways to connect data in Creative Studio:
-
Use an existing Alli Data Source: Allows you to connect to data sources in the Alli platform such as product feeds, audience personas, or custom data sources.
-
Upload a supplemental feed file: Allows you to upload your own data in Creative Studio. This option should only be used for use cases where supplemental data will not change.
-
-
Connect your supplemental feed (e.g., product, hotel, flight, geolocation). Verify access and freshness.
-
Set up your column mappings to your Creative Studio template schema.
-
When you’ve finished setting up your template, select
Schema tip: Not all columns need to be mapped. Only map columns you want to pull from supplemental feeds. (e.g. product_image → image_1)
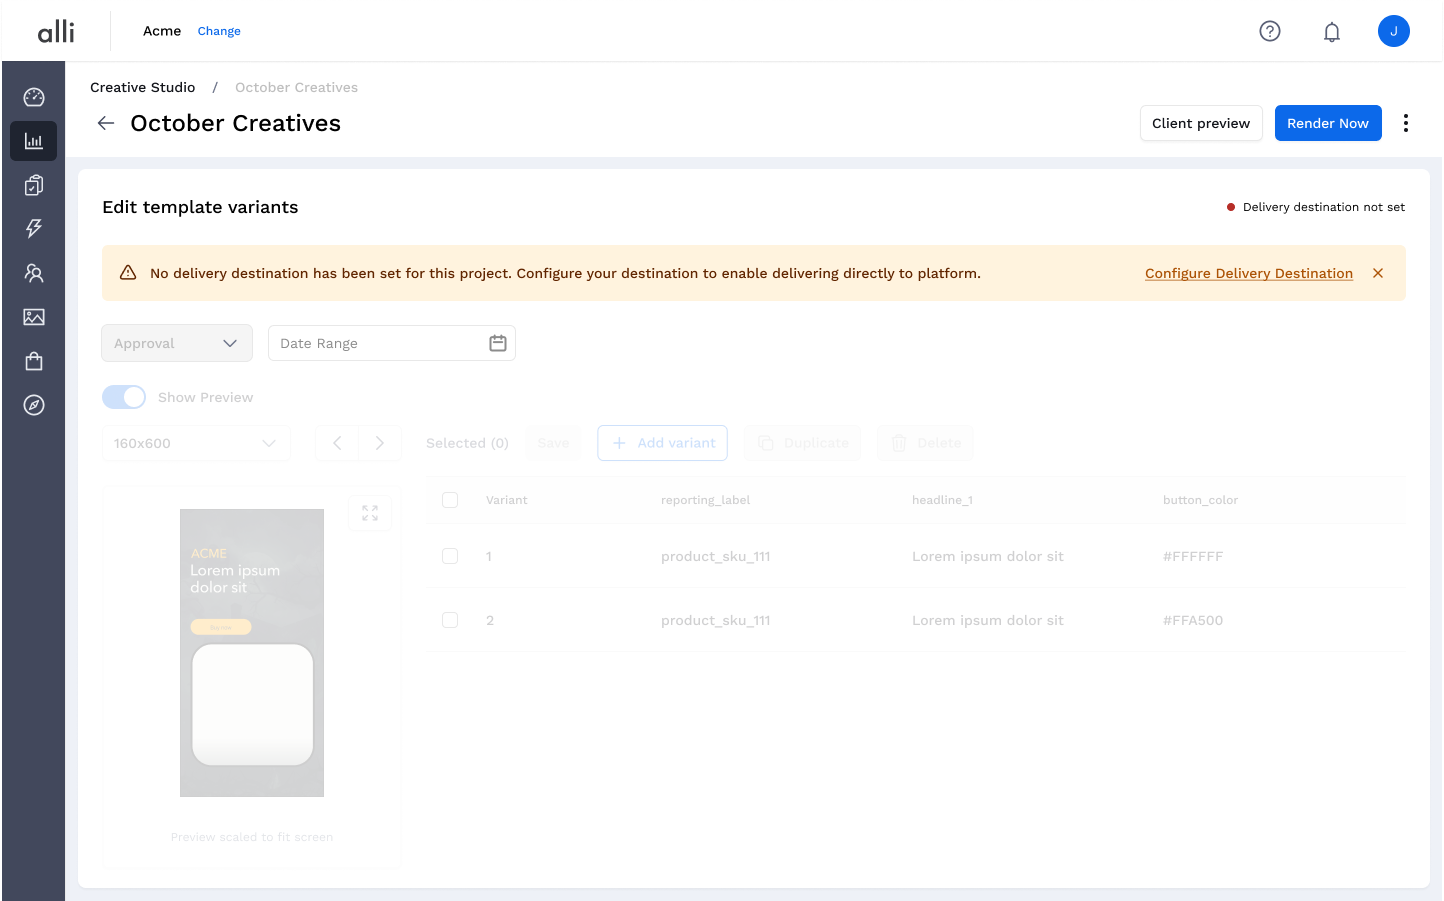
Step 5: Variants & Previews
Quickly generate new variants of your creative template & check previews in real time for creative QA.
-
Create a new variant by selecting
-
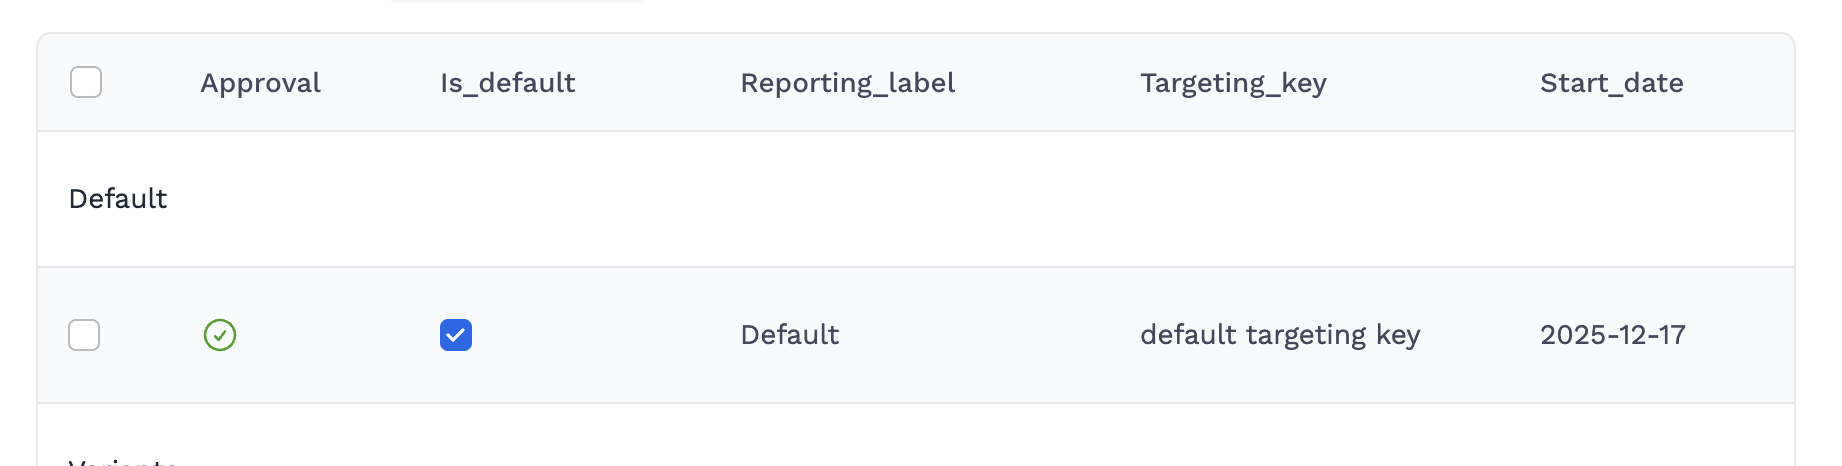
A default creative is added when a template file is uploaded to Creative Studio. This will be used as a backup creative on some channels when dynamic data is not available.
-
-
Add your content (copy, image links, logos, etc.) to the columns in the variant table
-
Previews will automatically appear on the left side of the Creative Studio builder when changes are made to the variant table. To view a preview of a particular size, use the size selector to switch between sizes.
-
To view a preview in a full-size view, select the expand preview button
-
Once all changes are finished and you have QA’d the creatives, hit

Unsaved changes: Changes will only be published once a user selects the save button above the variant table.
-
If you need to delete a variant, select the variant you want to discard and select
Bulk changes: to edit multiple variants at once, select the checkbox next to the variants you want to make bulk changes to.
Step 6: Share for Review and Capture Approvals
Route previews to internal or client reviewers directly from Creative Studio. Keep the full approval trail centralized.
-
Navigate to the approval view by navigating to
-
To view a specific variant for approval select a variant from the variant list on the left side menu.
-
Share the preview using the
-
Stakeholders will be directed to the variant to review. Review multiple sizes of the creative variant by panning around the preview canvas.
-
When a variant is ready to approve or reject, select the checkbox next to the variant name in the left side menu & select either one of the reviewer actions. To approve or reject multiple variants at once use the
Select Allaction, or select the variants using their checkboxes.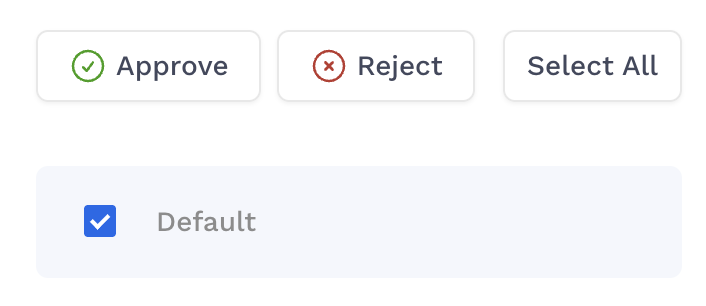
-
Capture approval and review feedback by opening the Activity Feed to share recommended edits & other feedback.
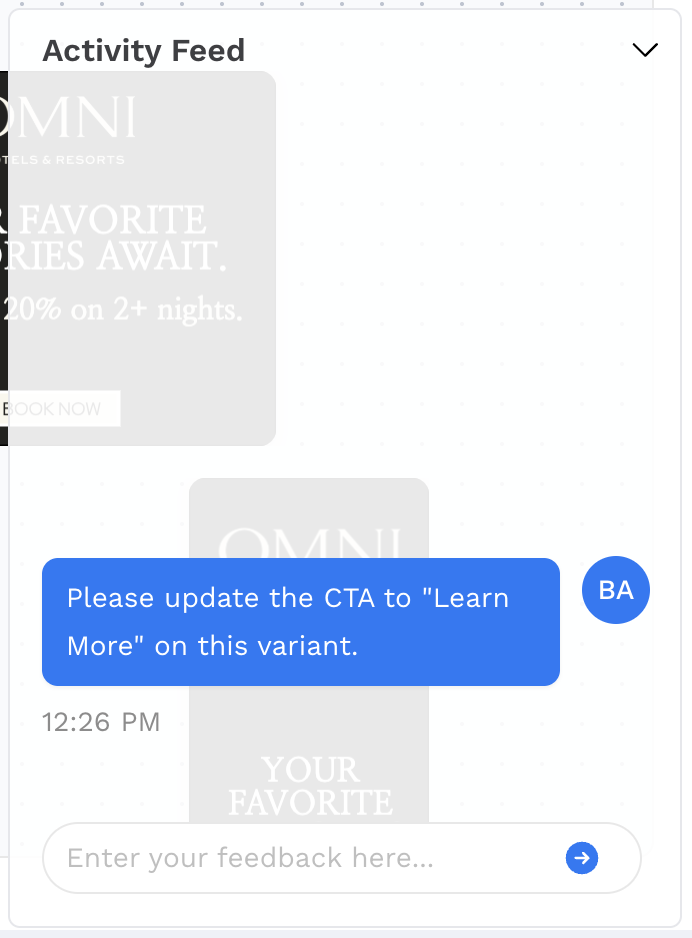
Approval Status: The approval status will automatically publish to the template & appear in the variant table in the editor to signal if edits are required.
Step 7: Configure Delivery Settings
Before we can deliver creatives to media destinations, we will need to configure our delivery settings so Creative Studio knows when & where to send your final creatives.
When you land on the Creative Studio editor for the first time you will see a note prompting you to configure delivery settings.
Enabling Delivery Schedules
-
Select
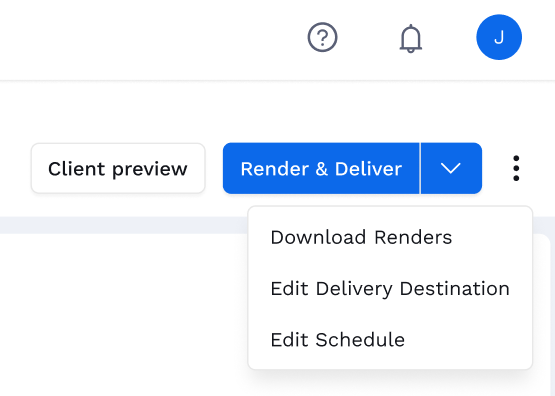
Configure Delivery Destinationin either the notification at the top of the page or by navigating to the 3-dot menu next to theRender & Deliverbutton & selectingEdit Schedule. -
Configure your scheduled time, frequency, & end date (optional)
-
Save your schedule by slecting
Set Schedule
If you are delivering to a product feed in Alli Products, coordinate with the structured data team to confirm what cadence makes sense for your scheduled delivery. Link to submit feeds request
Configuring Delivery Destinations
Delivery destinations are the locations where you want to send your finished creatives. These can be internal Alli services such as Alli products, or ad platforms such as Meta, Pinterst, & Google.
-
Navigate to
Delivery Settingsby selecting the 3-dot menu & selectingEdit Delivery Destination -
Select the destination you would like to send creatives to
-
Configure your feed settings & map columns from Creative Studio to your destination feed columns
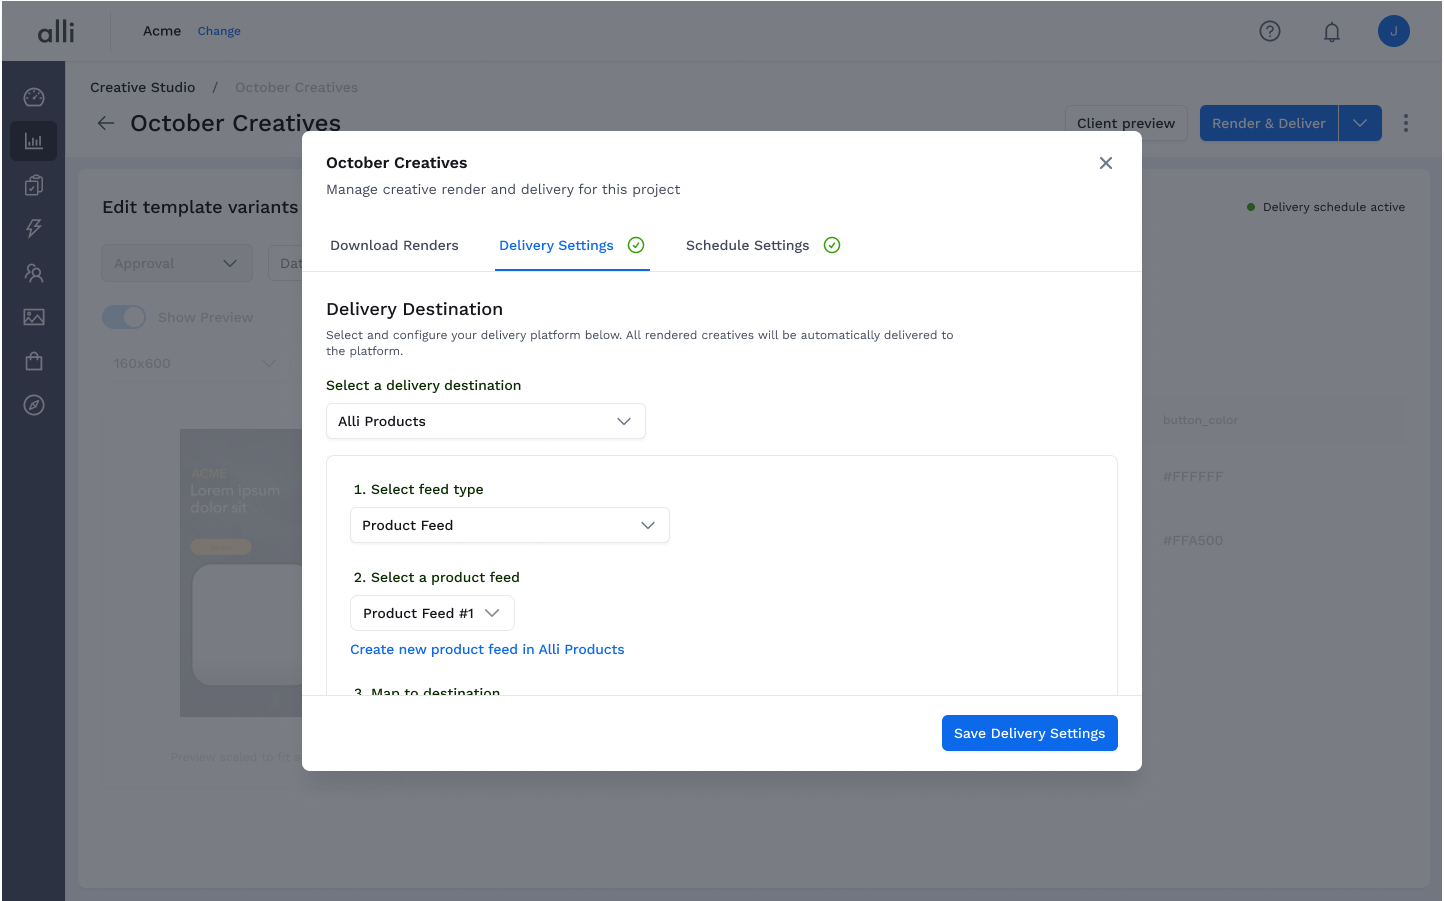
Note: Alli products destinations will generate a new datasource for you called client.creative_studio_creatives. Send this data source to Alli Products to connect it to your primary product feed. Link to submit feeds request
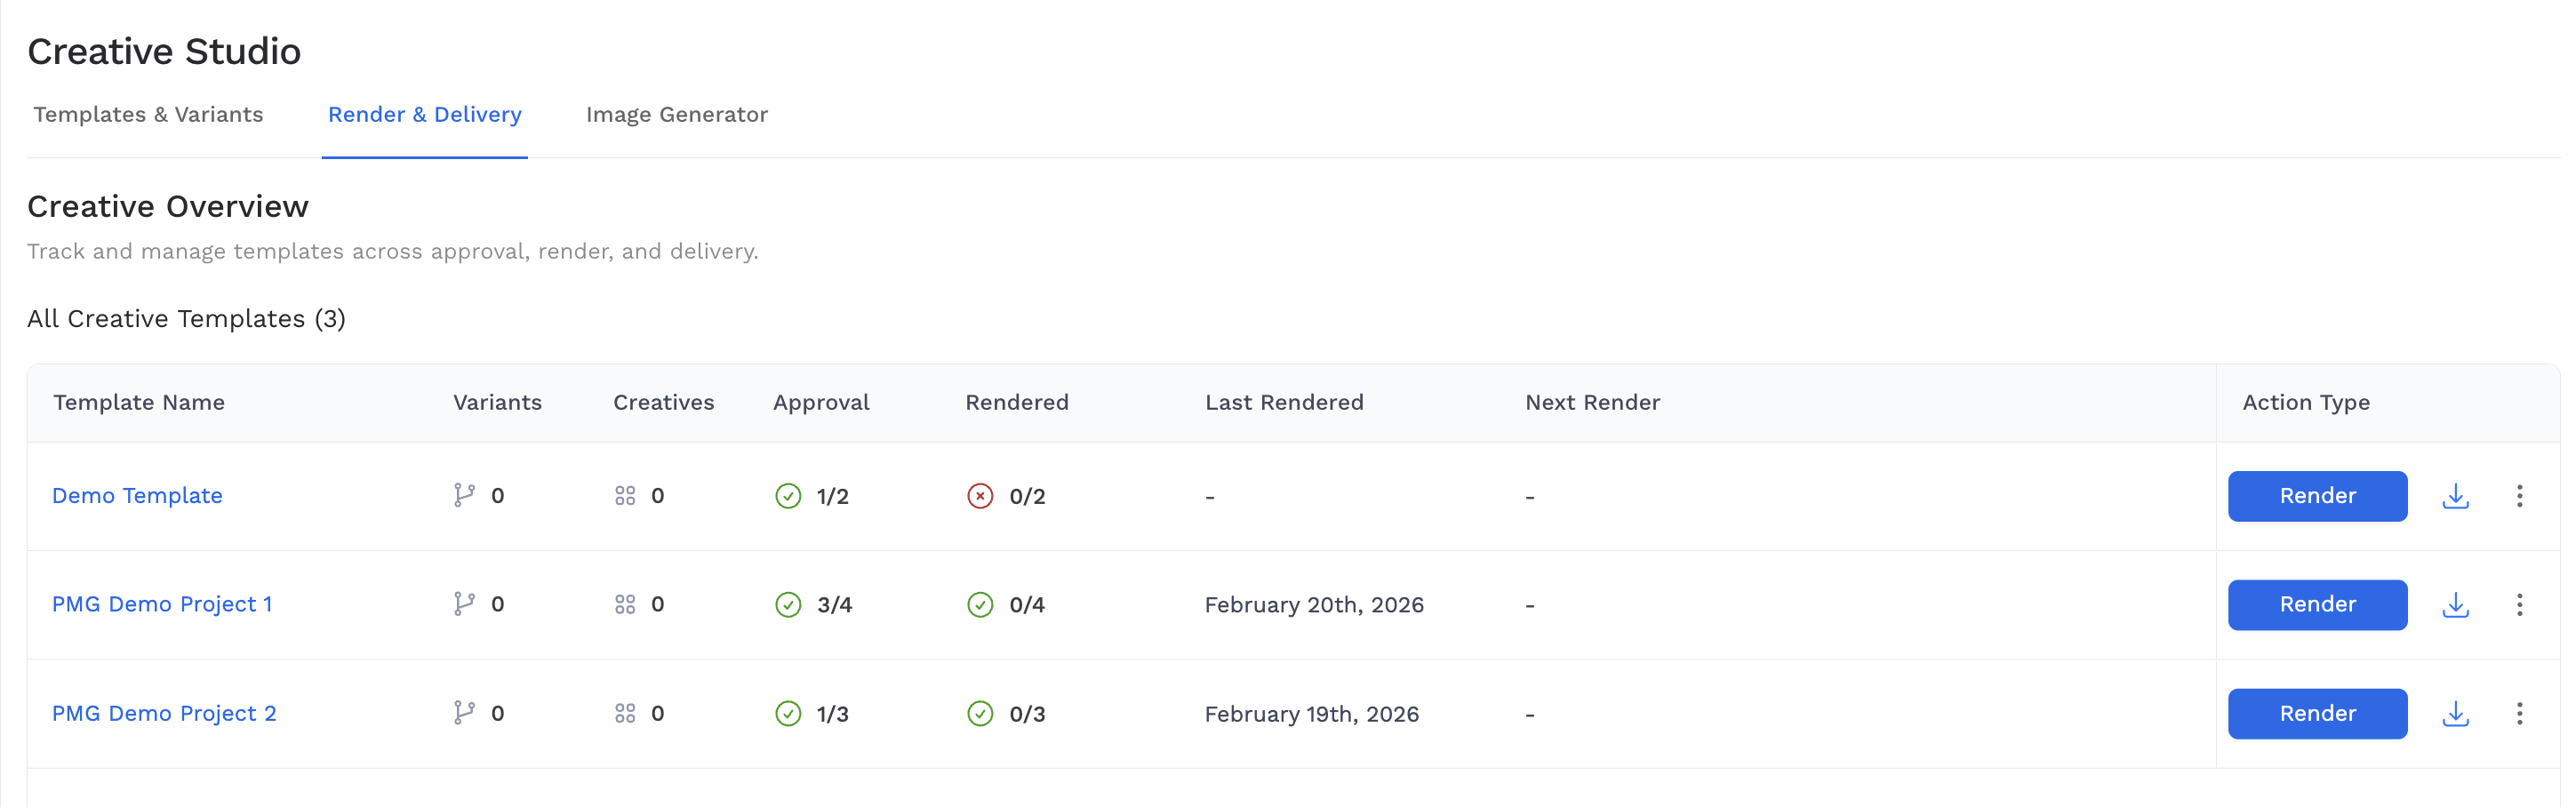
Step 8: Render & Deliver Creatives
Rendering creatives saves the template preview files as final creatives for delivery to media destinations. Delivery pushes those creatives to your defined destinations.
Only creatives that have been approved will be rendered & delivered. Creatives marked rejected or pending approval will be ignored by Creative Studio until approved.
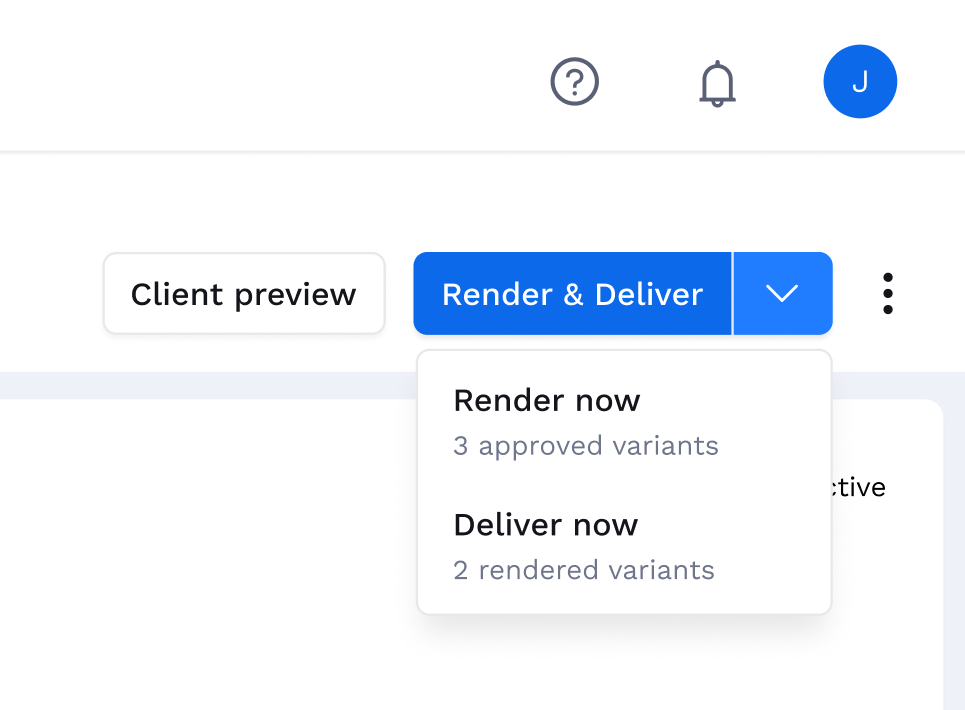
Creative Delivery Actions
-
Render & Deliver: Your default action once delivery destinations are set up. This will trigger an immediate render & delivery to your configured destination.
-
Render Only: Will trigger Creative Studio to immediately render creatives, but will not deliver them to your configured destination yet (useful for promo QA & pre-launch QA).
-
Deliver Only: Will trigger Creative Studio to immediately deliver rendered creatives to your configured destination.
Triggering On-Demand Actions
-
Select one of the 3 action times from the action button on the top right of the page.
-
Creative Studio will trigger the selected action & display a status indicator on the template page
-
Once an action is complete, Creative Studio will notify you in the editor that the action has completed with a link to download the results or trigger another action (render only).
Scheduled Actions
Schedules automatically trigger actions on your behalf, allowing teams to schedule renders & delivery to ad destinations on a recurring cadence.
If a schedule is configured for your template, the Next Render column will reflect the next day/time a render is scheduled to run.
Step 8: Downloading Creatives
Once creatives have been fully rendered and processed, you can now access the creatives for download.
-
To initiate a download in Creative Studio, select the 3-dot menu on the top right and select
Download Renders -
Select the variant(s) you wish to download creatives from
-
Click
Download -
Creative Studio will export a CSV with links & metadata to access your creative files
Troubleshooting
If a preview fails to render, check mappings first: the most common cause is a mismatched or renamed feed column.
-
Feeds connected but data missing in previews: Verify filters; confirm join keys for supplemental feeds; test with a single known-good row.
-
Images not loading: Confirm asset URLs resolve and that fallback imagery is configured in Brand Inputs or template defaults.
-
Copy overflow/truncation: Adjust max-length or enable auto-fit in the template; consider shorter CTA variants.