
How to Add a Schedule Trigger
Overview
If you want to automate a Workflow to run at a specific time on a repeated schedule, you'll want to add a Schedule Trigger. These require answering 3 distinct questions.
-
How often do you want the workflow to run?
-
When do you want the workflow to run?
-
What time do you want the workflow to run?
These 3 questions together define one distinct schedule. This how to guide will walk you through the steps to edit a schedule Trigger.
Types of Schedules
-
Hourly - Select the distinct minute that you want a Workflow to run every hour.
-
Daily - Select the distinct time that you want a Workflow to run every day.
-
Weekly - Select the day of the week and the time that you want a Workflow to run every 7 days.
-
Monthly - Select the numeric day (1-31) and the time that you want a Workflow to run every month.
Steps
-
Navigate the specific Workflow that you want to add schedules to and hover over the schedule trigger icon.
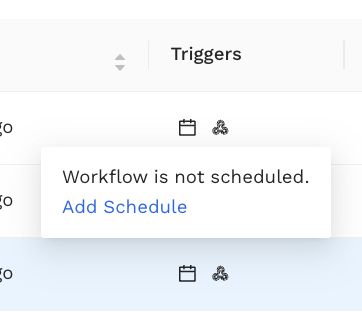
-
Click Add Schedule.
-
Select an option for "How Often?". Your choices are hourly, daily, weekly, or monthly.
-
Select an option for "When?".
-
If you selected "Monthly" in the previous step, your options will be numeric dates.
-
If you selected "Weekly" in the previous step, your options will be days of the week.
-
If you selected "Hourly" or "Daily" this option will be disabled.
-
-
Select an option for "What Time?".
-
If you selected "Daily", "Weekly", or "Monthly", you will need to select an hour (HH), a minute (MM), and AM or PM.
-
If you selected "Hourly", you will need to select a 5 minute interval.
-
-
Repeat steps 3-6 for any additional schedules that you want to add.
-
Click Save to save your schedule
Success! You've now successfully added Schedule Triggers!