
Overview
Workflows allow you to take apps to a whole new level. Instead of scheduling each app in your workflow, you can set them up to run in a sequence. Once the previous app has completed, the next one in your workflow will start running. This helps you automate a series of tasks that need to happen in a specific order.
Instructions
-
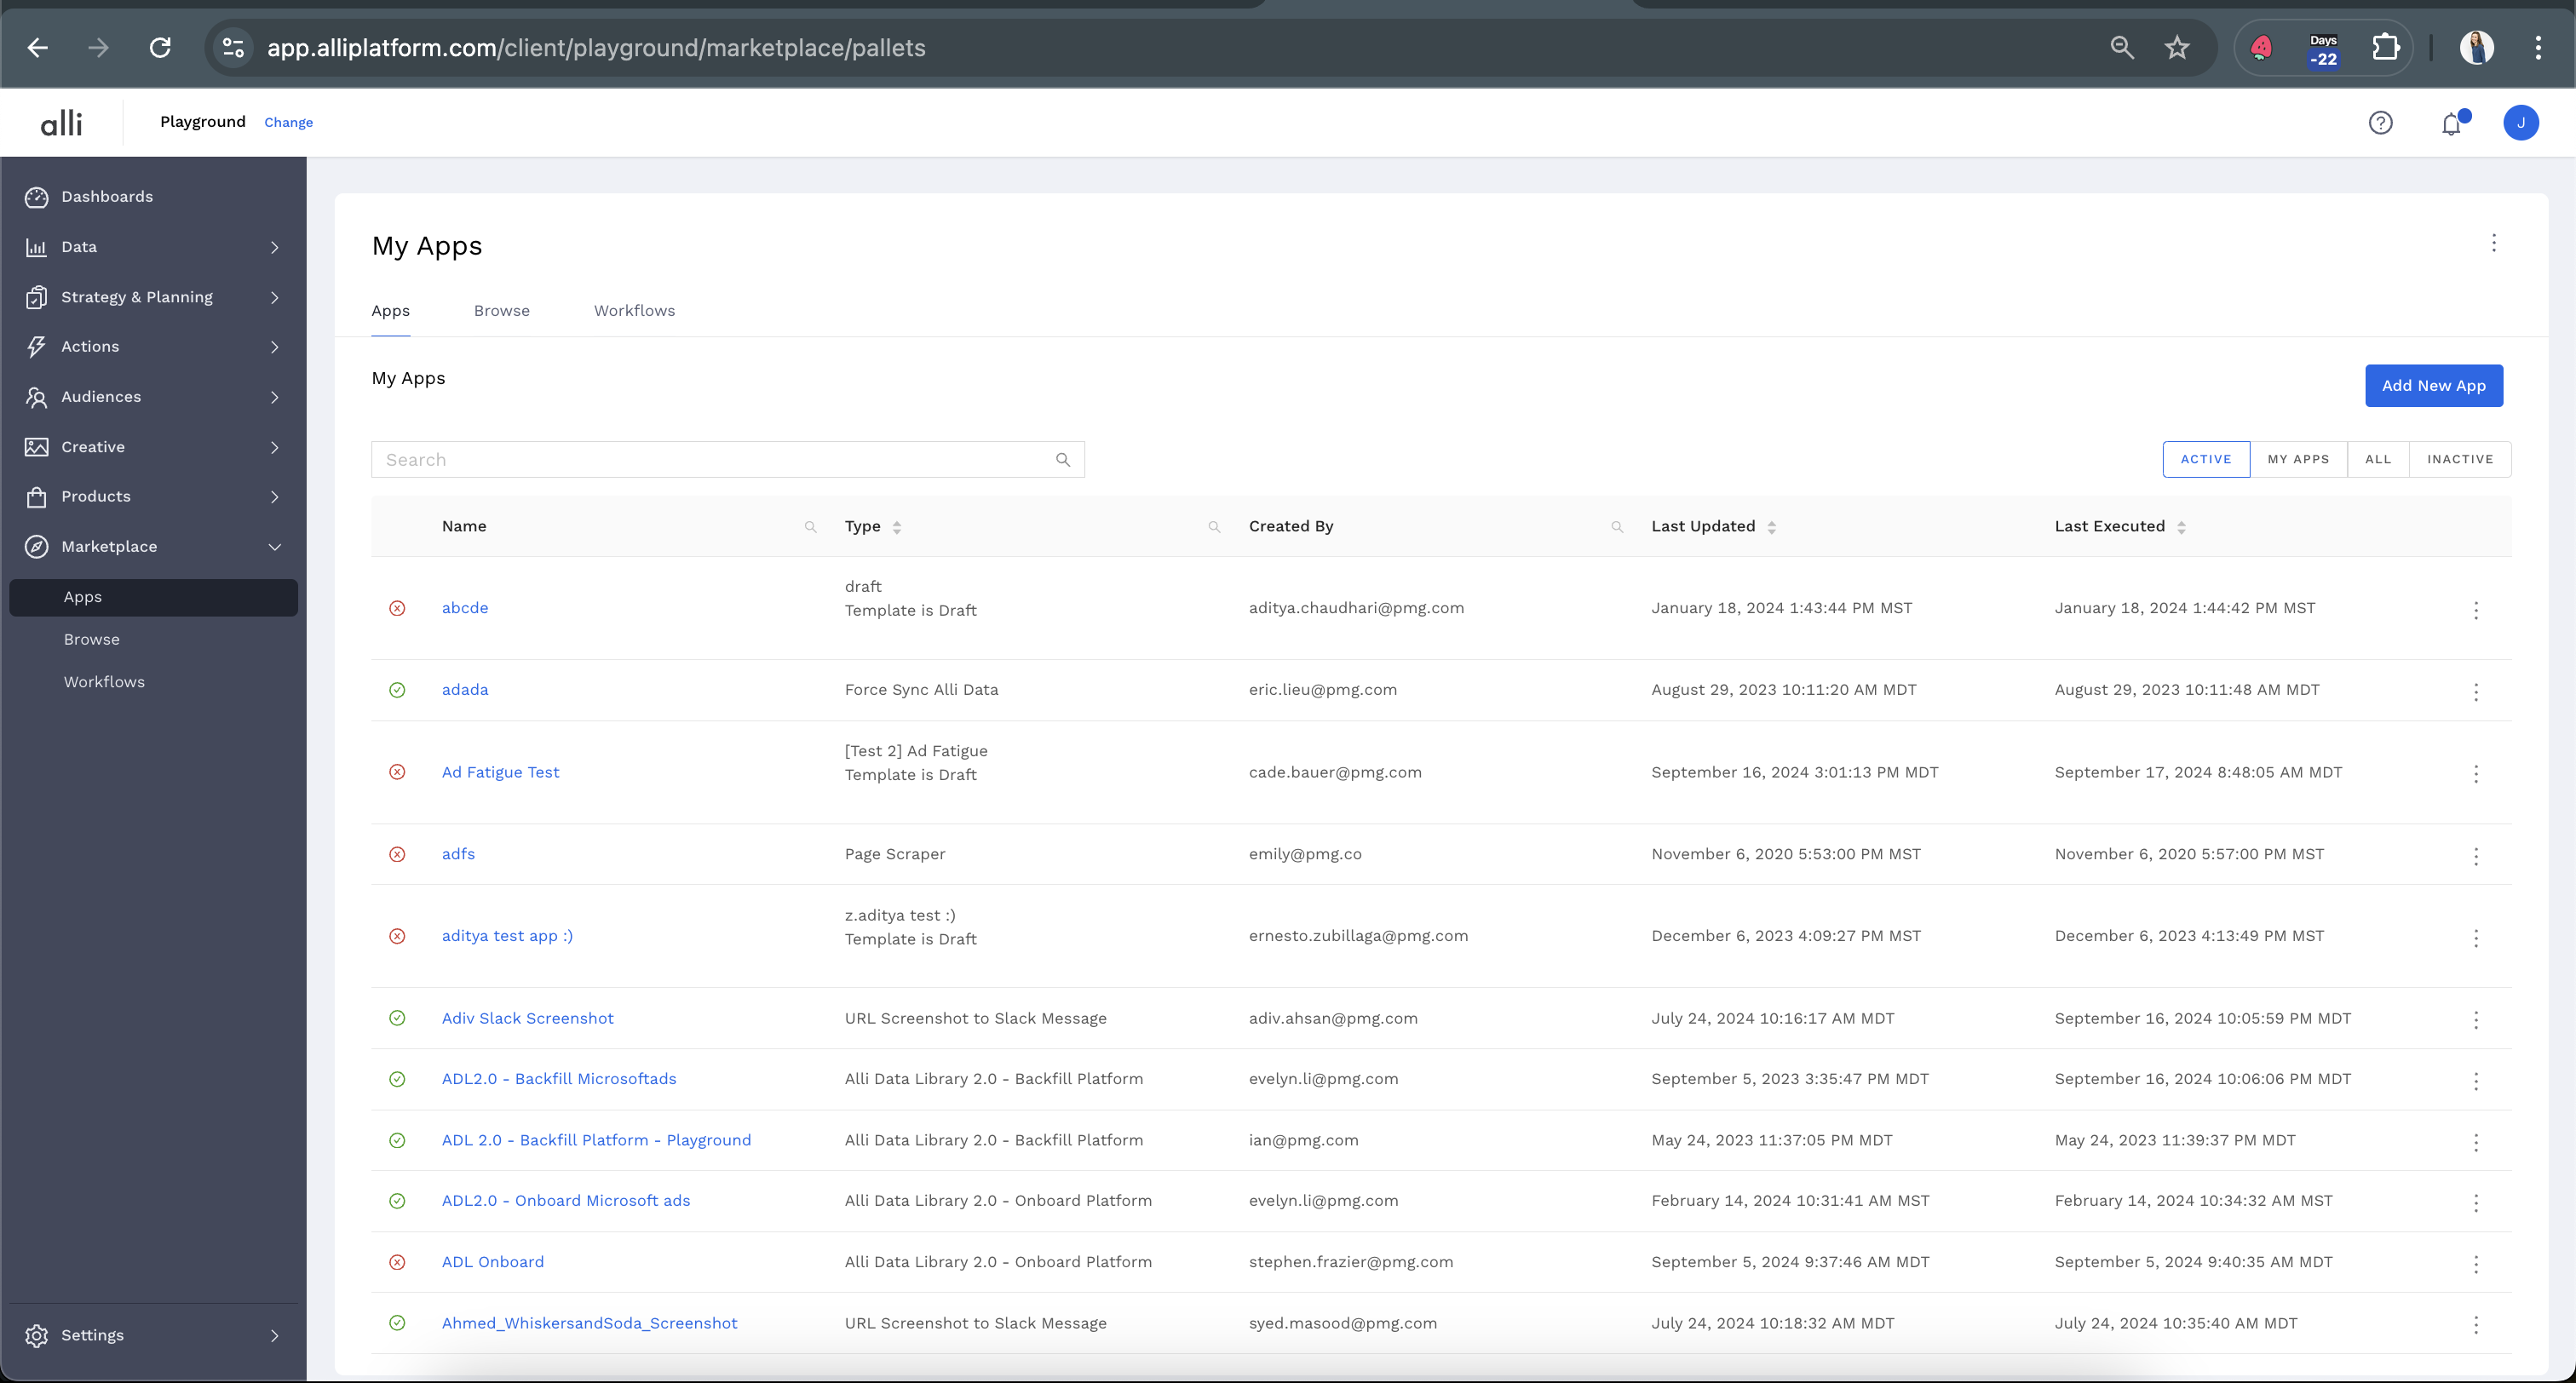
From the left-hand side navigation, select Marketplace. This will show all of the custom apps that are currently set up for the selected customer.
-
-
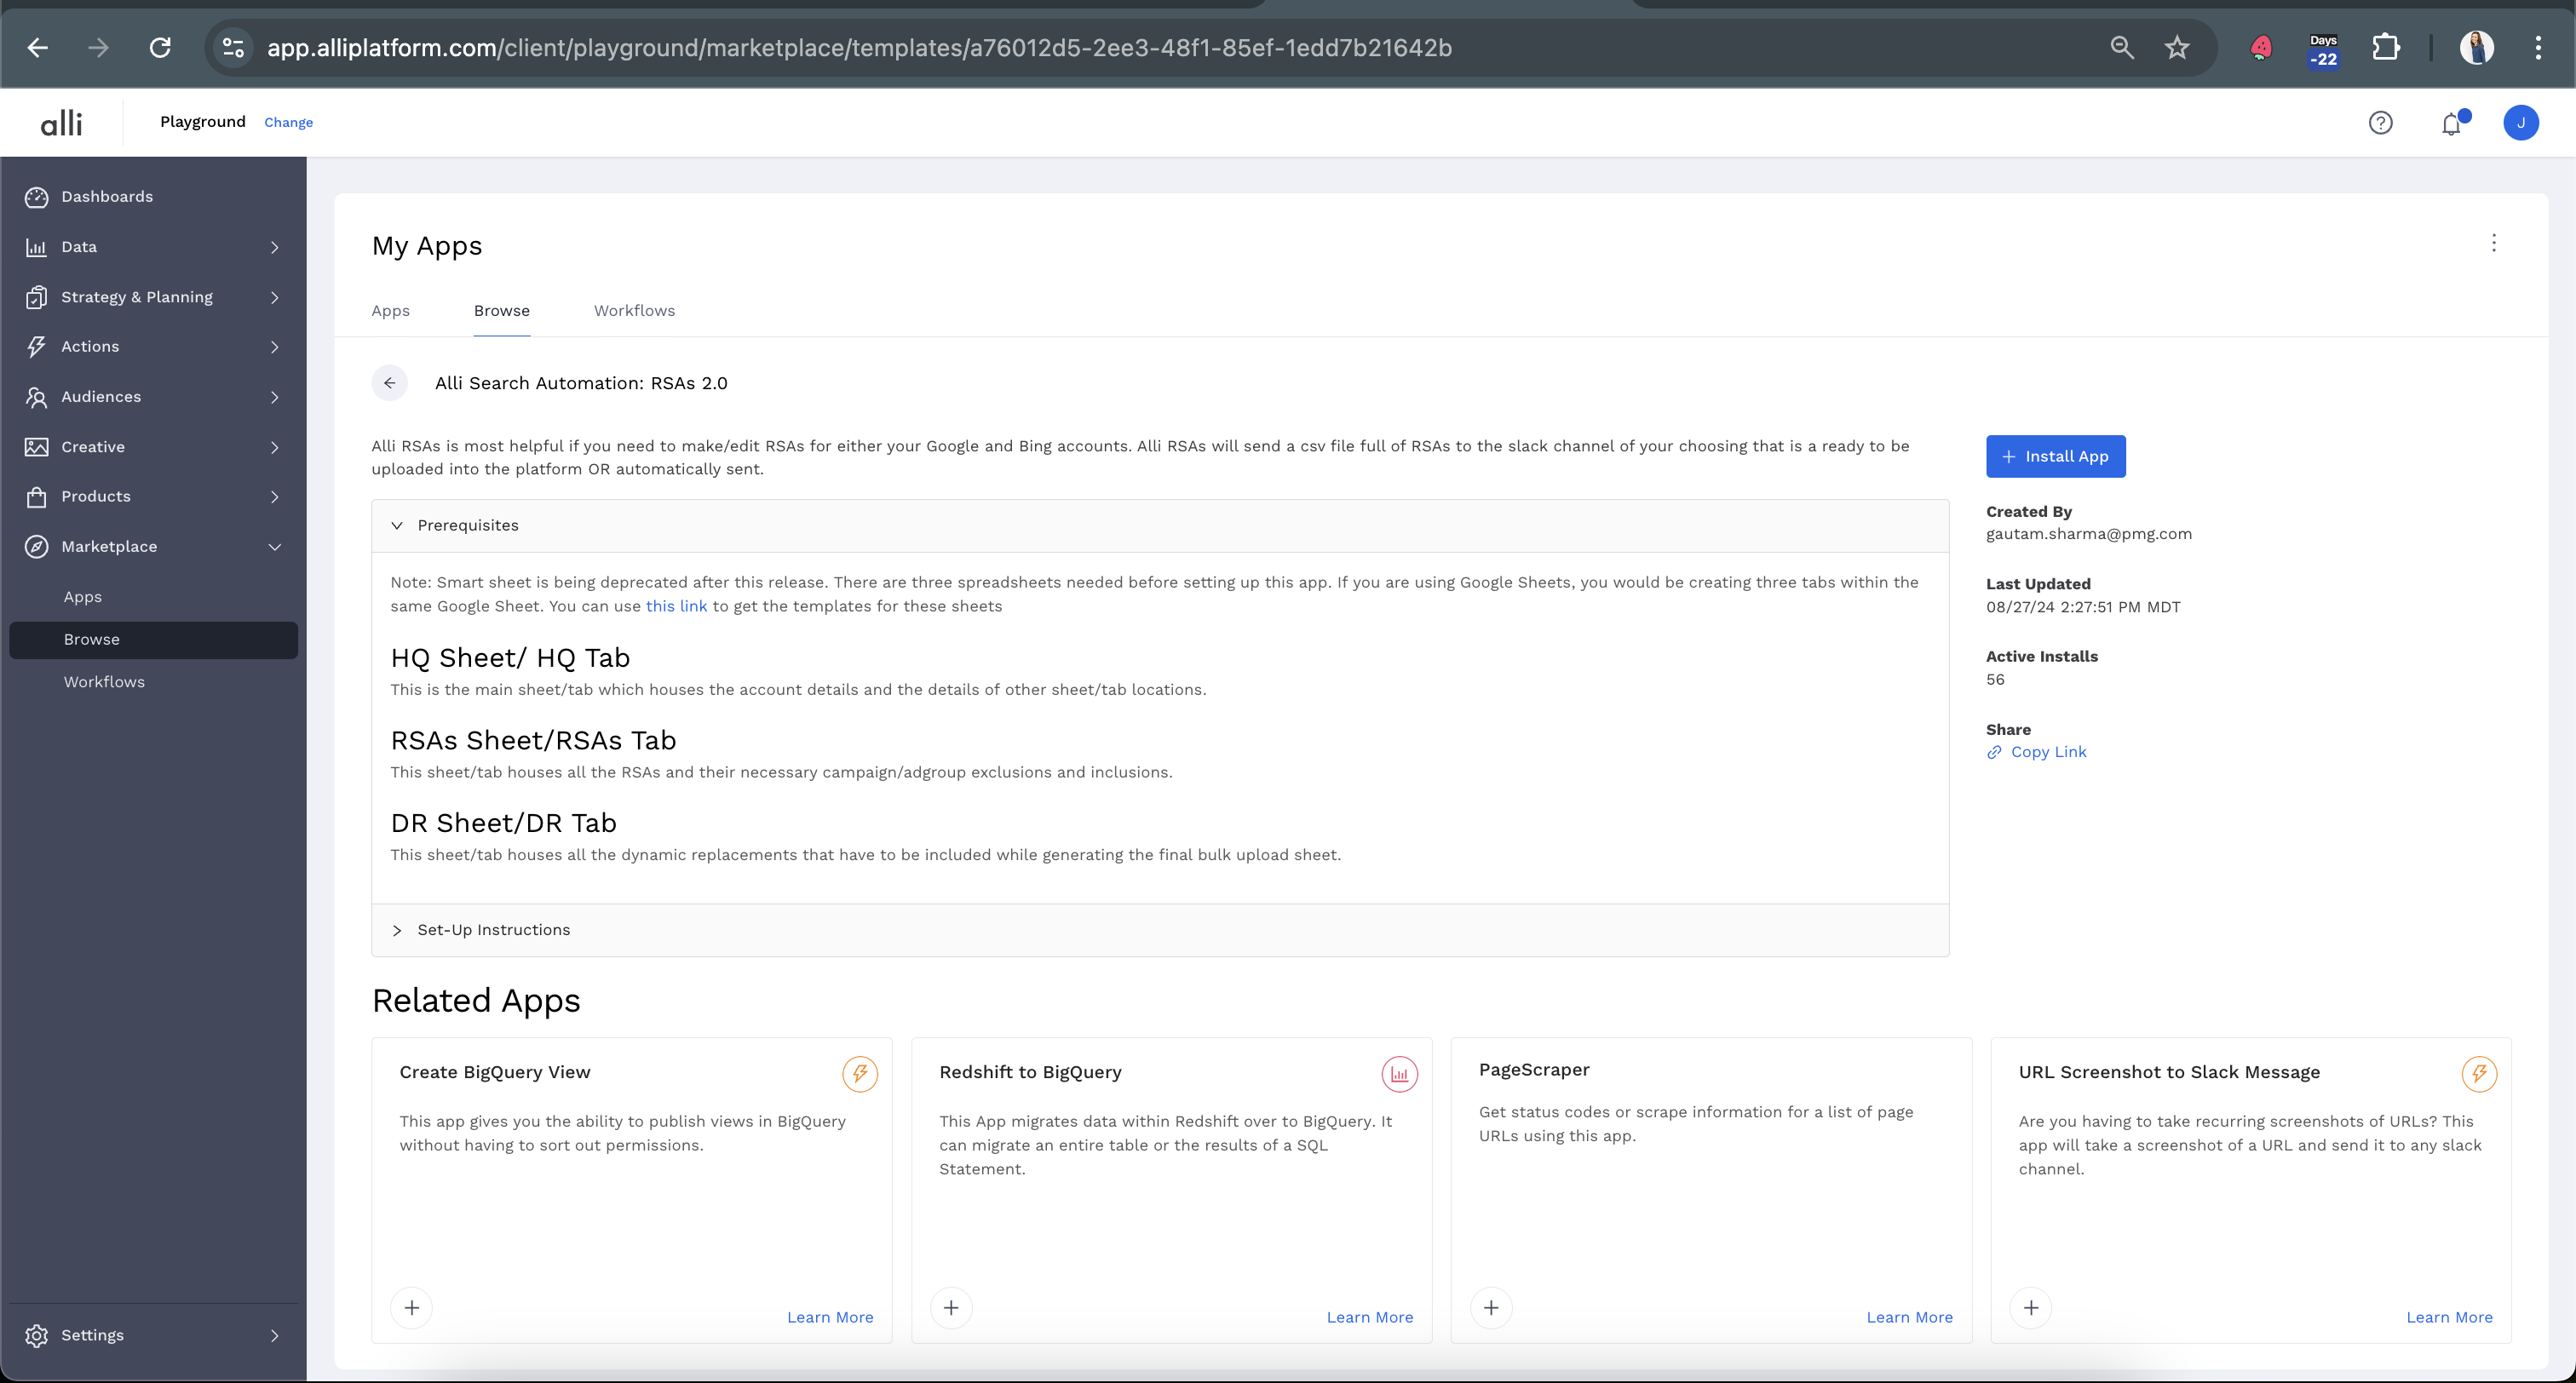
Select any templates to see a description, when it was last updated, how many active installs it has across Marketplace, as well as any prerequisites or set-up instructions.
-
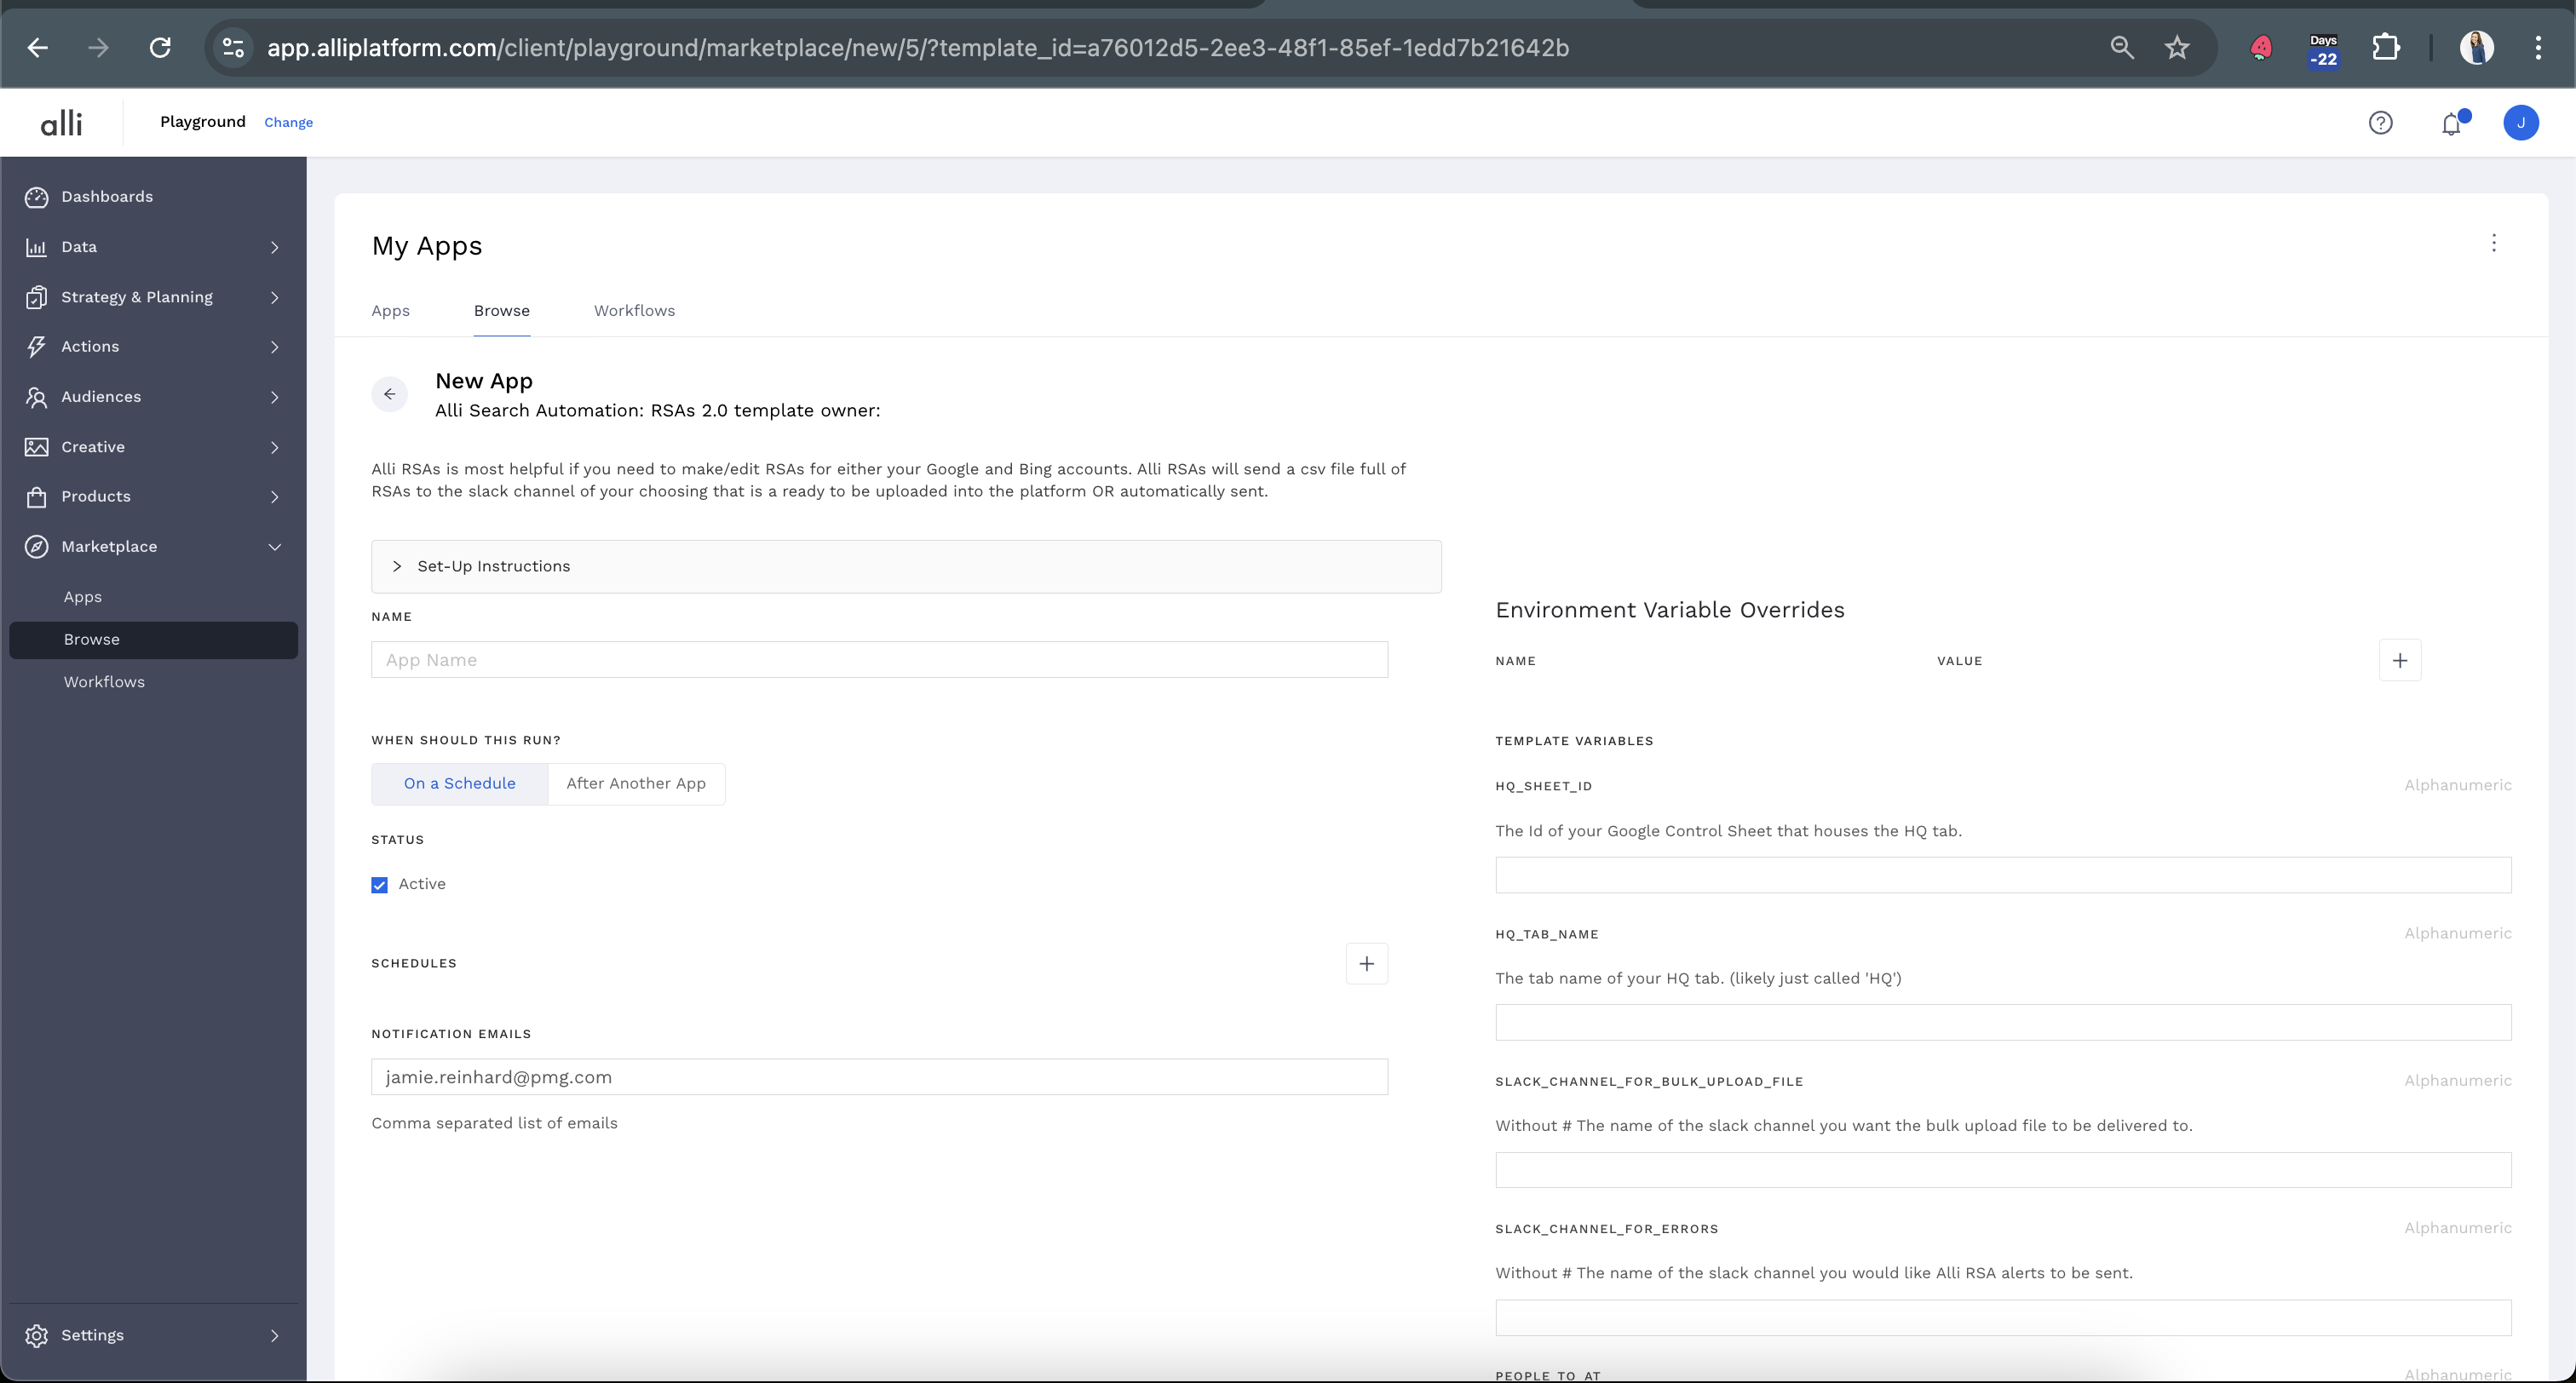
Click the Install App blue button. This will now take you through the typical workflow of filling in data or information required by the template, setting it up on a schedule, and naming your app.
-
Instead of setting up a timed schedule, select
After Another Appand use the dropdown to select the app you would like to “trigger” off of (ie the app that will run before this app)
-
Once you have completed your inputs, you can either
SaveorSave and Runyour app.Save and Runwill kick off an immediate execution of the app, and you can QA the app while it is running, or after it is completed using the instructions found in How-To: QA your app, orSavewill save your inputs, and your app will run at the next scheduled time you set up in your schedule.
-
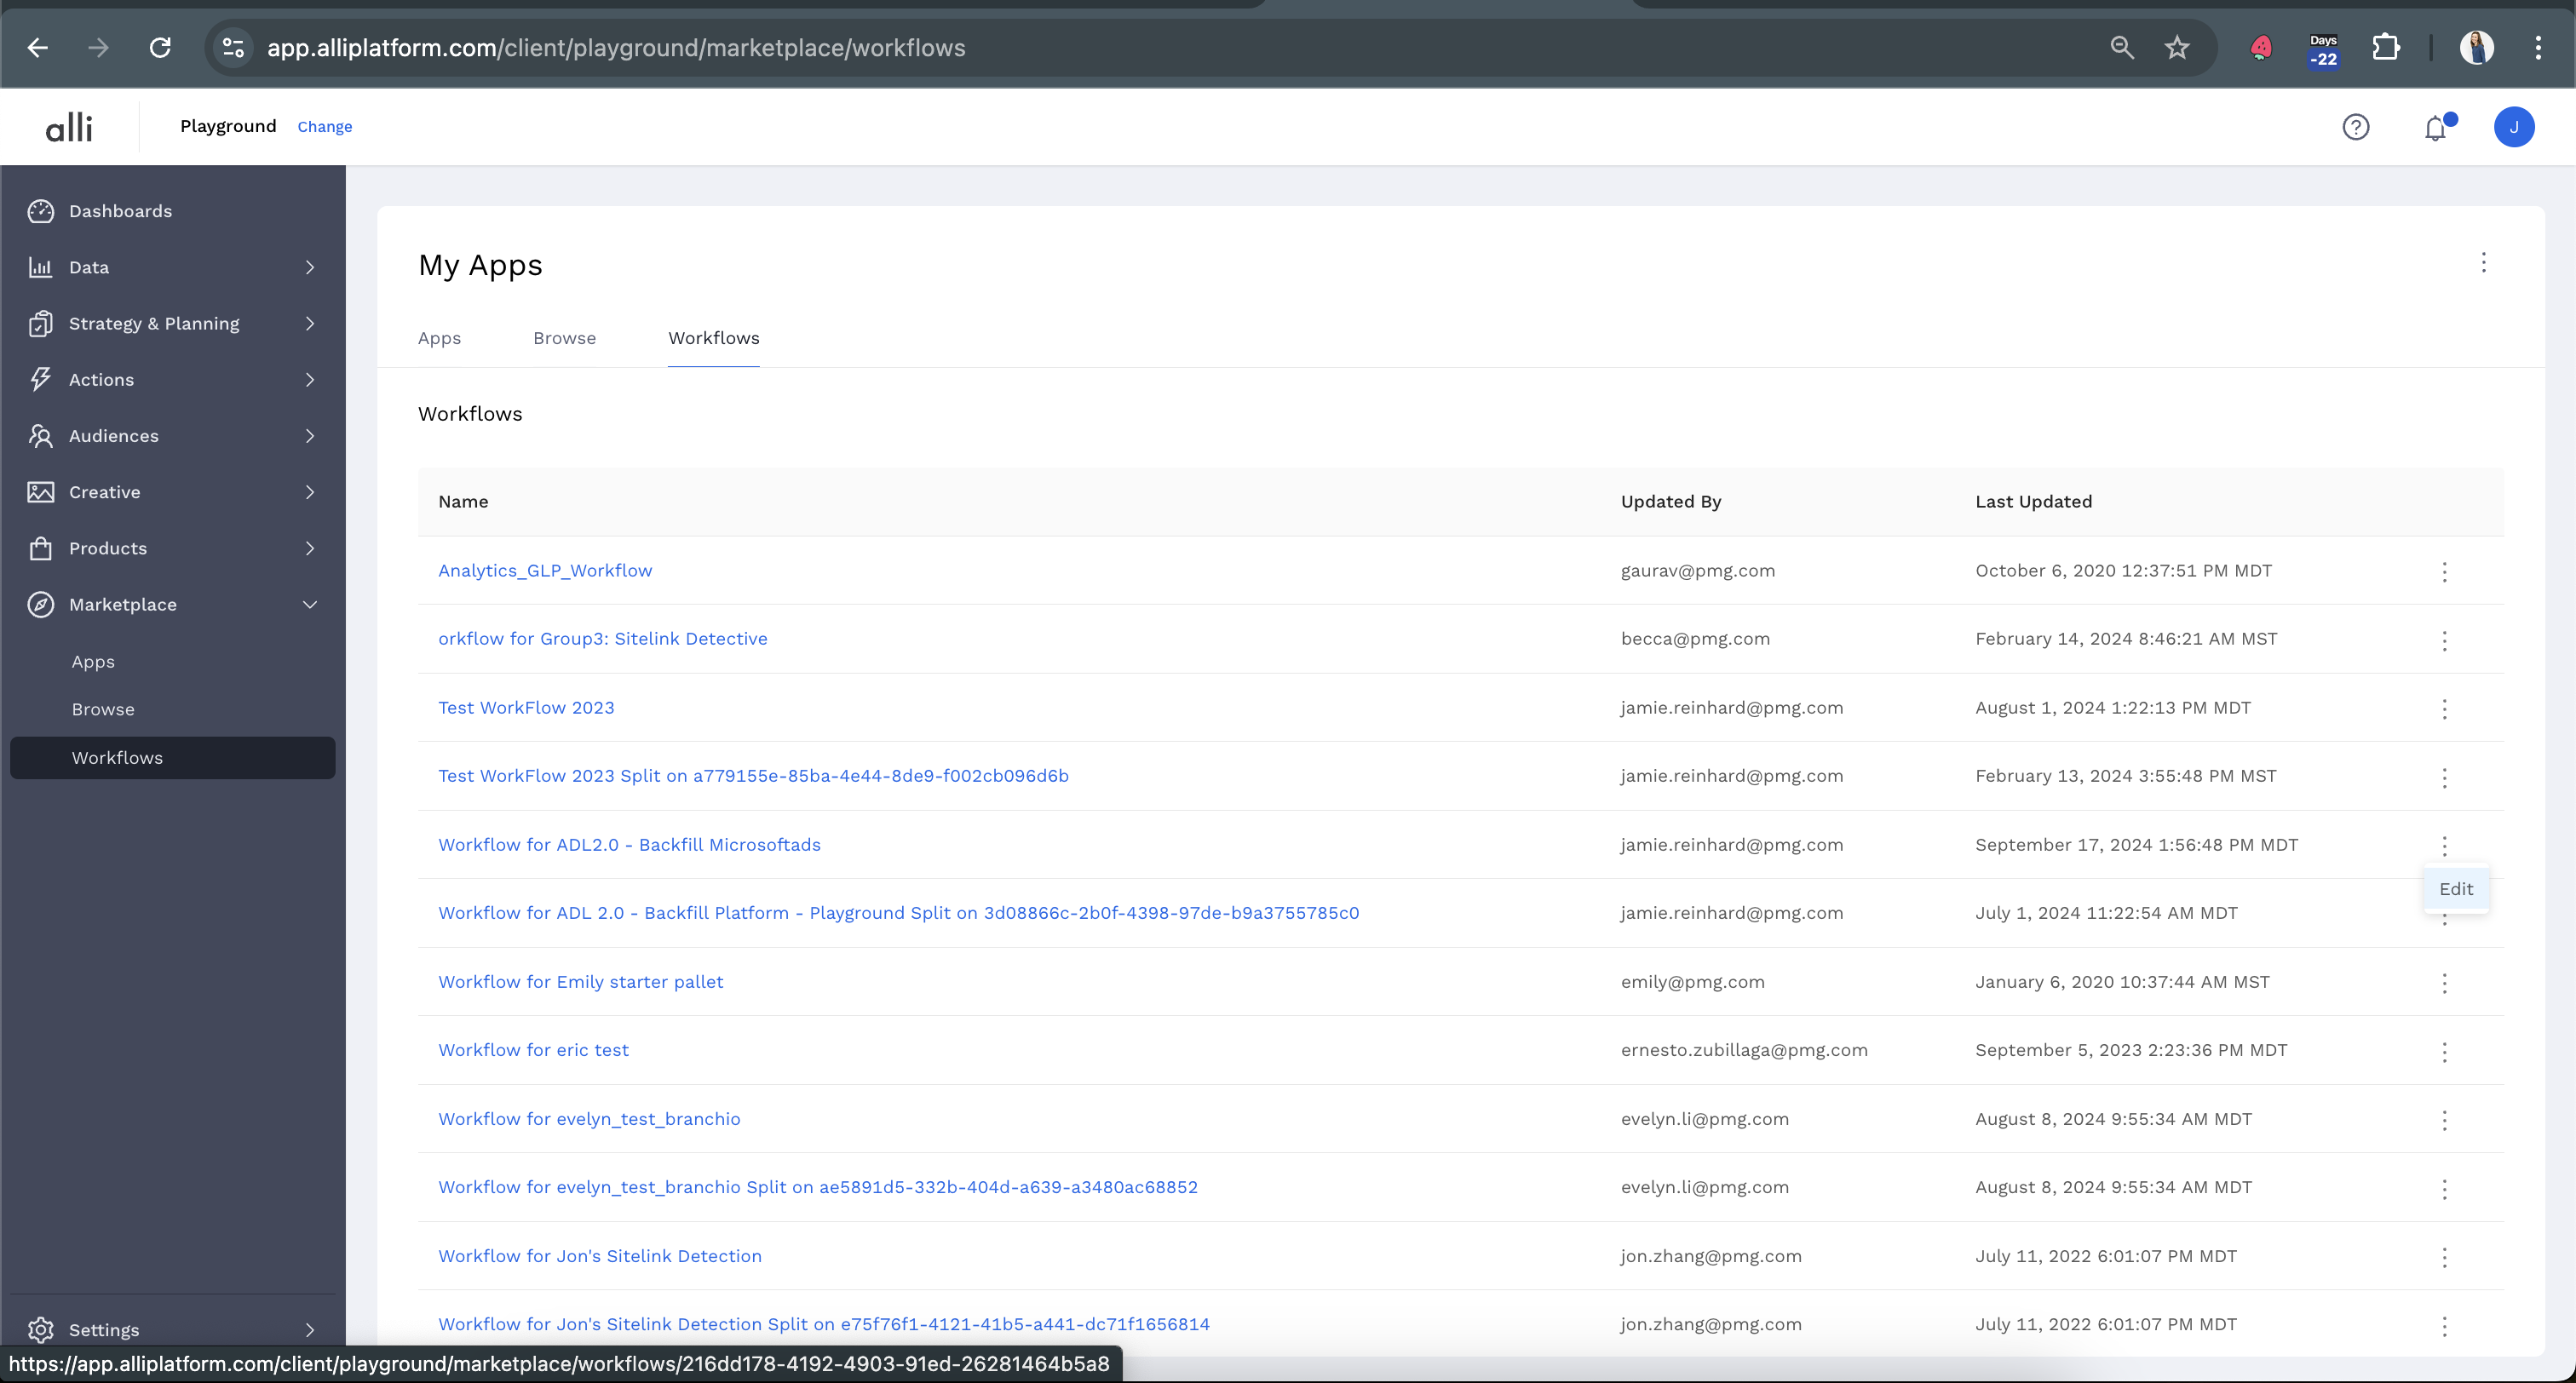
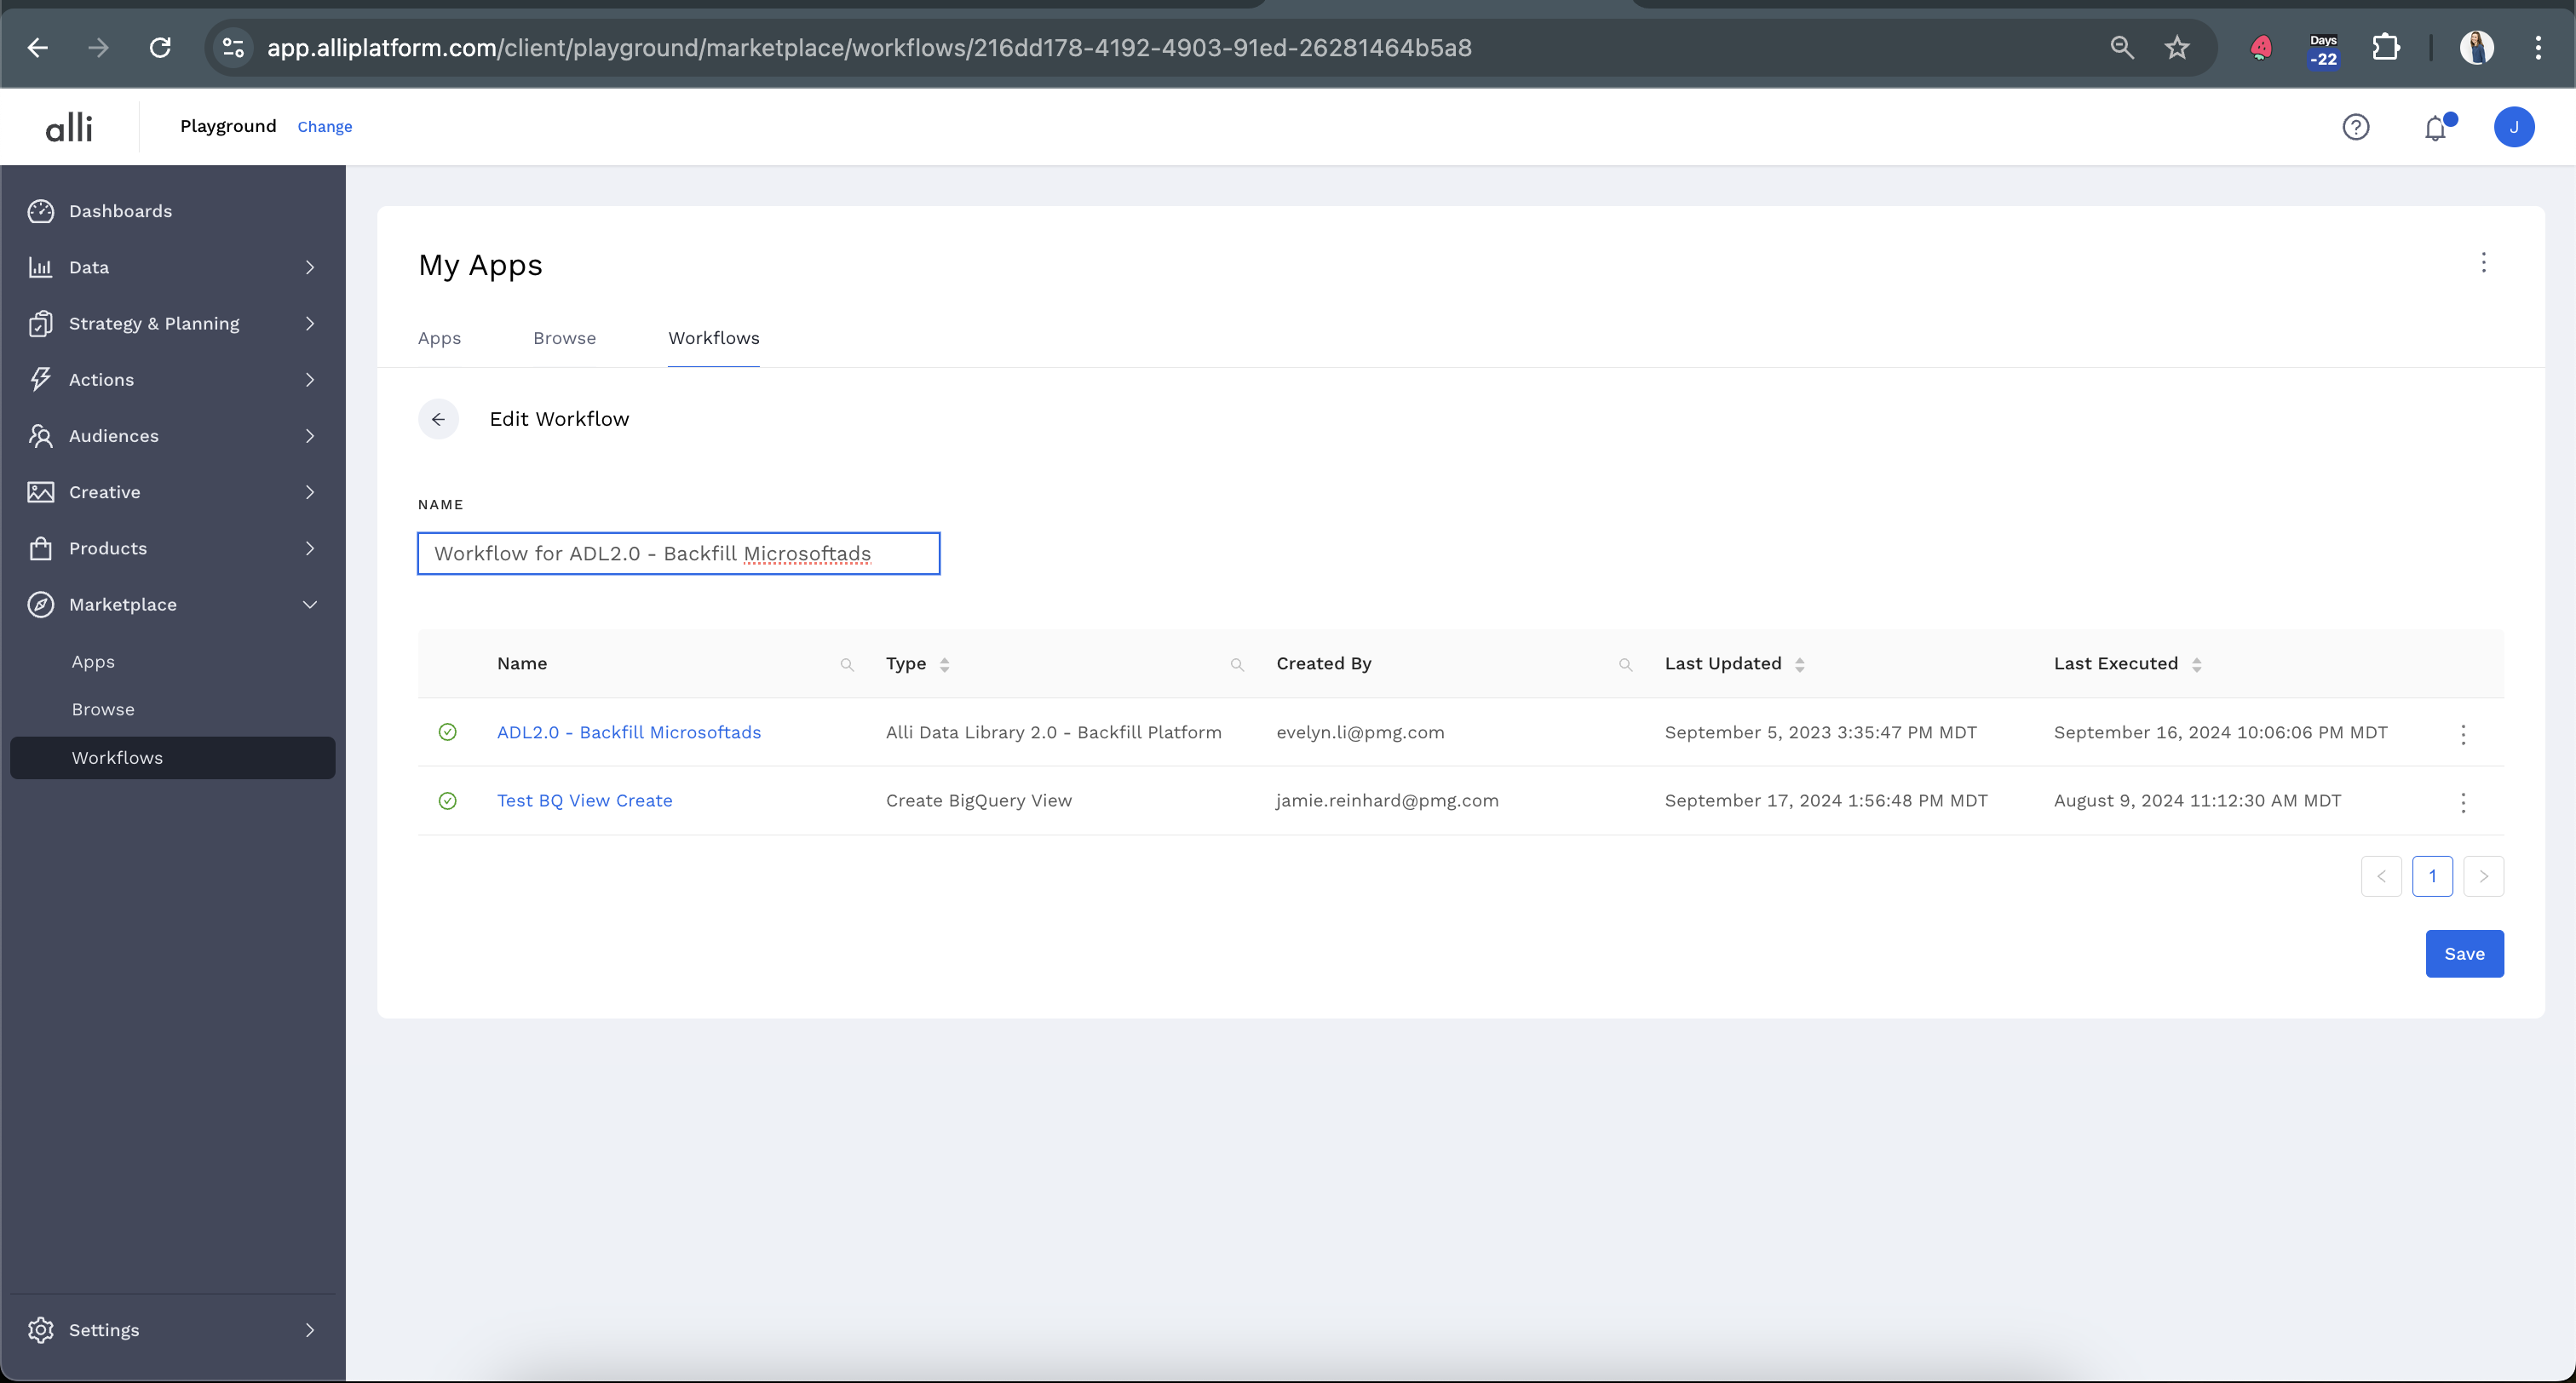
This will set up a new workflow. You will be able to find this workflow under My Apps from the left-hand navigation and Workflows from the top-hand navigation.
-
Selecting Edit from the three buttons on the right-hand side of a workflow will take you to the workflow details page, where you will be able to edit the name and apps if necessary.
Related articles
- How-To: Connect your Google Sheet to Actions
- How-To: Disable or Remove an Installed App
- How-To: Set Up a New Workflow
- How-To: Pull Data for TikTok Trends
- How-To: View Error Messages on an Action That Ran
- How-To: Filter Alli Data Reports by Date to Power Actions - Tips & Tricks
- How-To: Understanding Version Statuses
- How-To: Create a Scheduled Version
- How-To: Weather API App
- How-To: Set Up Brand Media Pacing Datastudio Dashboard
- Tutorial: Adding Negative Keywords to Google Ads
- How-To: Test Your Action
- How-To: Using the Execution Log
- How-To: Setup Weather Budget Adjuster
- Tutorial: TheTradeDesk - Brand Safety Alerts